


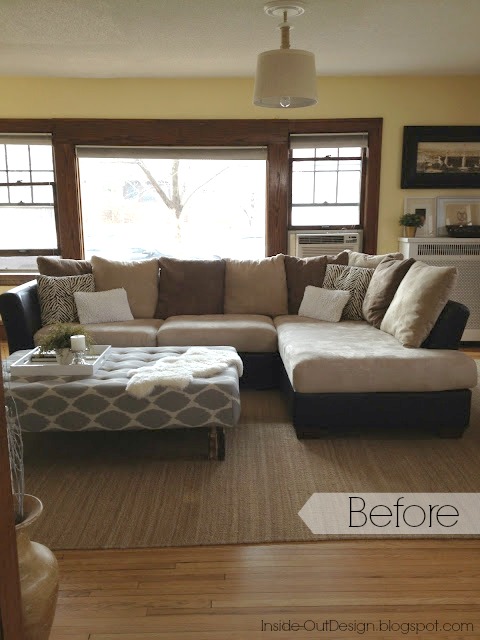
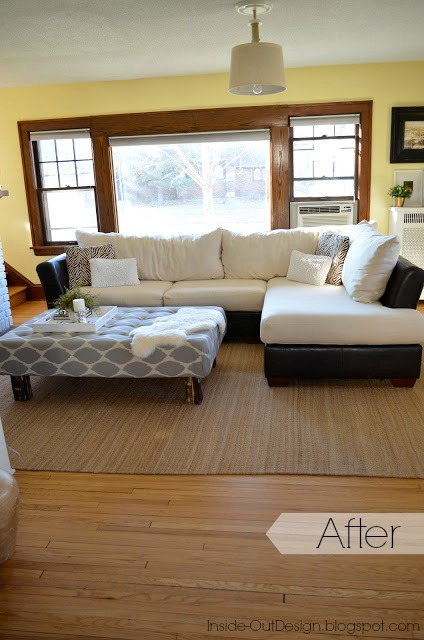
How To Re-Cover A Microfiber Sectional

I absolutely hated the microfiber our sectional was made of, but we didn't have the money for a new couch. So I decided to recover the cushions using the old covers as a template.
I took all the microfiber covers off of the seat cushions and started by photographing them (especially the more complicated L-shaped one) for reference.
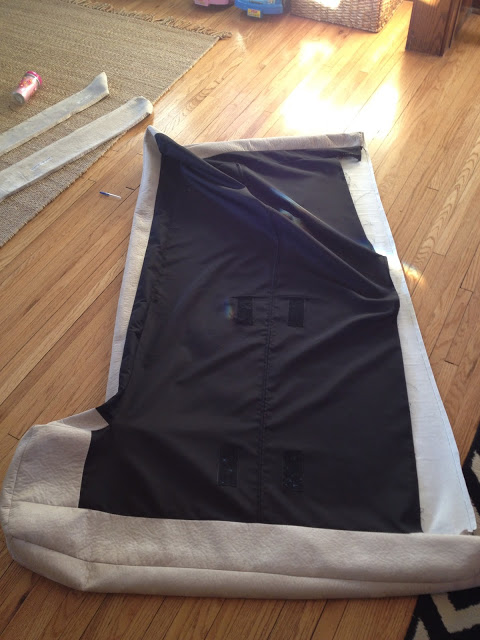
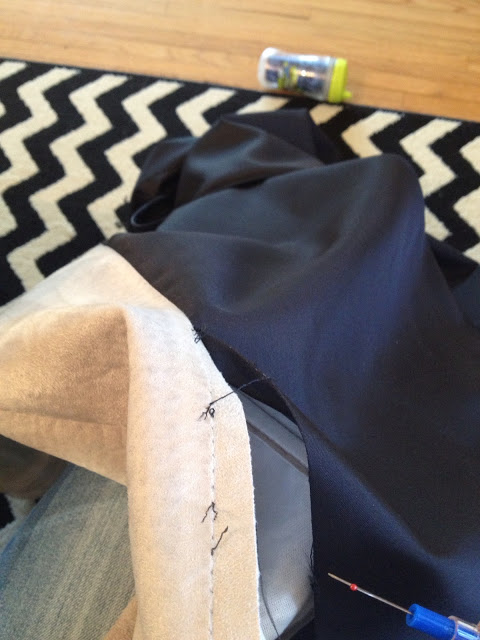
Then using a seam ripper I carefully separated every individual piece of microfiber that made up the cushion cover. The big black piece at the very bottom of each cushion got separated from everything too, and I set them aside so that I could reuse them on the bottoms of the new cushion covers.
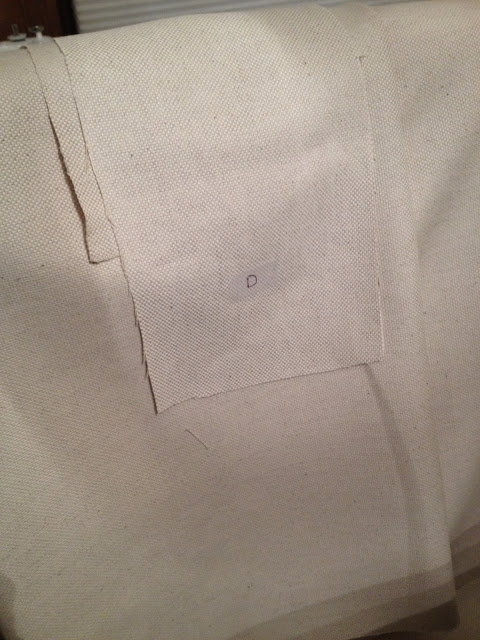
Every time I got a piece of microfiber separated, I would put a piece of tape on it and label it "A", "B", "C" etc.
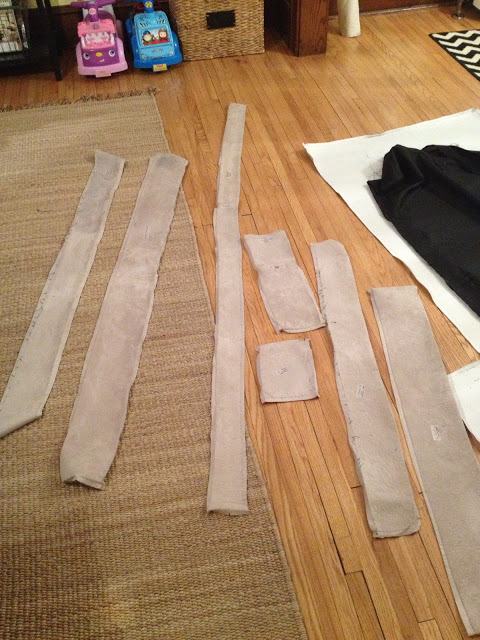
Once I had all the microfiber pieces from a cushion separated and labeled, I laid each piece out on the new couch fabric and carefully cut them out.
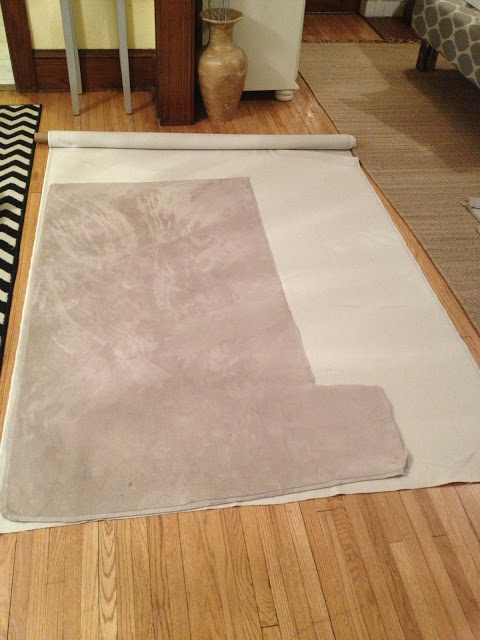
Each time I finished cutting out a piece from the new fabric, I'd put a tape label on it that coordinated with the label that was on it's microfiber match. All of my labels also coordinated with a sketch I'd made of the cushion where I had indicated which side each labeled piece went on, just for further reference and to help me keep everything straight when I was putting things back together with the new fabric.
Then using my drawing, photos, and labels as reference, I assembled the new cushion covers starting from the top and finishing with attaching the original black nylon bottoms to the new fabric covers.
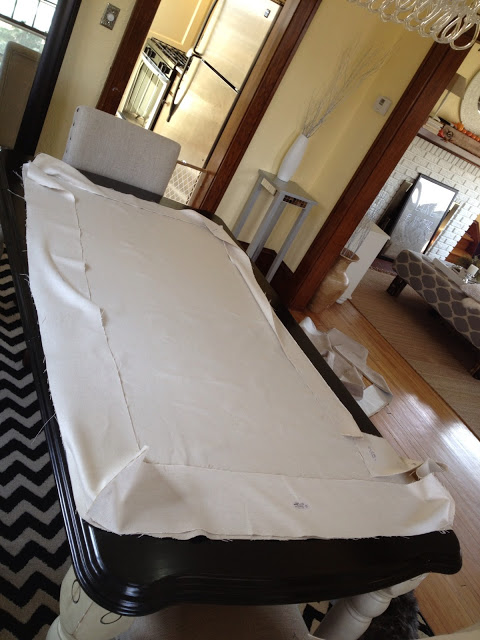

To keep things from getting too complicated, I completed each cushion separately from start to finish. It made it a lot easier since I didn't have to worry about mixing up pieces for different cushions.
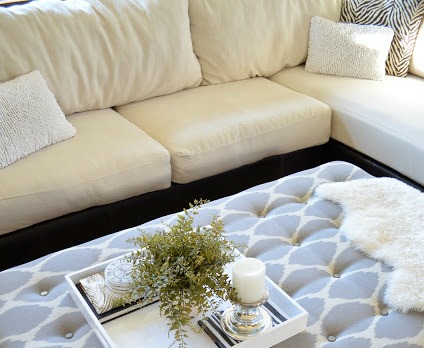
The new covers make such a huge difference with the look of the couch! I also made new back cushions to get rid of the slew of pillows that used to make up the back of the sectional. The instructions for those are detailed in this post on my blog.
Tons more details including where I got my new fabric and the horrible mistake that anyone doing this needs to avoid, can be found on my blog!


Comments
Join the conversation
-
I am sooo impressed with your willingness to tackle this big,
complicated job and it turned out so nicely. You are definitely a DIY warrior!
-
If you still have that couch (I know this is an older post) Paint the Pleather the same light color as the cushions, will give it a much better look!


Frequently asked questions
Have a question about this project?
Hi! Where are the instructions for the pillows? I have this same sectional and the pillows drive me crazy! Thanks!
I have been scouring the internet for a tutorial for these pillows. I have the same throw pillows as back cushions and I want to make them into solid cushions like you have done here. Please post this soon!!
i have this exact lounge im too worried to pull the seat fabric all apart to measure correctly is there any chance you have the measurements please :)