


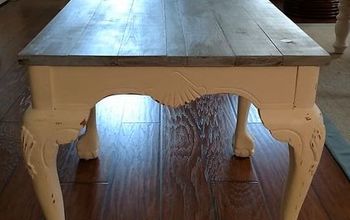
How to Upcycle an Old Bench Into an Adorable Accent Table
I recently acquired a bench from my mother-in-law's home when we cleared it out after her death. This particular bench was from my husband’s grandmother’s home. It was a sewing bench that was used while she would sew. It was definitely loved, and I wanted to bring it back to life. Here's how I transformed this bench.
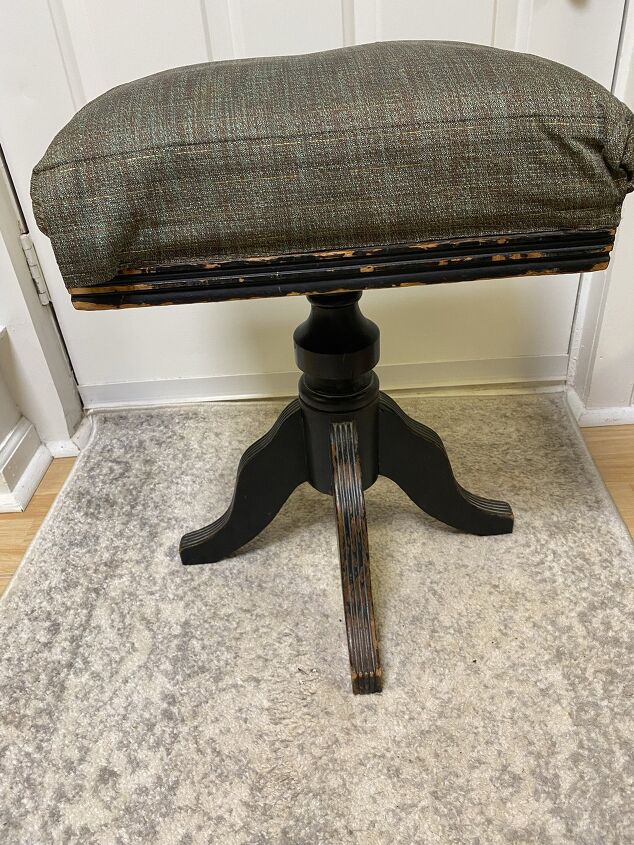
BEFORE IMAGE. As you can see it was quite shabby and needed help. The fabric was shabby, and the wood bevels were chipped. I didn't do much about that since I was painting it and it would be hidden when it was all one color.
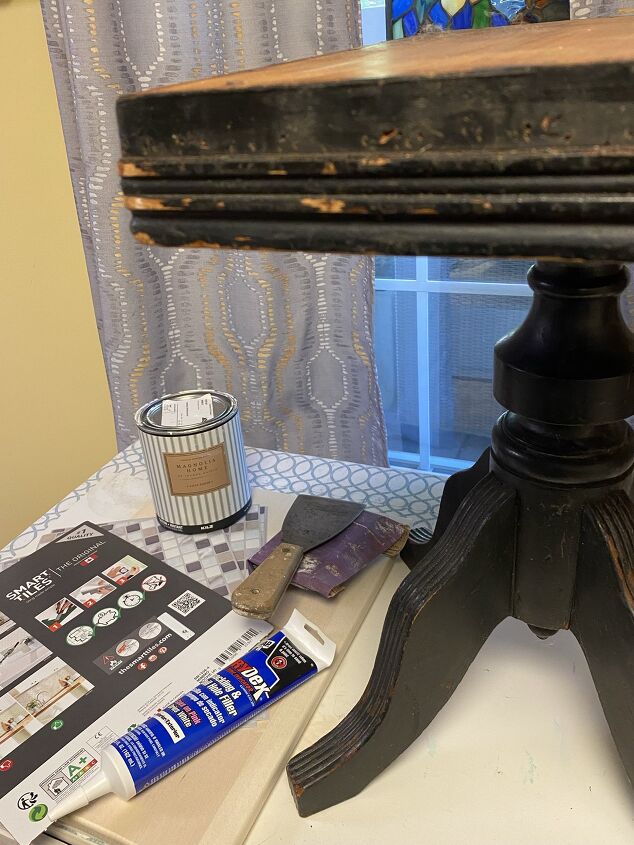
Note about this project:
- Some supplies were used from other projects like the paint was used for other projects I did on this blog.
- I did not disturb the stain besides a light sanding.
- Since I was going from dark to light, in some areas, I needed to add an additional third or even fourth coat.
- I wore a mask when removing the foam and fabric because it was very dusty.
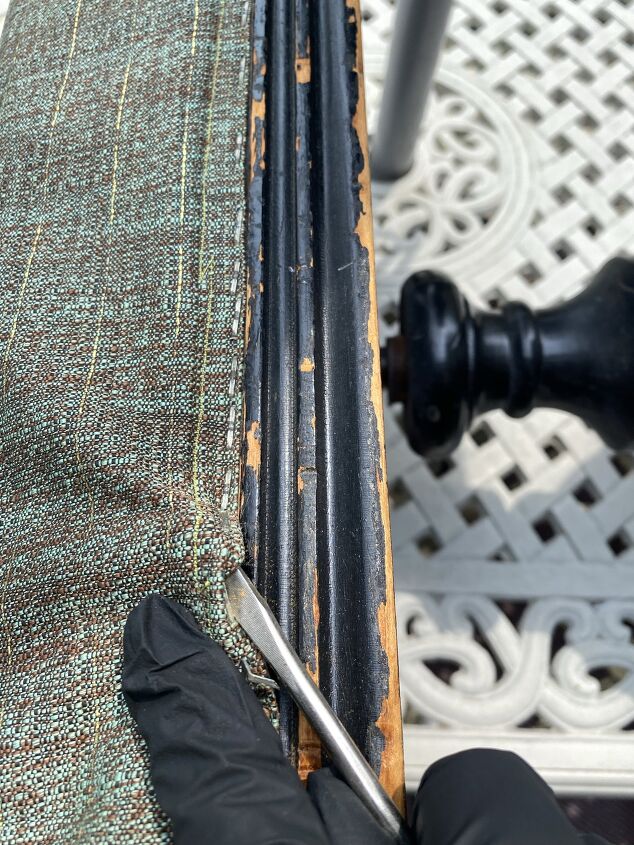
Staples were holding the fabric in, so I could remove them fairly easily. If there were broken staples, I pulled them out when plyers.
This is how it looked after I took off the foam and fabric. Since the top was a complete wood top, I decided not to make it a bench and make it an accent table. I ended up cleaning it and removed all the nails around the side. I then cleaned the stain/paint area.
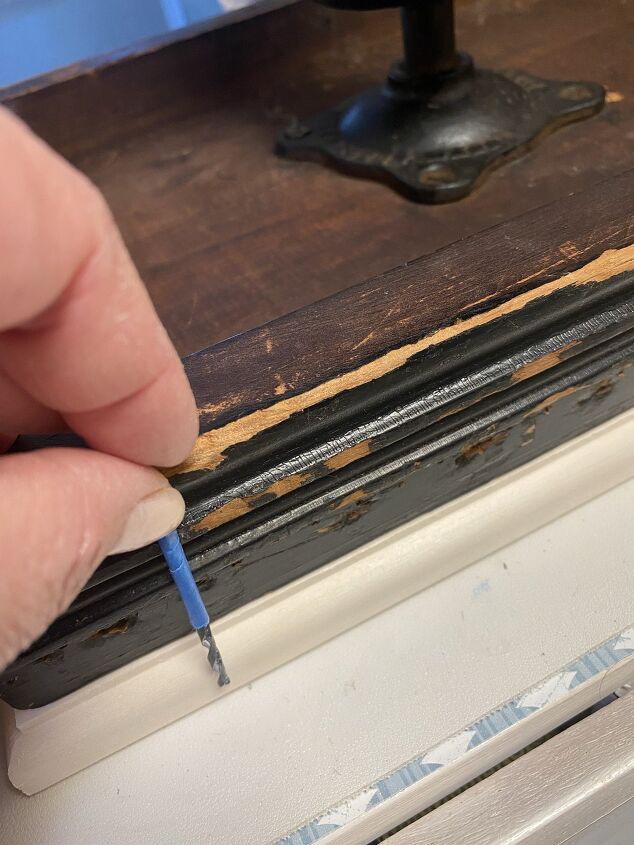
I wrapped a drill bit to the point with painter's tape, where I needed to stop to go completely through the top piece. The piece of wood was the exact size of the base. It gave me an edge to use later on.
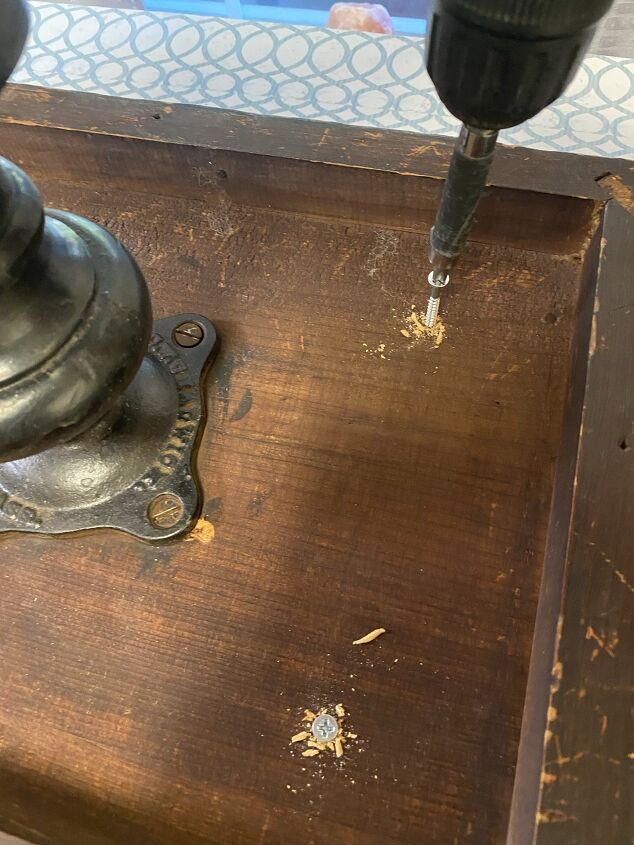
Screw the top to the base from the bottom.
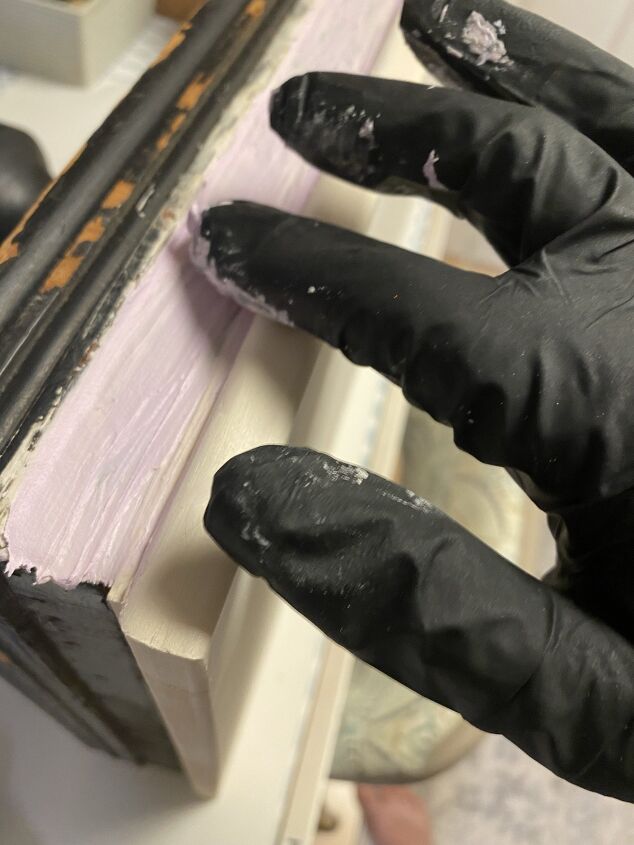
I used the wood filler and was able to fill in the holes with it. I made sure it was smooth, so I did not have to sand it too much when it dries. The wood filler is pink when wet and when it dries, it turns white. That helped me figure out when it was dried.
I continued to do all four sides. It took some time. I didn't want it to run, so I did one side at a time and then let it dry completely.
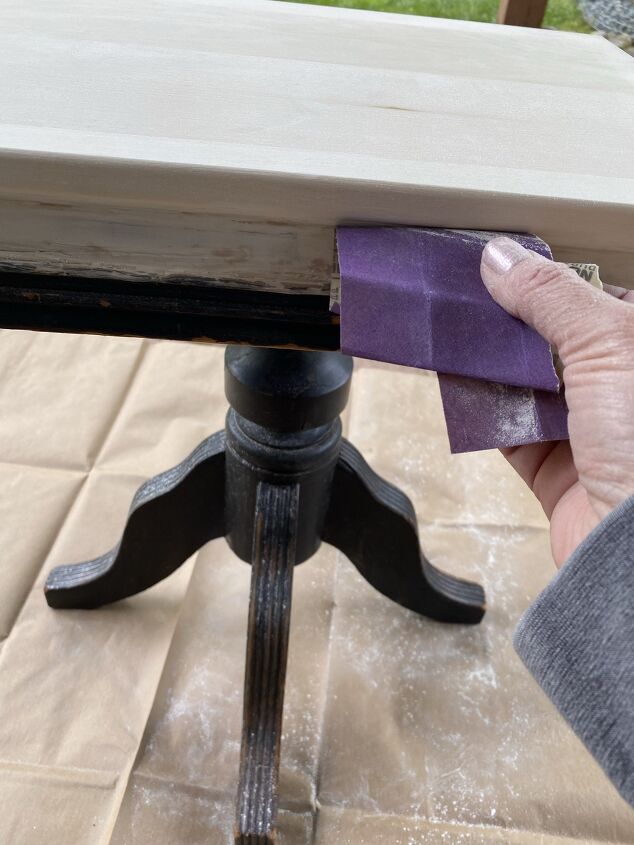
I then added a coat after I lightly sanded and used a tack cloth to remove the dust. Then I repainted it. And let it dry completely. I also needed to do a touch-up with the white paint since the wood was dark.

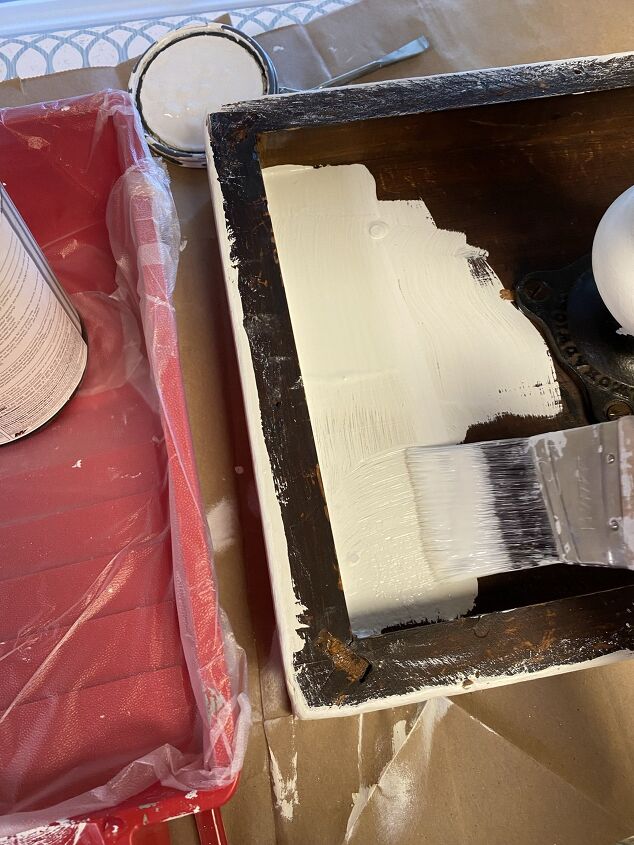
Then I started painting. I had to do at least two coats, sometimes three coats, because it went from dark to light, and there were streaks.
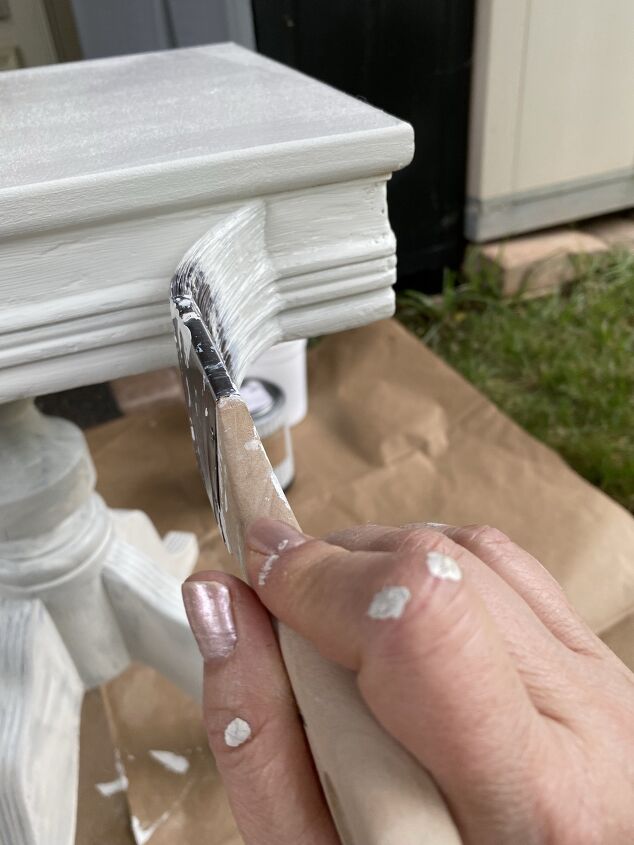
Here is what it looked like when I was finishing up the second coat on the top. I did not do the bottom until the top was dried.
After it was completely dry on top, I painted the bottom since it was so dark from the top. I didn't paint it more than once since no one will be looking under it. Then I let it dry again for a while. Probably about two days, I let it dry.
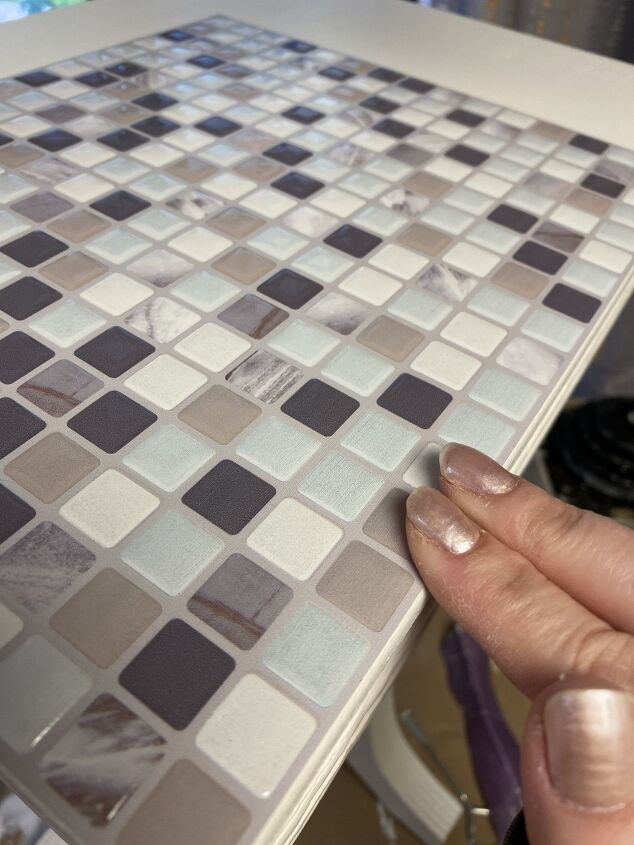
I added a full sheet of this Smart Tile to the top. It is plastic and has a sticky back. I pressed the edges to make sure they would adhere to the edges.
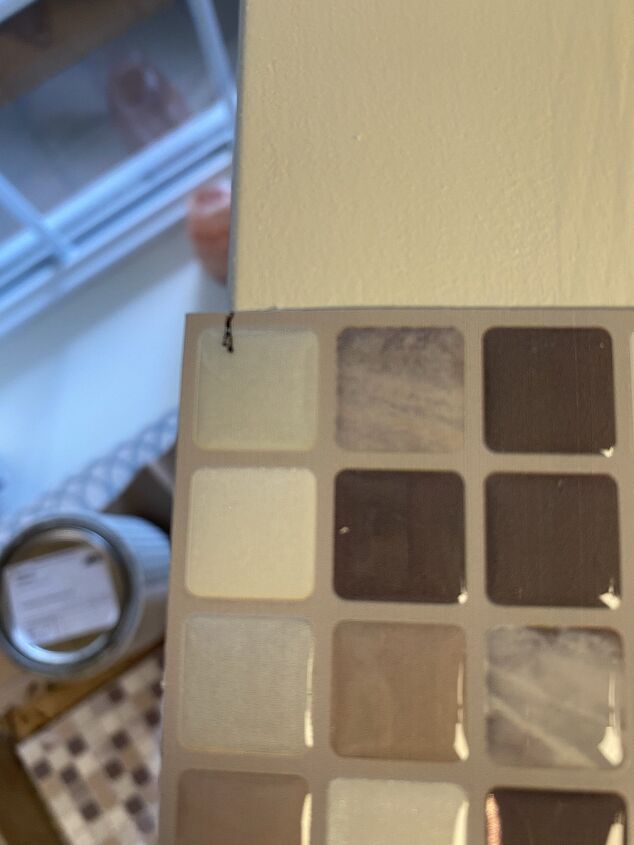
Since the accent table was larger than the tile, I had to do a little patching. I marked the vinyl where I needed to cut. I cut it down with scissors or a rolling cutter and then marked it to see how much I was over. I then used a T square ruler to create a line and cut it.
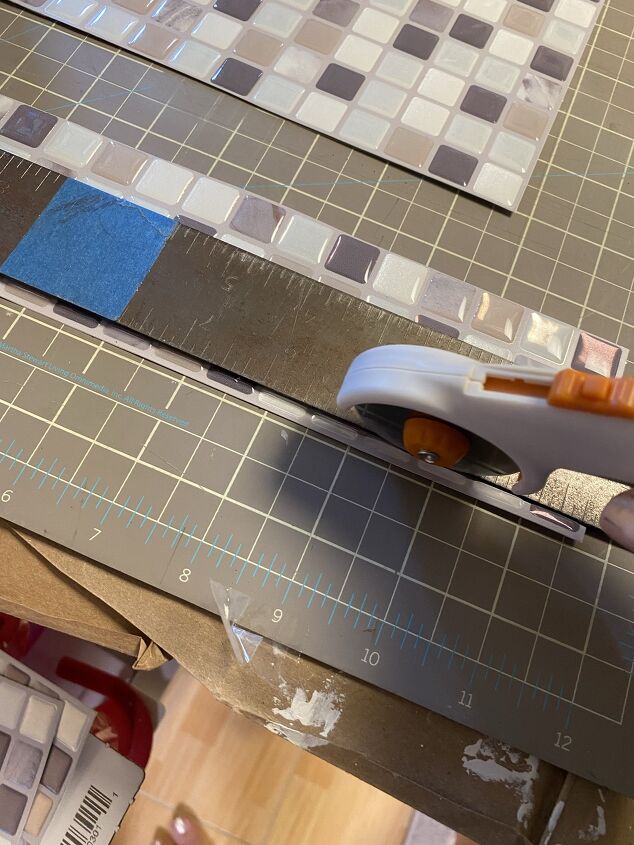
If it did not go completely through, I used scissors to separate it. I continued and added the remaining vinyl tile pieces.

This is what the top looked like when I was done. I made sure to press the edges to make sure they all adhered to the wood. I let it dry a bit to make sure it stuck completely. This was about a day or so.
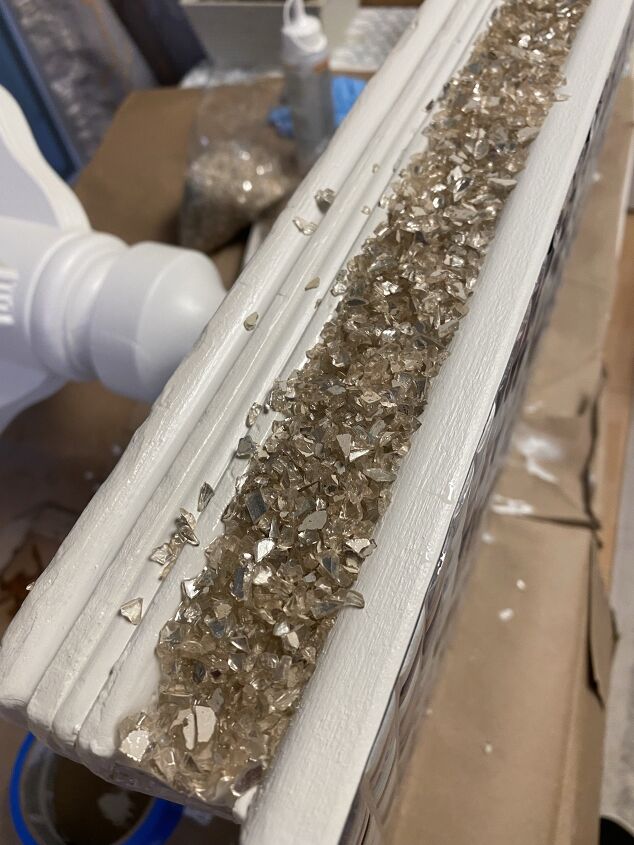
To dress up the sides, I used glue and crushed mirror pieces. I added Gorilla Glue, added a handful of the decorative mirror pieces, and pressed them down to stick. I then let it dry completely. Then I continued and did the other sides, drying completely in between these tasks. I removed any excess mirrors pieces that did not stick after each side dried.
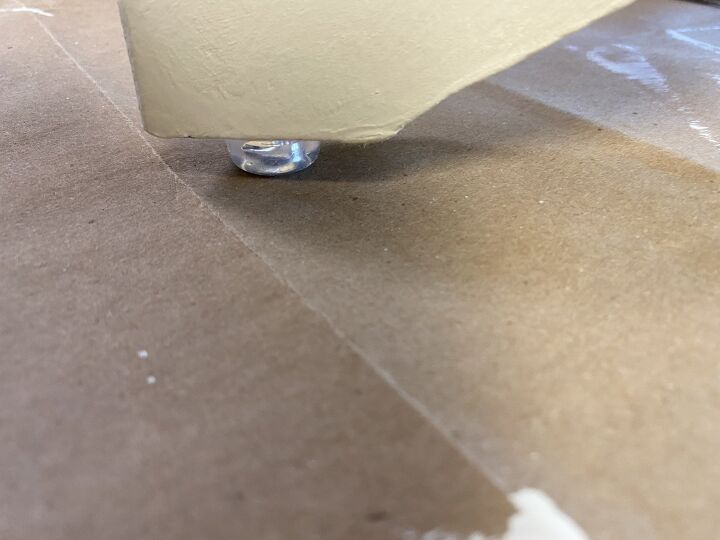
After the sides were completely dried, I added feet to the bottom. This was great because the final home would be on the carpet and wanted it raised up a bit.
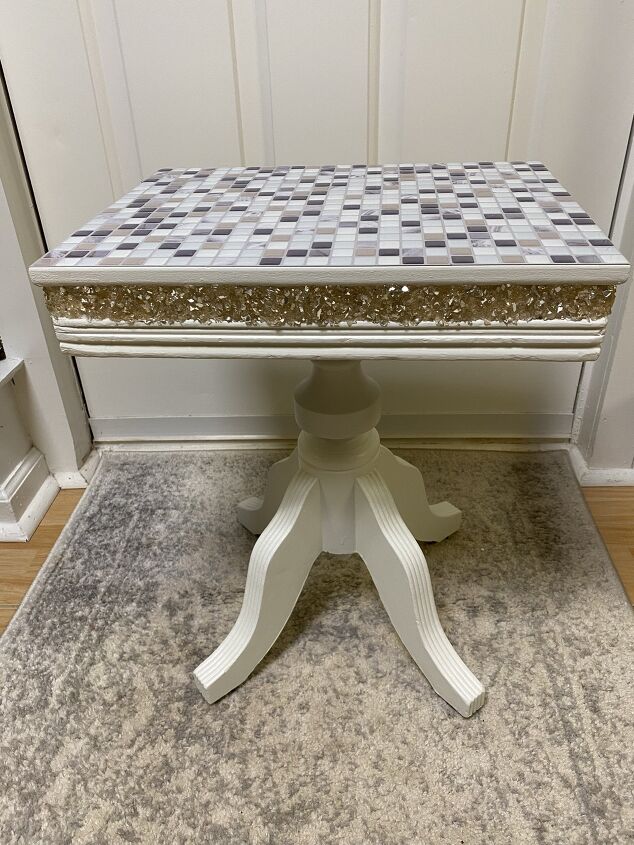
Here is what it looked like when I was done. I love it! I am so grateful that I could restore something that was from my father's grandmother. It will live on now. Feel free to read the complete post by clicking on my link below.
Follow my YouTube channel for more home organizing, DIY projects, and quick recipes inspiration.


Frequently asked questions
Have a question about this project?