


Industrial Book Rack
Easy
We are a part of a monthly DIY challenge with a group of very talented bloggers.This month’s pick was a copper fitting. I decided I was up for the challenge, purchased several copper elbows and other parts, and got to work making my hubby a Restoration Hardware inspired Industrial Book Rack.

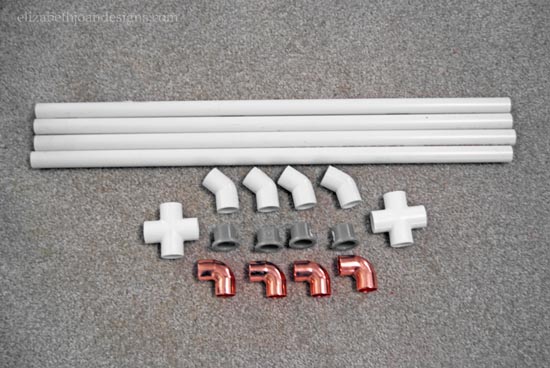
Supplies:
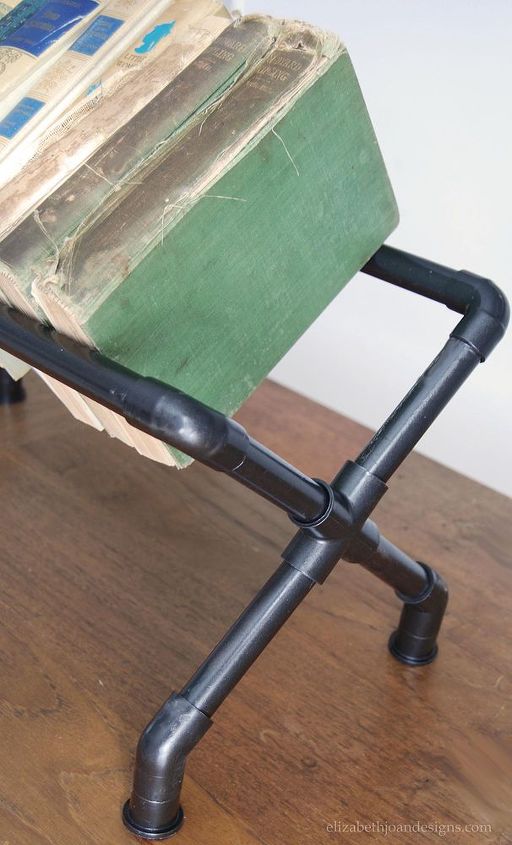
I decided to start with this book stand’s feet.
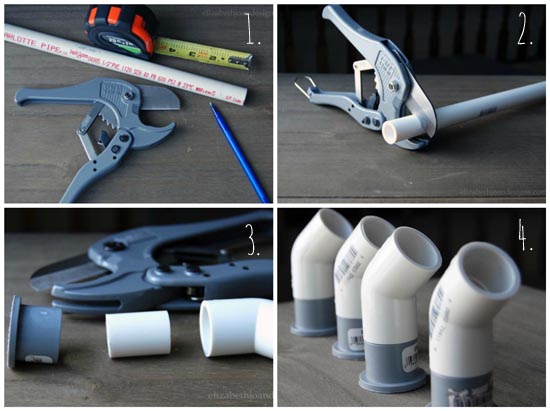
1. I measured out four 1 1/4″ sections and marked one of the 2′ PVC pipes with a pen.
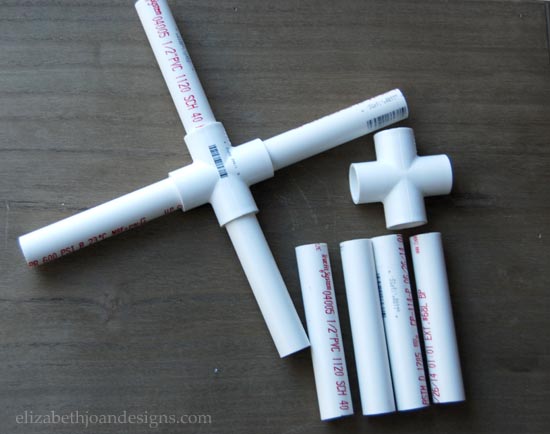
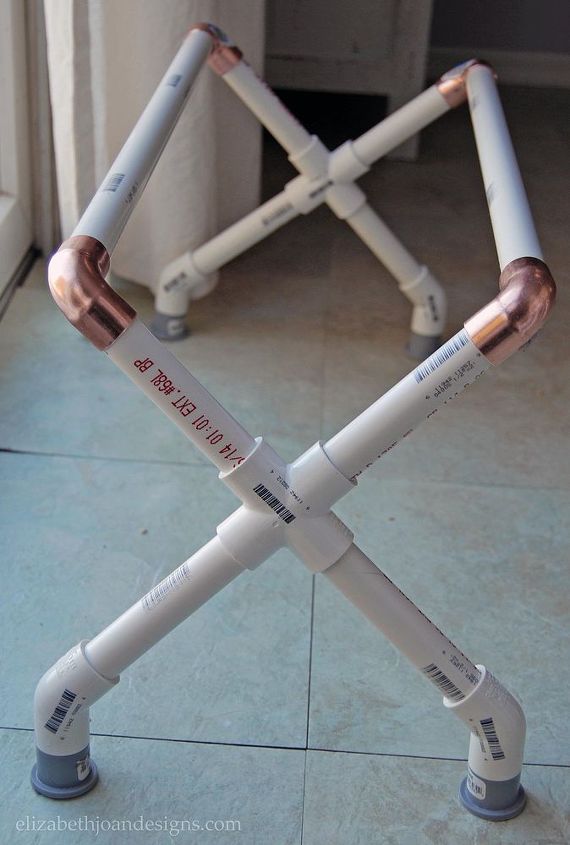
After that, I placed two feet on each “X” shape. Making sure the feet were on adjacent pipes. The remaining two pipes of each “X” were fitted with the copper elbows. The long 19″ support pieces connected the entire thing together. (See photo below.)
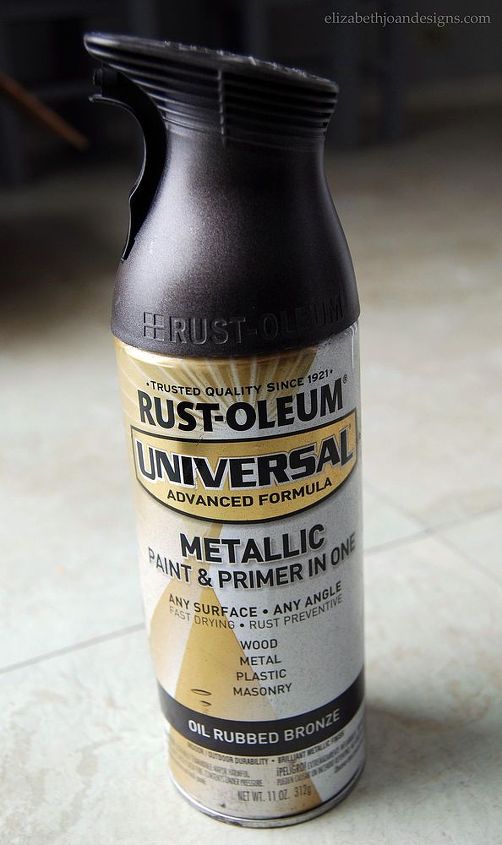
Finally, the parts received several coats of Rustoleum Spray Paint and Primer in Oil Rubbed Bronze and the book rack was reassembled. I chose this color because it stays a little more true to my husband’s taste and our decor than the copper would. Because this is a gift for him, I suppose I should take his likes and dislikes into consideration. Right?
I love it! The Restoration Hardware look for the price I like paying. Perfect!
To see more about this project and check out other DIYs, head to Elizabeth Joan Designs.

Want more details about this and other DIY projects? Check out my blog post!
Comments
Join the conversation
2 of 3 comments
-
This is awesome!
-
Love it! So smart!


Frequently asked questions
Have a question about this project?