


Oh Sheet!! Recycled Bedding TRANSFORMS an Old Bookcase.

by
Jacque
5 Materials
$15
5 Hours
Easy
We recently replaced a twin with a queen mattress; which means overstock of sheets. I hold onto everything for possible projects...some call me a pack rat others thrifty, frugal or down right CHEAP! All of the above would be true, yet I like to think of myself as someone who sees value in everything!
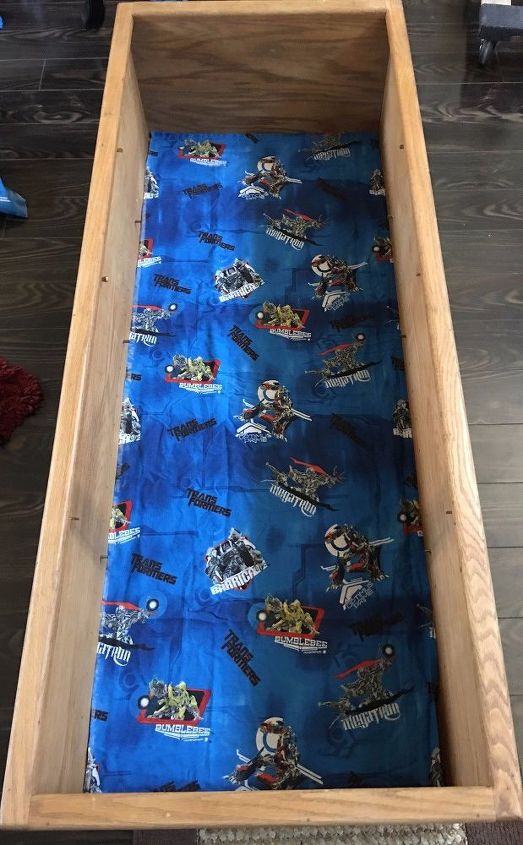
Make over this bookcase with sheets!
My 13-year-old son LOVES Transformers, he has since he was 6. Seven years later, he still collects and plays with them. I wanted to do something special for him, plus these sheets were just too nice to give away.
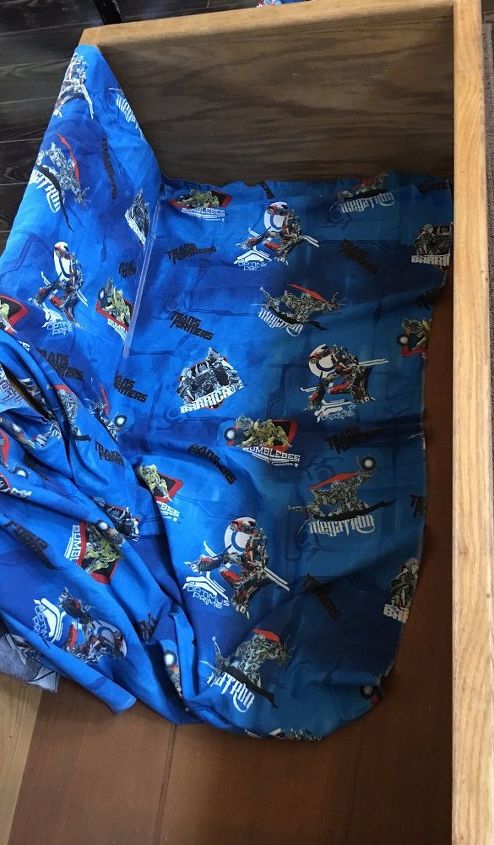
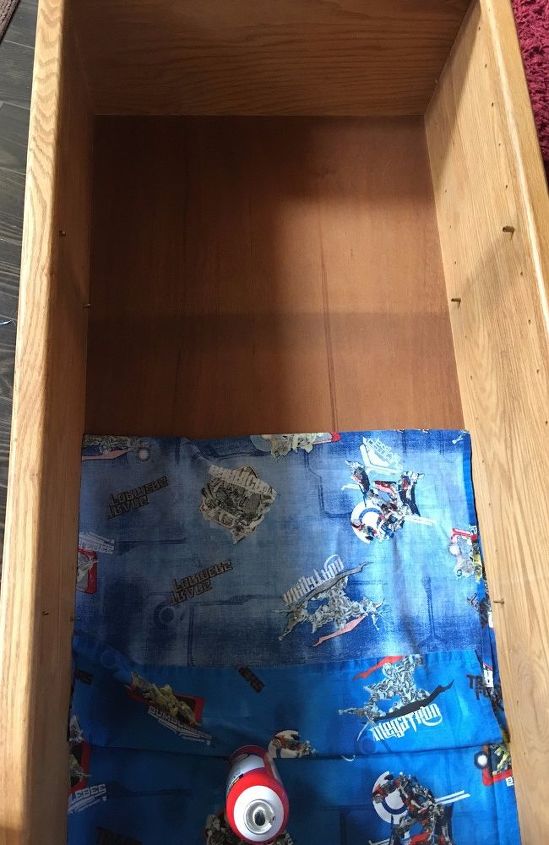
Use chalk to outline where to cuts.
They provided a great backdrop for the "new to us" boring wood book case we got for $10 at a garage sale. It is easy to cut material taking advantage of the natural corner and top edge of the flat sheet. Also, if you lay it flat inside bookcase (after removing all the shelves), and outline measurements by using a piece of chalk you can cut it perfectly.
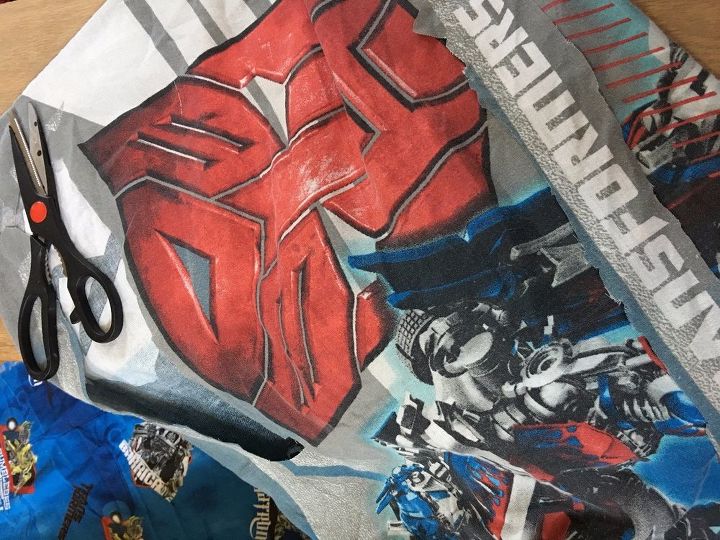
Pillowcase has great details to use too!
I cut out some of the larger characters to use on his bookcase. These were from his pillow case. I applied them to the external side walls with school glue, let dry, and then used a protective glue to seal it all in.
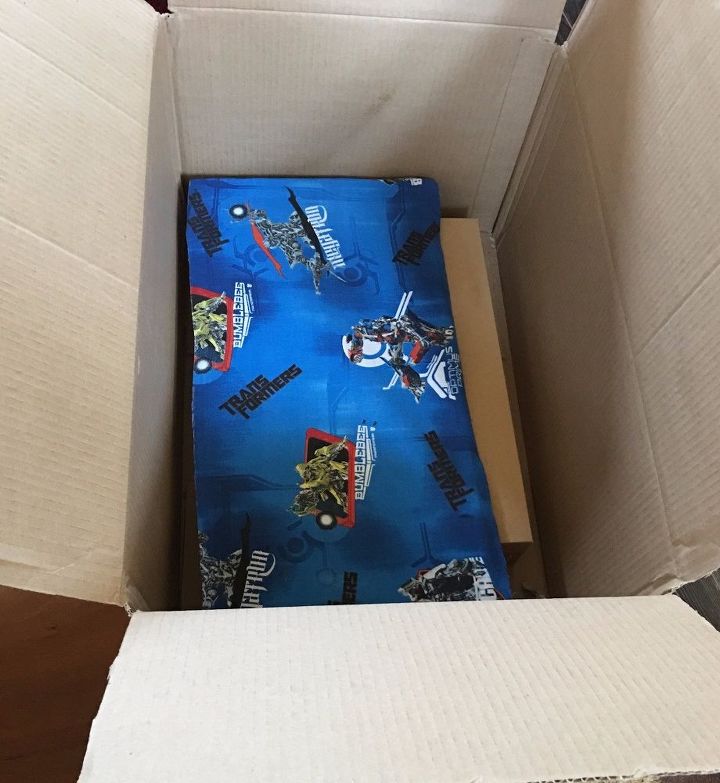
spray adhesive on shelf inside a box
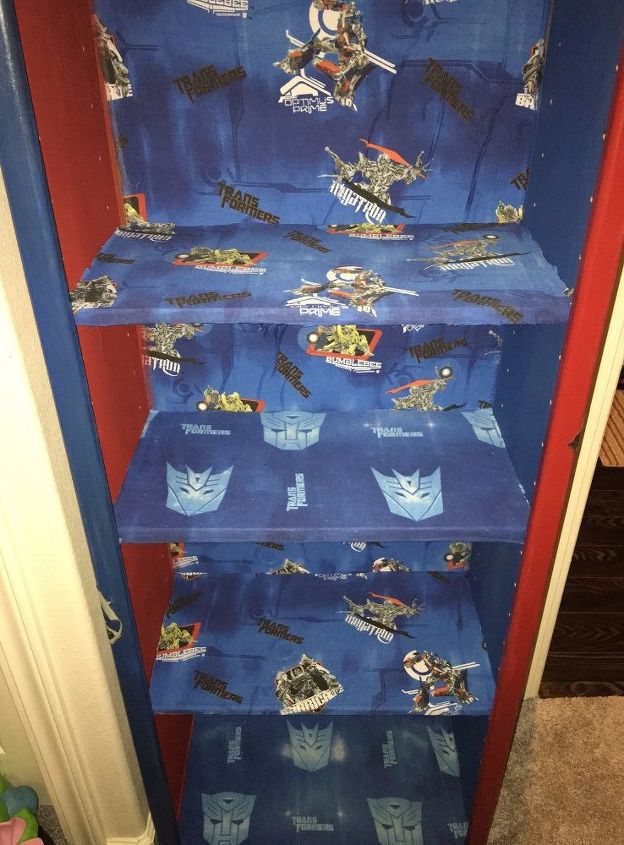
I cut 2 pieces each from the fitted & flat sheet for each shelf using one cut out as a guide since they're all the same size. That way every other shelf was the same fabric - easier on the eyes too. (See final photo.)
I had adhesive spray (Scotch Super 77) from another project and used a large box to spray each shelf. Spray the shelf first then lay fabric on top and even out any wrinkles or air bubbles. This is great adhesive. The over spray is sticky so the box helps to keep it from getting on anything. I learned that the hard way first!
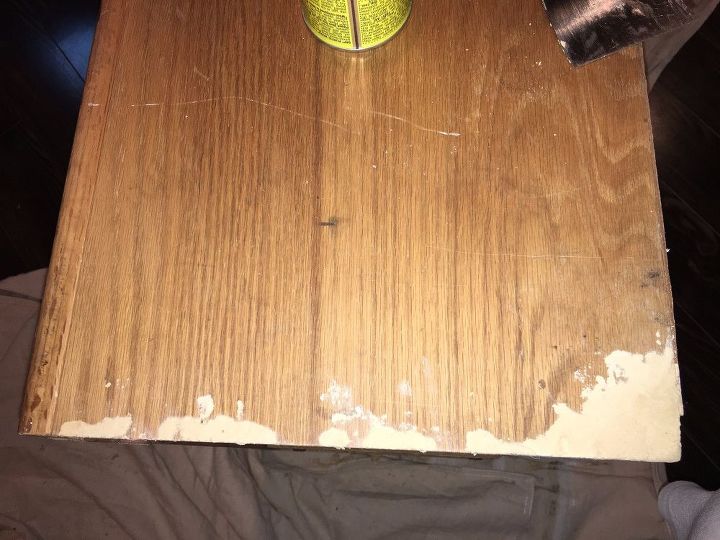
Hmm how to fix cracked wood paneling?
I wanted to paint both external & internal side walls of bookcase. He requested red & blue like his ultimate favorite transformer (optimus prime). But before I could paint, I wanted to try to fix the nicks and cracks in the bottom corner (left & right outside) side paneling.
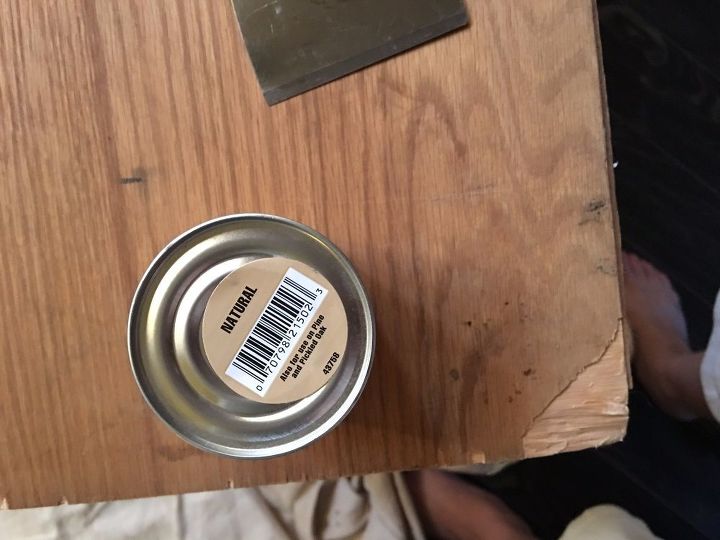
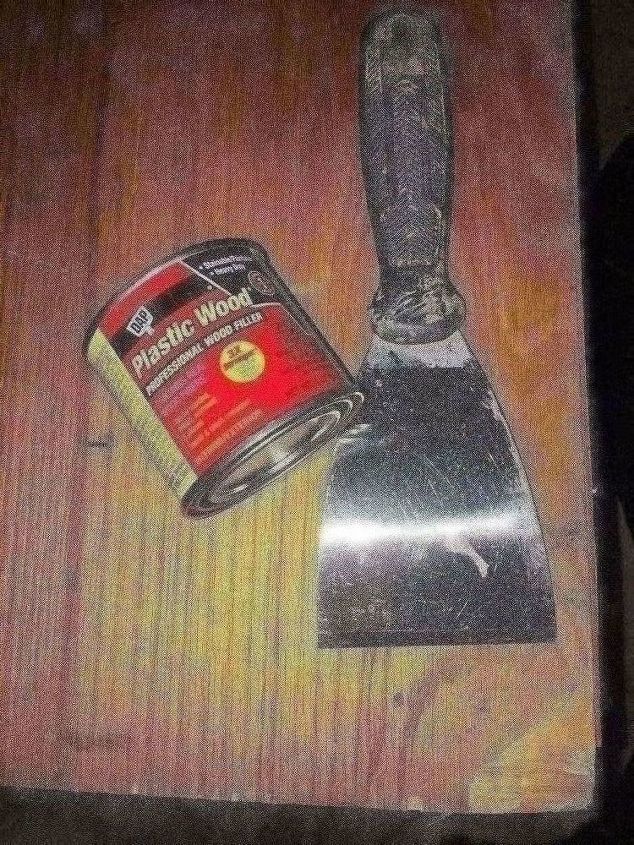
DAP Plastic Wood-Natural Color as filler
You can see it is not ONE solid piece of wood. The sides were covered in a thin paneling on top of plywood. It was pretty banged up and a chunk of wood was missing. Before painting it, I wanted to try to fix some of the flaws so paint would look nice and smooth.
I found DAP, Plastic Wood Filler. It contains real wood fibers and is 3x stronger than wood itself. It can be sanded, drilled, screwed etc. without any shrinkage or cracking. It can also be stained or painted. It's suggested for paneling. Sounds perfect!
The smell is very close to nail polish remover...but 10X stronger since it is made with Acetone and Alcohol. The consistency is very much like any other wall/drywall filler though. Very easy to manipulate. It dries VERY fast so you need to apply it quickly and as evenly as possible. I tried to sink it into every crack and crevice on each side. I used a flat metal spatula (seen above).
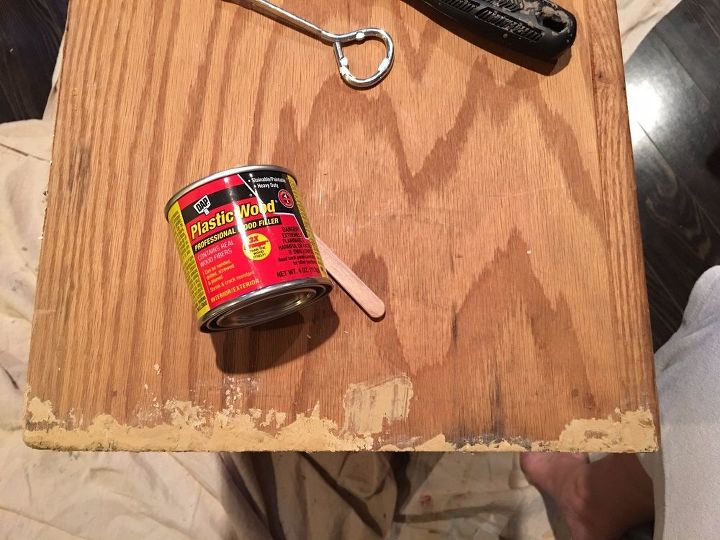
Stir it well & apply to all cracks & chips
I repeated the step on other side and waited. Make sure it is completely stirred (use a popsicle stick or something you don't mind ruining) and reapply the lid ASAP. If you leave it open it will be ruined within minutes. It dries SUPER quick and is absolutely as strong as it says. Depending on depth and amount of product, it should dry within 15 minutes. I was impressed!
I waited double that time to ensure everything was sturdy and then sanded it down until it was smooth enough to paint.
Paint, add sheets & shelves!
Before applying sheet material to the book case, I ironed and starched each piece...wow, now I know why my grandmother ironed her sheets! They looked almost brand new! It made the color and characters really pop. (I wished I had waited until AFTER I painted, as I would suggest to anyone else, but I got excited I guess! It all worked out since it was similar color paint.)
I then painted the inside walls (ceiling & floor) along with outside of unit.
After that dried, I applied the flat sheet with 3M aerosol adhesive and then reinstalled the now covered shelves.
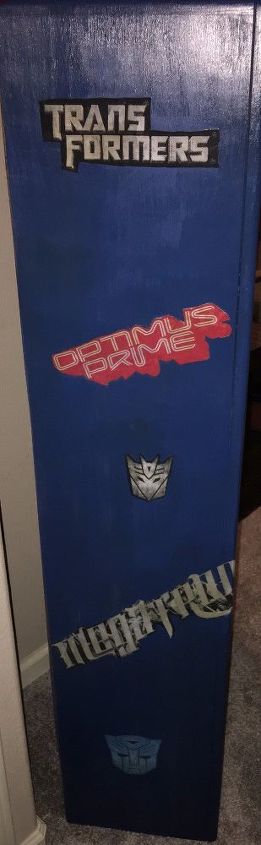
Left side of bookcase
It really looks fabulous!! Much more "character" to it and he will enjoy it for another few years...he is just growing up way too fast! Don't they?!
Chalk Paint used was Ocean by Waverly/Plaid, and Imperial by Folkart.
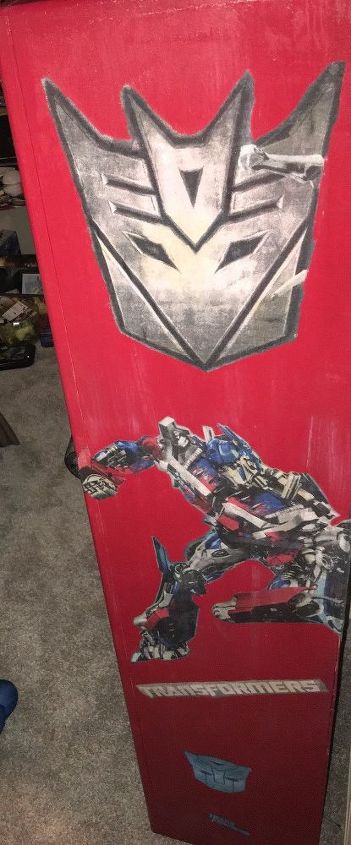
Right side of bookcase
I used a decoupage glue sealer to adhere material and seal paint from damage. I wasn't thrilled with how it dried on this side but it is not very noticeable. He sure is happy with it...and that's what counts!
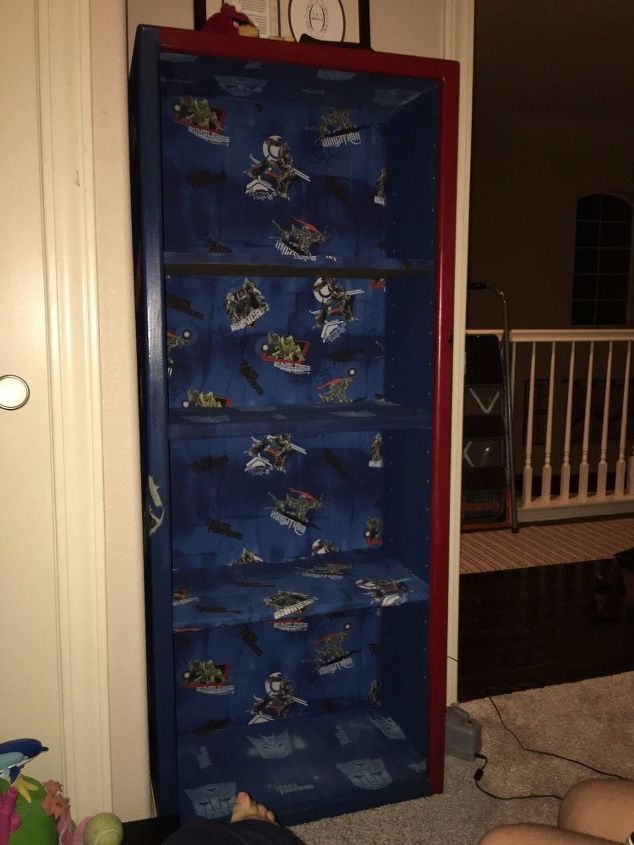
Final project DONE!
The bookcase looks 100% better and my son proudly displays it in his room. I love the colors. Hope this inspires someone to use materials they have around the house...to beautify a blah and boring piece furniture!
Thanks for looking! If you have any questions, please let me know!
Comments
Join the conversation
2 of 4 comments
-
Very cool!!!!!
-
Good idea, I'm so happy he loves it. It looks great!


Frequently asked questions
Have a question about this project?