


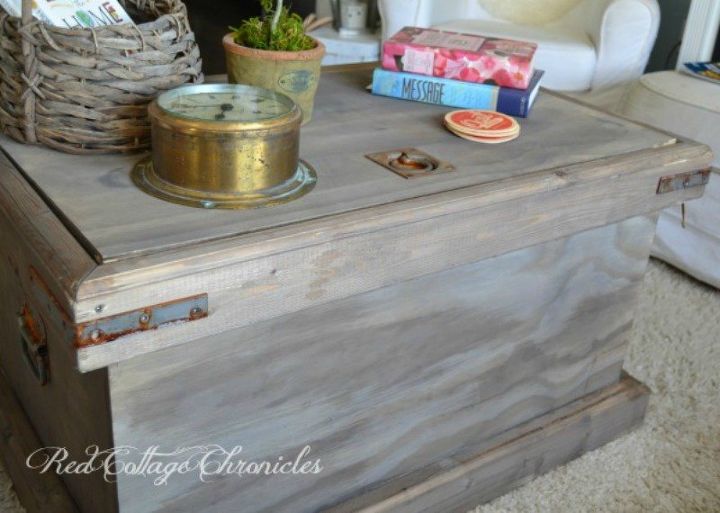
Pottery Barn Inspired DIY Vintage Trunk
$50
6 Hours
Easy
The Rebecca Trunk from Pottery Barn has been on my radar for a while now, but I was not willing to pay the almost $700 price tag! So, we DIY'd our own version for around $50 and love the results!
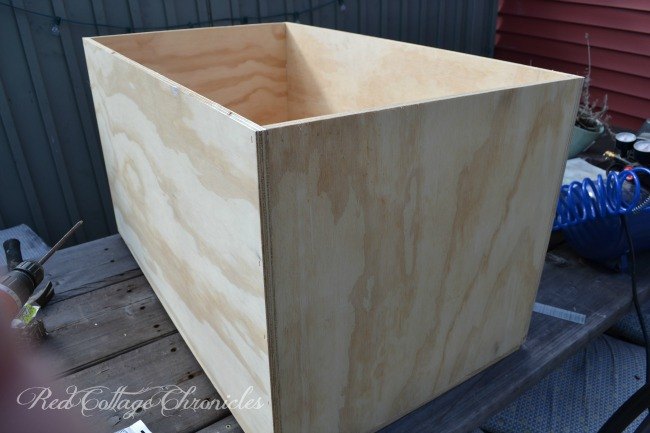
Made out of one sheet of plywood and 3 2 x 4's it was a fairly easy thing to build. We had the plywood cut to our own specifications at the lumber store. We then built a box using both construction glue and a brad nailer to assemble it securely.
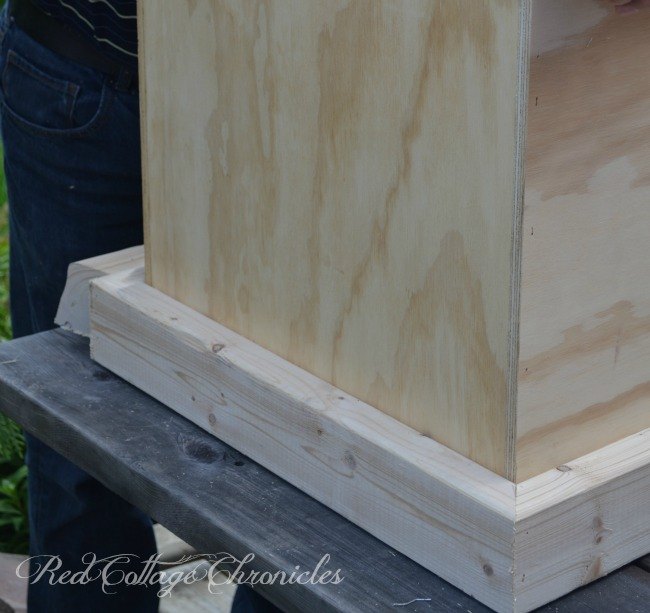
We then secured the bottom of the box in place and started to add the "trim" by mitering the corners of each 2 x 4 and first fastening them around the bottom perimeter, securing with wood screws from the inside to avoid seeing the screws on the finished product.
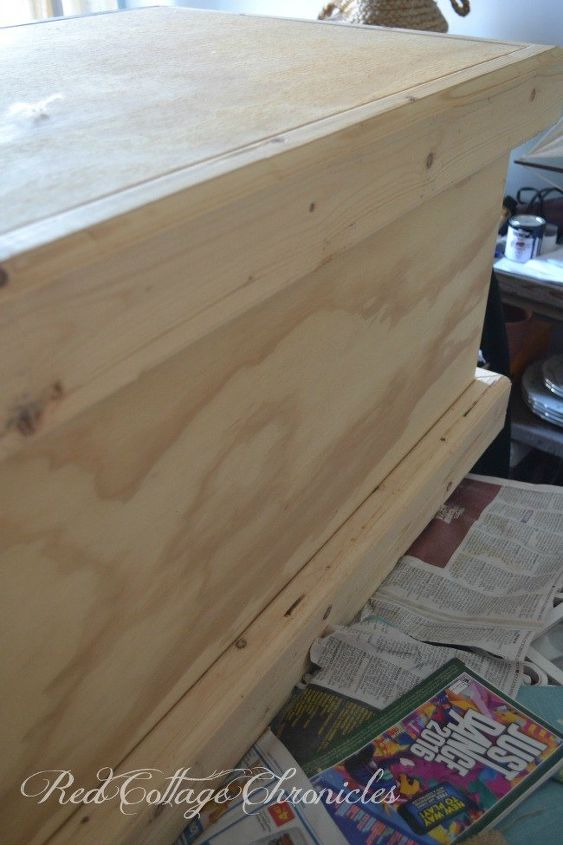
Next step was to lay the "lid" on the top before securing the 2 x 4 trim around the top edge, flush with the "lid". You will notice that when we take the "lid" away the trim pieces are 1/2 higher than the box edge!
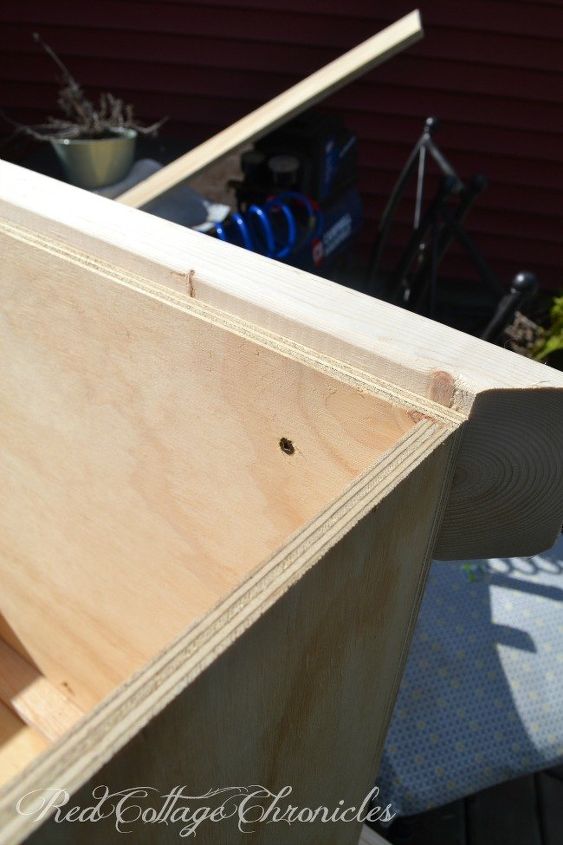
We then routered the top edges of both the top and bottom 2 x 4 trim, but I didn't get a chance to snap a picture of that step. You can see the box in the photo below waiting for the finish to be applied.
We then brewed a really strong (5 teabags to 4 cups or water) and allowed it to cool. Brush this on the unfinished trunk to build on the tannins in the wood, which will enhance the effect of the vinegar/steel wool mixture that will be applied next! Simply add a wad or two of extra fine steel wool to a gallon of vinegar and allow it to sit for 2 or 3 days until the steel wool has completely dissolved.

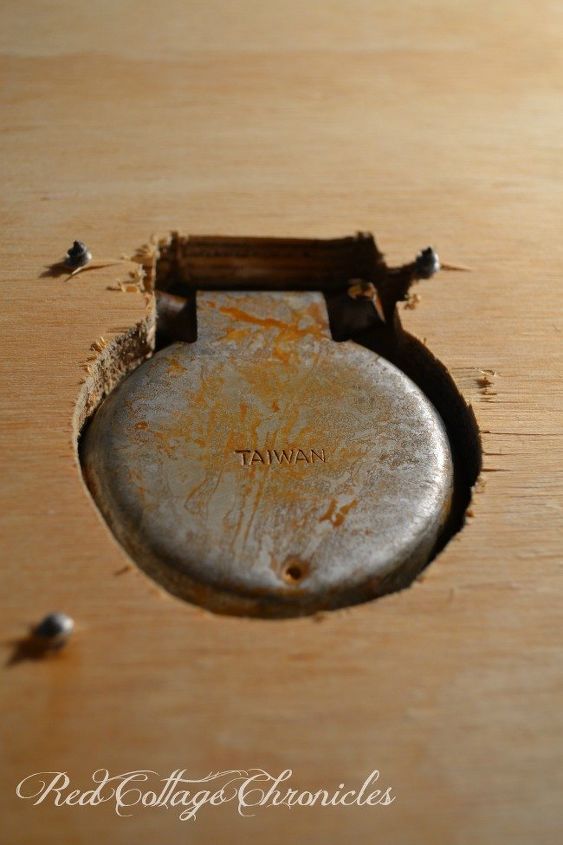
We also aged all the metal hardware we used in the same solution, letting it sit for about 48 hours. It gives it an old, somewhat rusty patina. Installing the hardware was the last step!
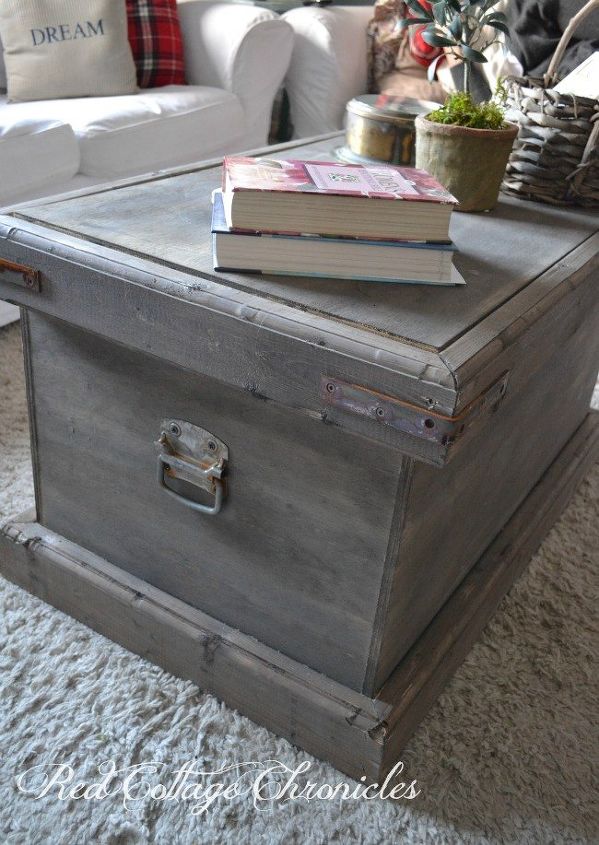
We are so pleased with the finished product! When we finish our den renovation it will serve as a coffee table and blanket storage in that room. I think it will be perfect in the country cottage vibe we are trying to achieve!
You can see the process in more detail over at www.redcottagechronicles.com

Want more details about this and other DIY projects? Check out my blog post!
Comments
Join the conversation
2 comments
-
Color me impressed! Handmade furniture rocks.


Frequently asked questions
Have a question about this project?