


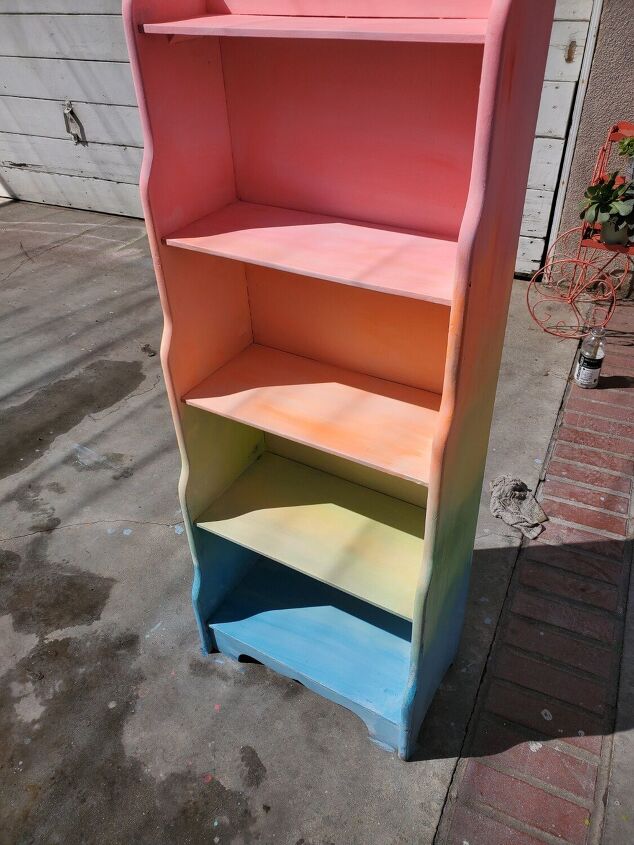
Rainbow Ombre Shelf
I've had so much fun playing around with my new artisan neon paints lately! When I received an adorable vintage shelf as a gift from a family friend I knew I had to give it a fun little twist. I ended up creating a whimsical blended rainbow finish and I'm so happy with how it turned out!
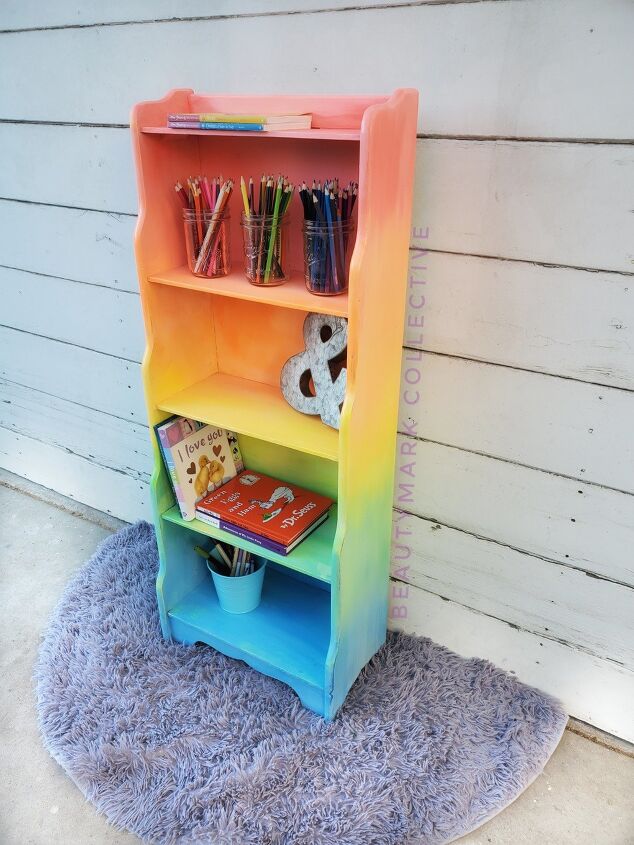
This piece is so bright and fun!
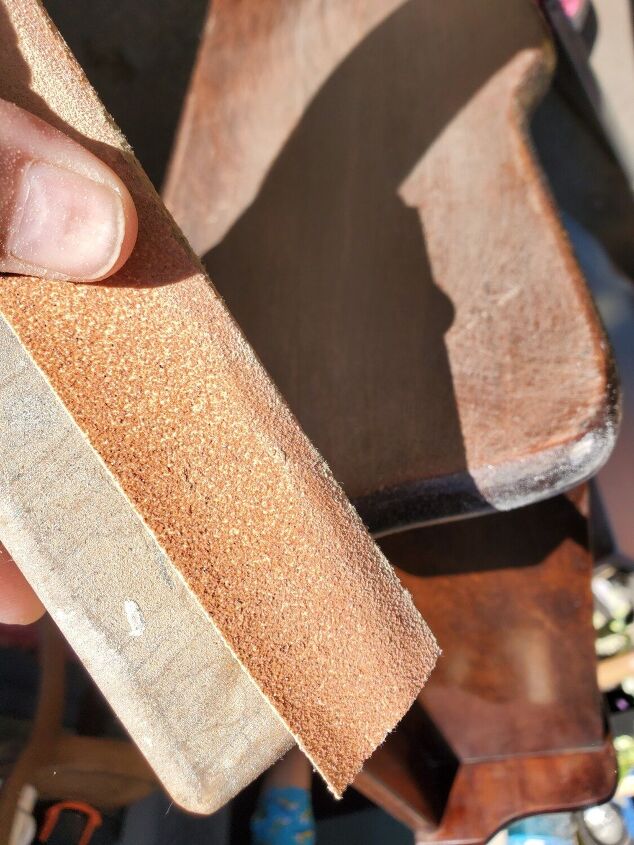
I started by sanding the entire piece to rough up the surface a bit.
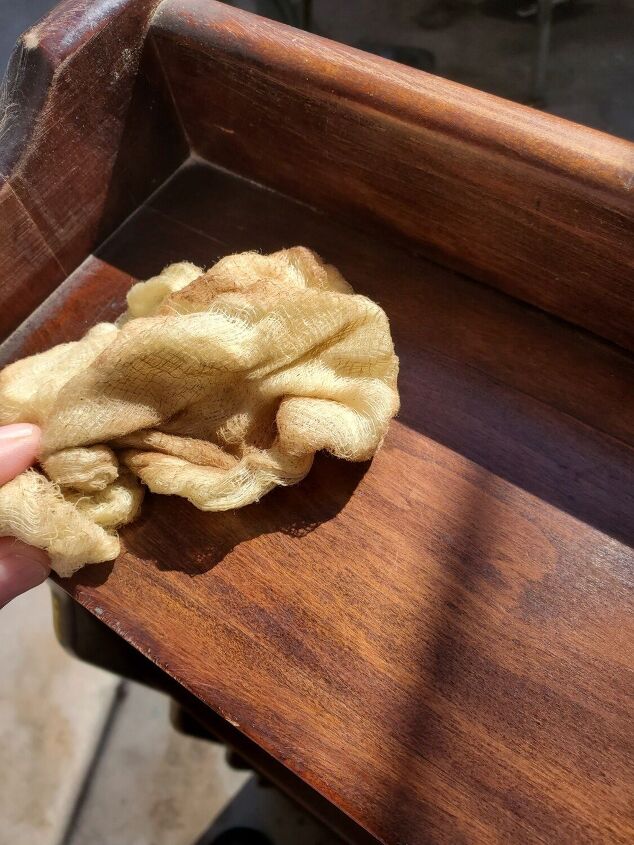
I blew off all of the dust with an airhose and then used a tac rag to get any remaining dust or dirt off. These are great for getting your piece dust free.
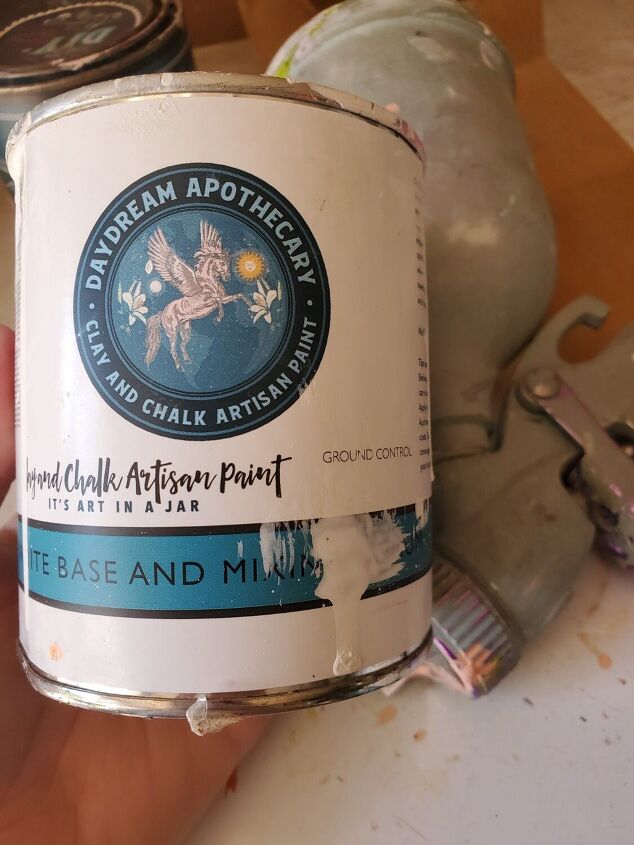
I started out with Ground Control which is a pure bright white from Daydream Apothecary (available on my website). Starting with a white base really helps the neons pop since they are a bit translucent by nature and reflect whatever they are applied over. I mixed my paint with a little bit of water so it would spray nicely in my hvlp sprayer.
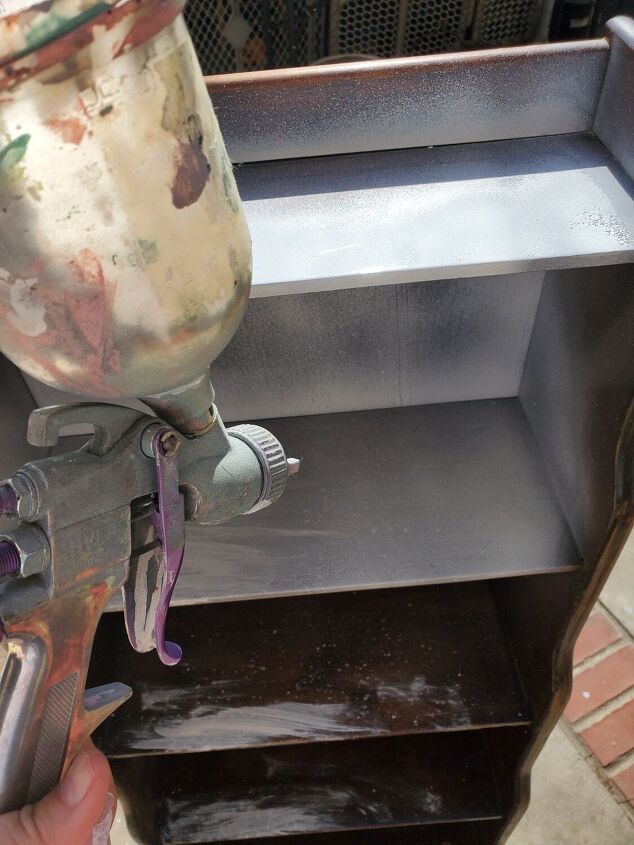
I sprayed the entire piece with two coats of Ground Control, letting it dry in between coats.
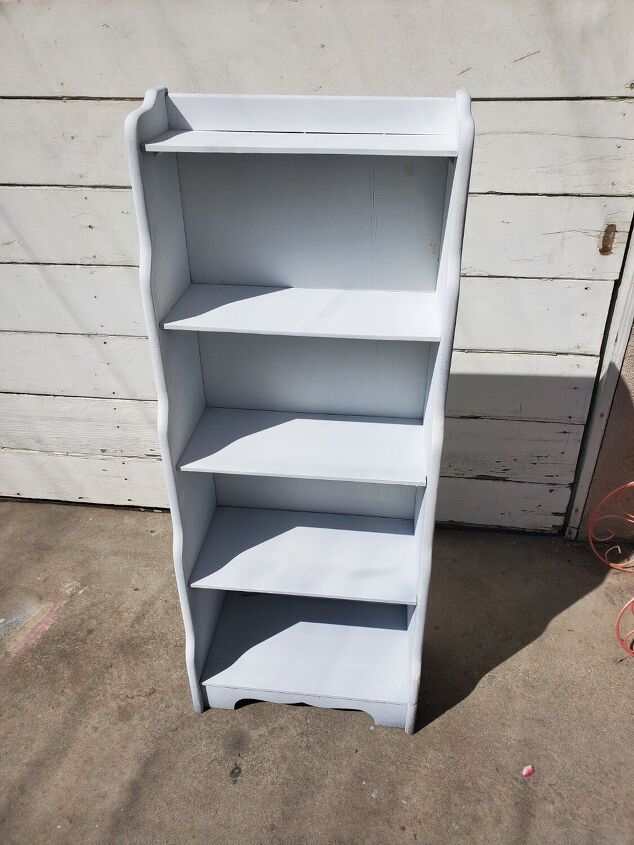
Here's the shelf before I started applying neons. Our white is pretty by itself as well but I wanted something fun. 😉
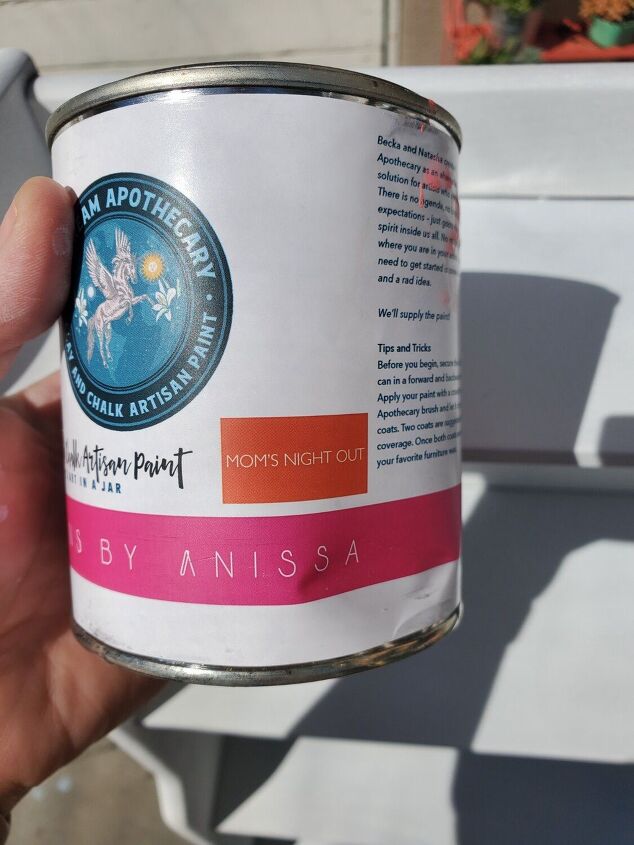
I started at the top with Mom's Night Out, a beautiful neon reddish coral.
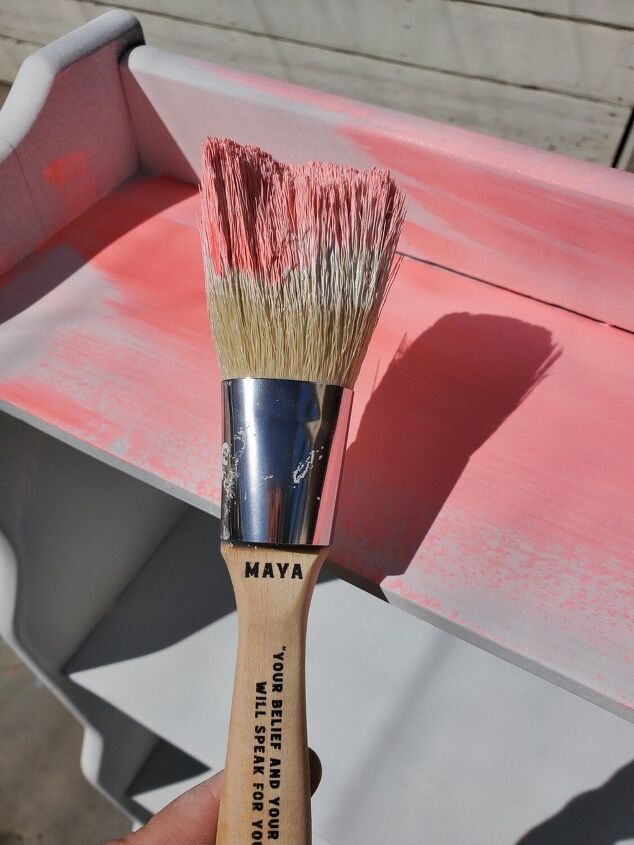
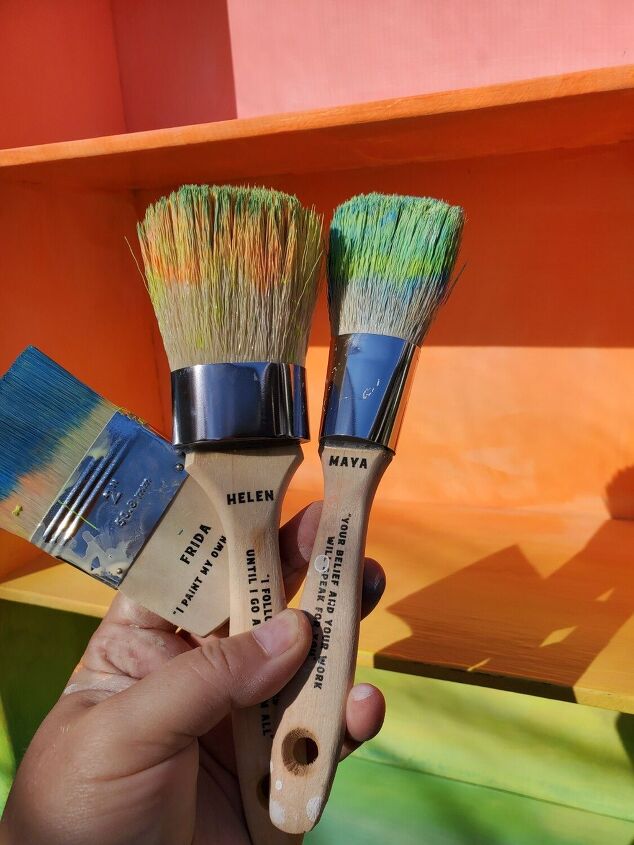
I applied my first coat of color by dipping my brush (also available on my website 🙂) into the white first and then blending it with the neons.
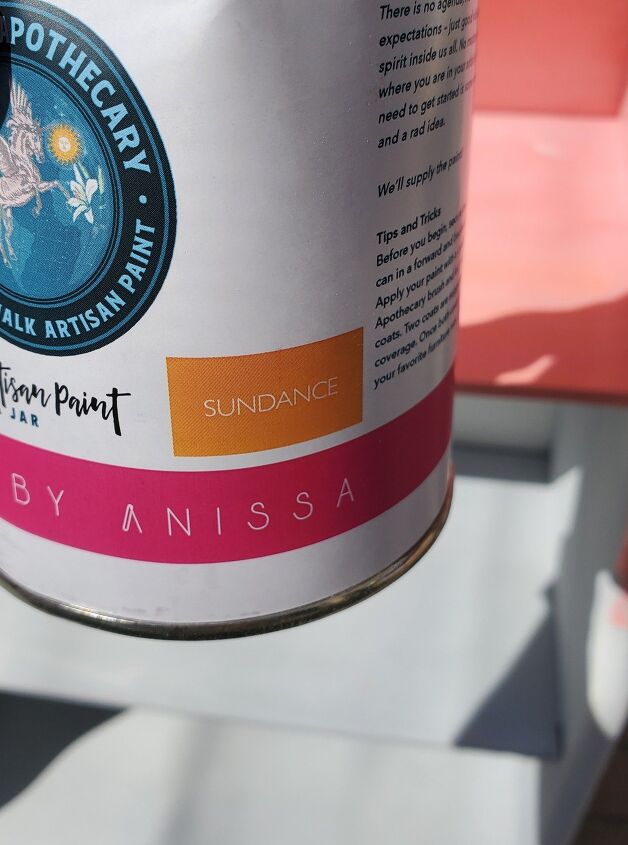
The next color I used was Sundance, our neon orange.
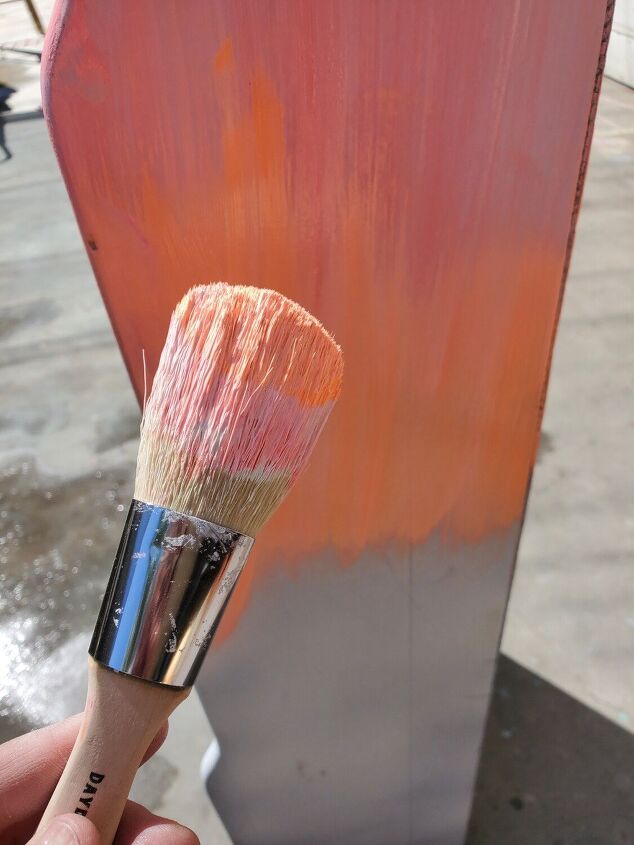
I applied this directly under the red and I didn't bother cleaning or switching my brush since I was going for a blended finish. I'll also by applying another coat of neons after this one. These paints blend beautifully together, especially when they're still wet.
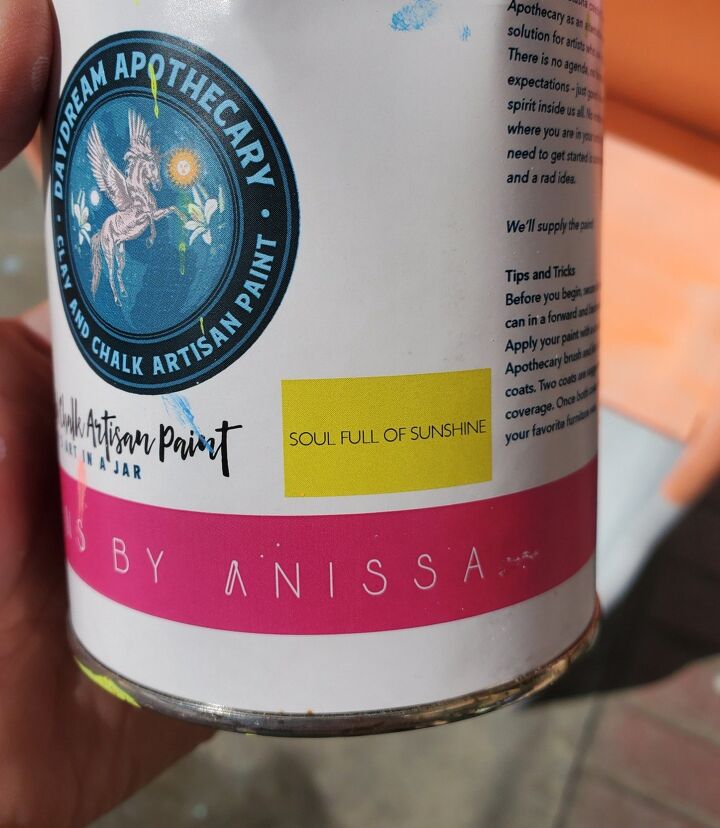
Next up, Soul Full of Sunshine. This is a vibrant highlighter yellow color and I applied it under the orange blending in with my brush as I went.
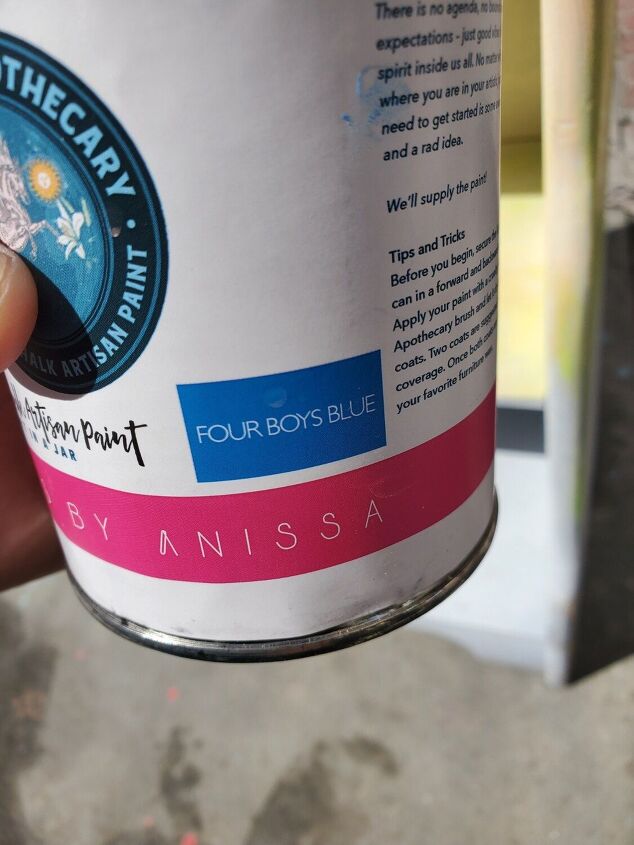
I used Four Boys Blue mixed with Soul Full of Sunshine to create a pretty green and then ended up with pure blue at the bottom of my shelf. I blended each color into the next by using quick light brush strokes between the colors.
This is where I ended up after the first coat of neons. Since I used the white with them, the colors were more subtle and subdued. I love this look but decided to go with pure neons for my second coat.
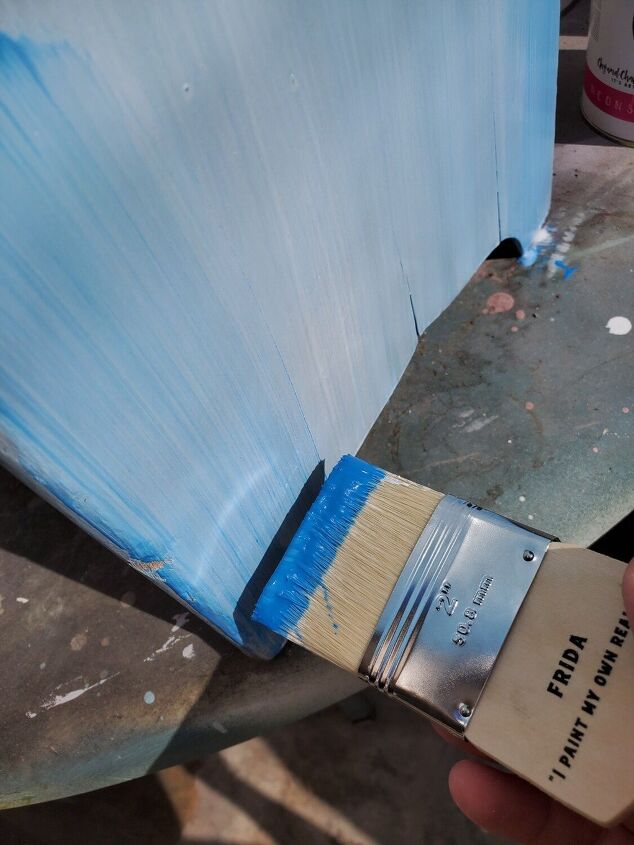
This time I started at the bottom with my blue. For the second coat of neons I ended up using several different brushes to get a cleaner blended effect.
Ombre blending can be a little tricky but looks beautiful if done right. Don't be afraid to let a certain spot dry and go back in later to fix it if you're not completely happy with it. Also, a good brush makes all the difference and sometimes a fine mister bottle comes in handy to keep your paint wet and easily blendable.
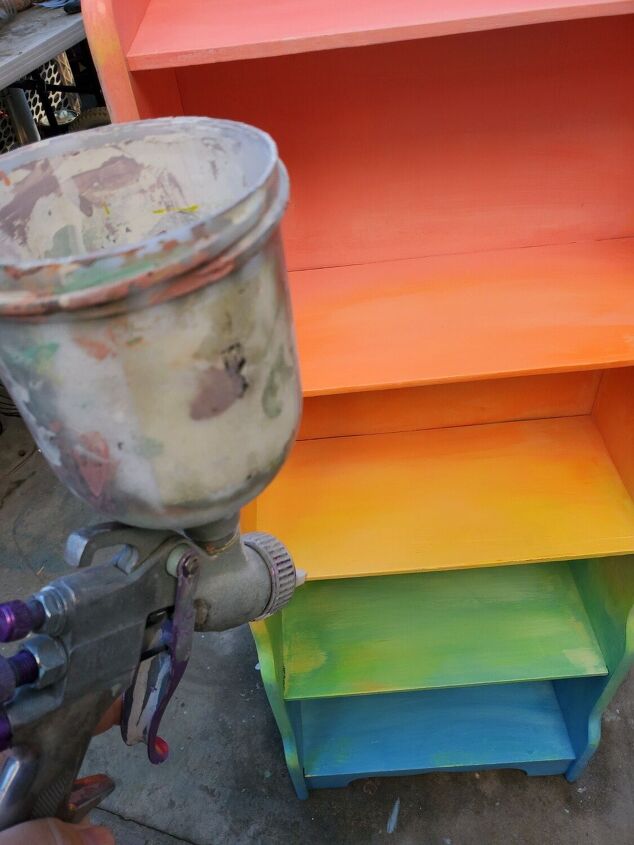
Once I was done with my second coat of neon paints I let my shelf dry completely and then sprayed the entire piece with a low sheen clear coat.

Here it is, all done!

All of the amazing paints and brushes I used for this project are available on my website linked below. (beautymarkcollective.com)
Thanks for following along and I hope this inspires you to create something fun!
Comments
Join the conversation
-
Job well done. You blended the colors so well.
-
Love the look and practicality. If you want to change paint in a room, especially a child’s, it will most likely fit right in.


Frequently asked questions
Have a question about this project?