


Replace Any Bookshelf Backing With Wainscoting
- By: Stacy Verdick Case
- On: May 25, 2021
- 0 Comment
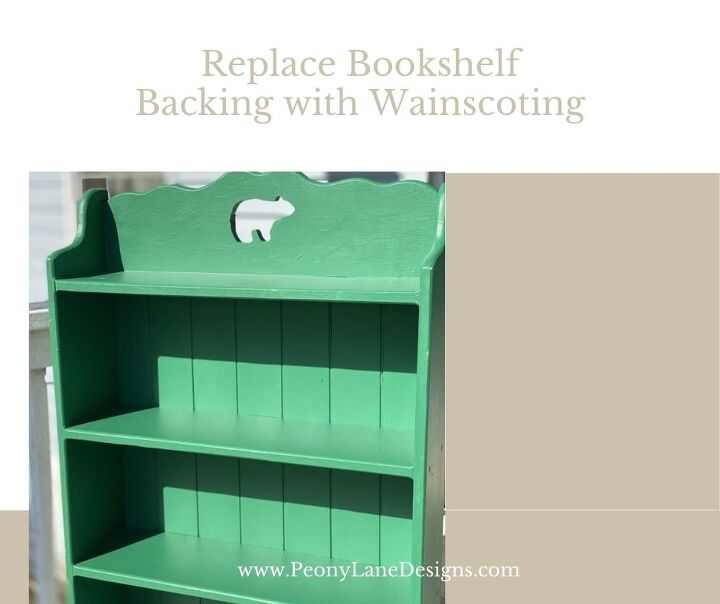
Be it the Billy Bookcase from Ikea, or any other bookshelf the cardboard back is not cute. Using wainscoting to replace the bookshelf backing is a quick & easy update which can give your shelf a little extra support and a lot of extra style.
First the cardboard backs of bookshelves are just the worst. The only thing worse is not having a back at all. Trust me because I’ve tried to sell many shelves and book cases without back. No one wants them!
I get it, your books slide out the back or things fall off back there. No! Just no.
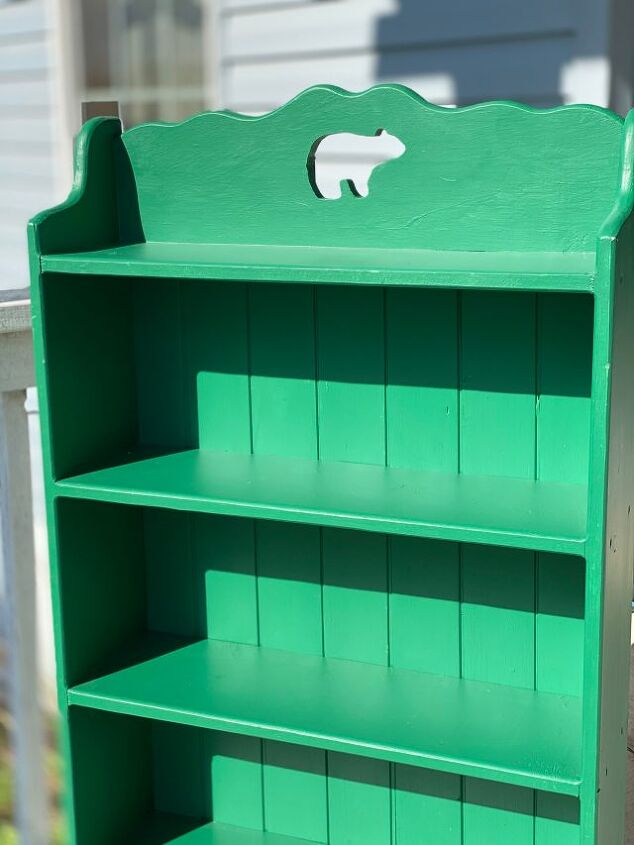
Here’s what the shelf I’m talking about looked like in my shop. I did my best to stage this bookshelf without a back on it, but it’s just not cute. You can see the wall color and the baseboard. See I was right this is worse than a cardboard backing.
I’m not a huge fan of the green but we’re in cabin country so green is a popular choice. Especially when the bookshelf has a bear cut out on it like this one does. I can only be use in a cabin. If it doesn’t sell I’m going to have to deal with that bear. Let’s hope it just needs a back!
Let’s Replace this Bookshelf Backing!
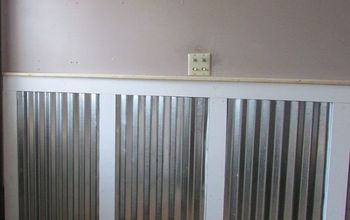
You can add a lot of different materials to back a bookshelf. I’ve seen ceiling tins, corrugated metal, even wallpapered plywood. For my project I’ve decided to up the cabin quotient and go with bead board or wainscoting.
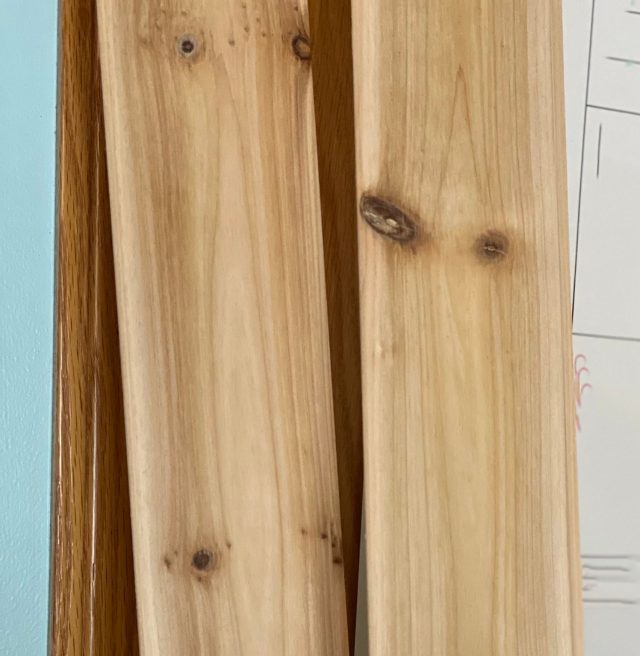
This is an easy to use tongue and groove design.
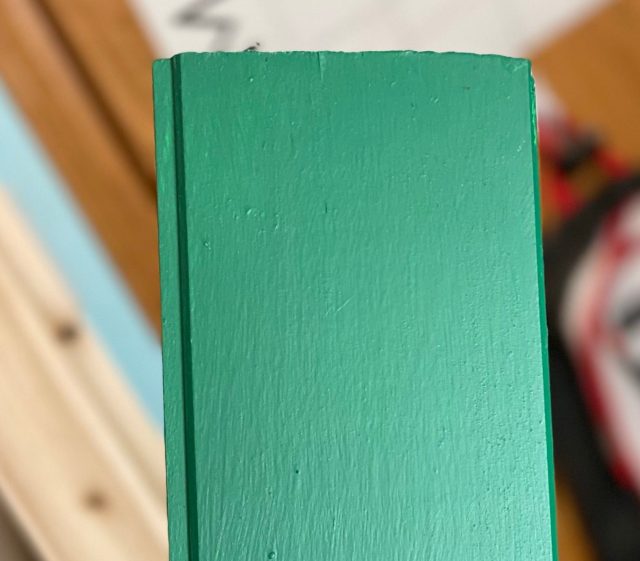
I cut the boards in half (they were 8 feet long) and painted them to match the bookshelf. Then it was time to attach the boards.
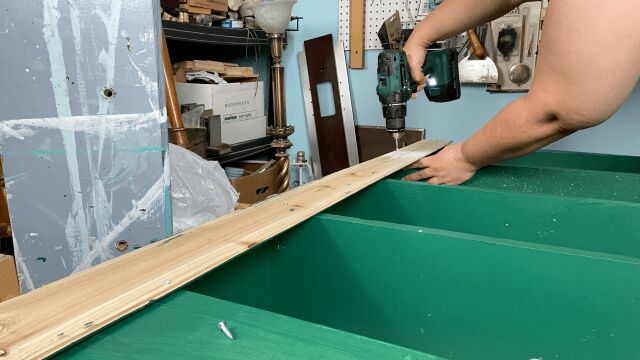
The first board always goes down easy. Just makes sure the edge of the bookshelf is covered by the board and that you board is straight. I cannot stress enough how important the first board being straight is. It’s the board that all the other boards will line up next to . If this board is crooked your shelf back will look like this – //// and you don’t want that. Not unless you want a funhouse look.
Screw the boards to each of the shelves.
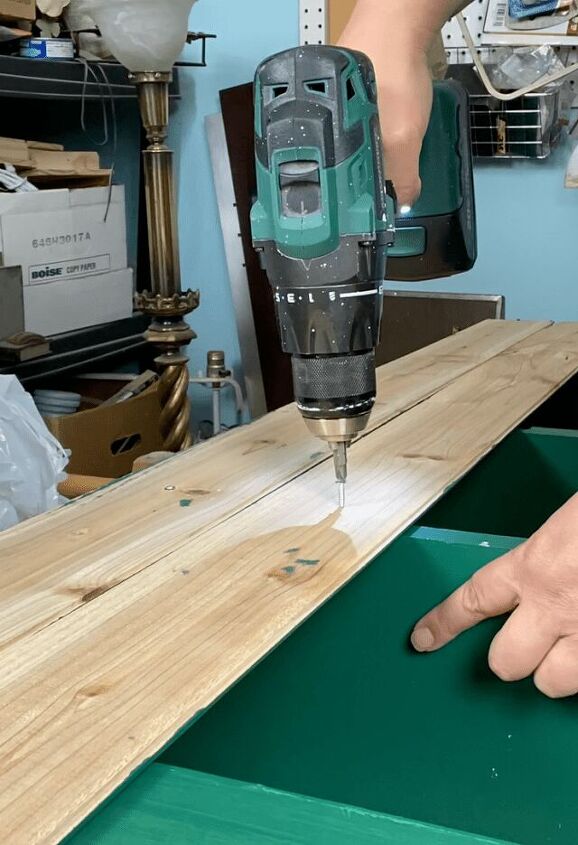
You want the next board to slot into the first board. That’s why it’s called tongue and groove. The tongue goes in the groove.
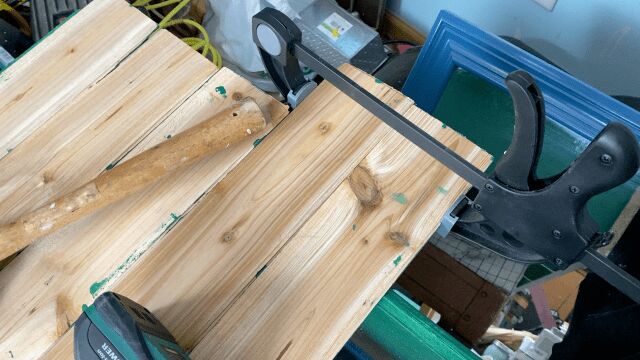
Unfortunately one of my boards was a little warped. You can still use the board but you’ll need a little help. I slotted and attached the top and then used a clamp to hold the bottom in place while I screwed the warped board to the shelf and it was good to go.
As you can see in the phot above, it wasn’t all smooth sailing. You know when the rubber mallet comes out we’re getting serious folks! Yes, some of the boards near the end needed a little more convincing than others. Just remember to tap them into place. If you hit it too hard the tongue or groove will break and them your looking at more problems.
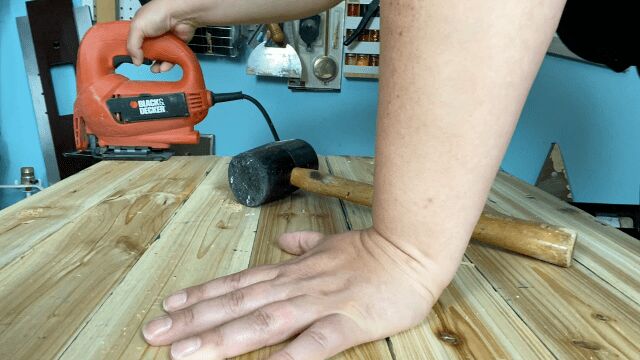
Once they were all in I had to use the jigsaw to remove the excess board. on the bottom so the shelf would stand up straight.
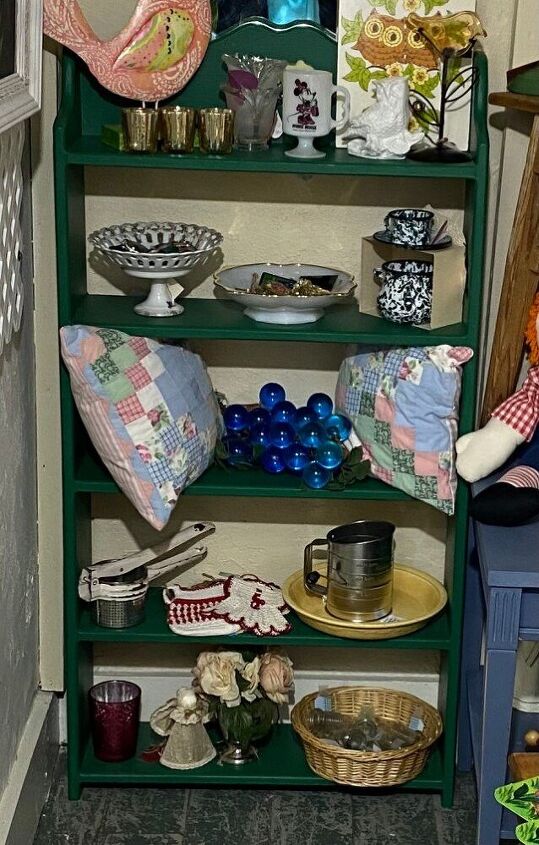
So much better than an open or cardboard backing!
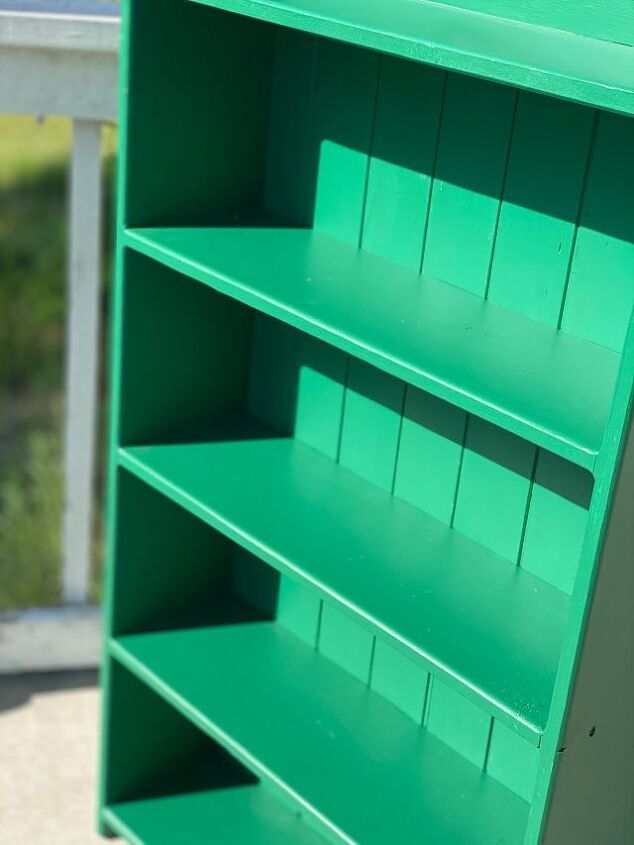
You could stain or paint the boards to match your bookshelf. Replacing the cardboard backing on your bookshelf can make an inexpensive shelf look high end. The wainscoting is more or a country/cottage feel. If you used corrugated metal it would have a more industrial feel. The possibilities are endless!
Share This Post
Don’t forget to share this post! Below is a pinnable image. Thanks you!
Once you’ve added a back to your bookshelf don’t forget to decorate it really cute! Here are some tips on how to decorate a shelf.
Replace bookshelf backing
Don't miss this video showing an inexpensive way to update your outdoor furniture!


Comments
Join the conversation
-
Wow
-
Great idea. Elevated the look 100% for little money, not to much effort, but fantastic vision. Thanks for sharing


Frequently asked questions
Have a question about this project?