


Shelf Liner Paper - It Ain't Just for Kitchens Any More!
Learn how to update an old bookcase with just a few coats of spray paint and some pretty shelf liner paper!
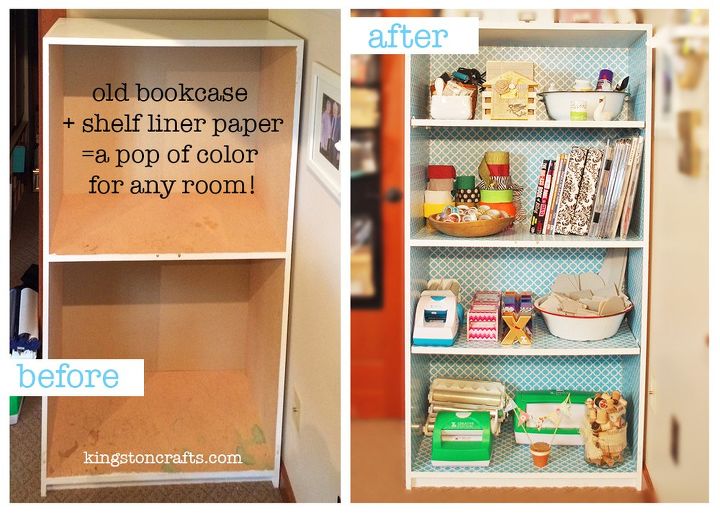
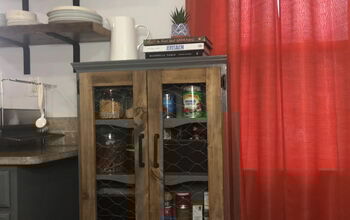
We love storage - and we love cheap. So when we came across this bookcase for $5 at our local Goodwill we snatched it up without any real plan...until I re-arranged my studio and realized I needed more room for my stuff!
To decorate the bookcase, we decided to use shelf liner paper! Our local home stores did not have a great selection of shelf liner, so I ordered mine from Amazon. I ordered two 2-packs and went through about three and a half rolls for this project.
Note- When purchasing your liner paper, make sure you get liner paper that is wider than the sides of your bookcase. This is because we could do the sides in one piece.
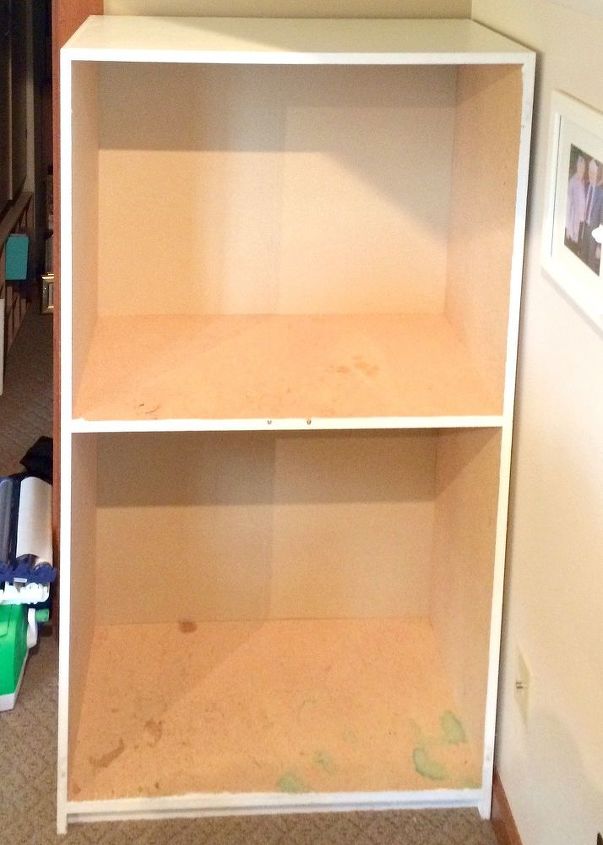
This bookcase had been well loved, so we sprayed a few coats of Krylon spray paint on the exterior of the bookcase and on the underside of the top and permanent shelf. I used a foam brush and some acrylic craft paint to cover the edges of the bookcase and the shelves. DO NOT WORRY if you get paint inside the bookcase (like I did) - everything will be covered with shelf liner paper.
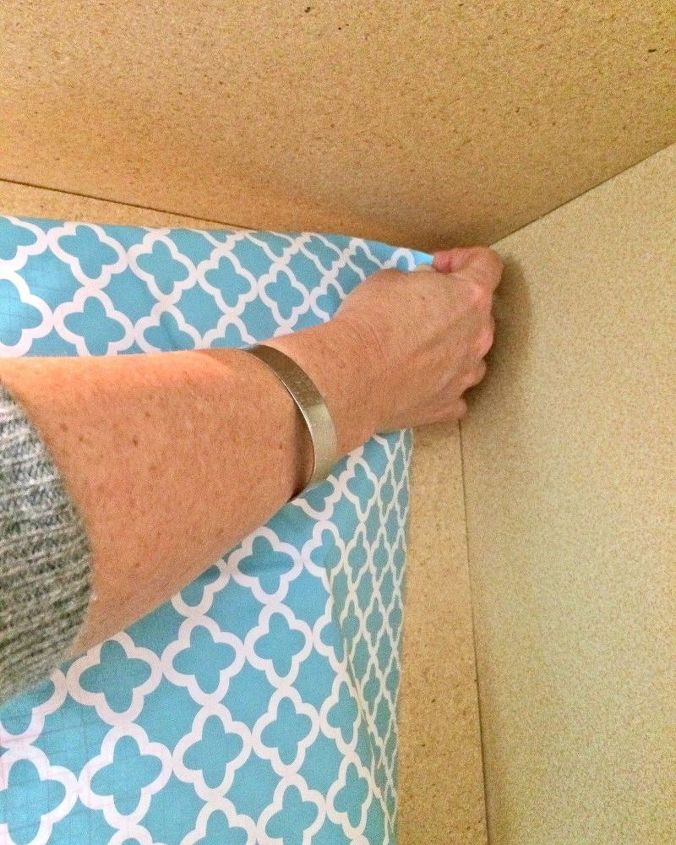
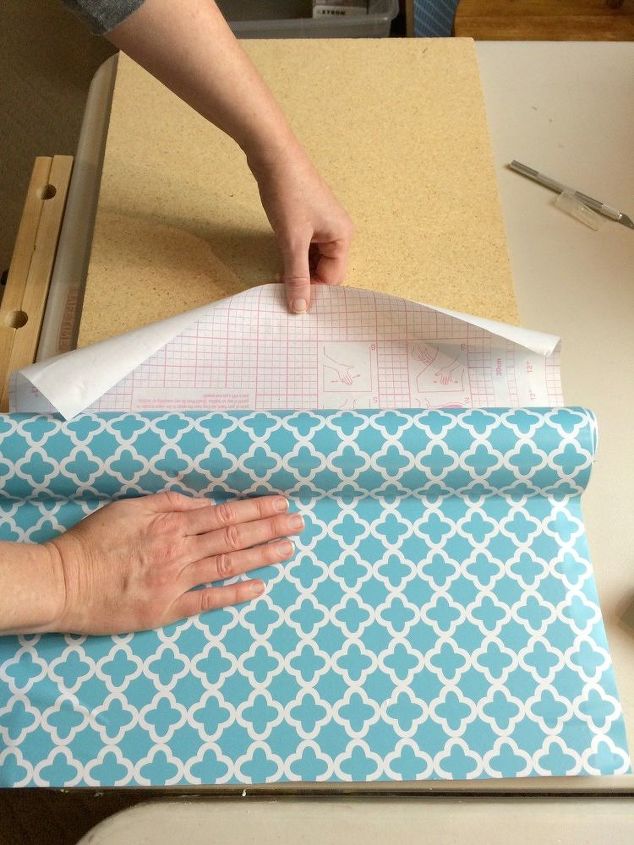
To apply your shelf liner paper, line up your liner paper to the top and far back edges of your project (above photo) and work your way down and to the front at an angle (photo below).
If you make a mistake it is MUCH easier to fiddle with "filling in the gaps" along the bottom of your project - and they are more likely to be covered by "stuff" once you start filling the bookcase.
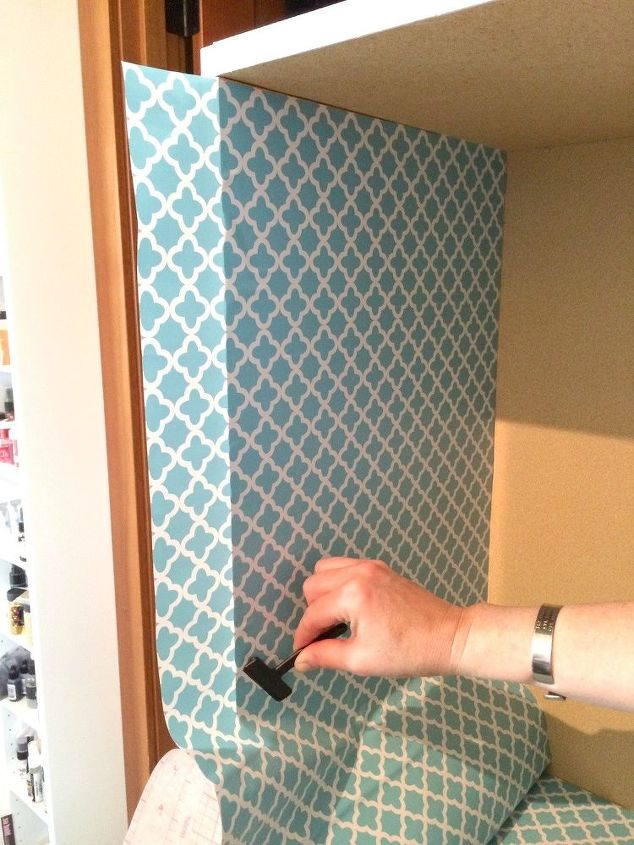
Get a squeegee! I used one I had lying around in my studio, but they can also be found at most craft and home stores. This will be a lifesaver - especially along the edges and corners.
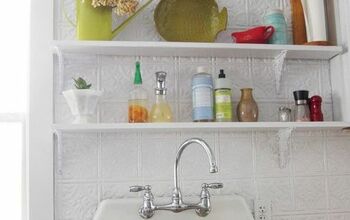
When working on the shelves - line up your liner paper along one end of the shelf and have it hang over both sides. Then, pull backing straight across the shelf and smooth liner with your hand as you pull. Use a craft knife to cut away the excess from the sides.
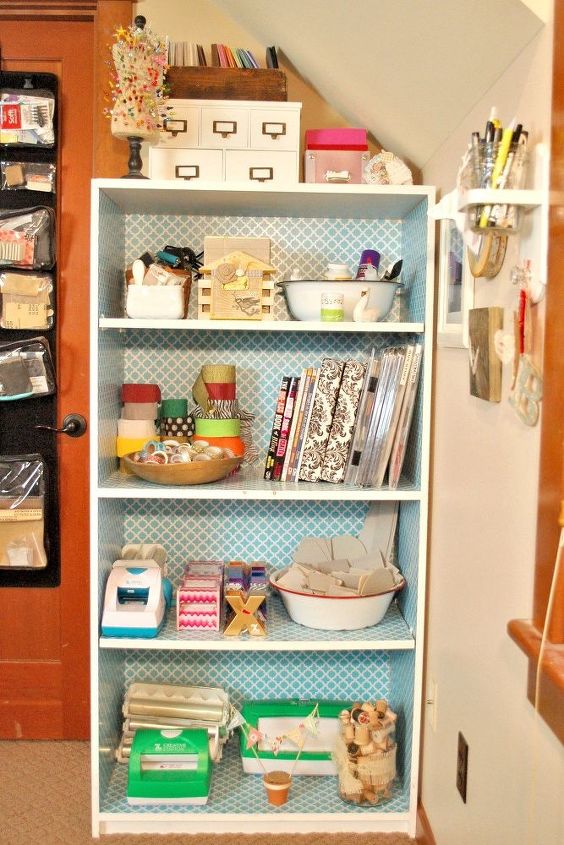
And voila! This project took us less than a day to create and it added a fun pop of color to my studio.
To get more project inspiration for your home and to learn more about the products used in this project, stop by my blog!


Frequently asked questions
Have a question about this project?