


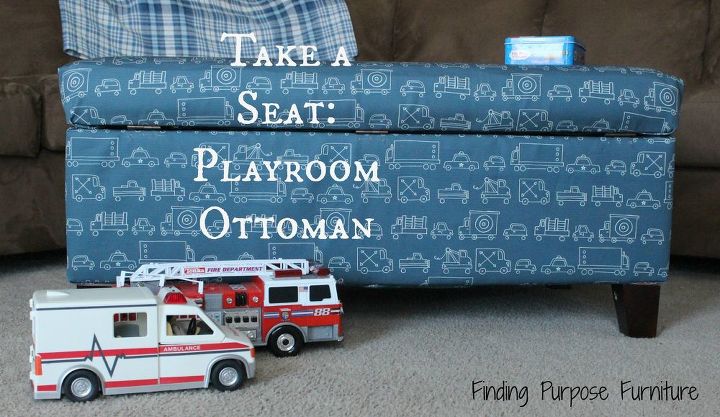
Take a Seat: Playroom Ottoman With Minted Fabric
When I had the opportunity to use this adorable Minted fabric, I jumped all over the chance to update an old, worn out leather-ish ottoman.
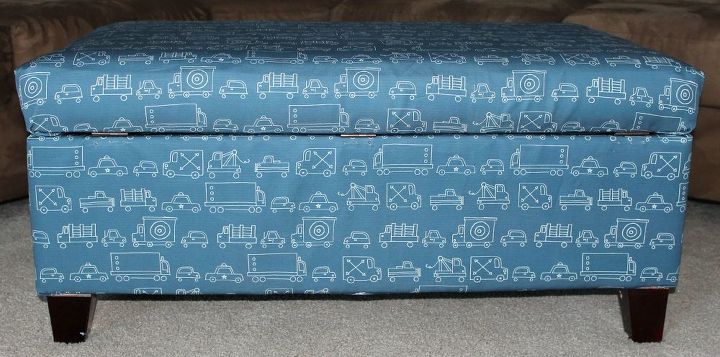
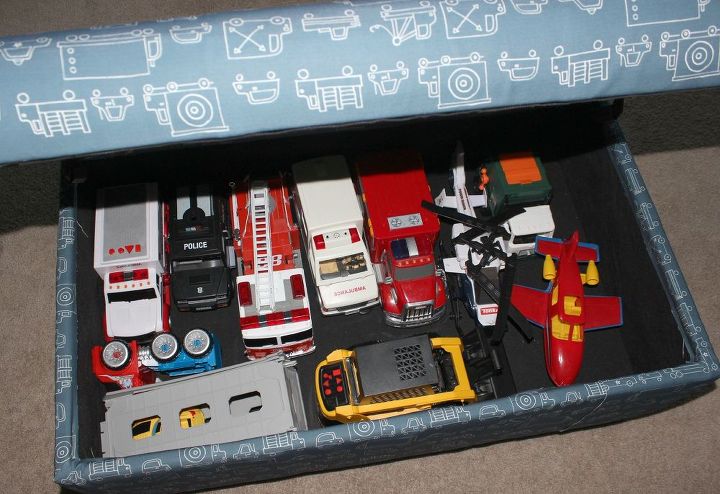
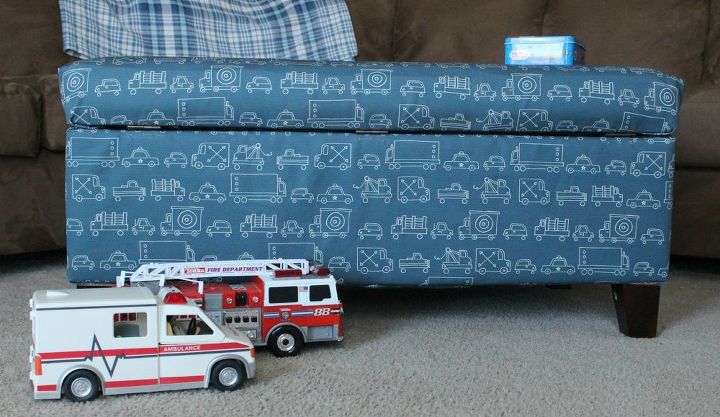
The end result has a very custom feel, like something I would have purchased at a high end children’s decor store. But, knowing that I made it makes it that much sweeter. This ottoman is functional as a place to prop our feet, but also holds TONS of toys…an added perk for sure!
The end result has a very custom feel, like something I would have purchased at a high end children’s decor store. But, knowing that I made it makes it that much sweeter. This ottoman is functional as a place to prop our feet, but also holds TONS of toys…an added perk for sure!
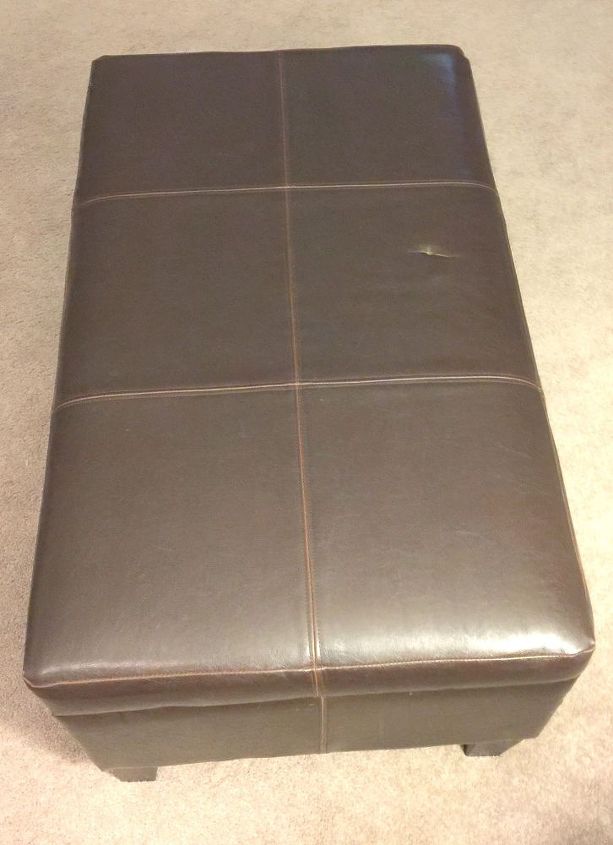
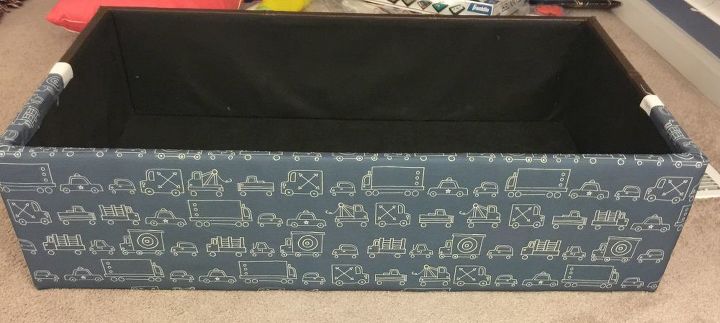
This ottoman has been with us since the start of our marriage, and had started to show some major wear and tear…including a hole on the top that seemed to just keep getting bigger and bigger.
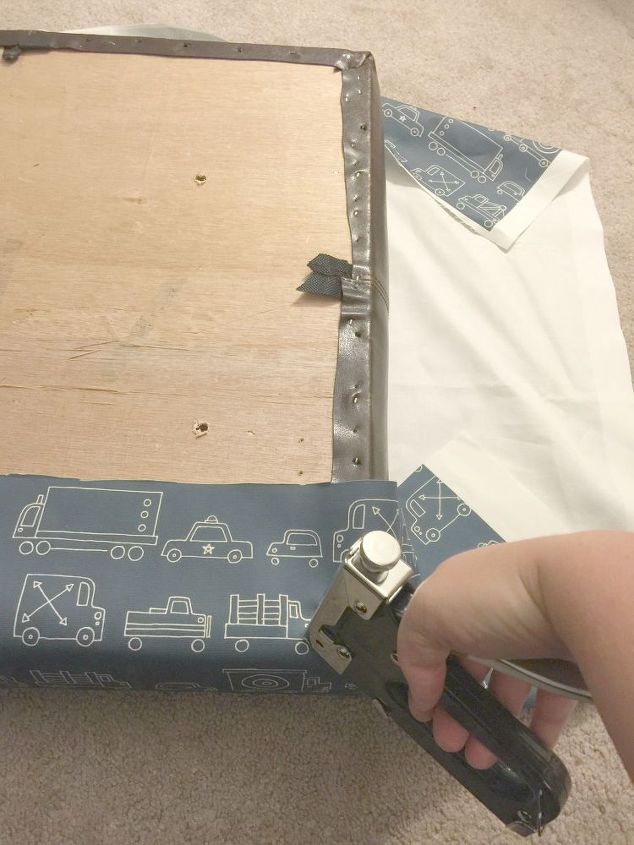
Once I finally got started, this project was relatively easy and didn’t take longer than a couple of hours. Taking the hinges and legs off the ottoman didn’t take long, and then I was able to remove the black covering off the top piece. I measured and cut the fabric for the top, then used my staple gun to attach it. I worked the corners until I like them, much like wrapping a present.
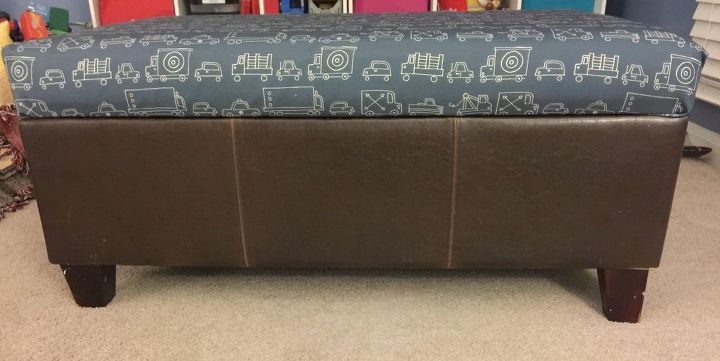
I just love this finished product...it's just so darn cute!! This momma is feeling thankful for the additional storage space as we head into the holiday season :)
Stop by the blog to read all the details on this fun project!

Want more details about this and other DIY projects? Check out my blog post!
Comments
Join the conversation
2 of 25 comments
-
Will be covering mine ! Thanks for sharing
-
More images and details on how the bottom was done would’ve been very helpful. I have a storage bench I need to recover and haven’t a clue how to do it.
I’ll look on YouTube.


Frequently asked questions
Have a question about this project?
You are the perfect person to ask my question! I am just getting ready to recover my foot stool too, very similar to yours. I went to the blog and couldn't find any more details than what you have here. What I am hoping to see is more detail about what you did just inside the rim. Did you fold under the raw edge? Staple it down? TIA