


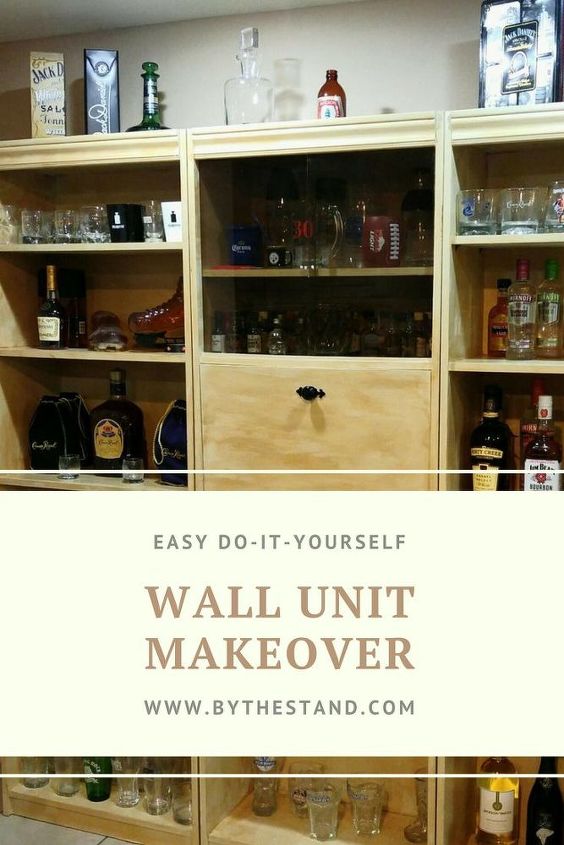
Wall Unit Makeover For My Hubby

by
Holly Grace
2 Materials
$25
2 Days
Medium
You know when you have this vision of how things are going to go in your head and then they don’t turn out that way at all — well that was me moving into our first home. It was a total whirlwind, an unexpected amount of chaos. I still have boxes that need to be unpacked, rooms to set up and don’t even get me started on the fact that I haven’t been able to makeover my fireplace yet! All in good time, though ALL. IN. GOOD. TIME.
I want to share with you a very special DIY today, though.
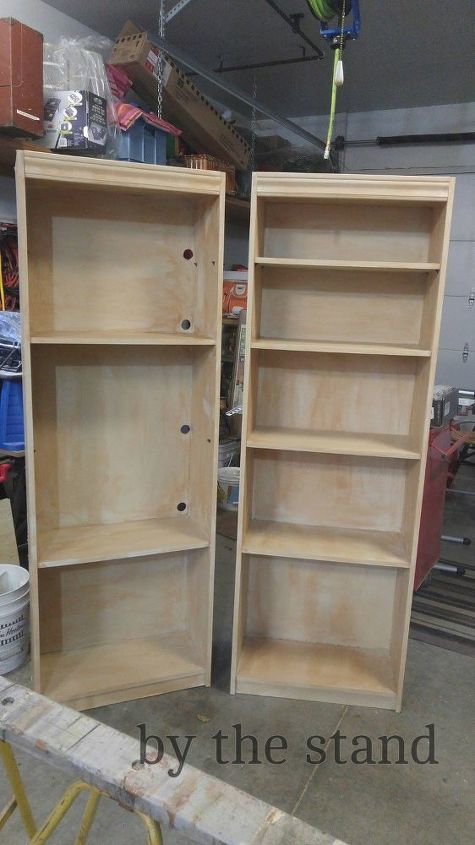
We had this old wall unit, looked like something out of the 70s or something. Nothing fancy, just cheap press board.
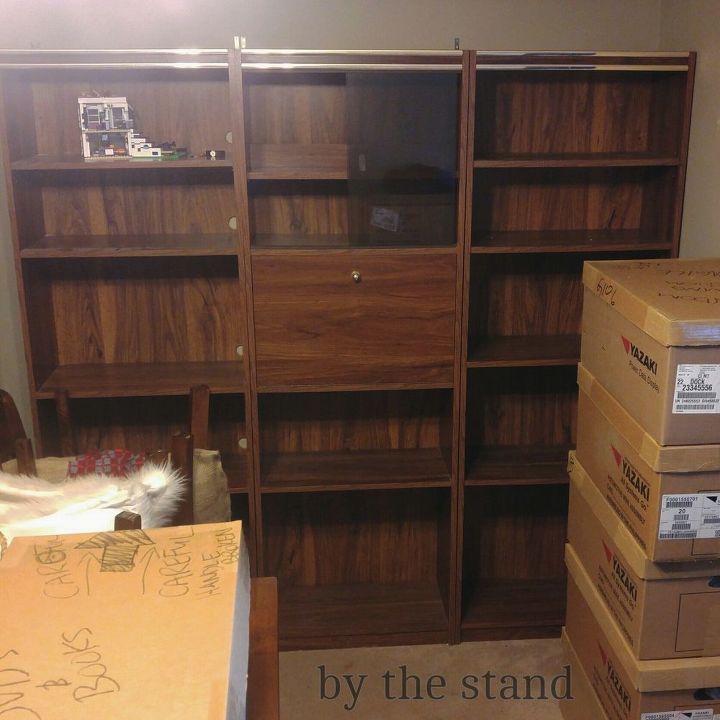
The one thing I love about this piece of furniture, ugly as it may be (or should I say “ugly as it was”) you can’t beat how much you can store on this little baby. I love all the shelves! When we were house hunting, the one thing our new home had to have was a room where I could do crafts and we fell in love with the home we bought and there was just such a room, however there wasn’t a very large area for my hubby to have a man cave. This isn’t something that he had to have, but would have been nice.
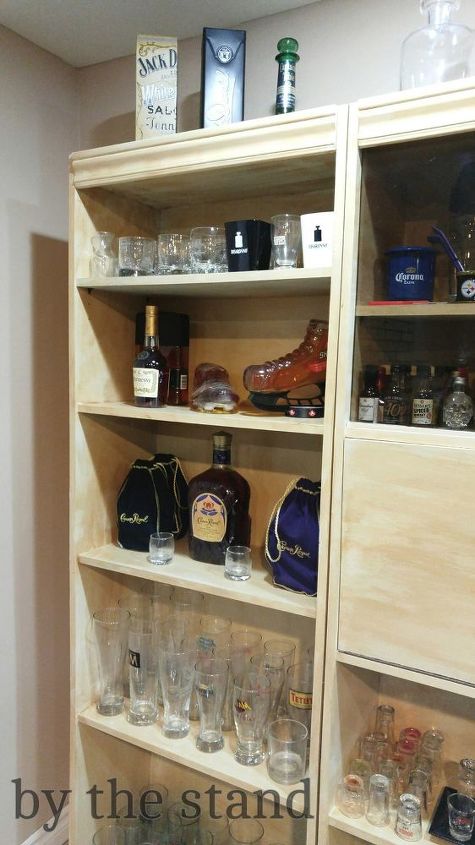
I thought, though, that I could makeover this wall unit for him as a place to store his collection of liquor. Brace yourself… it is quite the collection. Seriously, if you come over to our house there is not a drink on this planet that we couldn’t make you. Oh, and he has all different types of glasses to go with his booze collection, but you will see that in the after shot.
For now let’s get to the good stuff!
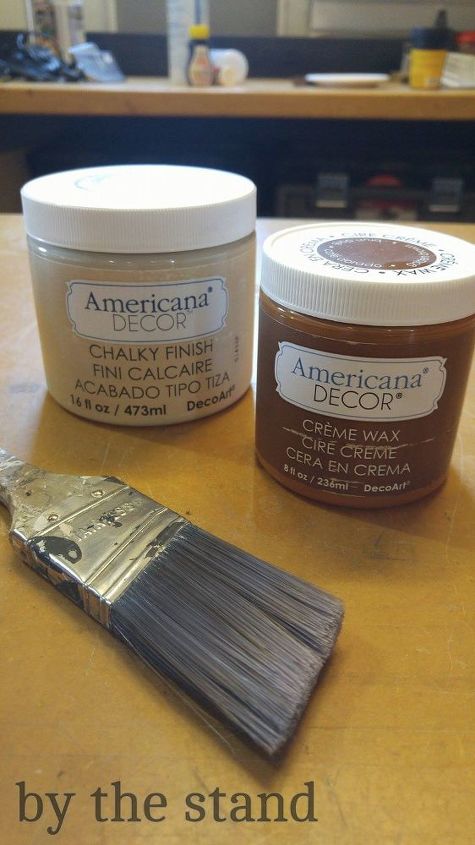
The paint I chose for this project was from Americana Decor. I went with their Chalky Finish paint in the shade Timeless. I wanted a nice warm cream color and this shade was perfect. I also got their Creme Wax in Golden Brown.
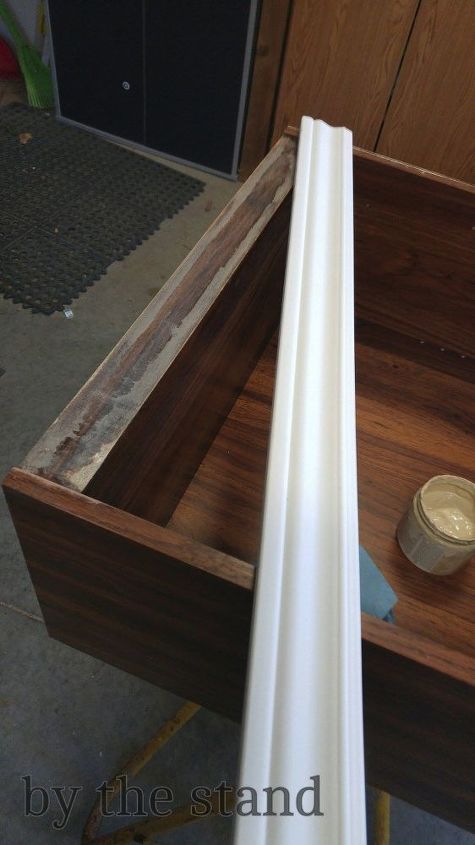
First thing I had to do was remove the yucky brass trim from the tops of the shelving unit. Sooooo dated. Cause this thing was so old, these easily came off by just slipping a pry bar underneath and giving a little lift.
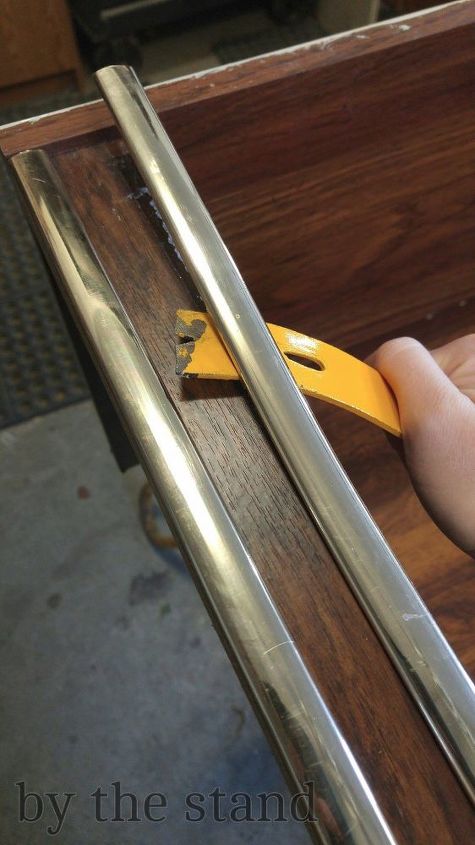
At first, I thought I would just lift off the brass trim and sand down the “wood”, but then I remembered these aren’t wood — they are cheap press board. The adhesive that was used to stick on the brass trim had left quite the mess. My father in law was getting rid of some old baseboard trim that he had kickin’ around and I just so happened to be working in his garage so we cut them to fit and used a nail gun to attach them to where the gold trim once was.
You can see the icky mess left behind on the press board. I tried to sand it down, but it was just making it worse.
Once I had the new trim attached I could start painting! I was pleasantly surprised how nicely the paint went on to the press board. I have worked with this paint before, but I had never used it on press board before. Knowing that it is a great product, I didn’t have any doubts. If you are going to makeover anything, check out the line of chalky finish paint from Americana Decor. They have so many great colors to choose from.
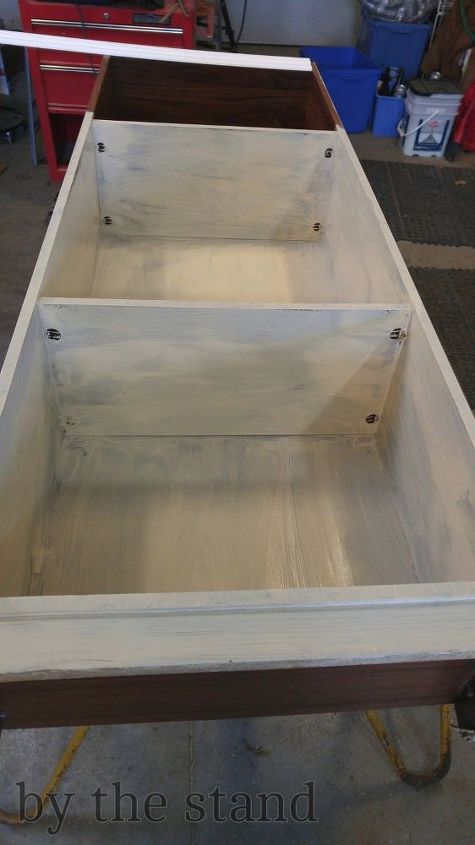
I put on the first coat and let it dry for about 12 hours. Because it was just cheap press board I wanted to make sure that the paint was really set before applying the second coat.
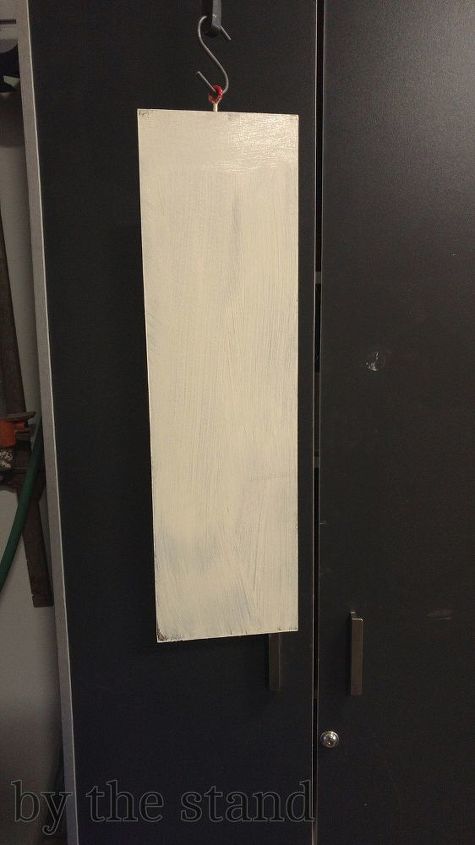
Want to know a really fun trick my father in law taught me? To easily paint both sides of the shelves, I removed them from the unit and then my father in law screwed in an eye bolt and we hung them from a bungee
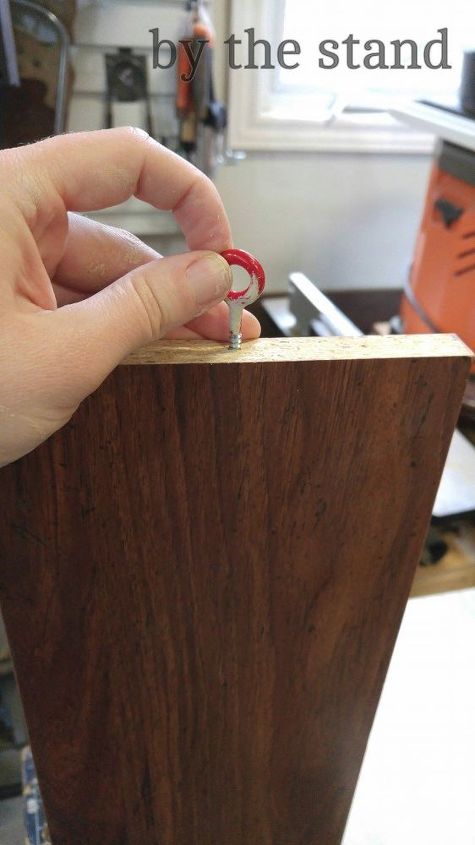
And then you just hang it up and paint the other side.
My father in law has tons of great little tricks up his sleeve!
Ok, so this is where I really messed up guys! I don’t have a picture for you of me putting on the Creme Wax  … I got so into my groove that I totally forgot to stop and take a pic! This stuff was so easy to use, before I knew it I was done!
… I got so into my groove that I totally forgot to stop and take a pic! This stuff was so easy to use, before I knew it I was done!Pretty much all I did was dry brush it on and then worked it into the “wood” (sorry I can’t say press board anymore lol) with a dry cloth.
This is when they were almost finished… just had a couple of touch ups to do.
Take a look at the beautiful finish from the Creme Wax!

OK! Want to see the full thing??
PRESENTING….
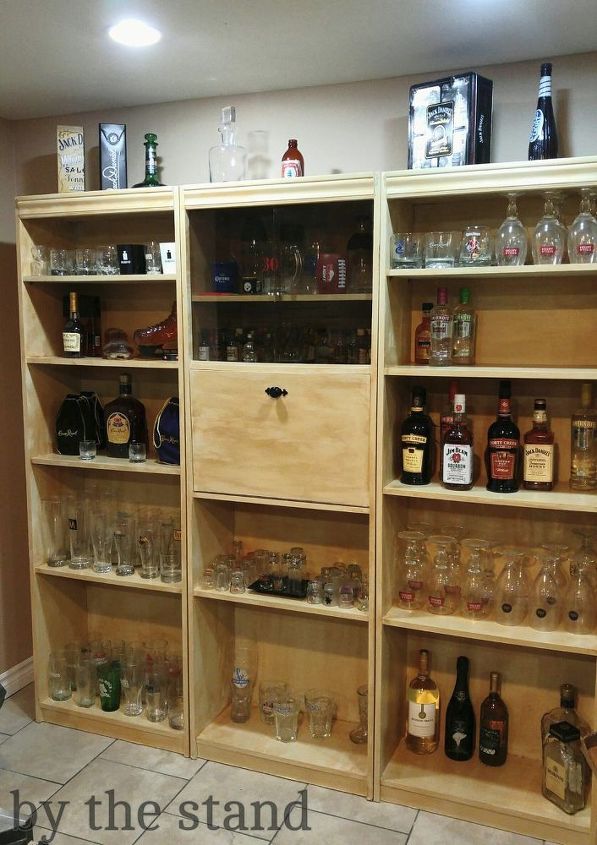
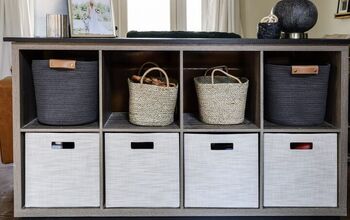
See what I am talking about with my hubby’s collection? Not that he really even drinks any of it lol His thought was that one day he would have a bar in the basement, but for now this will do!
My husband loves how I re-did the wall unit for him!
The trim worked out really well, too!
So what do you think?
From a 70s nightmare to a brand new lookin’ piece! We love it.
Share your thoughts with me, I would love to hear them!
Check out the great products at DecoArt as well and you can pick yourself up some of this fabulous paint and the Creme Wax, too!
If you like this DIY, make sure you Pin it so you have it for later!


Any price and availability information displayed on [relevant Amazon Site(s), as applicable] at the time of purchase will apply to the purchase of this product.
Hometalk may collect a small share of sales from the links on this page.More info
Want more details about this and other DIY projects? Check out my blog post!
Comments
Join the conversation
3 of 111 comments
-
WOW!!! That's about all I can say for this....Wow, It looks Stunning, Great job
-
Wow!! You did an awesome job. The bookcase looks brand new and amazing!!


Frequently asked questions
Have a question about this project?
I'm curious as to what kind of sealer sticks to wax? I have always thought you either have to wax or seal. Wax is a protective coating on it's own, to keep things from sticking or protect from water rings and such.
This outstanding!! Good job!
U didn't think you could paint press board, did you have to prepare the surface in some way? I can't believe the transformation!