


Wood Slab to Fab!

by
Mary Carlson
4 Materials
$75
1 Week
Medium
My father in law came across a beautiful wood slab. I had never worked with fresh wood before but as soon as I saw it I knew what I wanted it to be!
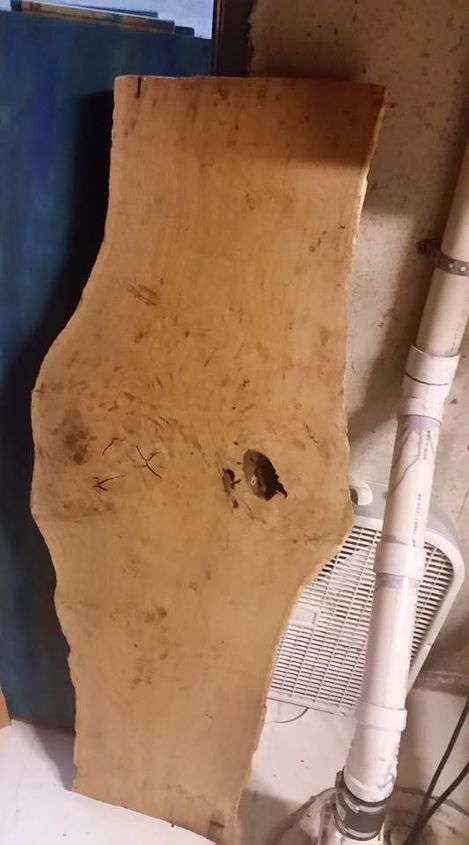
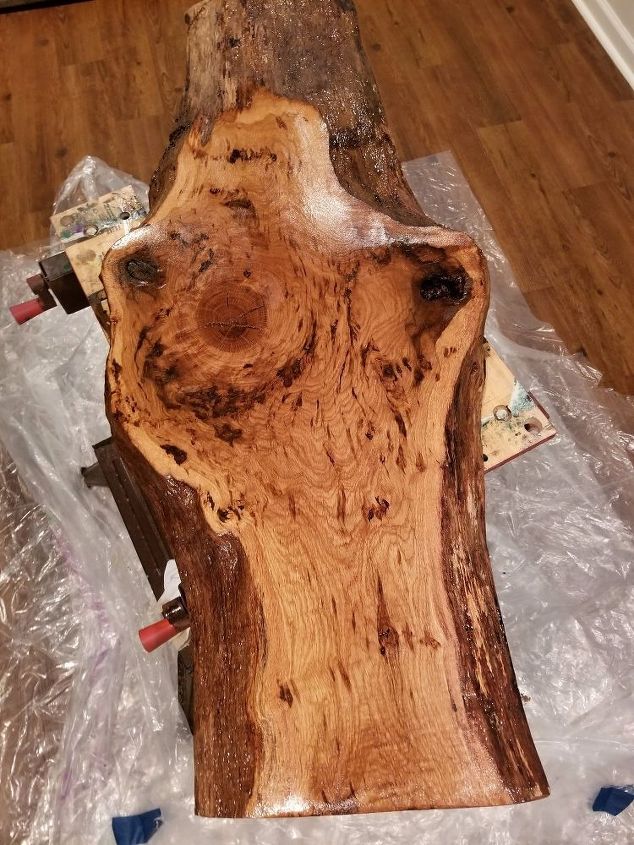
Here she is in her raw state. I love the wood grain and I knew I wanted to keep it as close to original as possible. I normally use color but I just wanted to bring out her natural beauty.
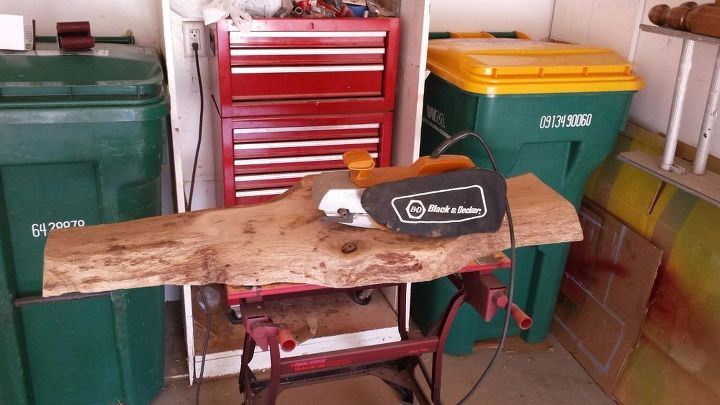
I knew that my little hand sander wasn't going to do the trick. My husband offered to sand this for me and he broke out the belt sander. I think he may have regretted it once he got into it! It was a very time consuming process for sure! He started with 50 grit, 80 grit, 120 grit and then hand sanded both sides with 320 grit. The results were just amazing! It was so smooth!
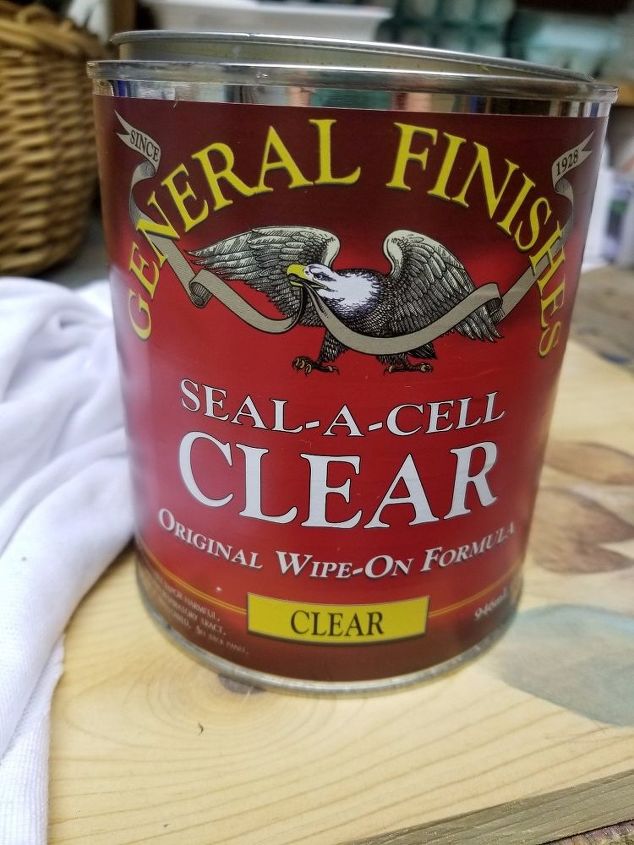
I started with General Finishes Seal-A-Cell. It was the first time using this product and I was very pleased with the ease and use of this product. I did 3 coats of the Seal-A-Cell with a light sanding in between each coat. The hardest part is the waiting for the drying time! I am not very patient!
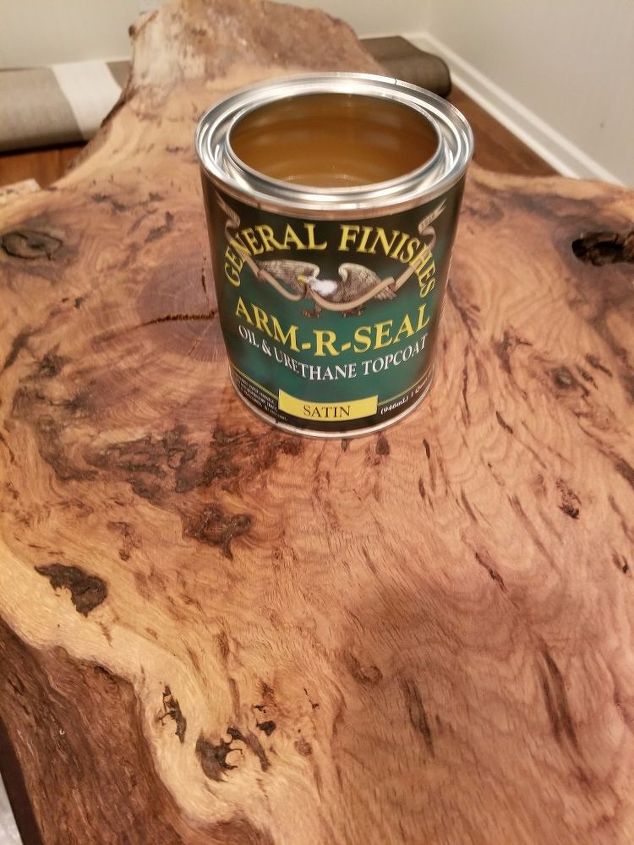
Look at how pretty she is already looking! I wanted to add some extra protection so I also did three coats of the Arm-R-Seal. Following the same process I did 3 coats of this as well with a light sanding in between each coat.
I did end up also putting on three coats of Minwax Wipe on Poly just for the fact that I wanted a little shine. Plus I figured the added protection couldn't hurt!
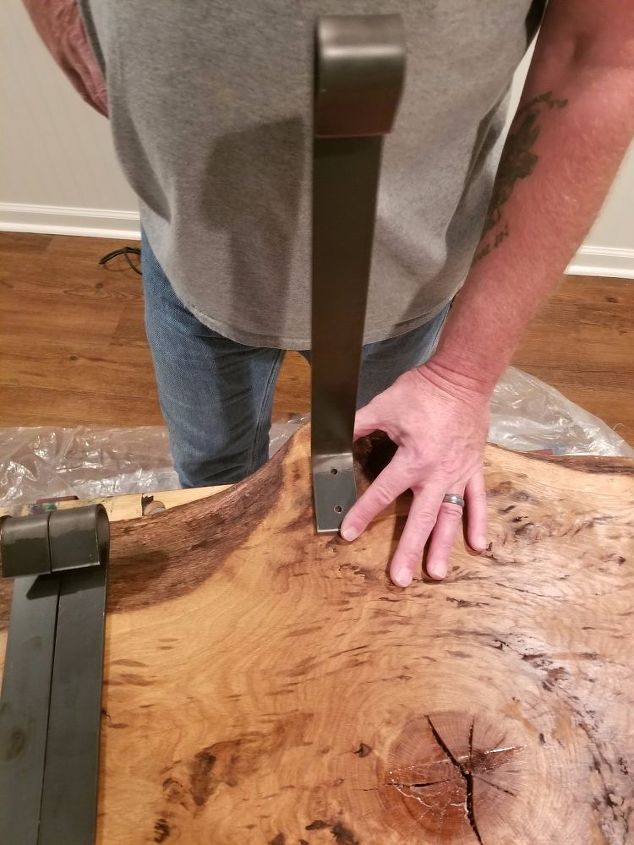
When both sides were dry we grabbed the legs. I found these
Metal Leg Straight Forged Rustic Reclaimed legs on Ebay and they were perfect for the vision I had in my head.
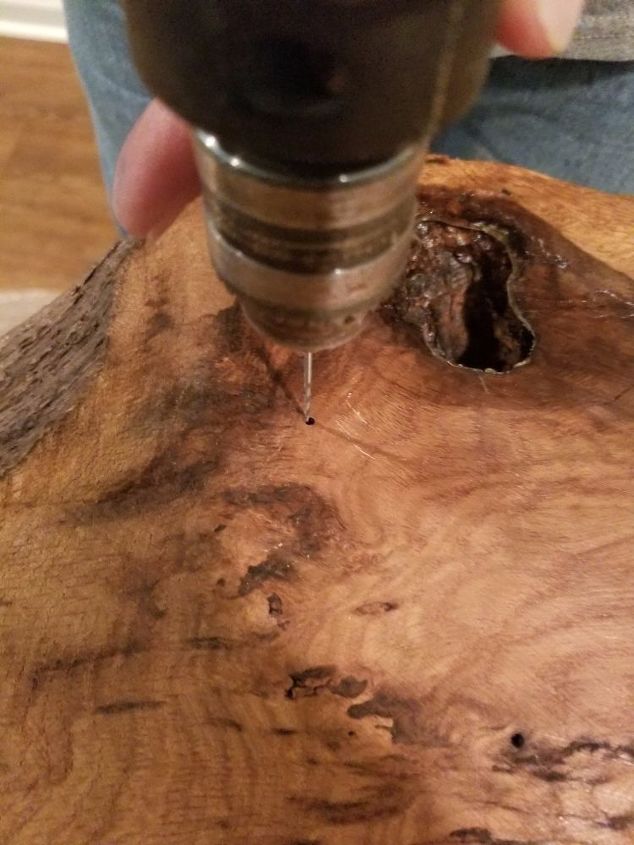
We pre-drilled the holes for each of the screws. Although the slab was thick we wanted to ensure the screws went in easily therefore not compromising the integrity.
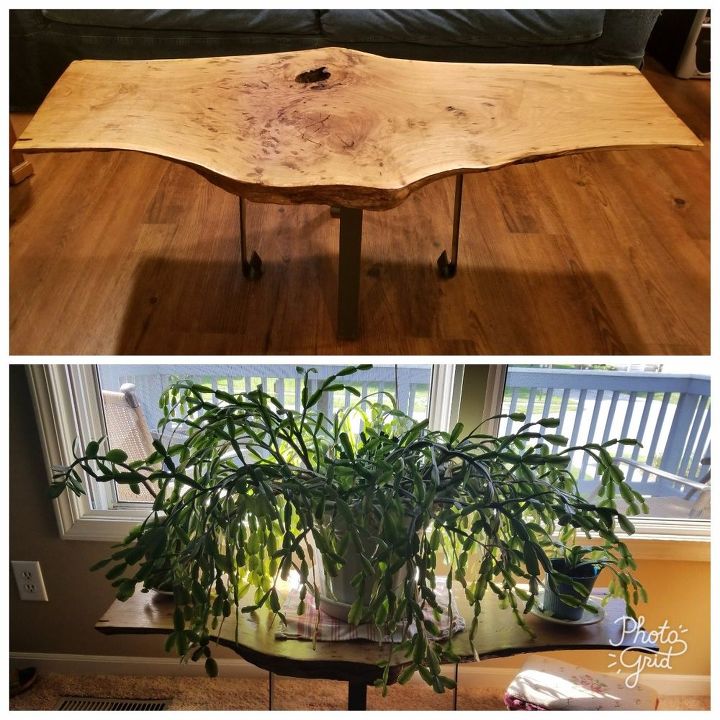
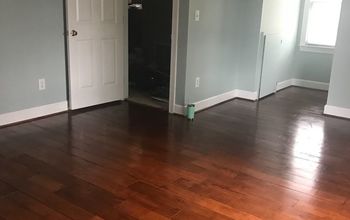
And here she is as a stand alone and then where her new home is. We only have one window that allows the proper sun light in and as you can see we have a HUGE Christmas cactus that needed a beautiful place to grow. We are thrilled with the way this came out! It's a perfect fit! Thank you for checking out my post!
Resources for this project:
See all materials


Any price and availability information displayed on [relevant Amazon Site(s), as applicable] at the time of purchase will apply to the purchase of this product.
Hometalk may collect a small share of sales from the links on this page.More info
Comments
Join the conversation
4 of 61 comments
-
GORGEOUS !!! Love the way your Christmas cactus 'follows' the shape of the wooden piece. Love it!!
-
Just a suggestion but I work with raw edge wood and found that the best covering is resin. You don't need 3 or 4 coats and the finish is amazing. You can also use different materials or even touches of colour if you want.


Frequently asked questions
Have a question about this project?
Beautiful piece of wood, before and after especially. The Christmas cactus is beautifully displayed! How did you get the cactus to be so big and so pretty. Mine don't seem to really grow much, but at the same time, don't seem to be in distress. Any suggestions?
Would you use the same materials on the slab if it were going to be outside in a patio?