


Build Easy Wood Shelving With This Productive Secret... for Free!
If you take a quick glance through my Hometalk feed, you'll already know how much I adore working with reclaimed wood.
So when my paint studio tightened up for space, I decided the shelving needed expanding pronto!
But... this round, I desired to have more flexibility... LOTS more.
Pulling out my beloved reclaimed wood fence planks, this unique shelf design not only increased the storage exponentially, it is designed with a special secret that makes it even more productive...
Desire some quick and easy shelving you can change around with the drop of a board?
Here's what I did:

Oh hello there overflowing paint studio with random shelving.
Needing more space for paint supplies, I decided to remove all the original shelving and start with a new design that would better utilize this space.
So let's move this all out and start fresh!
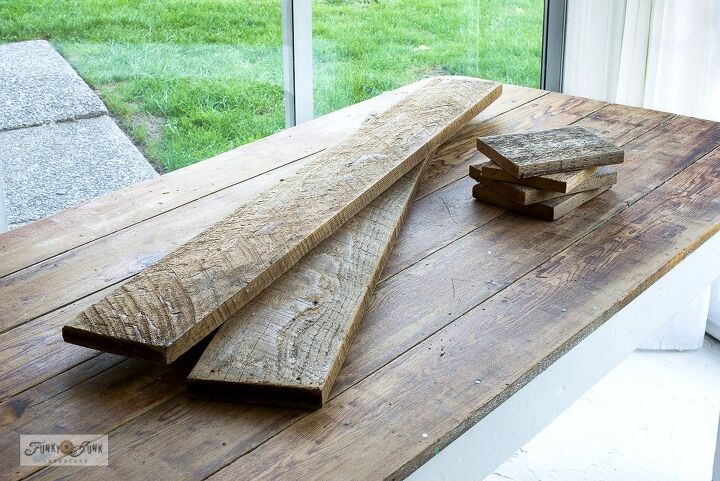
Grabbing some cedar fence planks, 3 cubby-styled shelf supports were built first. This design would make the shelves fully adjustable!
How to build 1 cubby support:
- Cut the long planks to the desired height of your shelf.
- Cut the small planks to the desired depth of the shelving.
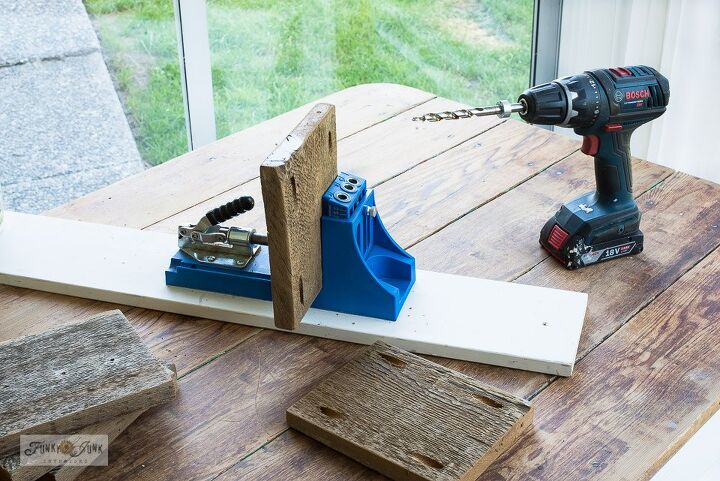
Each small plank received 4 pocket holes so they could be attached easily to the long planks.
A Kreg Jig K4 is a tool that creates angled pocket holes to easily attach wood joins together. It's very simple to use!
How to use a Kreg Jig:
- Slip the wood into the jig and clamp in place.
- Drill through the tool to create angled pocket holes.
- Assemble wood by inserting screws into the pocket holes, then tighten with a cordless drill.
Read more about how to use a Kreg Jig in THIS POST, which includes a helpful video too!
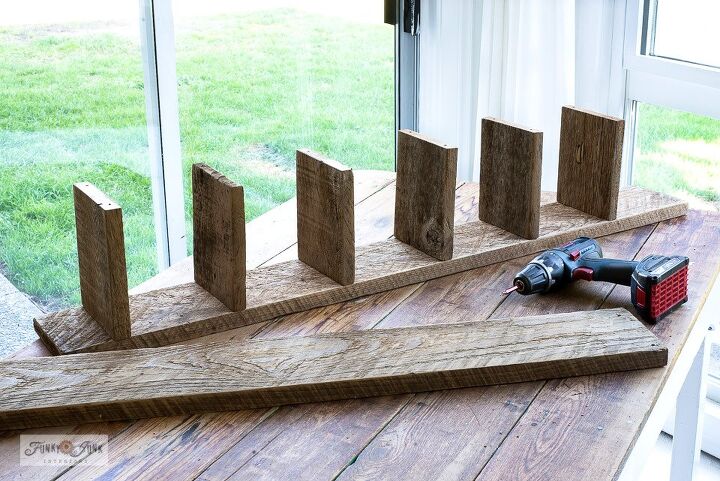
Once all the small pieces were attached to the first long board, the unit was flipped onto the 2nd long board to finish assembling.
Then 2 more cubby-styled supports were built.
Great care was taken to ensure all the small boards were positioned exactly the same so the added shelf planks would lay level.
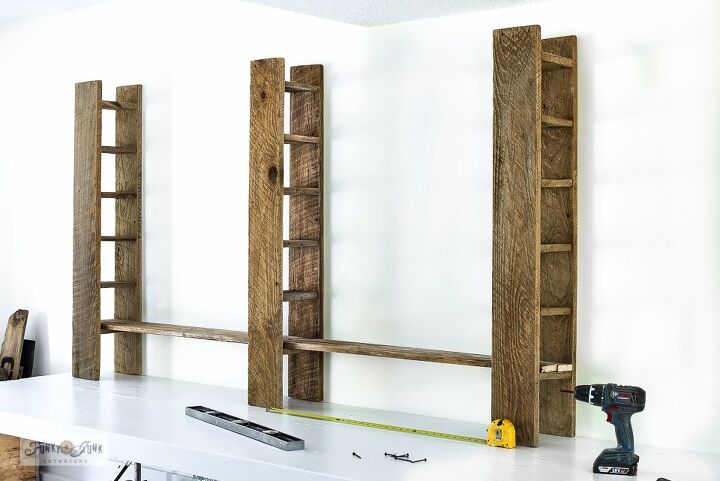
The 3 cubby supports were screwed to the wall, and lastly, planks were cut to length and positioned loosely into place to become the shelves.

But with a twist...
Since I used 2 small planks per shelf, this made the shelving not only adjustable, but the depth of the shelves could change too!
And since the shelves are not screwed into place, they are so easy to move around as desired!
And here's how it turned out...
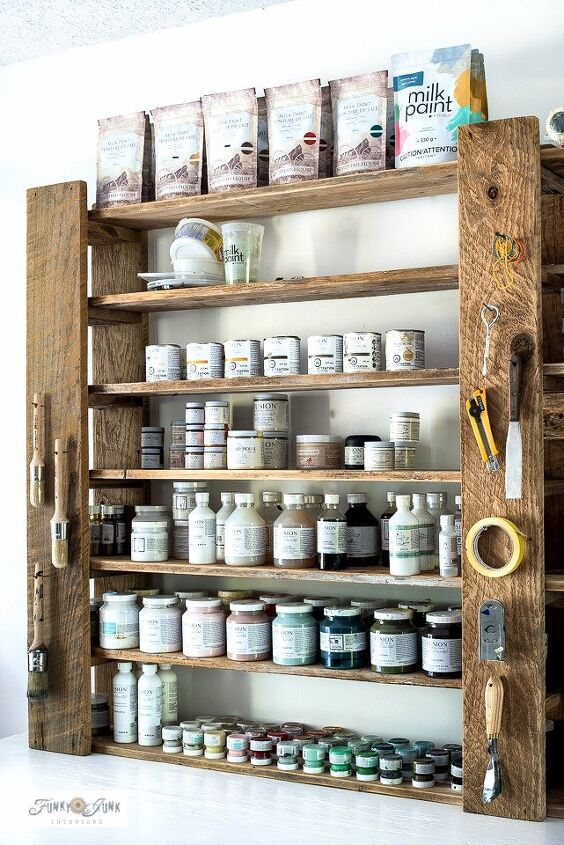
Welcome to my new and improved fully stocked paint shelves with room to spare!
In this section, all the shelves are being used.
So here's how to adjust them...
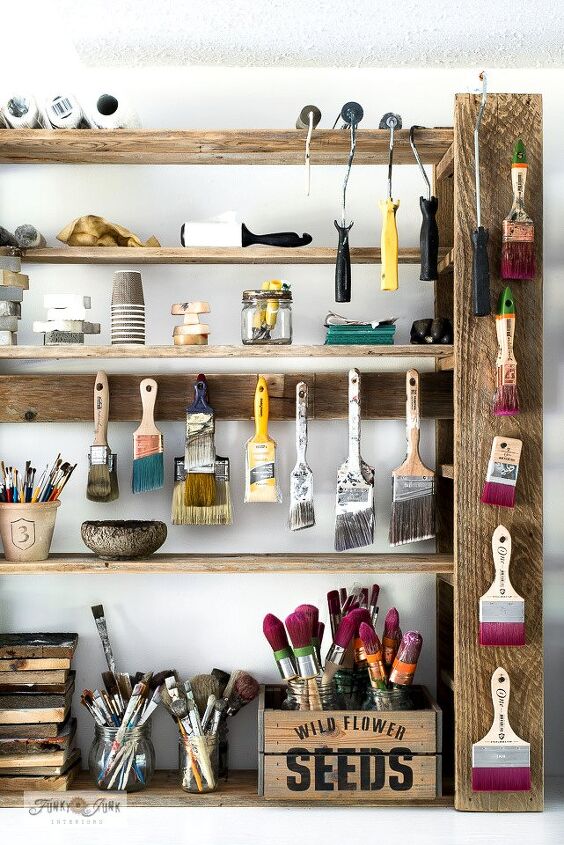
For the paint accessories section, some shelf planks were removed to allow for taller items such as the paint brushes in the crate, as well as playing with 1-board shelves, and even flipping one board on its side to hang paint brushes!
They are SO adaptable and fun to play with! The options really are limitless!
But there's one more surprise...
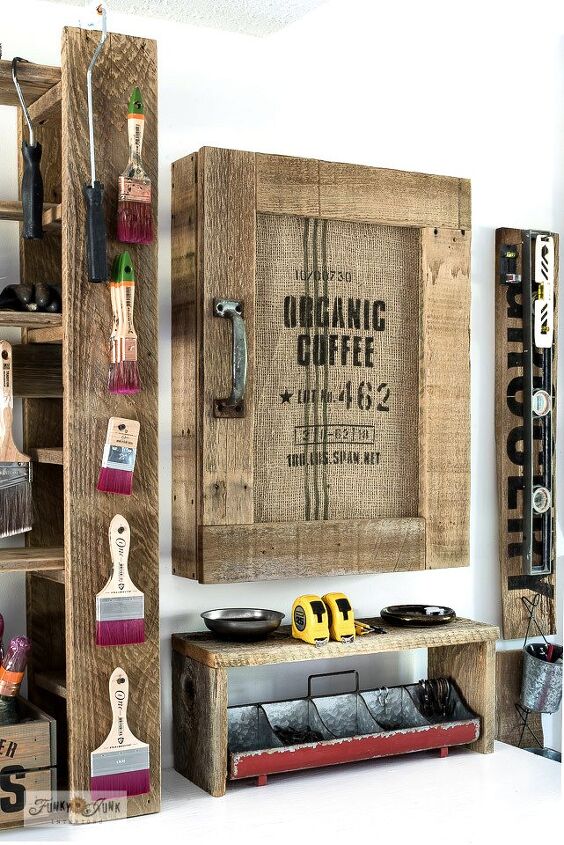
The last section of this area houses a mini tool station inside a rustic DIY cabinet I made HERE so I can have a few woodworking tools within easy grasp too!
So wanna see the shelving all together in the room?
Visit the original shelf post HERE to check out how beautiful it all turned out! I'm personally super pleased with the results!
How would you use a shelving unit like this?

Comments
Join the conversation
-
That would look nice (and be very functional) hanging on a kitchen wall! I’m thinking maybe one of those sliding barn doors (cut to fit, maybe?) to open and close. And storing some canned goods (not too many or it would be too heavy for a wall), spices, cups, etc. Love it!
-
Love it!!! And the coffee bag just made it complete!


Frequently asked questions
Have a question about this project?