


Creating a Dry Erase Board

I was looking for a dry erase board that didn't take up my whole wall, and that met MY needs and included items that resonated with me.
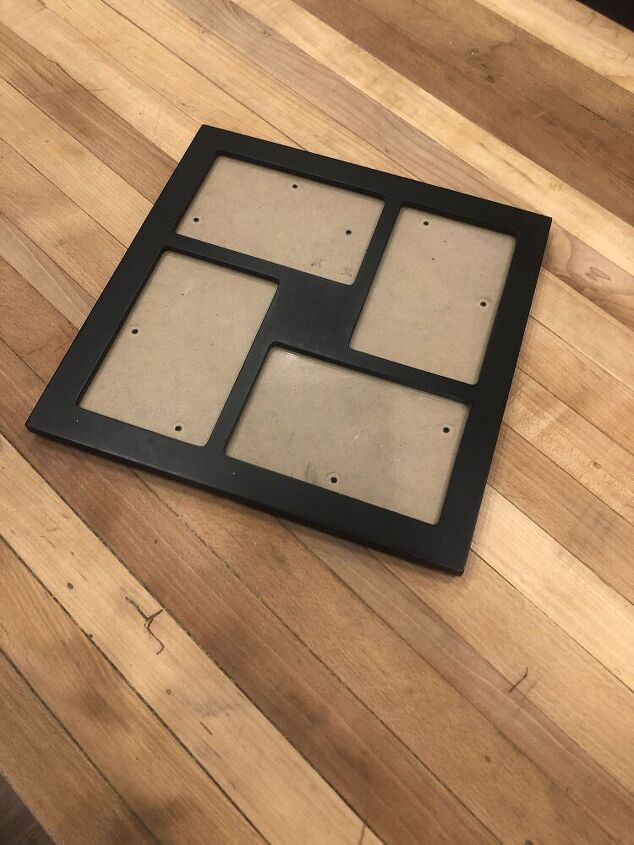
I already had a 10 x10" photo frame that was divided into 4 segments. Perfect I thought for the different types of things I wanted to keep track of. And I wanted to be able to use my dry erase marker on the glass to keep track of things. That way I could erase things at will.
I could have just cut out a great piece of scrapbook paper as the background, and you can too. Just make sure to cut whatever your background is to the size of the frame's glass.
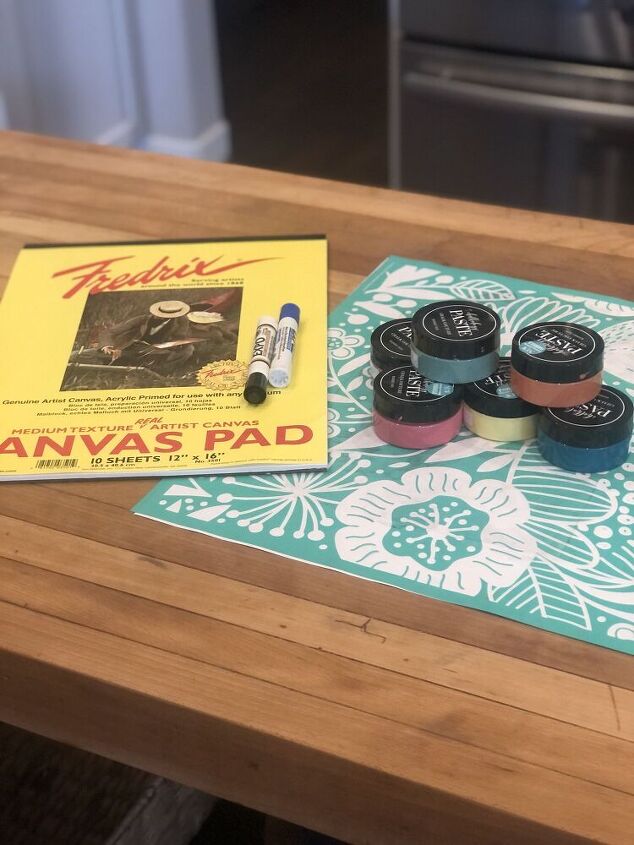
I'm an oil painter, so I had extra canvases laying around (shown in the 12x16" pad which I cut down to size) Using this transfer and chalk paste I dabbed the paste in a random pattern. When I pulled up the transfer this is what I got.
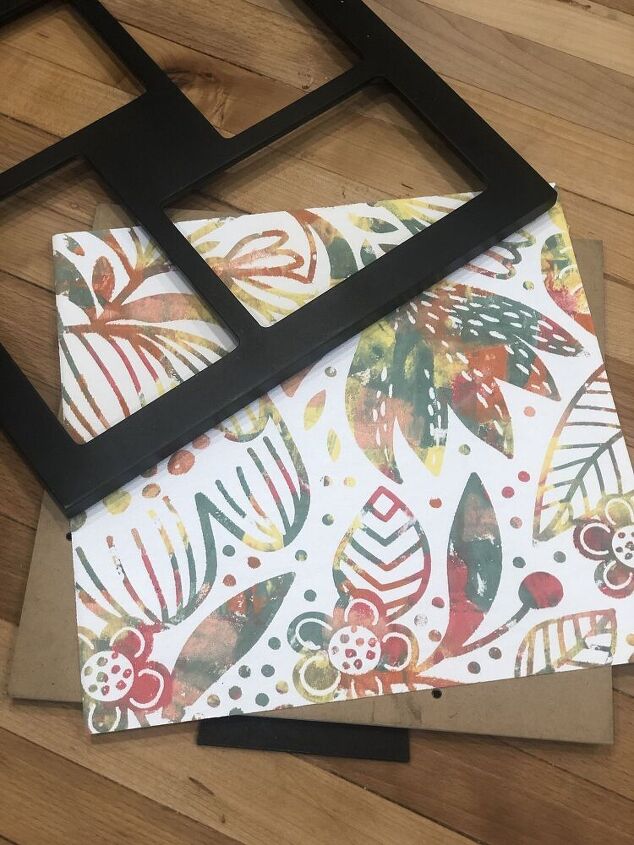
Love it! Now I had my background. I put the frame together and finished it off with another swipe or 2 of a 5th color paste to add the "Go and Do" sentiment and the writing lines along the bottom two segments. You could use washi tape or maybe even other strips of scrapbook paper.
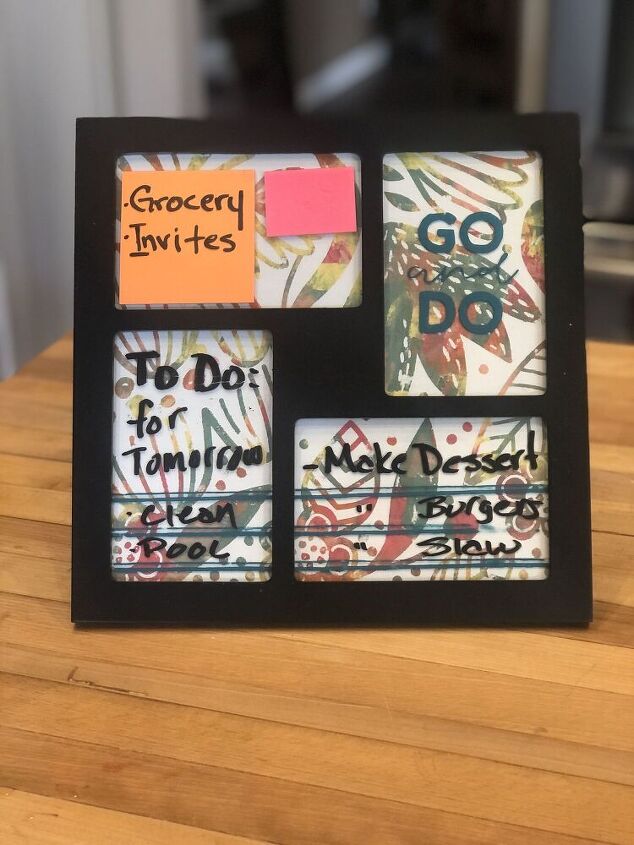
I added some Post-It Notes in one quadrant, and then starting making notes in the others. If you make your own board, just make sure to use a dry erase marker on the glass!


Frequently asked questions
Have a question about this project?