


DIY Custom Memo Board
7 Materials
Easy
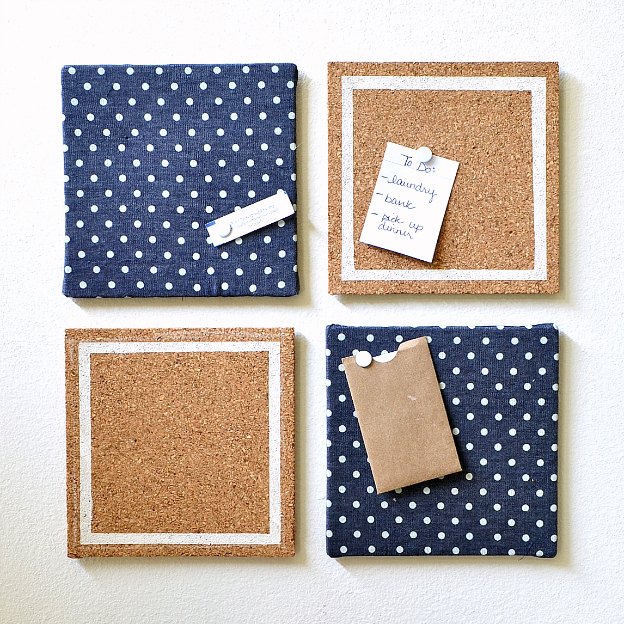
I absolutely love being organized, but to be honest, I’m kind of a messy person. This DIY Custom Memo Board is the perfect organizing solution for a cluttered desk!
This project is great for anyone, but I especially love the idea of using it in a dorm room. Use this cute memo board to hold odds and ends, like business cards, gift cards, tickets, and notes that would otherwise get lost.
True to the name, this DIY Custom Memo Board is easy to personalize to your exact taste. Pick your favorite fabric, paint the squares in different patterns and colors, use bigger tiles, and more.
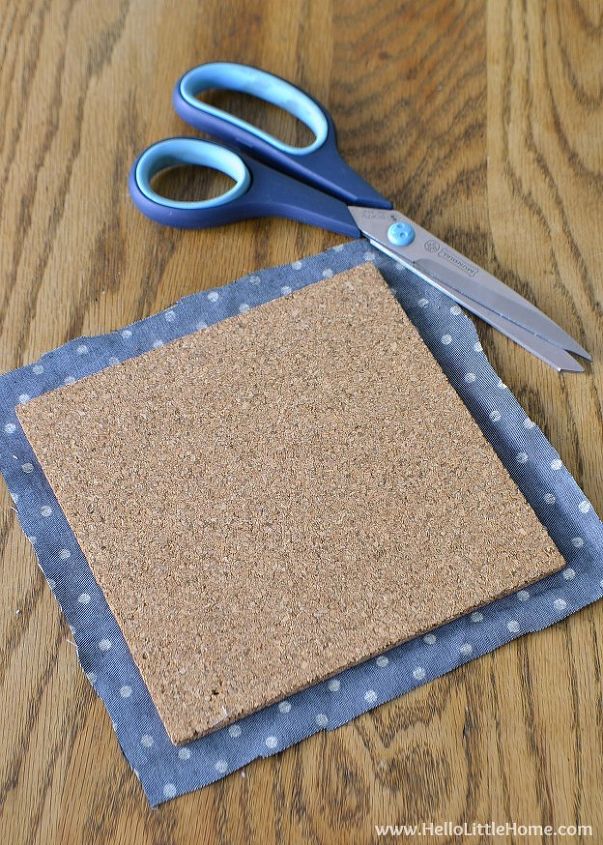
Start by cutting out your fabric. Use a tile as a guide and leave a wide enough border to wrap the fabric around the back of the tile.
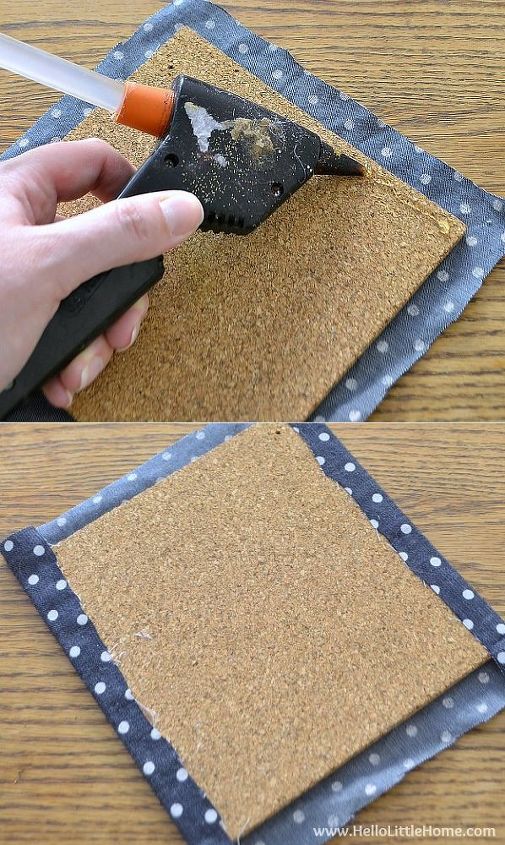
Using the glue gun, run a line of glue along one end of the tile. Then, carefully press the fabric over the glue. Repeat on the opposite side of the tile, pulling the fabric taut so it lies flat.
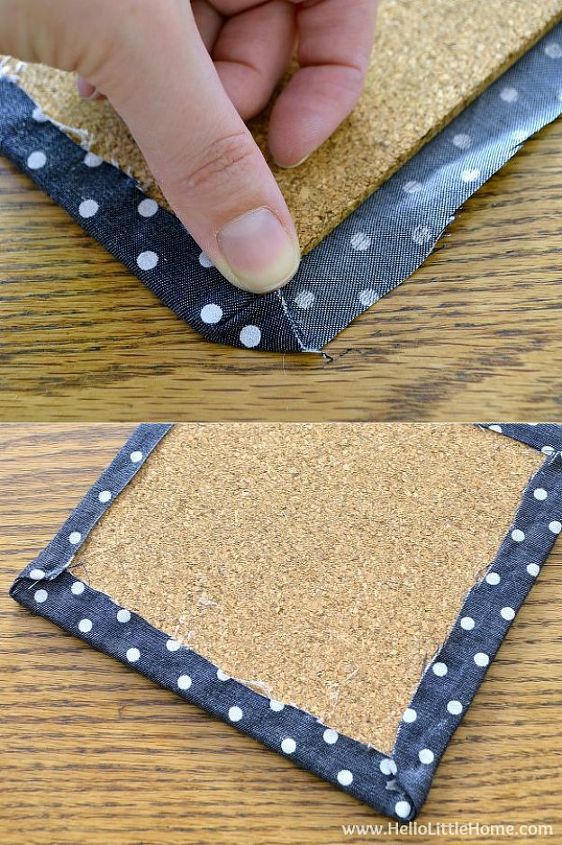
Fold in the corners neatly (kind of like a present), then attach them with glue as well. Repeat on the opposite side, pulling the fabric tight so it lies flat on the front of the tile.
Please visit my blog (link below) for the rest of the steps!

Want more details about this and other DIY projects? Check out my blog post!
Comments
Join the conversation
2 of 3 comments
-
Thanks, Hillela! I hope you try it!
-
Thank you so much for sharing


Frequently asked questions
Have a question about this project?