


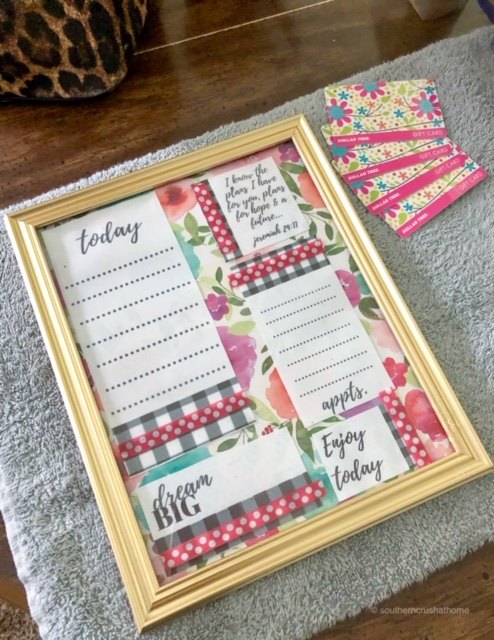
DIY Dry Erase Planner
Life can get so very busy and staying organized and focused can be quite difficult for a creative person! This DIY planner idea came to me simply because I wanted something that stood out right in front of me all day as a reminder. A picture frame serves as the perfect choice, because not only is the glass front easy to use with dry erase markers, but the back comes with a handy stand for propping it up in front of me on my desk!
SUPPLIES
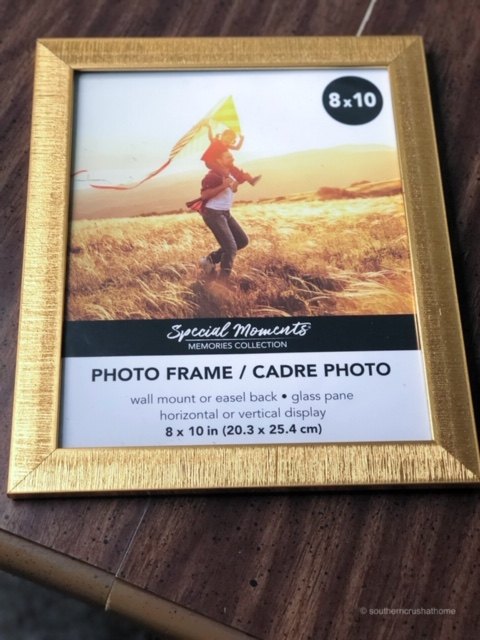
- 8X10 picture frame with glass
- scrapbook paper (optional)
- colorful fabric (optional)
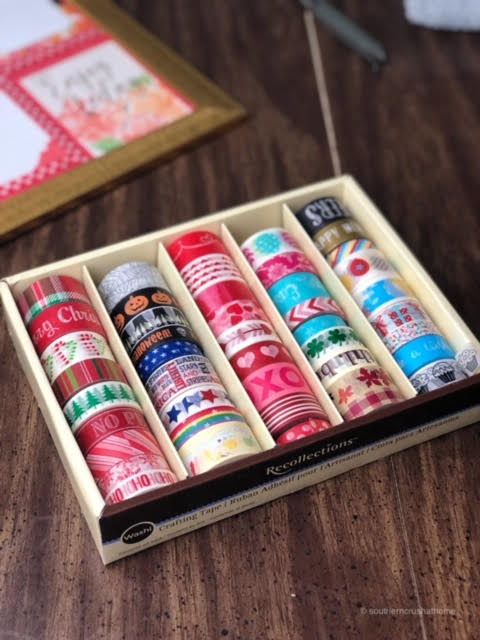
- washi tape (optional)
- cute .
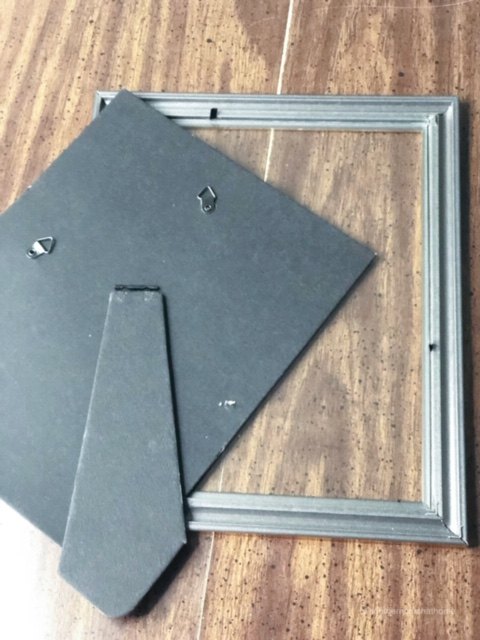
Here are the easy steps:
Remove the back of the frame.
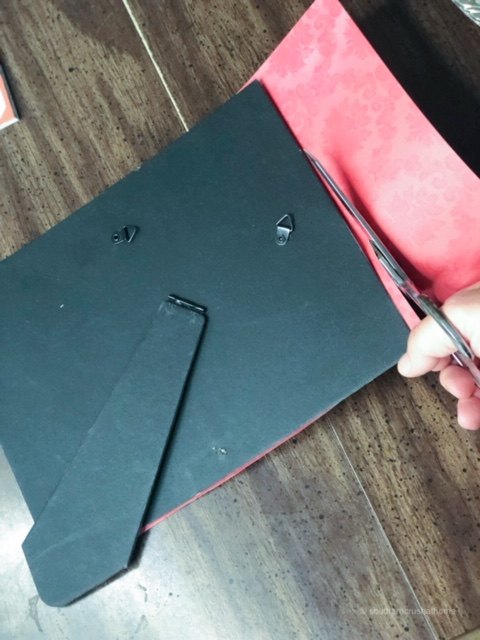
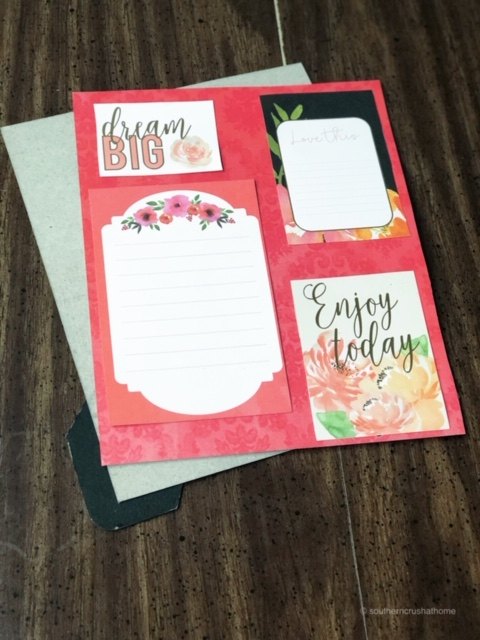
Decorate the inside of the back piece with scrapbook paper cut to fit or fabric cut to fit or leave all white for a simpler look. Attach with glue to the back piece.
Add your desired ; calendar, to do list, inspirational quotes, etc. and attach with two sided tape, glue or glue dots.
Replace your back piece inside your frame and secure it in place.
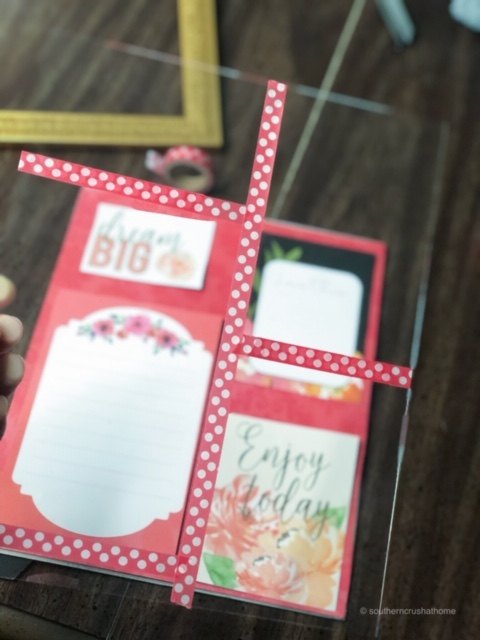
Add colorful washi tape to create distinctive lines or to decorate your glass front or the trim around the frame as desired.
Add any embellishments you wish to the outside edges of the frame and attach with hot glue.
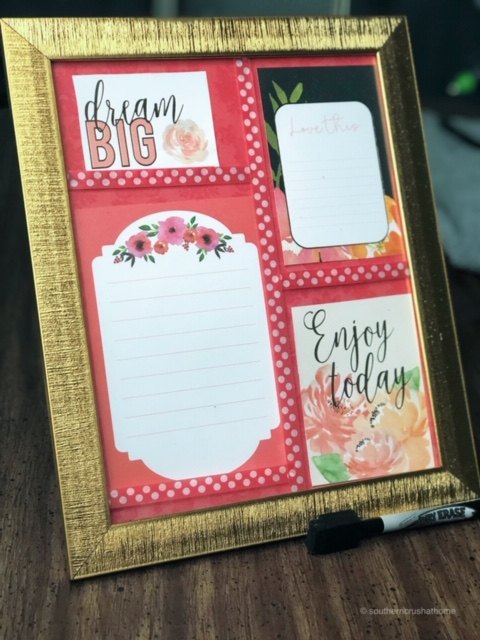
And there you have it! One of the most fun, creative ways to make your every day a better one!


Frequently asked questions
Have a question about this project?