


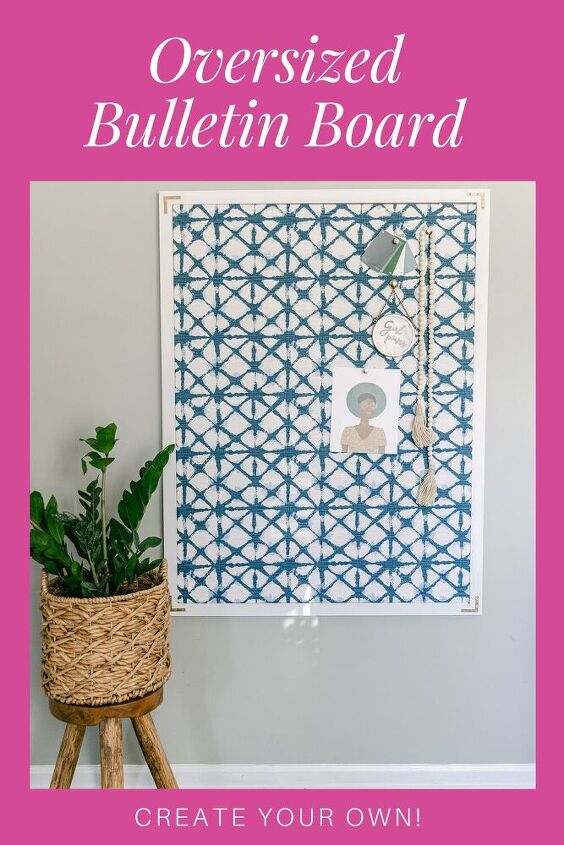
DIY Oversized Fabric Covered Cork Board
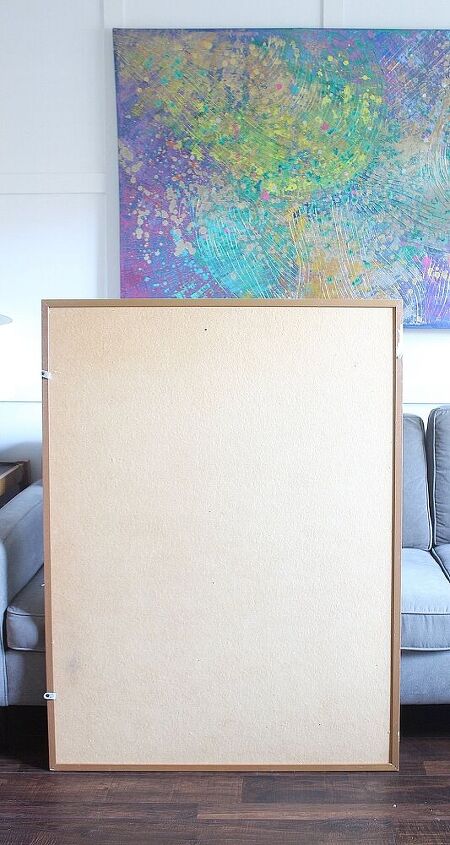
A few weeks ago, I lucked up on this ginanormous cork board at my local thrift store for $7.99. As those who’ve been around for a while may know, I love to the thrift prior to beginning any new room refresh. I have some changes that I want to make it my office, and have had my eye on making a DIY oversized fabric covered cork board for my office so that I can pin inspirational things, highlight due dates, art, etc. When I saw it at the thrift store, I was so excited. I love recycling and repurposing things, as opposed to buying new. It’s better for the environment of course!
But I knew that it would have to be jazzed up a bit to make the huge impact in my office that I would want. Plus I knew that by creating a DIY oversized fabric covered cork board on my own instead of buying one that was way overpriced.
My plan was to remove the old frame, cover the cork space with an impactful fabric, and build an new frame.
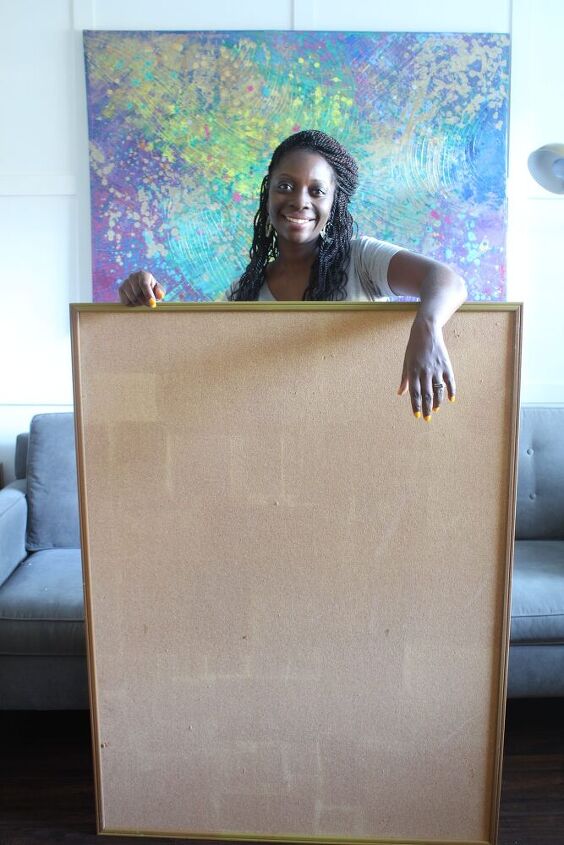
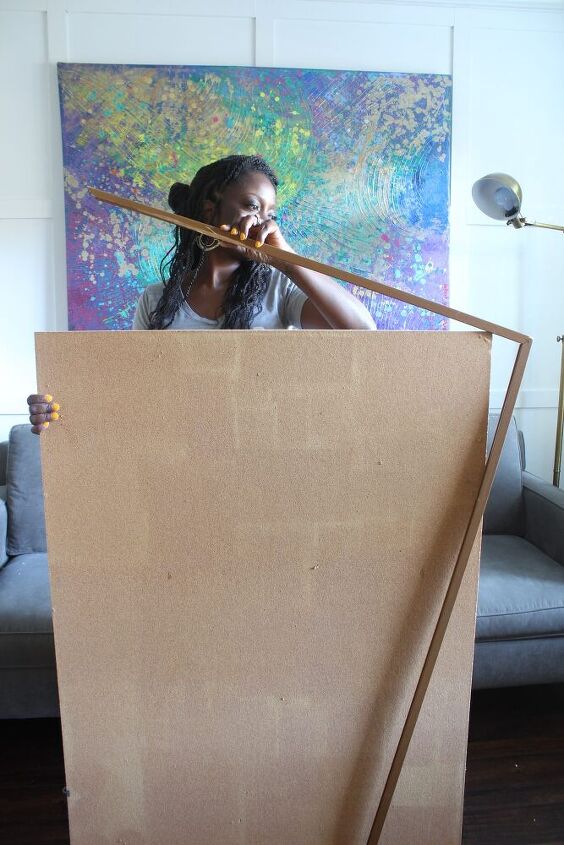
I started by removing the old frame. It was easy to remove. It popped right off.
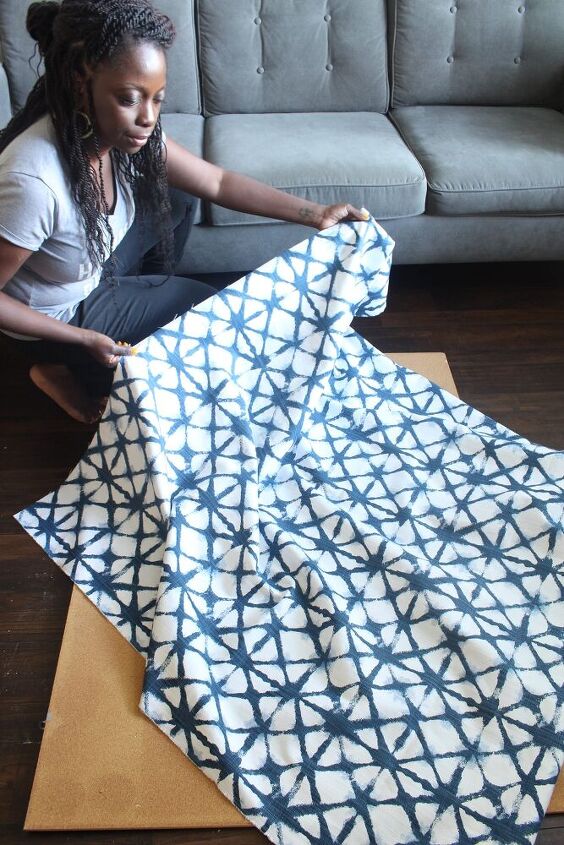
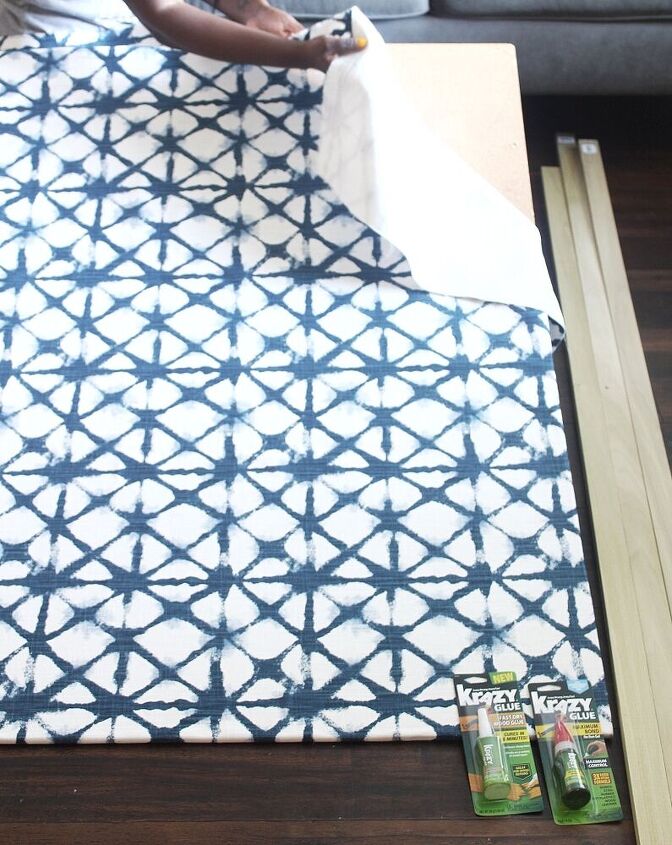
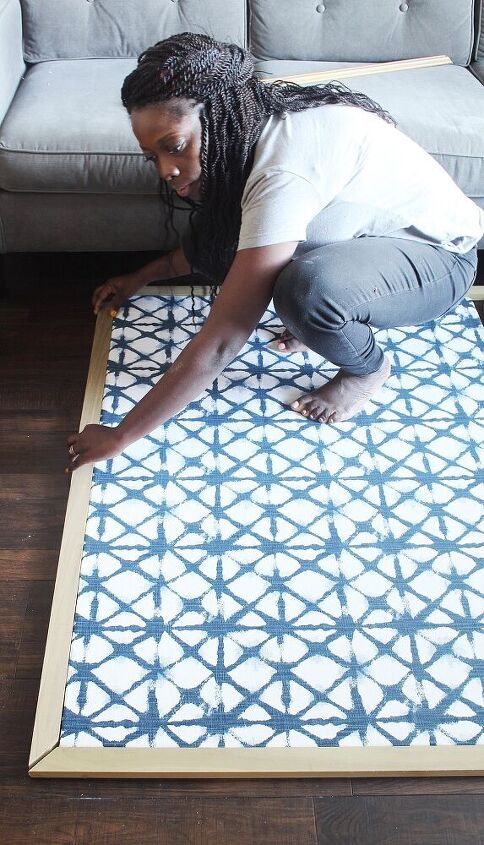
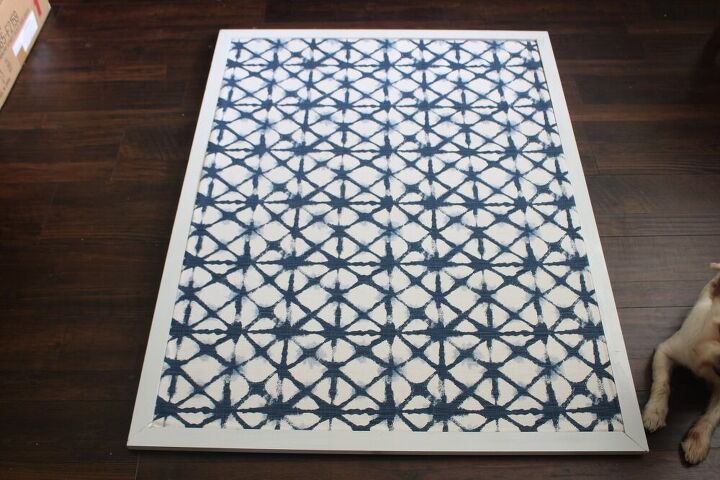
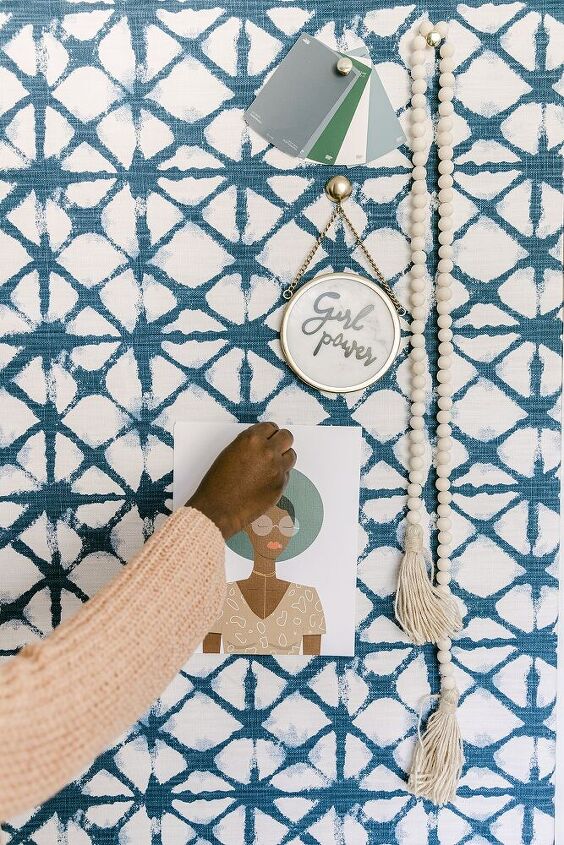
Then, using a spray adhesive, I sprayed the entire cork board and applied a beautiful fabric that I scored from a local craft store.
Tada!
After applying the fabric, Using a miter saw, I cut 1×2 poplar wood boards to make a frame.
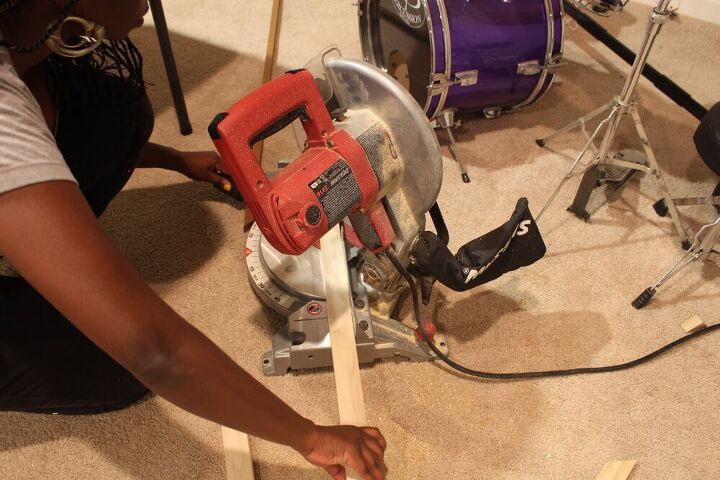
Before attaching it in place, I did a dry fit of all pieces to ensure they all fit. To cut the frame, the poplar boards are cut at a 45 degree angle on the miter saw. If you don’t have a miter saw, you can use a miter box.
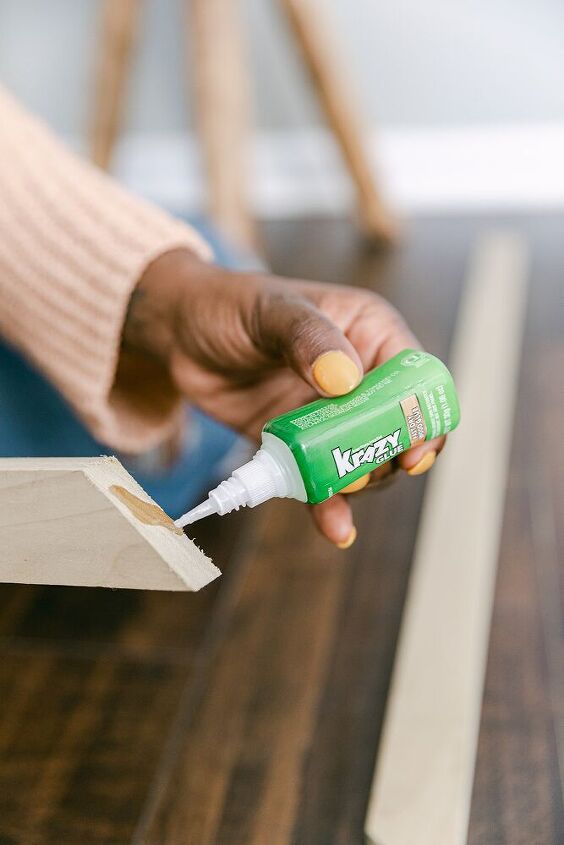
Once the boards were dry fit,I connected them all together using Krazy Glue Wood Glue.
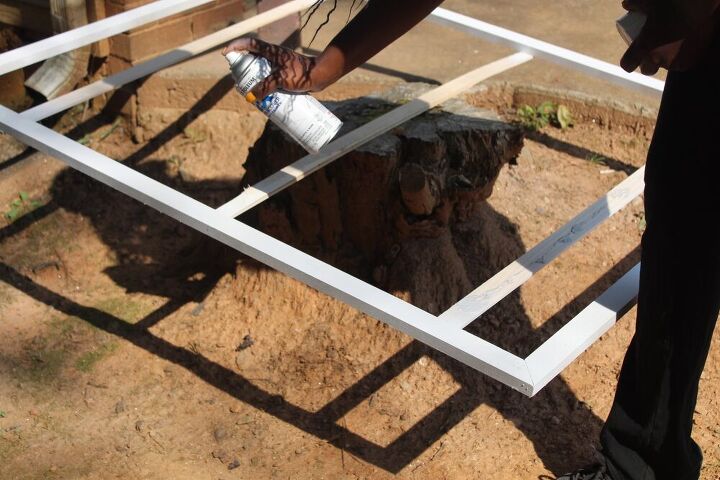
I added lattice strip along the back, nailed to the poplar boards to create brackets that the cork board could be attached to.

Once I added the lattice strips, I spray painted the frame a high gloss white and let it dry for a few hours.
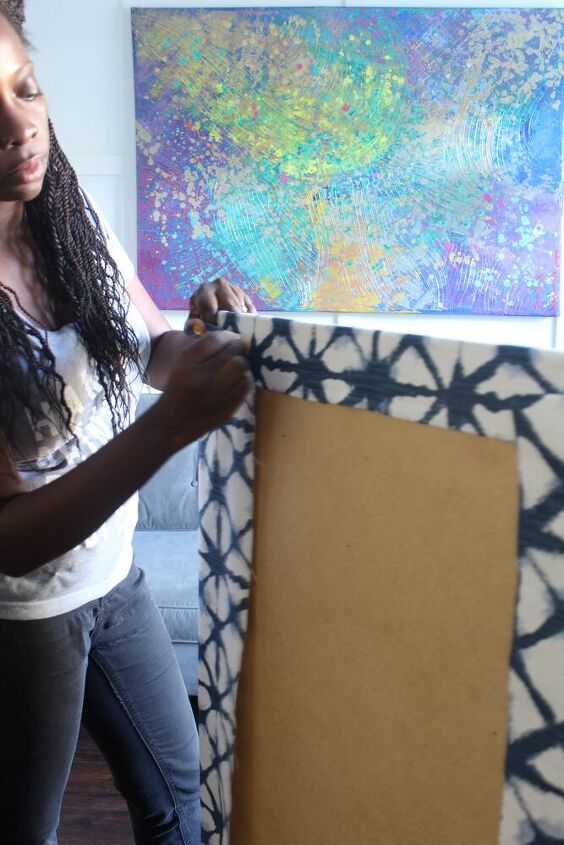
After it dried, I attached the cork board to the frame.
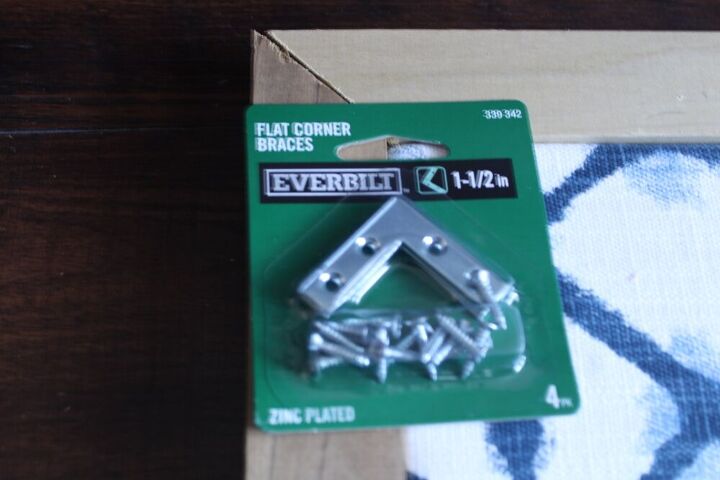
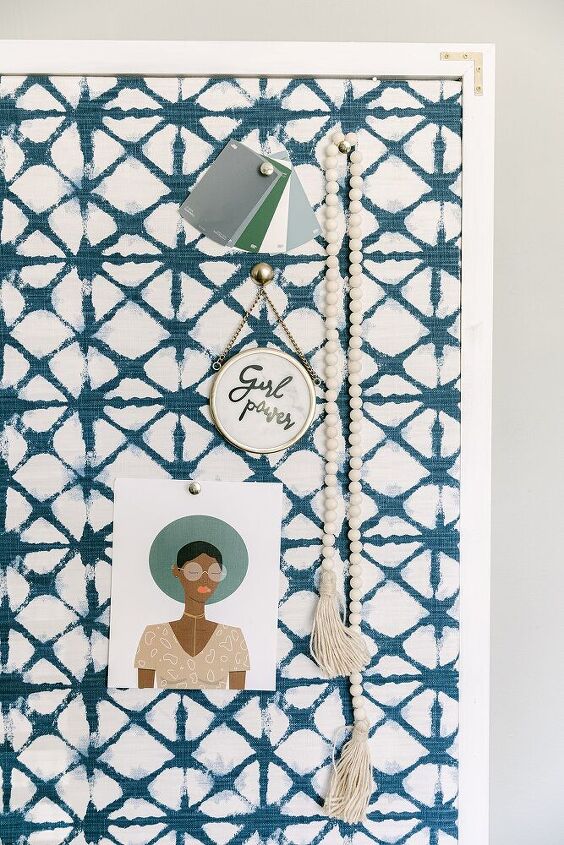
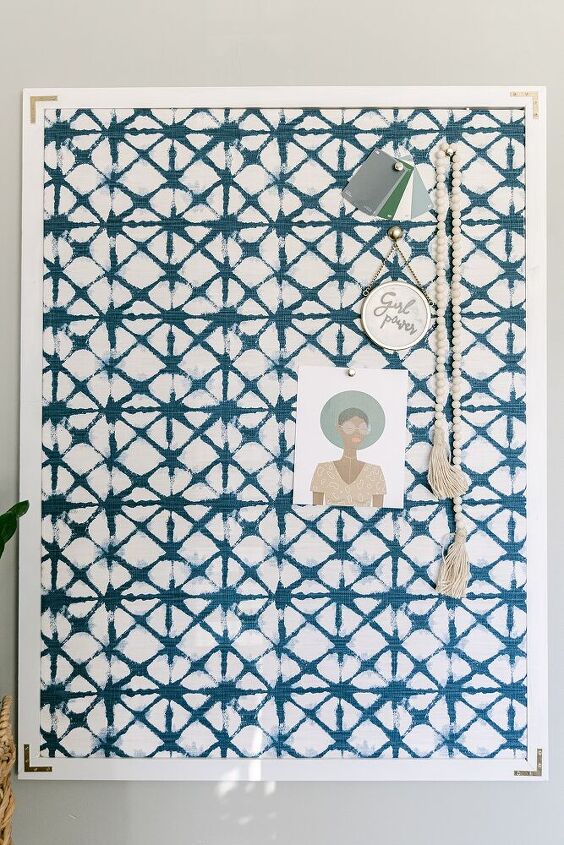
Honestly, it still felt too plan to me, so opted to add campaign style metal brackets to the outer edges.I spray painted them gold before attaching them.
It was a fantastic decision. It added such an expensive touch!
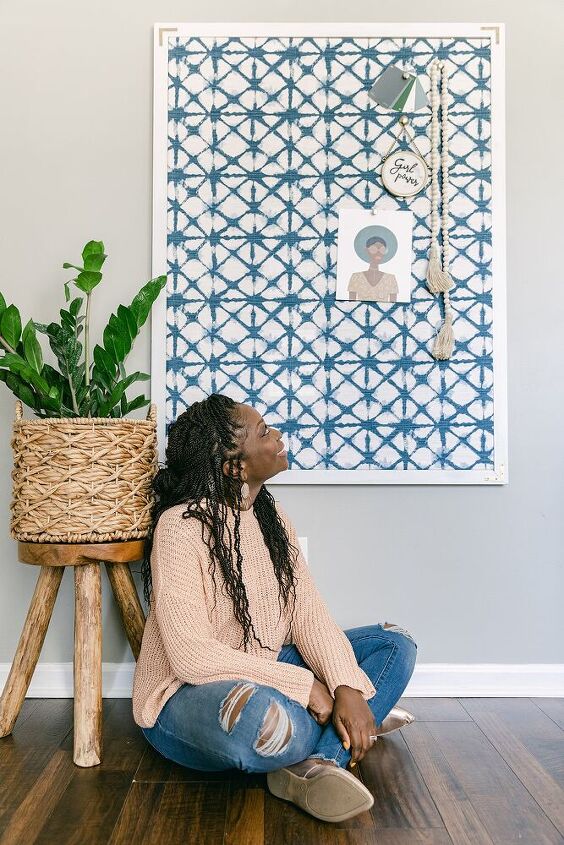
While the frame is not quite ready to be hung in my office because I am still making some decorative tweaks to the existing gallery wall, I ABSOLUTELY LOVE IT. It is better than I imagined and at a fraction of the cost of some higher designer ones!

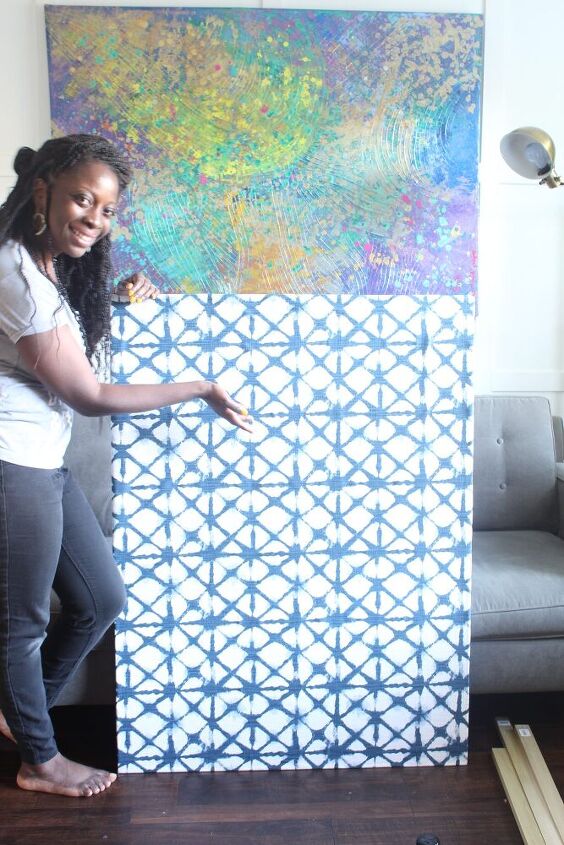
I am absolutely in love with my board. I smile every time I walk by it!
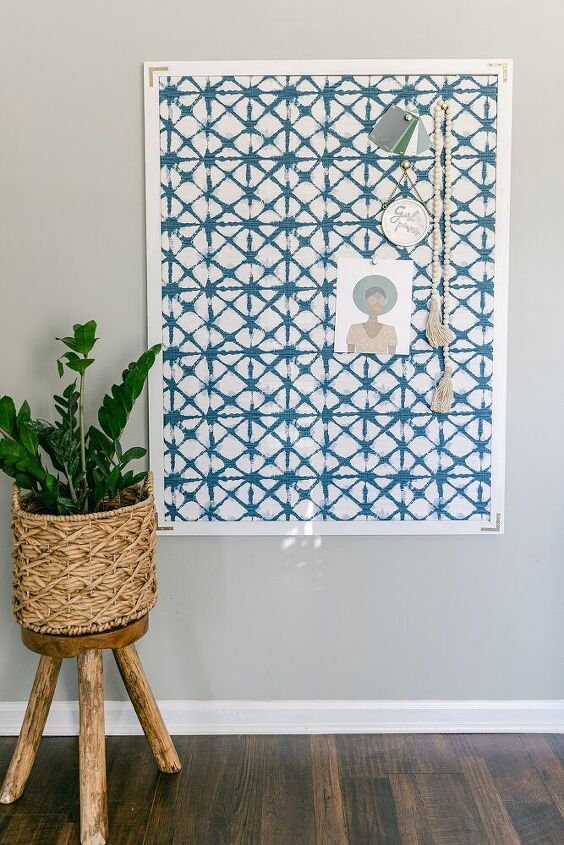
I am so excited to get this board into my space and absolutely love how it transformed. I bet after reading this post, you will give those old cork boards in your local thrift stores at least a second glance:)
Thanks so much for stopping by. Until next time!
If you love this post, please do me a favor and Pin it! Thank you so much!

Resources for this project:
See all materials


Comments
Join the conversation
-
Very clever.
-
Turned out beautifully. Hope you get lots of inspiration from it.


Frequently asked questions
Have a question about this project?