


DIY Pencil Holder
I was browsing through the thrift store this week, as I often do… lol. And I came across this old bath caddy. I see these in thrift stores ALL the time, but this time I had a great idea for it!
Find more great DIY Home Decor and Renovation ideas on our blog, Love Create Celebrate!
There's just a few steps to transform it and make it look totally new and functional!
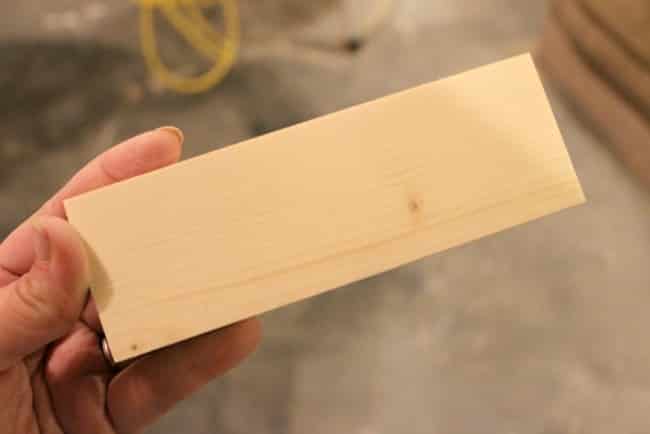
1. Measure the bottom of your bath caddy and use your saw to cut a piece of wood that will fit inside. You want it to slide right between the bars and sit on the bottom. My spaces in the bath caddy were big enough for a 1×6″ board, but if yours isn’t, you can always use plywood or hardboard too.
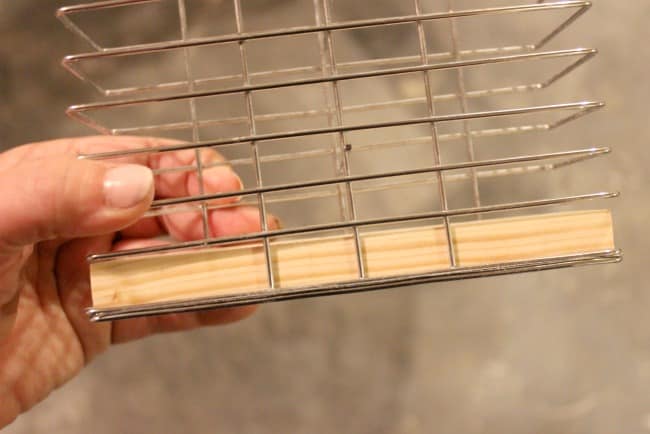
2. Slide your board in to make sure it fits.
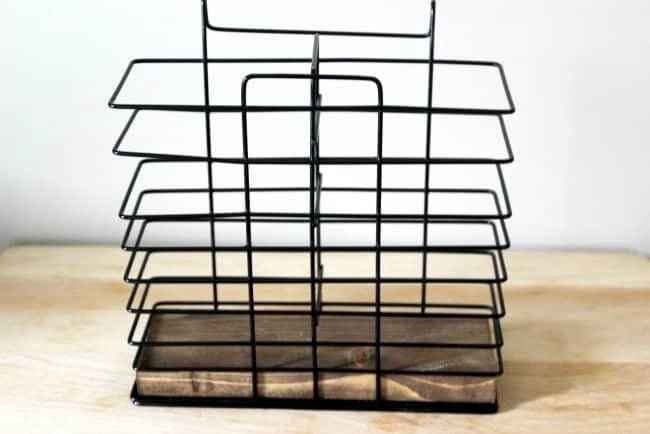
3. I used black gloss from Rustoleum to paint my piece black.
4. I also used Kona by Varathane to stain my wood board. As soon as they were both dry, I slid the board back inside, and I was done!
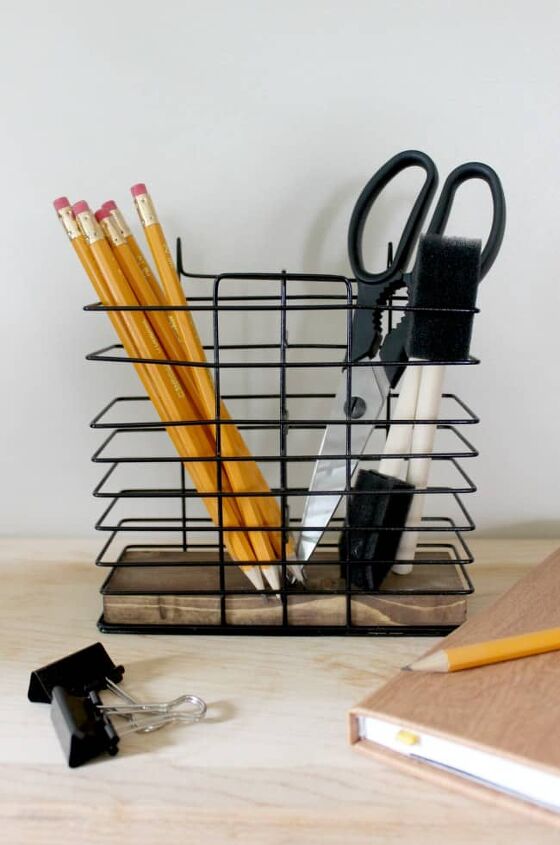
I LOVE this piece! It was so simple, and looks phenomenal! I actually added a bar onto our family command center, and hung the pencil hanger right on there!
Resources for this project:
See all materials


Frequently asked questions
Have a question about this project?