


Work Bench and Painting Out the Closet in the Workshop
Making a work bench out of an old barn door. Aw is there anything more adult than finding true joy in the sight of a big empty closet? I think not! I got to this point by the end of one long Saturday that I called “The Purge” when our workshop finally drove me to madness because of how disorganized it had become. Most of the problem was that a lot of things just needed to be put away but I took it much farther than that. The fact is when a room gets to that point its a sign it isn’t working and I knew it would go back to disarray eventually if I didn’t do something about it… so, I tackled it.
There were many things in this space that had not moved since I stored them here back in early 2019 when I converted this bedroom into our workshop to begin with.
I pulled on my big girl panties and truly purged.
It was painful.
It was worth it.
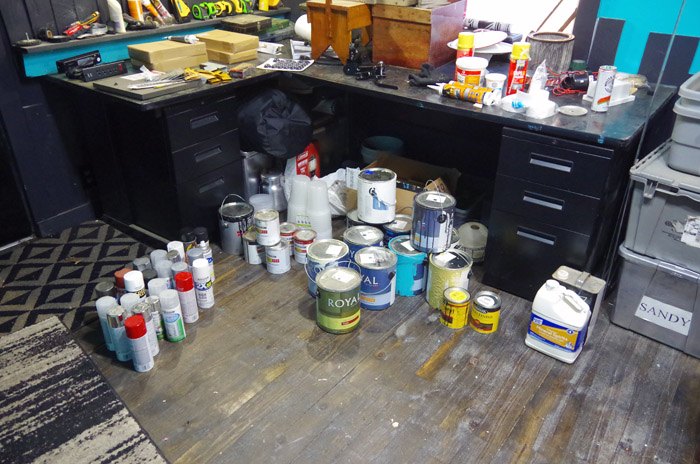
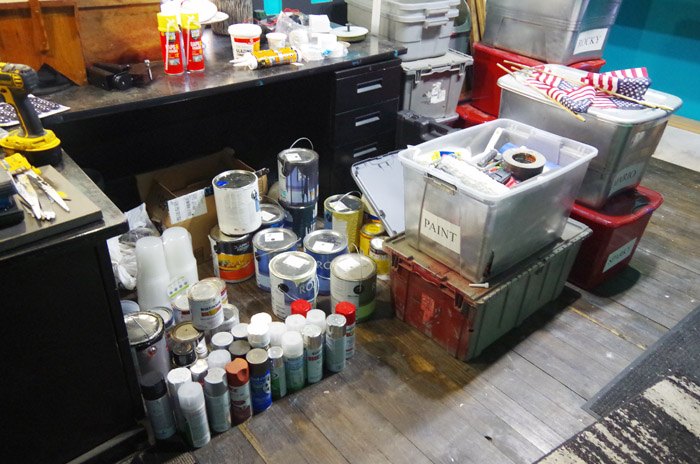
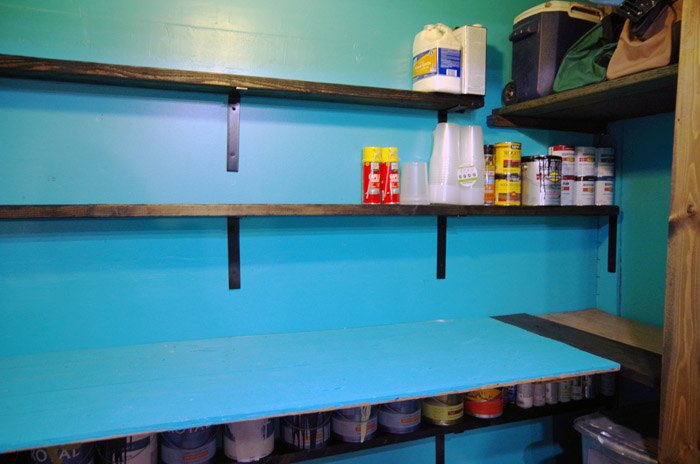
(Brutally honest photo of all of our leftover paint – I’m sure I’m not alone here lol. I can’t wait to have them all lined up and labeled on a shelf so I can actually see at a glance exactly what we have!)
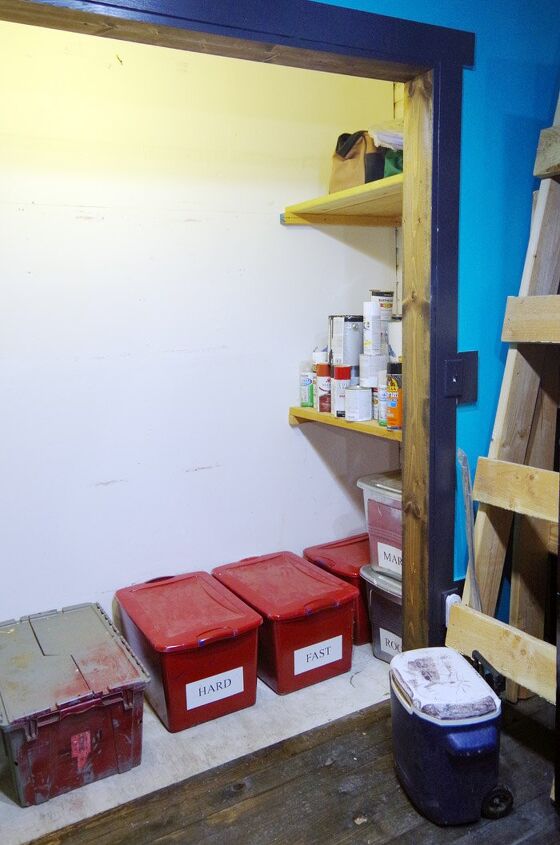
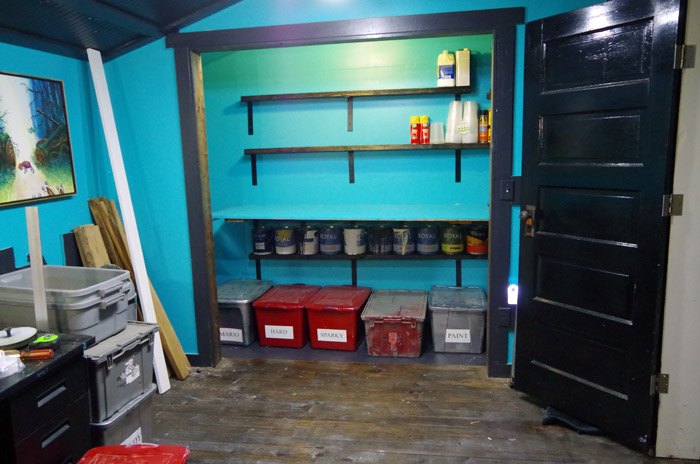
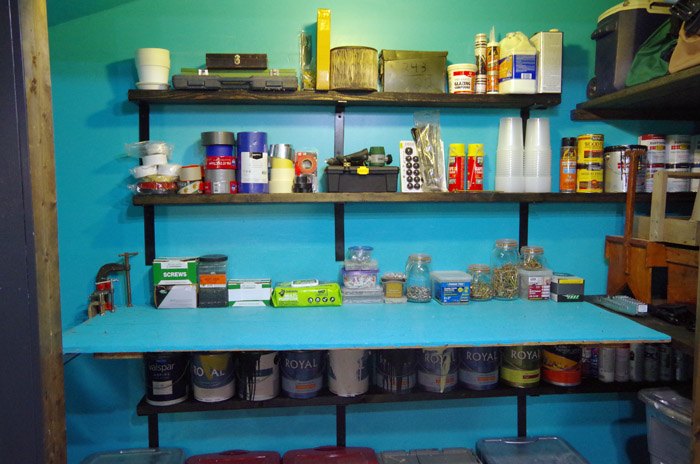
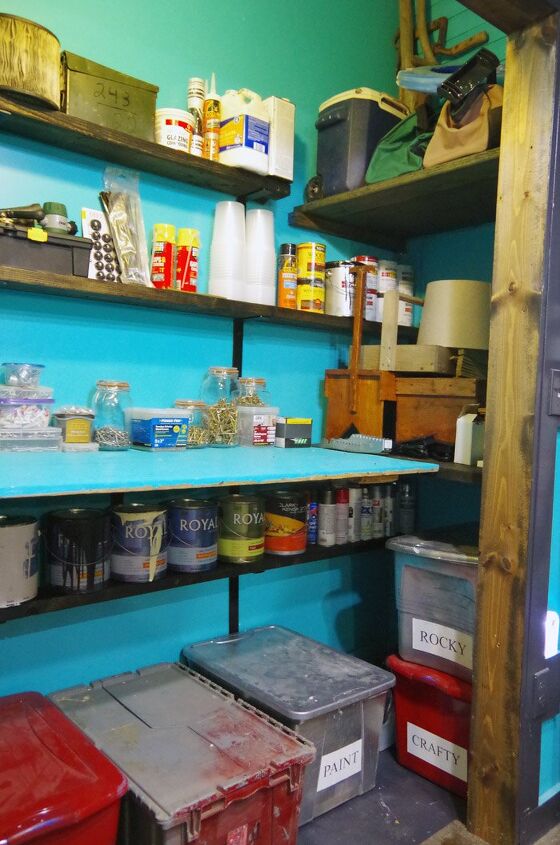
Because I chose to stain the interior of the closet frame (not to mention the floor is stained too) I decided to go ahead and continue with that theme. So, I stained the big wood shelves on the right side of the closet too.
(The stain is called Dark Walnut and its by Minwax.)

(I’ll also be staining out the shelves I put up to match later as well.)
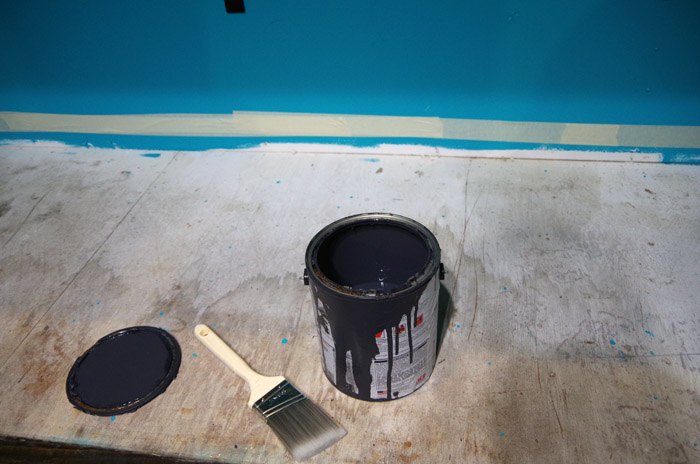
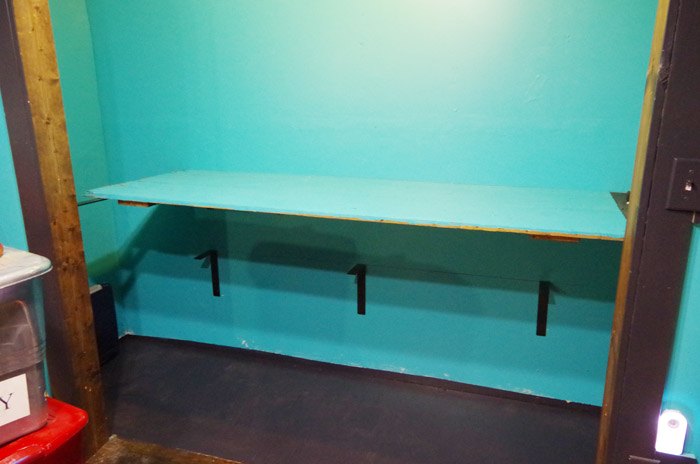
First thing was first though I wanted to paint out the entire closet in Sail the Seas by Valspar – the same color the workshop is painted. I literally had the exact amount of paint left to do it – though you can see in the after photos I do have a little bit of touch up to do.
I also decided to paint the floor to match the ceilings and trim throughout the workshop as well.
I ran a line of tape around the bottom of the closet walls, taking the floor paint right up on the wall to create a cleaner edge because I won’t be adding trim in here.
That color is called Tom Cat and it is also by Valspar.)
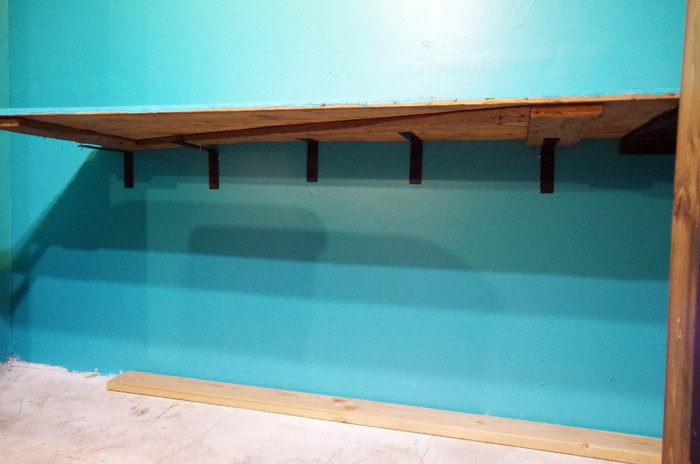
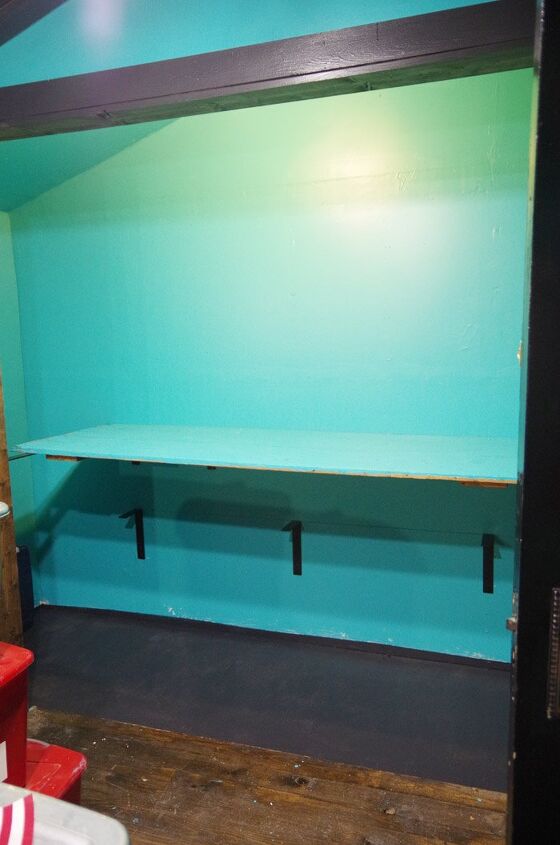
When I went through my purge and pulled the old barn door out of the closet it told me it would make a great work bench. (Some things just make themselves obvious.)

I had to do some modification first though as I had added wood to make it bigger and to support wheels on the bottom so it would roll. I removed all of the excess – taking it right back to the barn door I had initially started with.
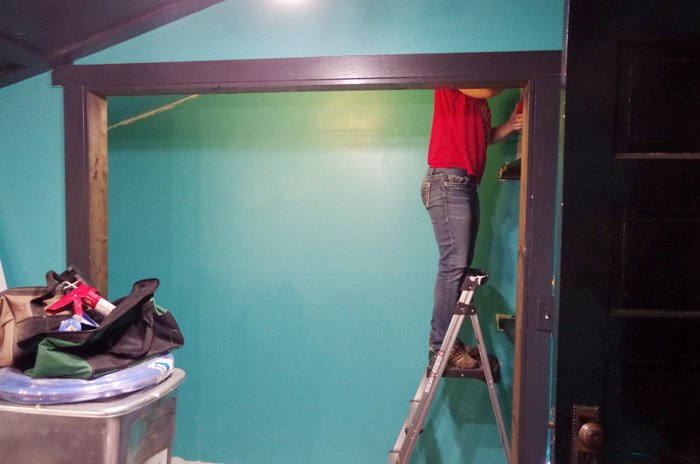
Now I needed to make a decision on how I was going to install it.
The old closet with those big bulky shelves took up way too much space and made getting things out on either side of the shelves a total nightmare… and the main culprit for this room needing this remodel.
…with that in mind…
I purchased some serious shelf brackets. (I spent nearly $150 for the bench and all of the future shelves and I have absolutely no regrets.)
Our new work bench and all of our shelves are going to float!

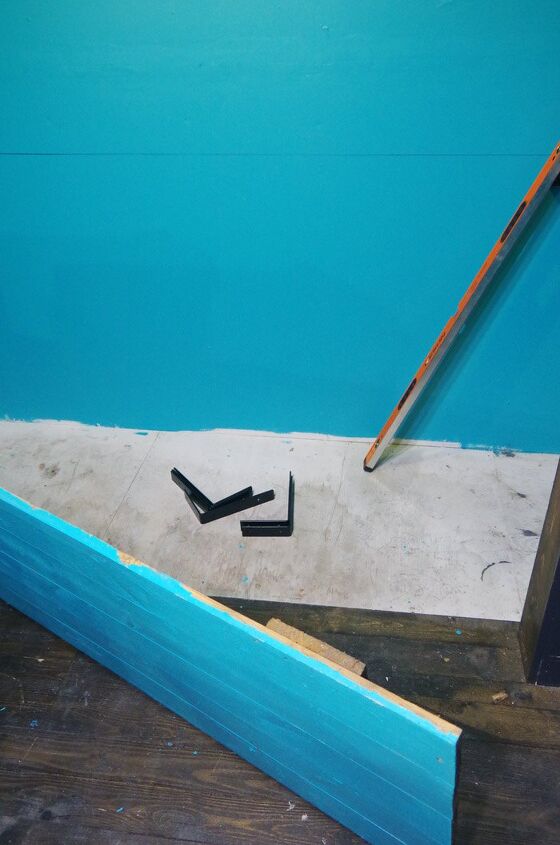
Barn doors are built with a main support across the top and the bottom and one diagonal board across the center. I installed the brackets according to where they would hit the back of the barn door. You can see a couple of them I had to lower to accommodate the supports.
Not a big deal – just one more quick step to get it really sturdy.
I may add a 2×4 all the way across the front underside of the work bench to make it even more sturdy at some point.
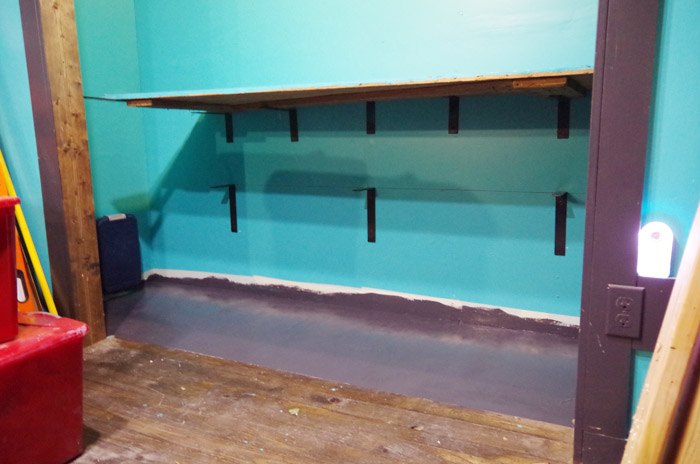
With the barn door installed and all of the painting and staining done, I got really excited.
Time to get some shelves installed and finish this project!


Frequently asked questions
Have a question about this project?