


How to Organize Your Kitchen Using Zones
Welcome to our Winter home organization challenge! I'm going to show you how to organize your kitchen using zones. Incorporating zones will make your kitchen so much more efficient by grouping like tasks together. In this post, I will cover cabinets, drawers and counter tops.!
6/P Strategy To Organize Your Kitchen using Zones
The 6/P strategy makes organizing any space very simple. Memorize the following words that start with the letter "P": prepare, purge, polish, personalize, place, and put back.
Prepare
Set up your kitchen with a trash bag, a cardboard box, and a laundry hamper. Clear everything off of your dining table.
Purge
Remove everything from your cabinets, drawers and counters. Sort each item into one of the following categories:
Trash-throw away any item that is old or broken in the trash bag
Donate-put items that you are no longer using, but are in good shape, into the cardboard box to donate
Relocate-put any items that don't belong in the kitchen into the laundry hamper
Replace-place items that need to stay in the kitchen on the dining table. Group like items together. This is the most important step to organize your kitchen using zones. Put the following groups of items together:
- Dish storage zone-everyday dishes, glasses, and silverware
- Food storage zone-food storage containers, plastic storage/freezer bags, food wrap, and foil
- Food prep zone-tools used to prepare meals like mixing bowls, measuring spoons and cups, and knives and cutting boards
- Cooking zone-tools used during cooking like pots, pans, spatulas, spoons, and whisks
- Baking zone-items needed for baking like cookie sheets, muffin tins, cooling racks, and cake pans
- Cleaning zone-tools used to clean like towels, dish clothes, dish washing soap, sponges, and cleaning products
- Small appliance zone- items like crockpot, instant pot, griddle, waffle maker
- Beverage zone-keep all items needed to make and drink beverages you like. Examples are coffee, smoothies, tea or different flavor waters!
Polish
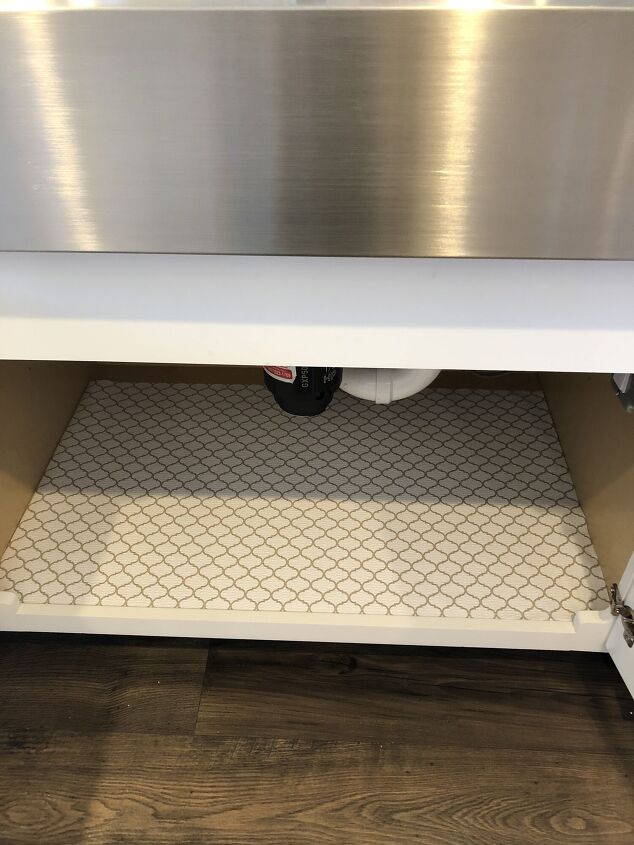
Now it's time to clean the cabinets, counter tops, and drawers inside and out. Remember to start at the highest point in the room and work your way down! Deep clean all of your appliances. Consider adding shelf liner to your cabinets to keep them from getting scratched and dirty.
Personalize
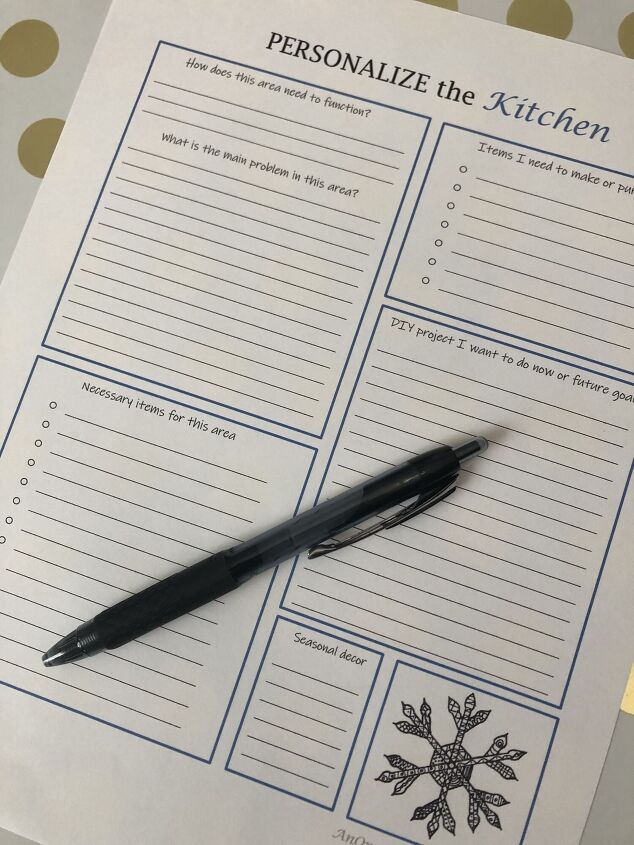
Personalize the kitchen to meet your needs by asking yourself the following questions:
- How does the space need to function for my personal needs and what zones do I need to incorporate?
- What is causing clutter on my counters?
- Are all of the items I have in the kitchen absolutely necessary?
- What items do I need to make or purchase to contain items in this space?
- How can I beautify the space, so I enjoy spending time there?
PLACE
Now it's time to place items back in the kitchen in an organized manor.
Discard the trash bag you filled up!
If you have items to donate, don't wait around, take them to the donation center soon!
If you have items that belong in another room, deliver them now.
Replace the items on your dining table by putting the zone closest to the area you will use it. For example, put plates and bowls in a cabinet closest to your dining table. When it's time to set the table, you don't have far to go! Or you may prefer to put your plates and bowls in a cabinet near the dishwasher, so you can unload them easily.
Put Back
If you want to keep your kitchen counter tops, cabinets and drawers organized, you must put things back in the zone you designated it to go in!
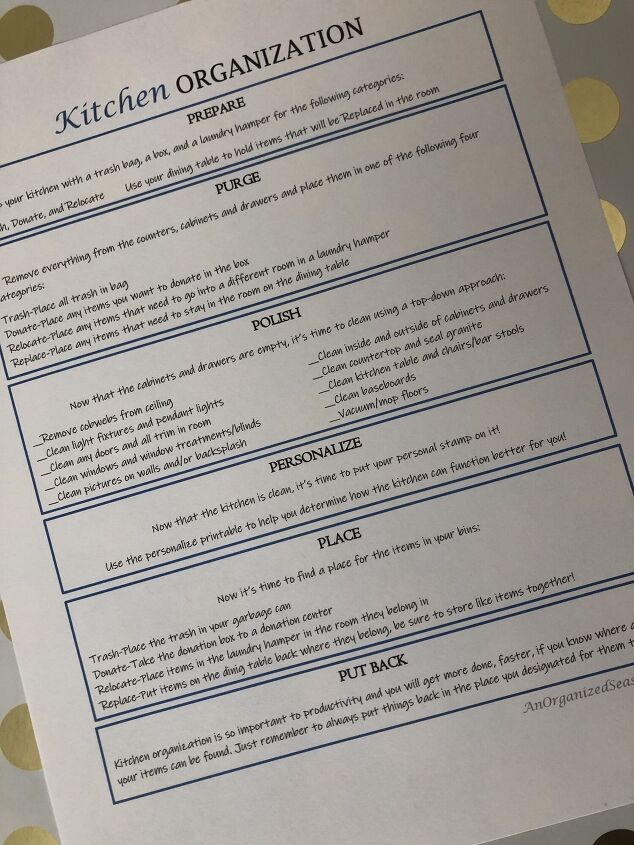
Use my free printable sheets to help you organize your kitchen using zones.
HOW I ORGANIZIED MY KITCHEN using Zones
Dish Storage Zone
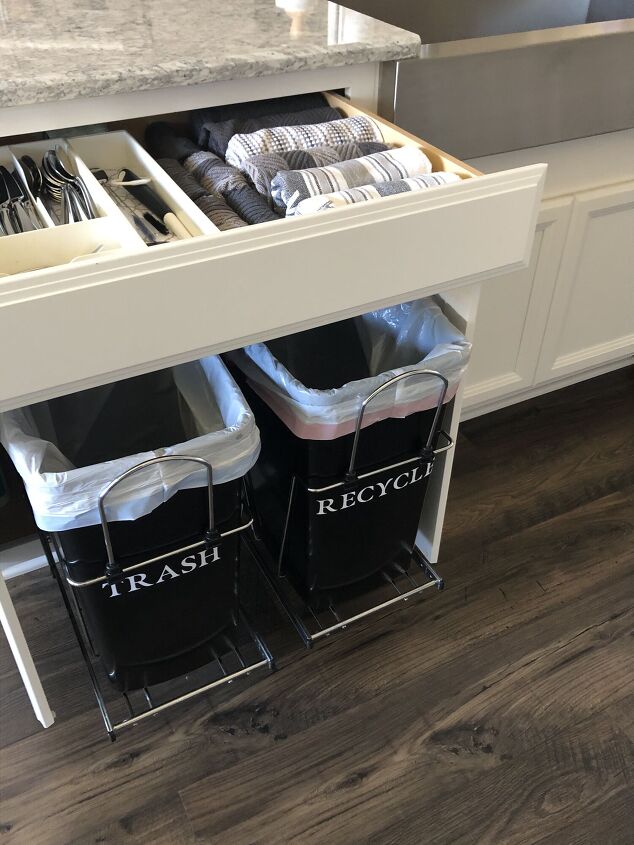
Every night for dinner, I set the table with silverware. So, I chose the drawer closest to the kitchen table for my cutlery organizer. Since it did not fill the entire drawer, I added my kitchen dish clothes and towels. For a perfect fit, roll towels and dish clothes instead of folding, then you can see which one you want to grab. This works great since my sink is on the right side of the drawer.

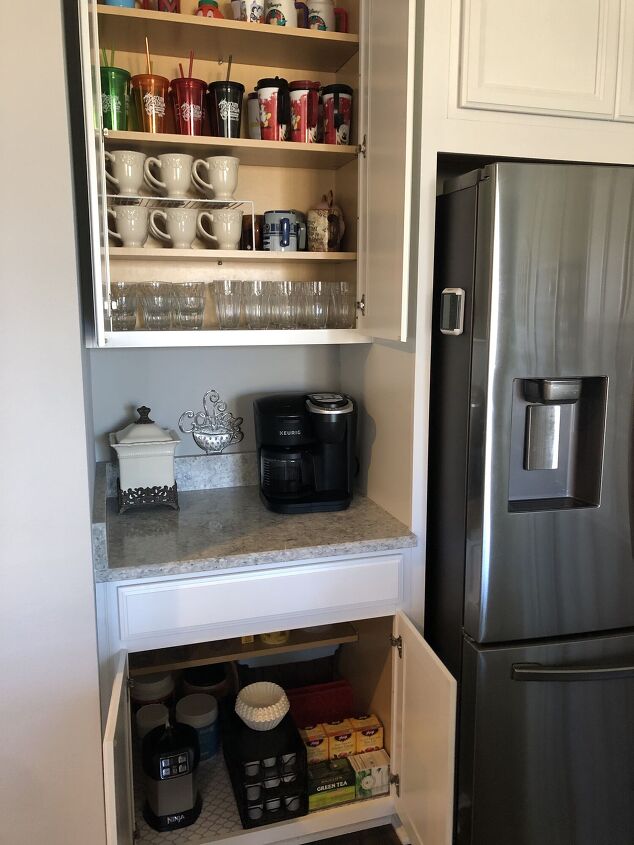
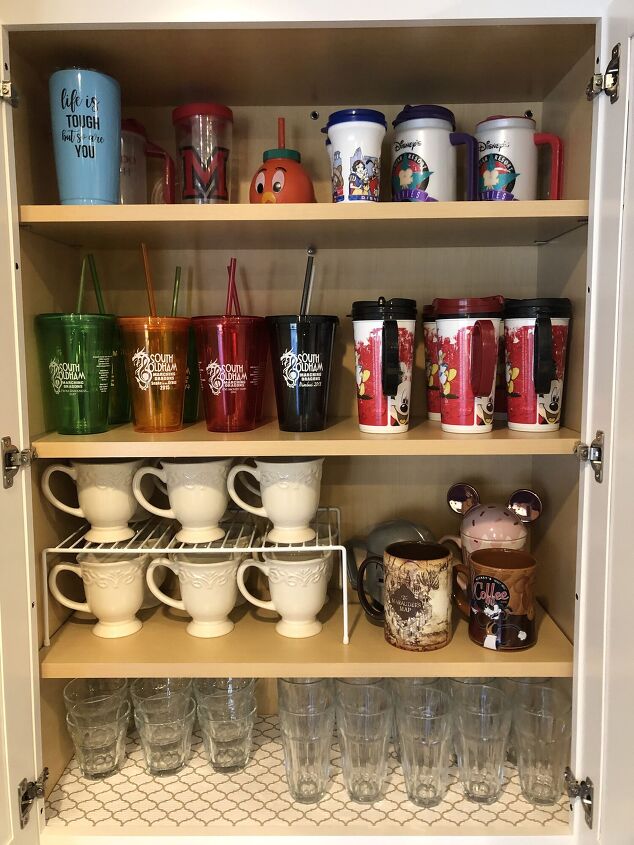
I like to store all of my drinking cups together, near the refrigerator. I put the glasses on the bottom shelf because they get used every day. Since we usually have water with most meals, it's easy to pull the glasses out and fill them with water from the fridge. On the second shelf I added a riser for our coffee cups which made room for our favorite souvenir mugs! Moving on to the third and forth shelves, I have cups for hot or cold beverages with lids in case someone wants to take a drink in another part of house or outside.
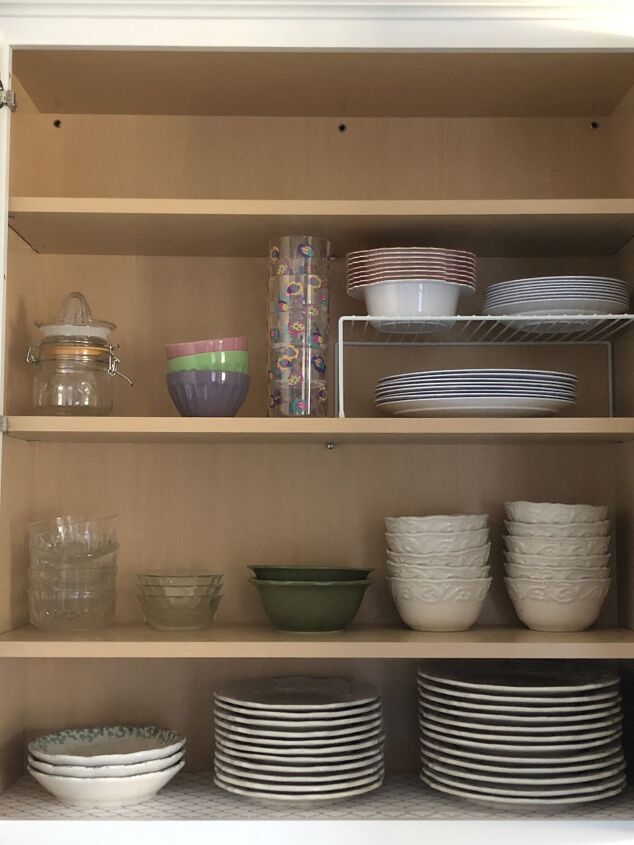
I store my plates and bowls near the kitchen table so I don't have far to carry them when I set the table. I put my plates and pasta bowls on the bottom shelf. Bowls go on the second shelf. On the third shelf I have my melamine dinnerware and since I used a riser I have a completely empty shelf on the top. I'm so happy I still have room in this cabinet. Maybe I'll ask for new dishes for my birthday lol!!
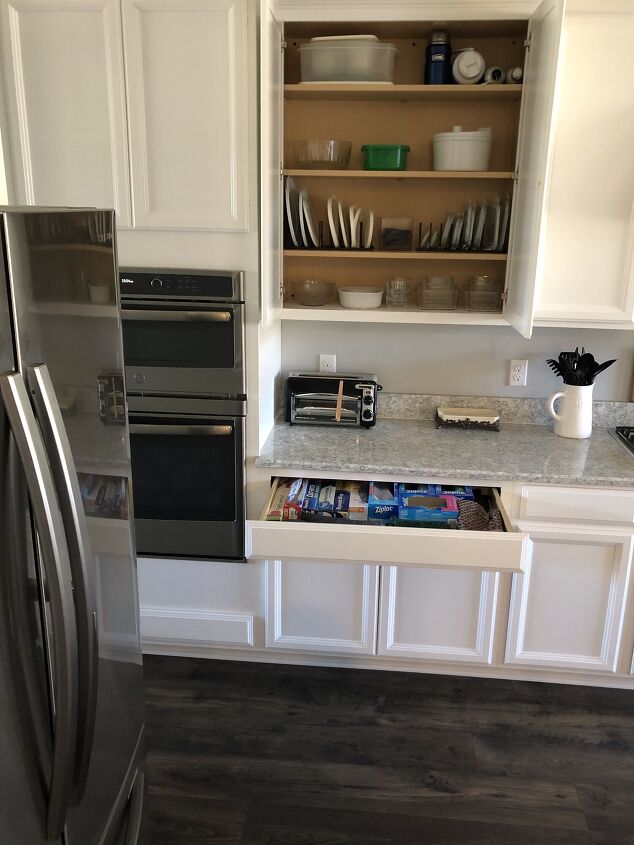
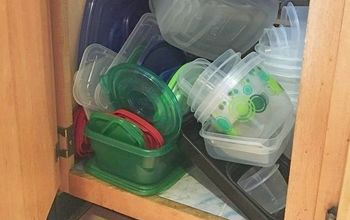
How to Organize a Food Storage Zone
All the items I need to store food are kept in the cabinet and drawer pictured below. A year ago, I switched from plastic to glass food storage containers and I like the glass so much better. As you can see, I did keep a couple of large Tupperware pieces that I use to store cookies at Christmas time. I love that the glass bowls nest so I can fit a lot on the bottom shelf. On the second shelf I store the lids using a plate holder. If you have the room, this works great!!
I store plastic and aluminum wrap in a drawer along with zip lock bags, parchment and wax paper. You can't see them but my oven mitts are towards the front of the drawer.
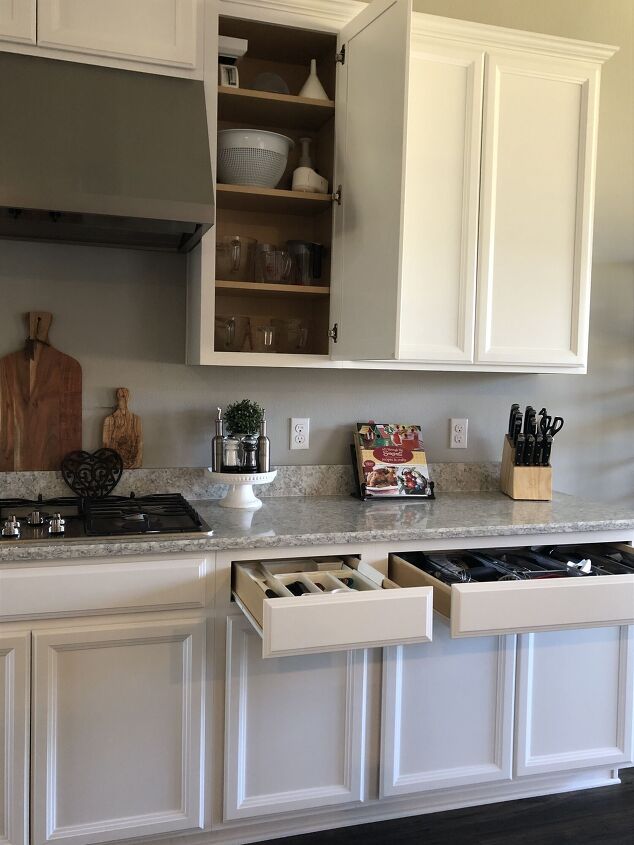
How to Organize a Food Prep Zone
Items I need for mixing and measuring are kept in the cabinet shown below and a drawer that is below the cabinet. I use the counter in between as my food prep zone.
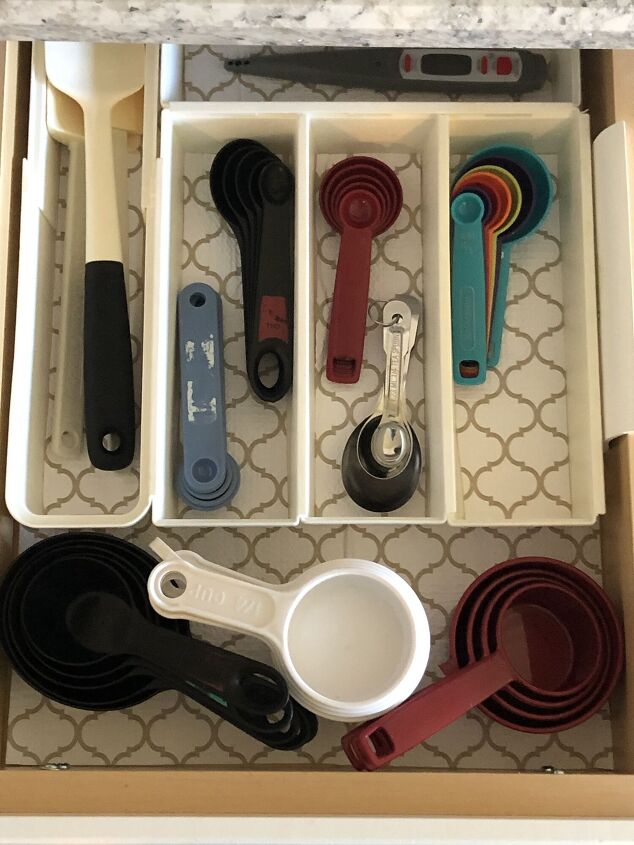
Here's a close-up of the drawer on the left. It holds measuring cups and spoons, spatulas and my thermometer.
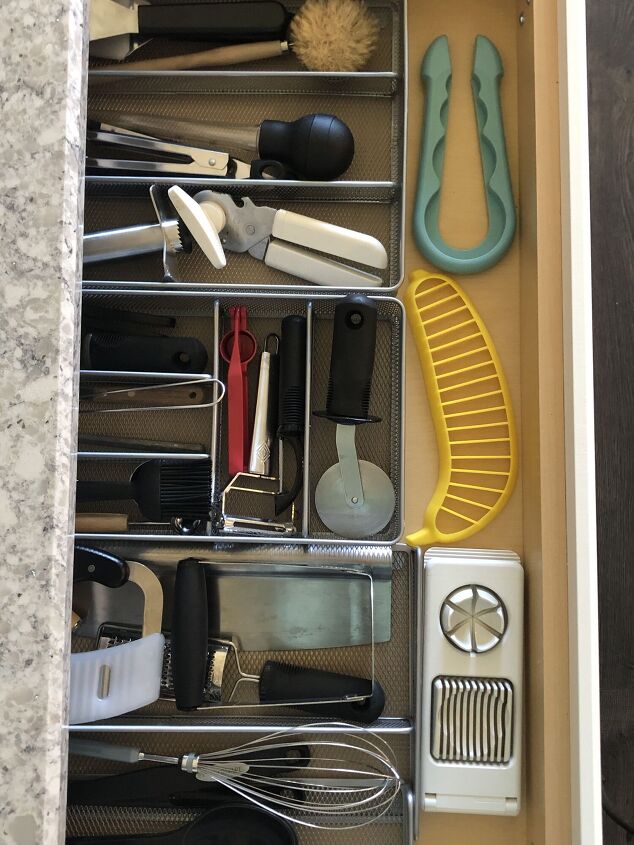
The drawer on the right has all items needed for cutting and chopping food.
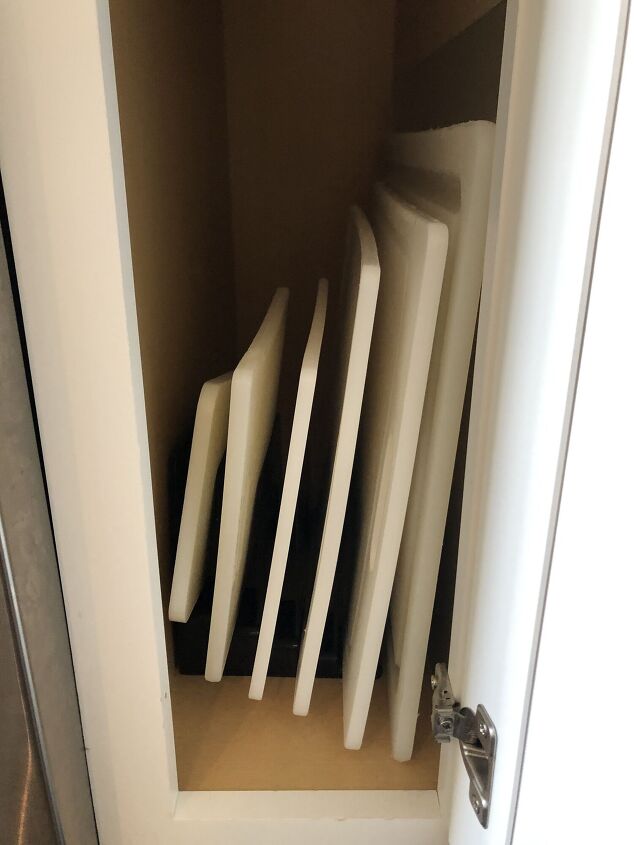
I keep my cutting boards in this small cabinet and use an office file to keep them separated. You could store your cookie sheets like this as well.
How to Organize a Cooking Zone
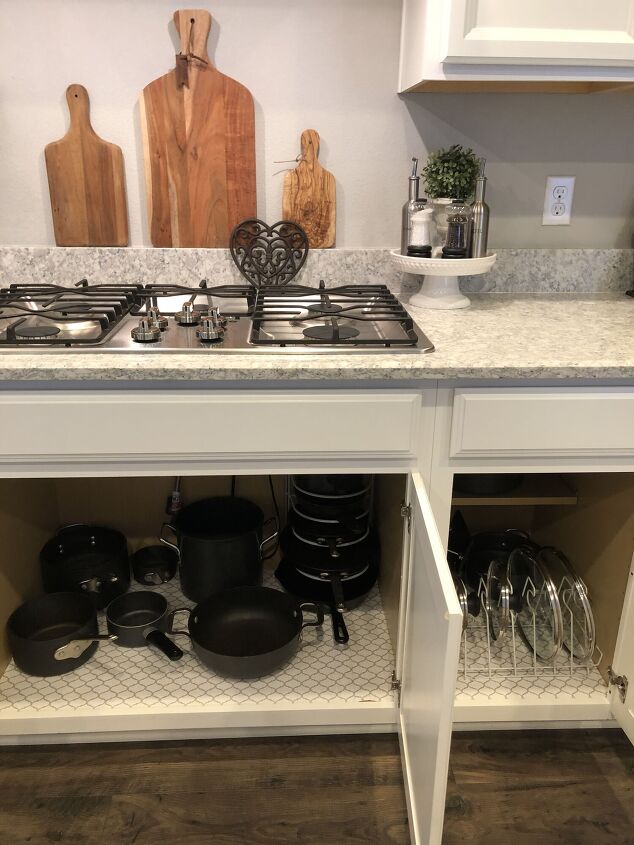
My pots and pans are stored under the stove for easy access. Notice the riser holding my skillets, this is a great example of how you can use vertical space to fit more items in a cabinet. The lids are right next door.
How to Organize a Baking Zone
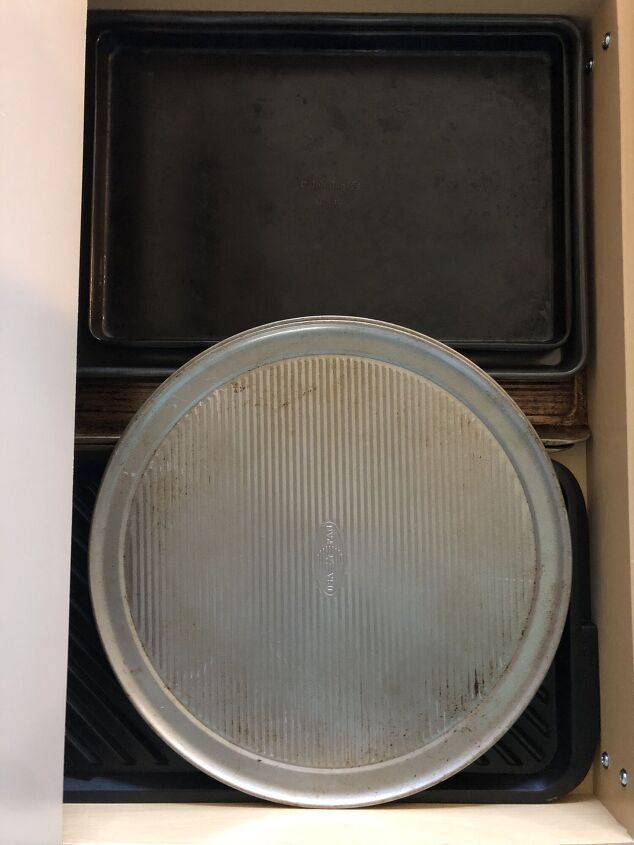
I have a very skinny drawer under my oven that holds cookie sheets and pizza pans.
The rest of the items I use for baking are stored in this cabinet. I use baskets to contain smaller items.

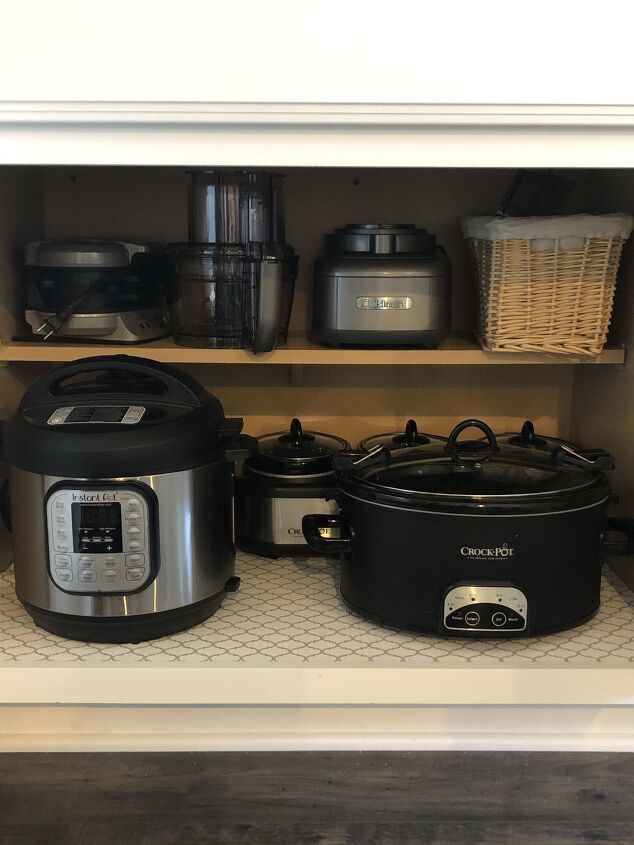
How to Organize a Small Appliance Zone
Keep all of your small appliances in the same cabinet. I'm using a basket to contain pieces of my food processor.
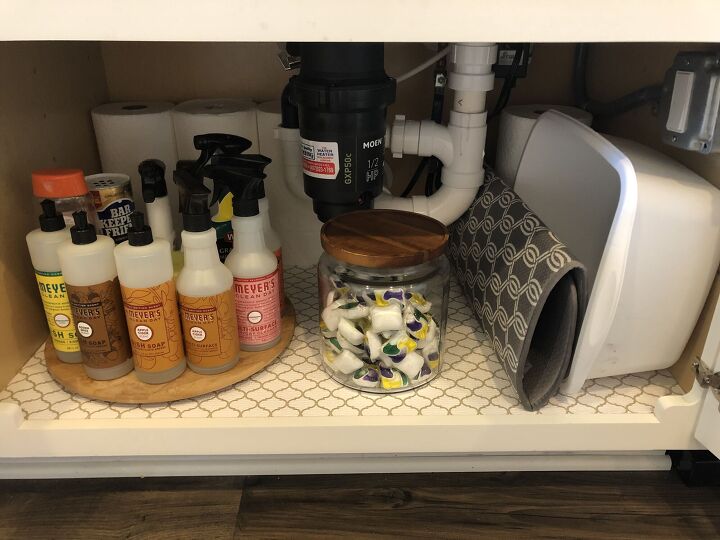
How to Organize a Cleaning Zone
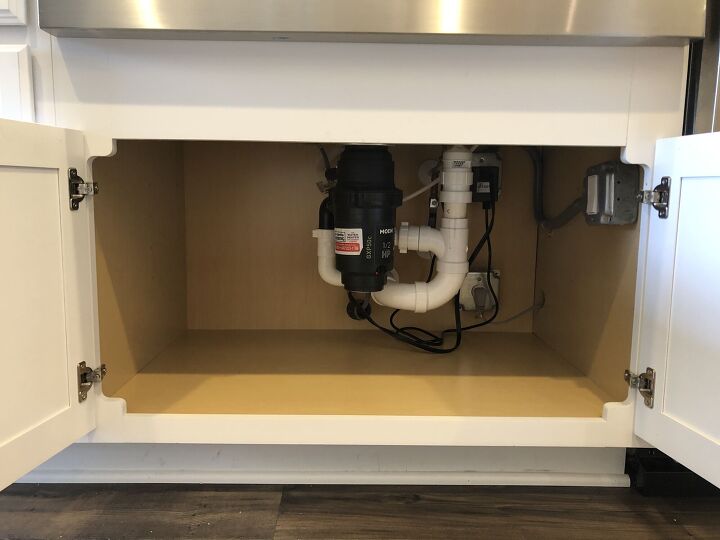
I think the best place for the cleaning zone is under the kitchen cabinet. I use a lazy Susan to hold all of my kitchen cleaning supplies. So easy to turn until I can reach the product I need. The tub and drying pad I use when washing dishes fit neatly to the right. Love using a glass canister for the dish tabs because I can easily see when it's time to purchase more.
HOW I PERSONALIZED MY KITCHEN
You've learned how to organize your kitchen using zones by following my 6P Strategy. My favorite part of the strategy is step # 4 Personalization. This step allows you to make this space your own and add character and beauty so it not only functions well but looks great too! Here are some steps I took to add special touches to my kitchen!
New purchases
When we moved, I used my worn out kitchen towels to pack fragile items and then bought new ones to match this kitchen. It's so nice to have soft, new towels and wash clothes. It's little touches like this that bring me joy! We also purchased the pull-out trash and recycle cans and Rich assembled them in a cabinet next to the sink. I made the labels on my Cricut cutting machine and now when we have company (some day when the pandemic is over) they'll know which can is which!
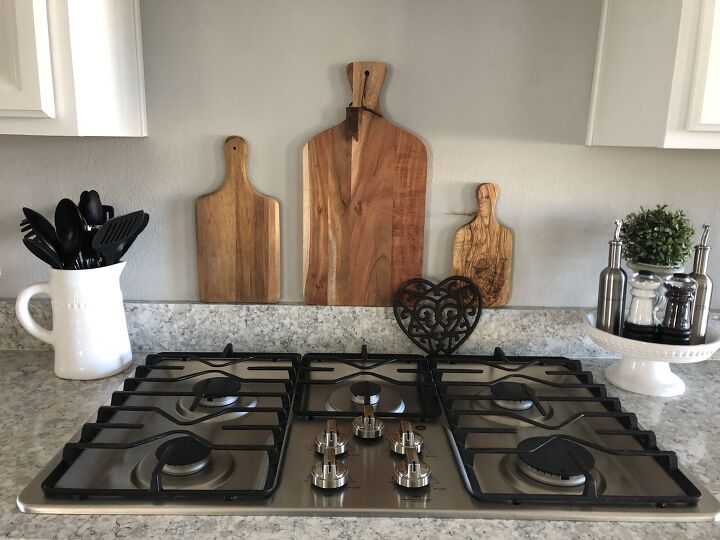
Use Decorative Items That Are Functional
There's no reason your kitchen can't be beautiful and functional at the same time! Display cutting boards and/or trivets like pieces of art. Use decorative items like the white pitcher to store things you use everyday so they look nice but are easy to grab. Use a tray or cake stand to hold salt, pepper, oil and vinegar or any items you cook with on a daily basis.
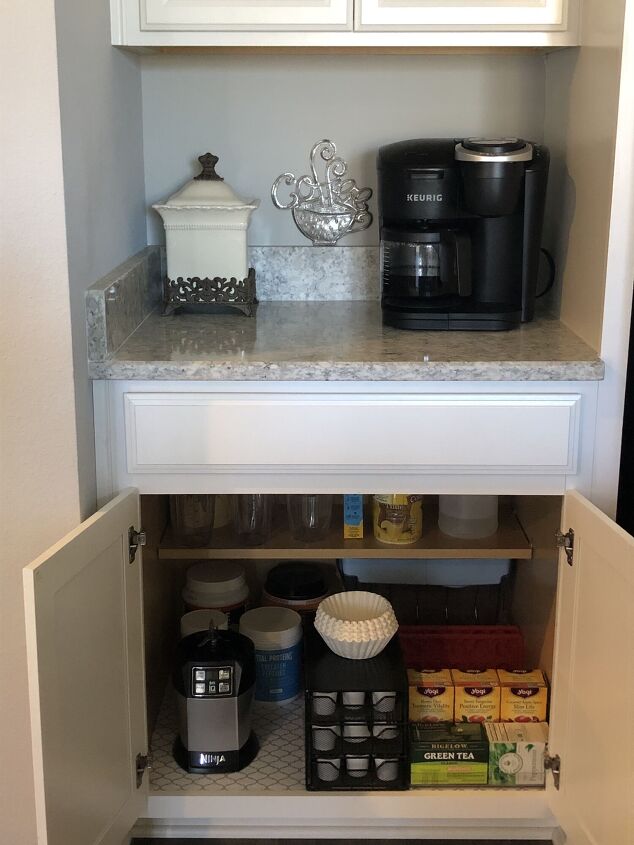
Set up a Beverage Station
We use this area mainly for coffee but in the cabinet below I also set up a smoothie station on the left side. On the right side I have many choices of tea and coffee!
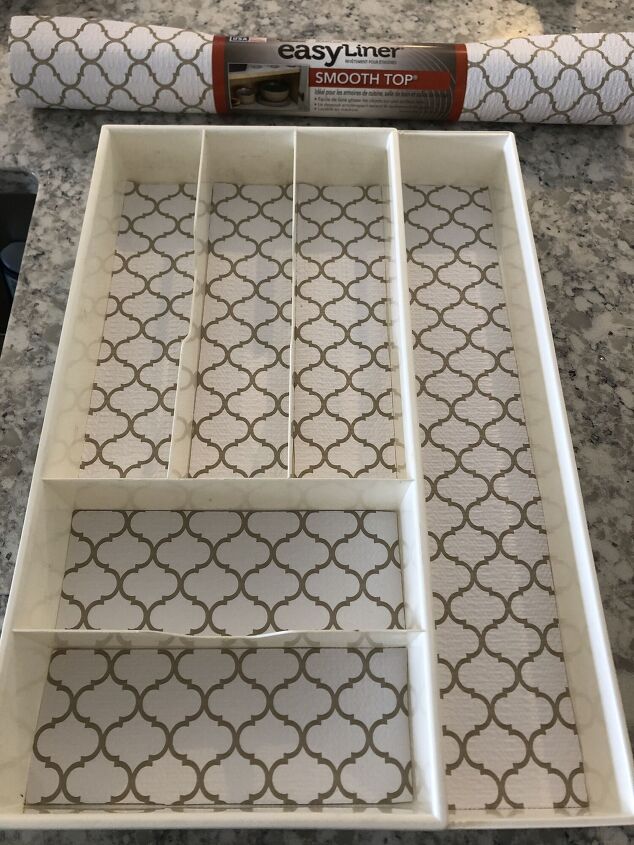
Make Something Old Look New Again
The cutlery tray below has marks that will not wash off so, I decide to use shelf liner to spruce them up. Here's the before...
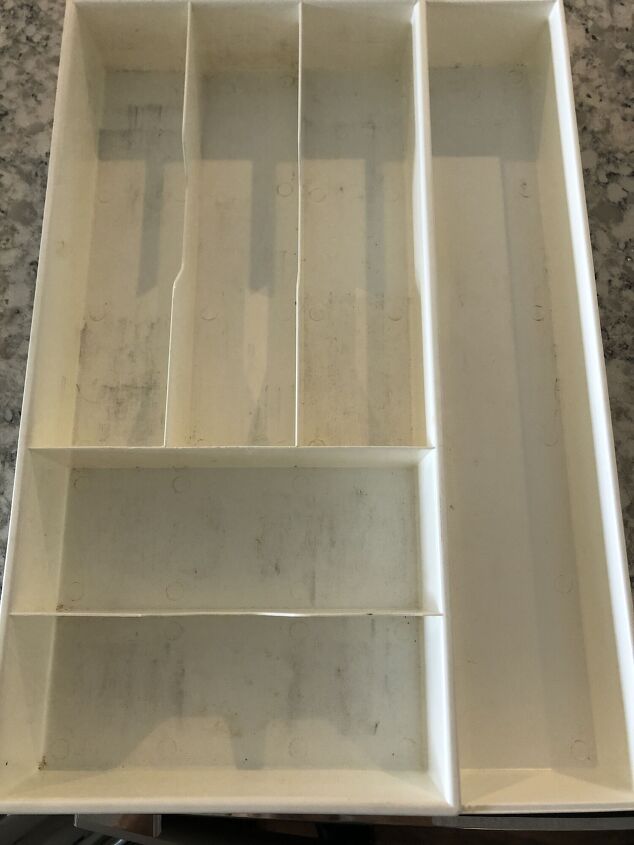
And here's the after. What do you think? I think they look brand new and have so much more character!
Well, are you excited to organize your kitchen using zones?? Incorporating zones will help save you time and maximize the efficiency of your kitchen! I hope you were able to get some great organization tips that you can use in your home! Next organization post will be about the pantry!
Blessings, Donna and Rich
For more Organization Inspiration for all areas of your home click HERE!
If you enjoyed this post sign up for our email HERE to get the latest organization posts and access to free printables like the ones used in this article.

Comments
Join the conversation
-
That’s a great idea but my problem is I don’t have a lot of cabinet space
-
I do use some of the concepts but don't have the space for every idea. Still a good share.


Frequently asked questions
Have a question about this project?