


New and Improved Beeswax Wraps!

So this project is actually an upgrade from one of my first ever hometalk projects. Home made beeswax wraps, better than ever before.
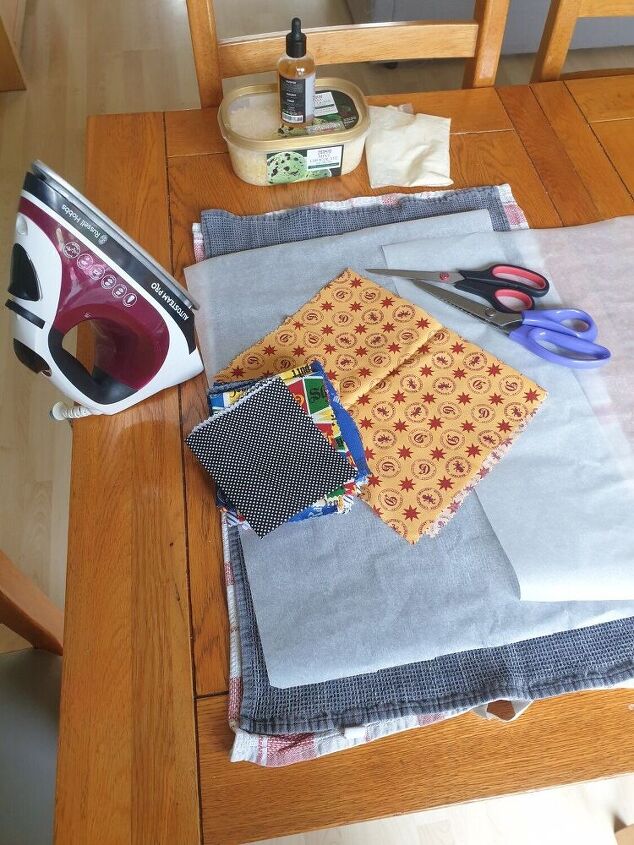
Here's everything you'll need. Tea towels, baking paper, scissors, pinking shears, an iron, cotton squares/rectangles, beeswax pellets/grated beeswax, powdered pine resin and jojoba oil.
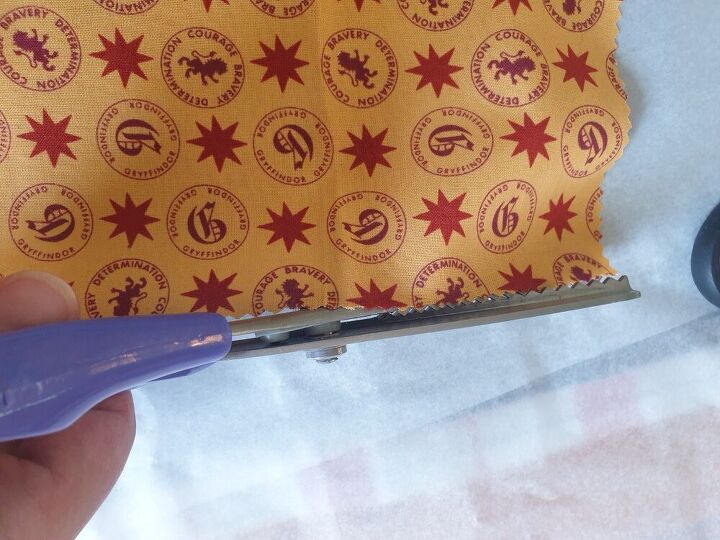
First cut your cotton to the desired size using pinking shears (this presents the edges of your wraps from fraying).
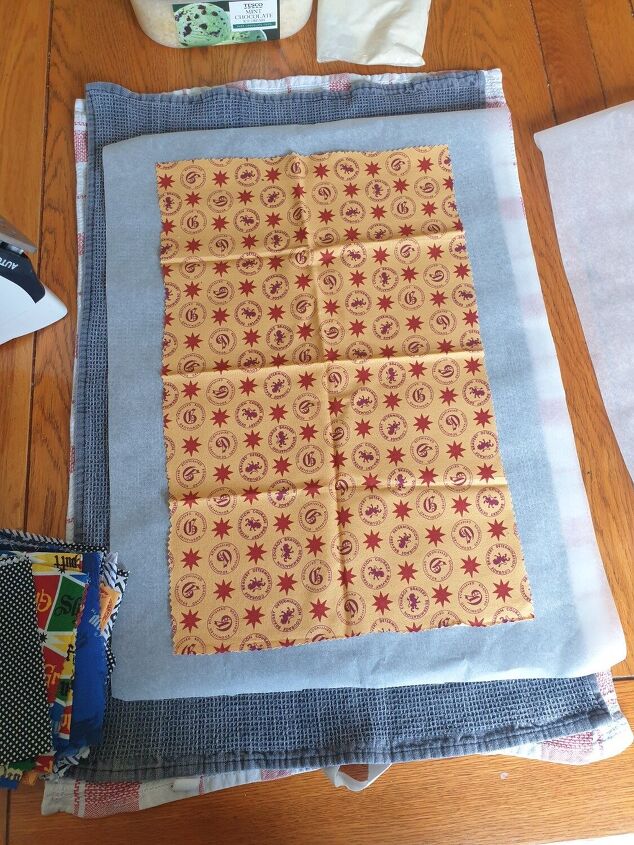
Protect your surface with a tea towel or 2. Then place a piece of baking paper onto the towels and lay your cotton on top.
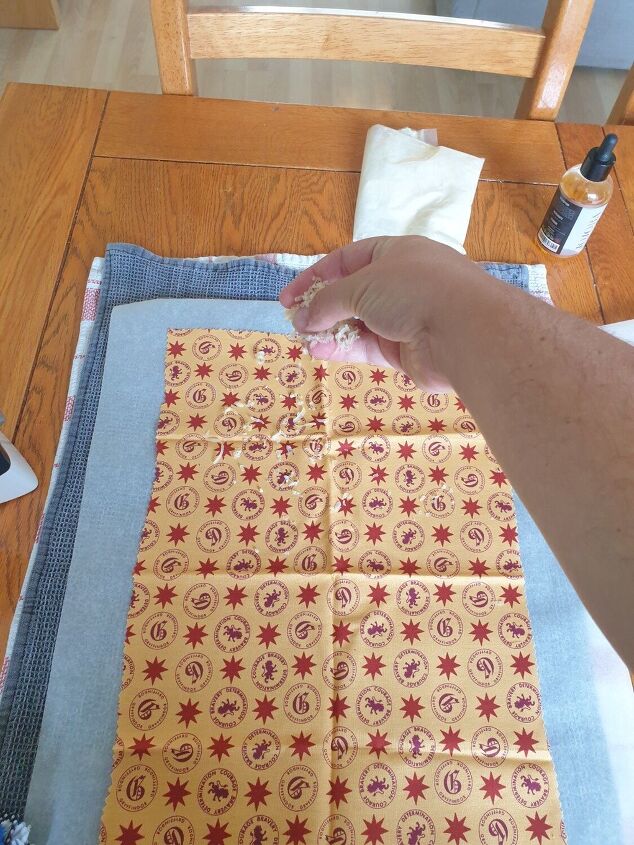
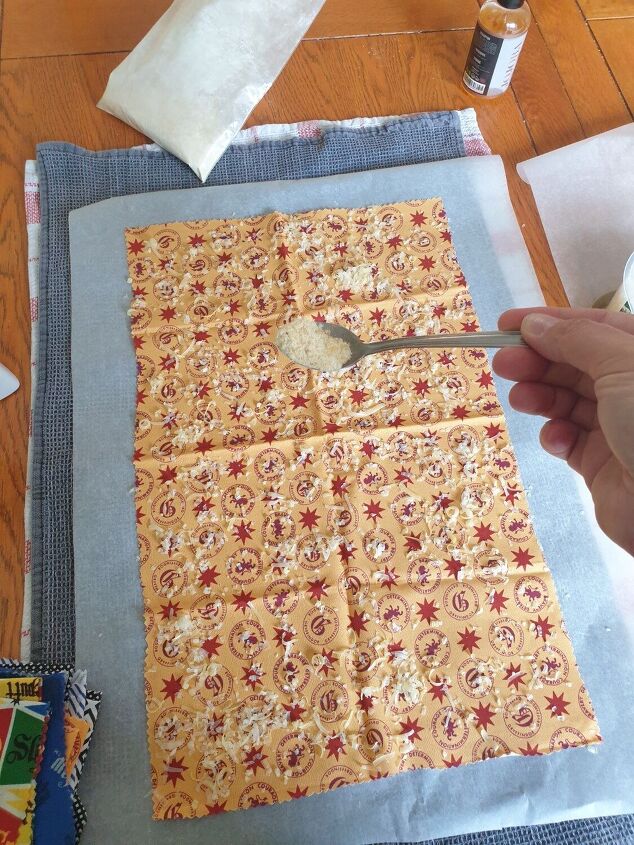
Sprinkle grated beeswax all over the cotton evenly.
Next, sprinkle the powdered pine resin evenly over the cotton.
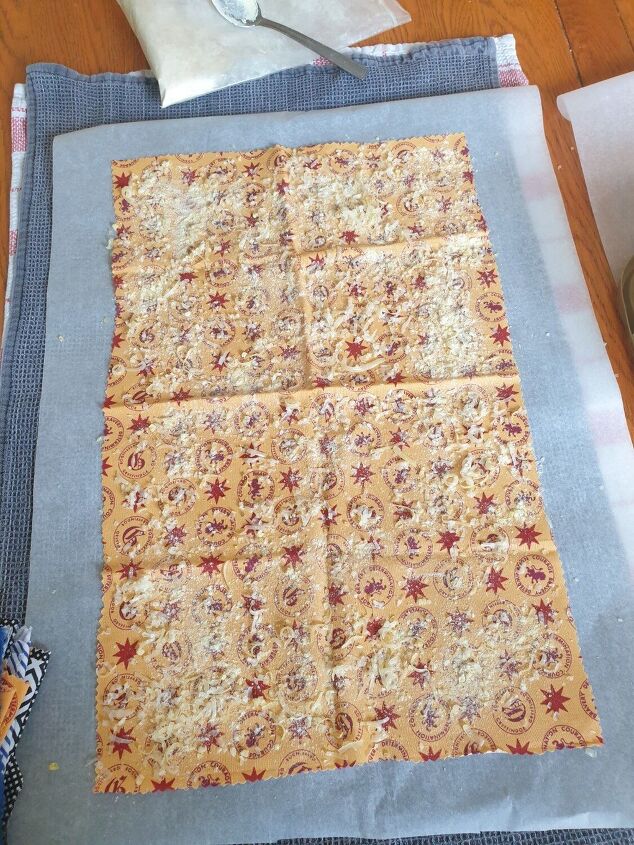
At this stage you should have something that looks like this.
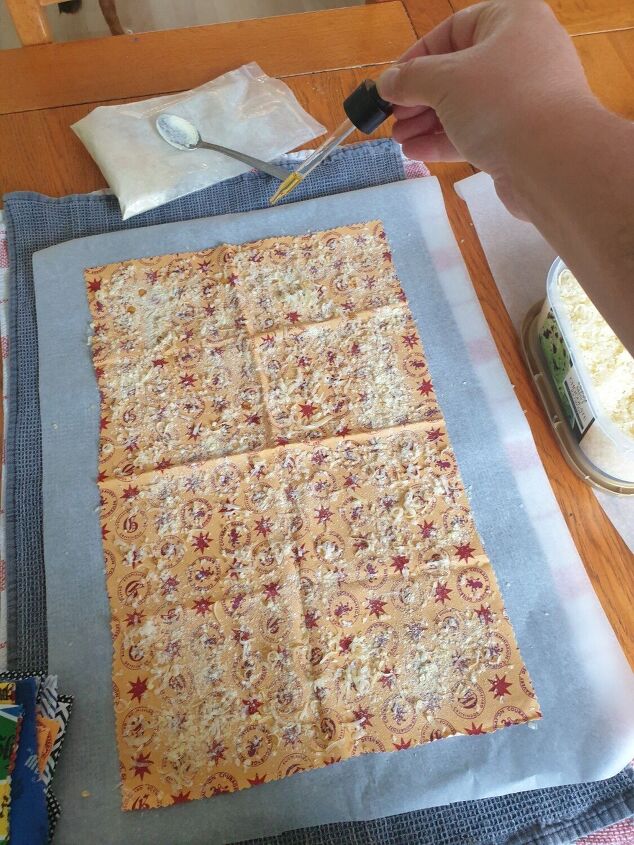
Next, drip the jojoba oil roughly evenly spaced over the cotton. Around 30 drops per wrap as a rough guess.
Now place another piece of baking paper over the top of the wrap.
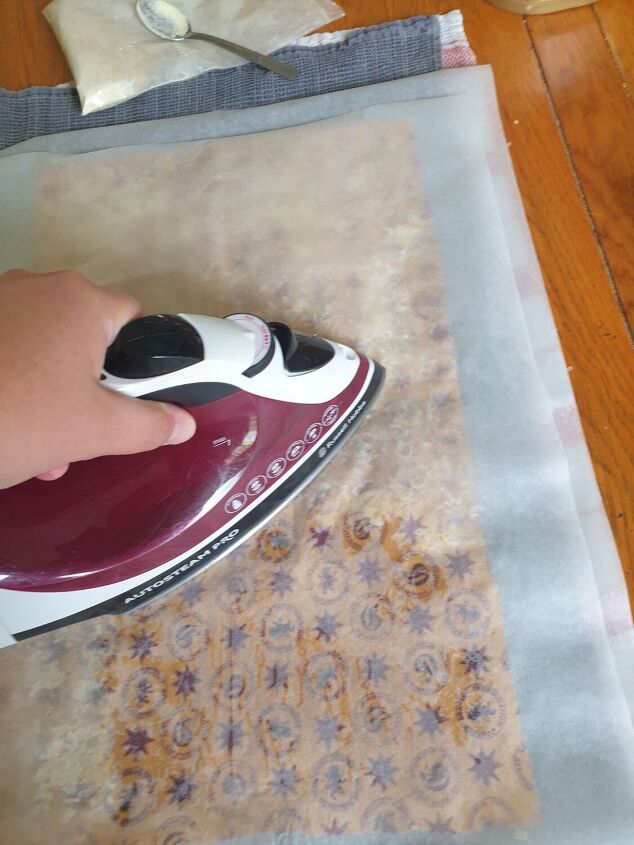
Run a medium heat iron over the cotton until everything has melted and is evenly spread through the whole wrap. You can clearly see when this has happened because the colour of the cotton becomes far more visible through the baking paper. It's fine for some to "squidge" out of the sides of the wrap, as long as it doesn't come out of the baking paper and get onto your iron.
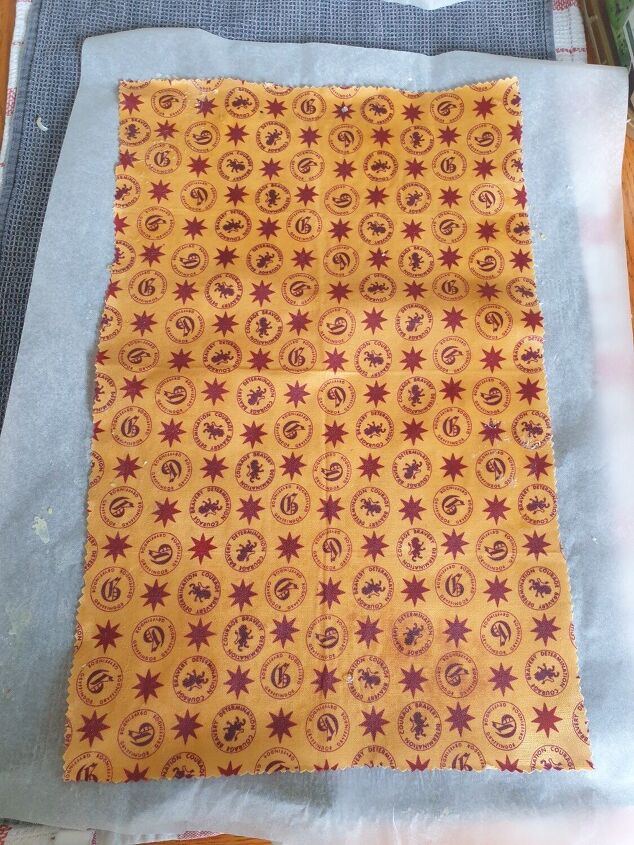
When it's done, quickly peel off the top piece of baking paper and set it aside. Then quickly peel off the wrap and wave it gently until it cools and hardens (this doesn't take long at all. Less than 30 seconds). Once hardened you can fold it.
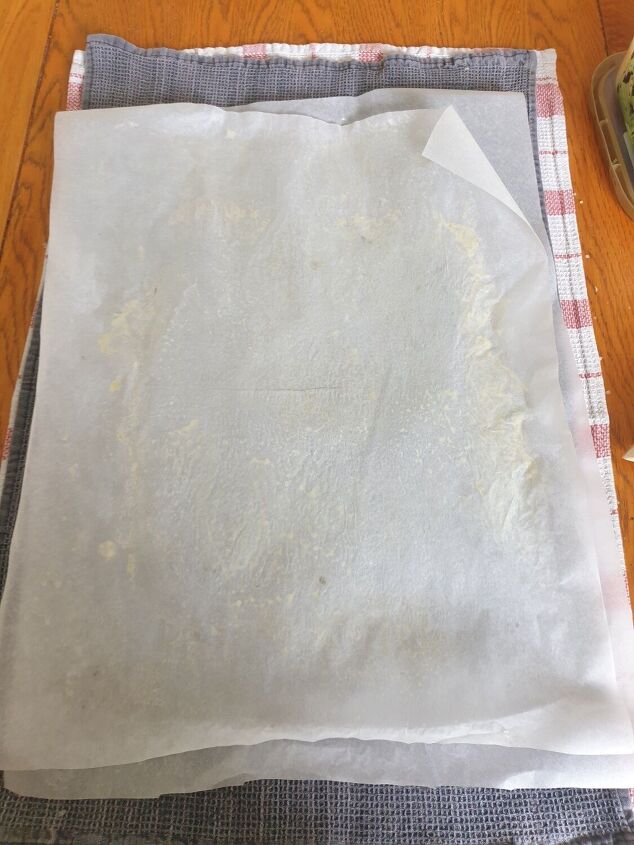
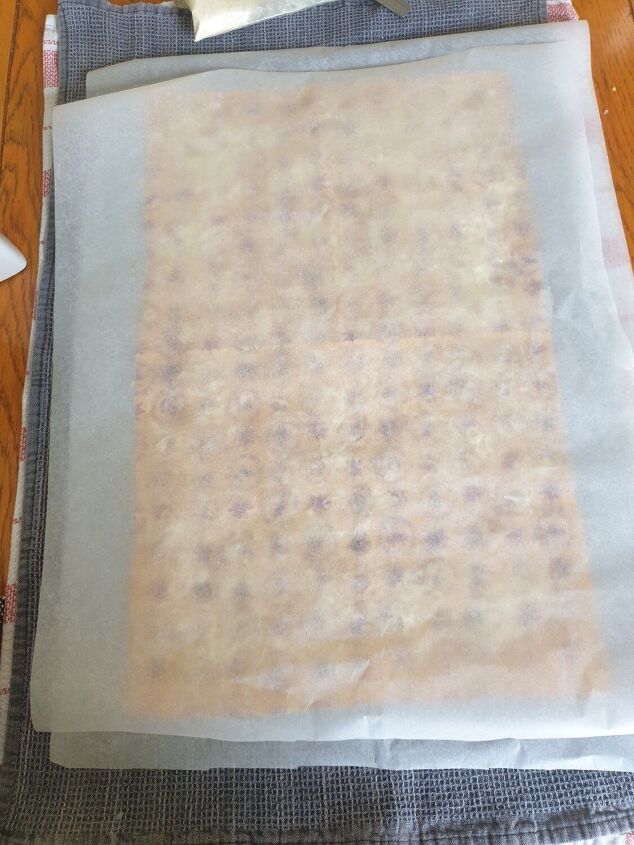
This is what your baking paper should look like once it has been used for a wrap. This is perfectly fine to use for more wraps, so repeat above steps for as many beeswax wraps as you want to make.
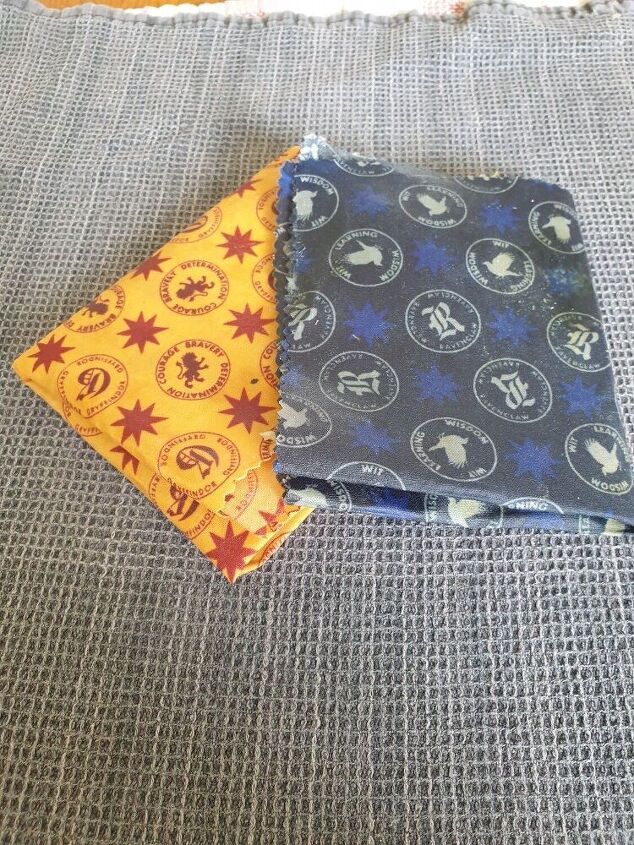
There you have it. Home made beeswax wraps. The pine resin and jojoba make the wraps more flexible and also 'stickier'. While I do love my other beeswax wraps and do still use them, I do like that these feel more like shop bought expensive ones.
Resources for this project:
See all materials


Comments
Join the conversation
-
I would have liked to see what you wrapped with it and how it stayed closed.
-
No


Frequently asked questions
Have a question about this project?
What do you wrap in the finished product?
How do you clean and store them?
What would you use these for?