


Milk Jug Watering Can & Pot-Upcycled “Jersey Girl Knows Best”

It’s almost Spring time and you know what that means! Flowers, vegetables, fruit, plants...garden, garden, garden 🪴 🥕 🌸 I can not wait for this snow to melt...sorry Frosty ☃️ Let me show you how you can make your own watering can and plant pot with a milk jug! Ready?! Let’s do this!

This is the best plastic milk jug to use for this project and you can buy it at Costco! This one works the best because it is made from a thicker plastic than your standard milk jug from the supermarket.
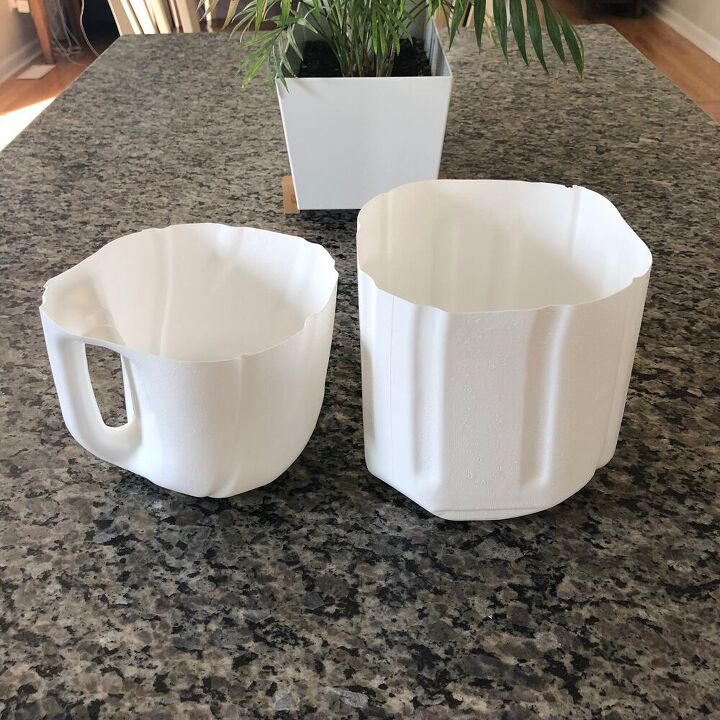
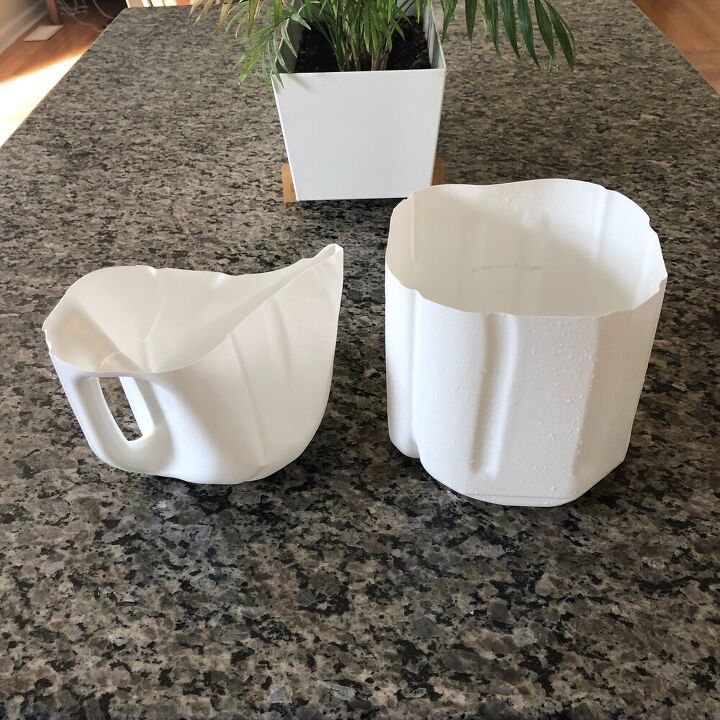
I start buy cutting the milk jug right above the handle all the way around in a straight line, as shown.
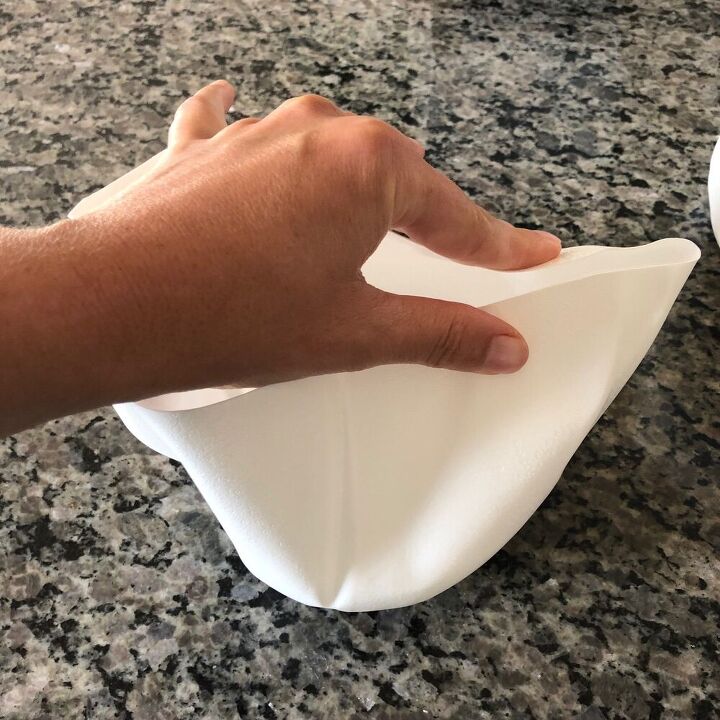
I then take the watering can and squeeze it to create a more defined spout, as shown. Where the plastic naturally creases from the bottom to the top of the spout, I pinch that crease all the way down to make it more pronounced.
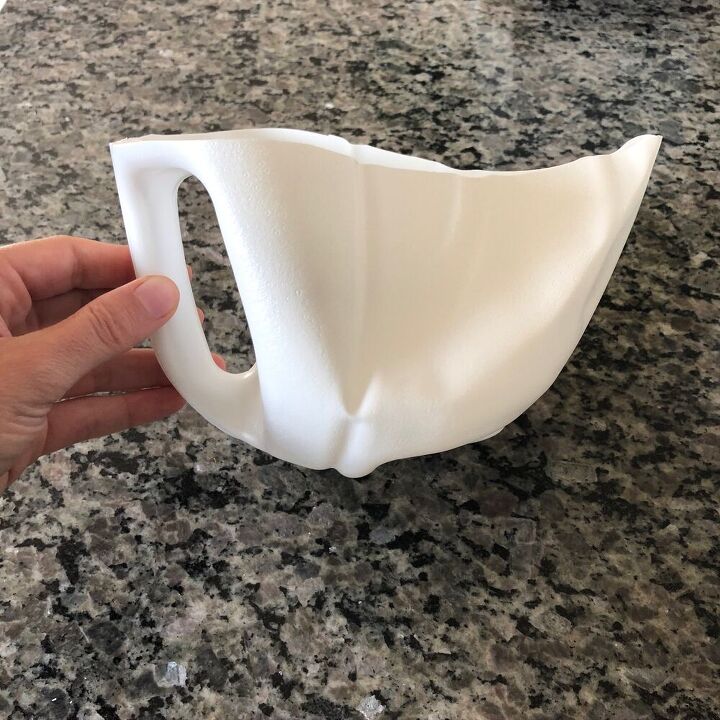
This is the side view of the creased watering can.
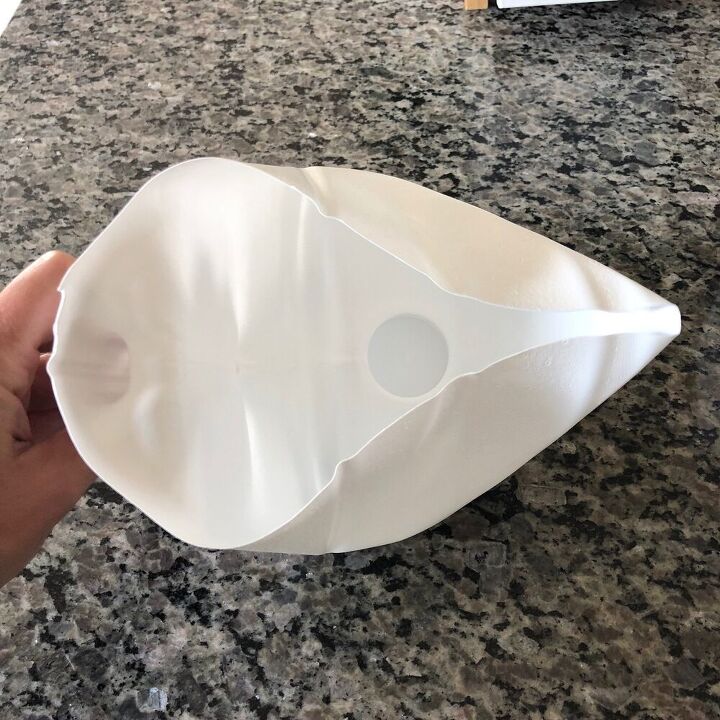
This is the top view of the watering can.
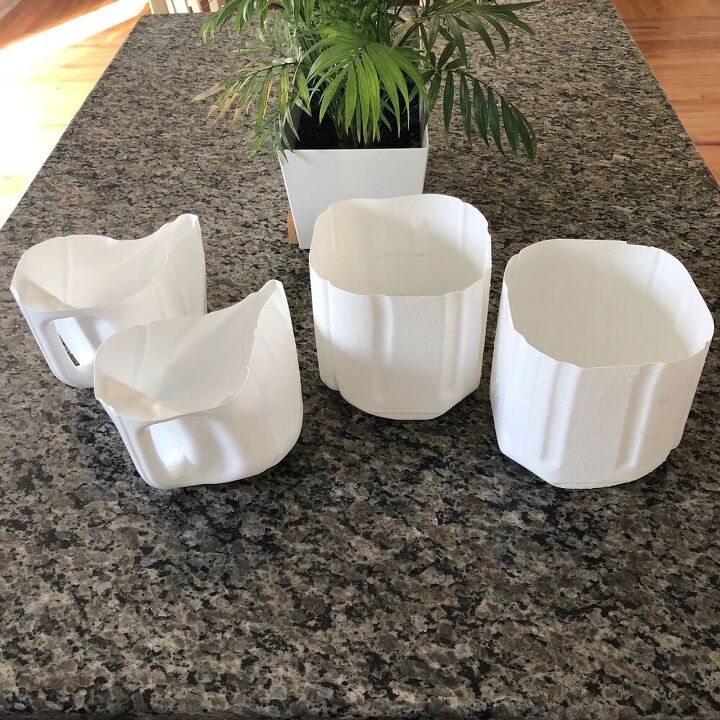
Now you can either add rocks to the bottom of the “pot” or for a lighter version you can add cut up plastic pieces of a water bottle or two and then add your dirt and seeds or an already grown flower or plant. If you just want to add dirt you can drill holes on the bottom of the “pot” for drainage.
How simple was this project?! You now have an all year long useful solution to your empty milk jugs. Plant, Grow, Bloom 🌸 🥕
I would love if you subscribed to my YouTube Channel!
www.youtube.com/jerseygirlknowsbest


Comments
Join the conversation
-
Great Idea !
-
Great upcycle. The pots would look nice painted.


Frequently asked questions
Have a question about this project?