


How to Sew a Fabric Round Bushel Basket Liner
Sewing a fabric bushel basket liner is really quite simple once you see how one is made. These instructions could be adapted to make a liner for any type of basket.
There is a video for this post as I think it’s a bit easier to watch it being made.
This post contains affiliate links.
How to Sew Basket Liners Without a Pattern
What you will be doing is using your basket as a pattern. You will be piecing fabric together to the outside of the basket and marking how much fabric you need. The result will be a liner that fits your exact basket. You can do this for any size or shape basket that you choose.
For the outside flap, it kind of looks like it is folded over the basket. In reality, it is just seamed and then sewn to the top of the lining, it fits perfectly over the top of the basket. You then just make slits for the handles to go through.
Materials Needed
- This depends on the size of your basket. For the bushel basket, I used roughly 1 yard for each basket. If you don’t want to piece the fabric together, you may want to use more fabric.
- Binder Clips make this project so much easier
- Pins
- Thread
- A Sewing Machine ( This one is super affordable and does a great job!)
Best Fabric to Choose for a Bushel Basket Liner
I used a heavier duck-type fabric. A thick canvas would work well or even an oilcloth would be good. I think these make excellent laundry baskets, so something washable or even water-resistant would be good!
DIY Custom Bushel Basket Liner
Step 1:
Trace around the bottom of the bushel basket, straight onto your fabric. Use a pencil, washable marker, or a sewing marker.
Step 2:
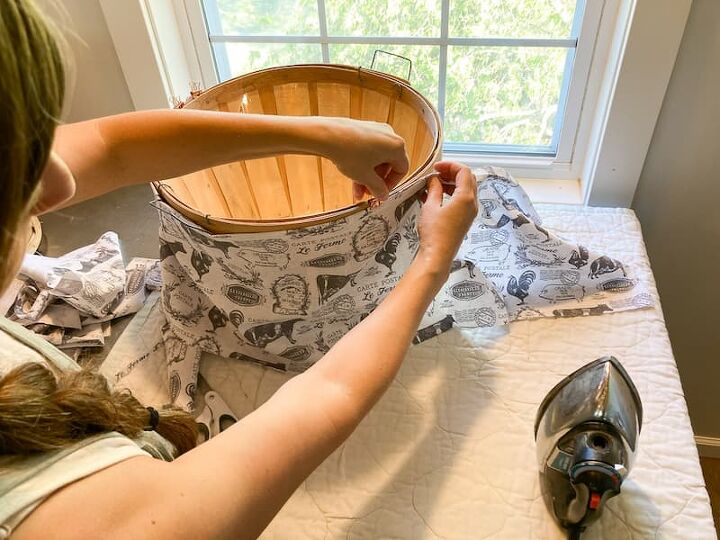
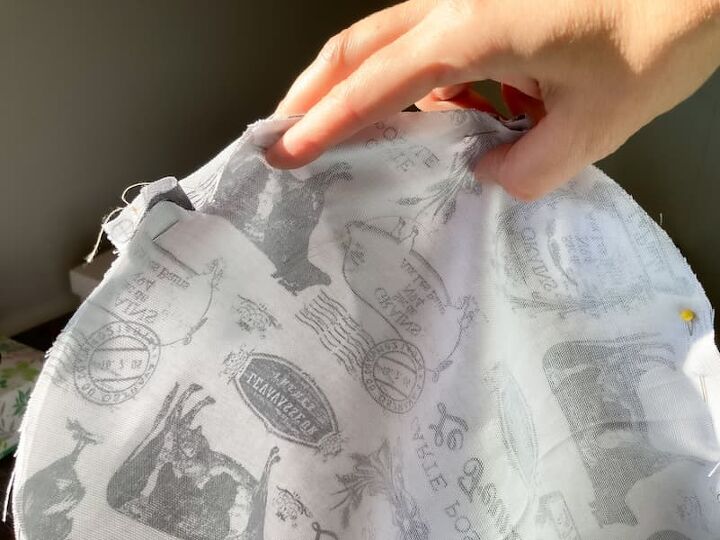
Measure the height of your basket and roughly cut a piece of fabric to the right size. If you don’t have a length to go all the way around, you can piece some fabric together. That is what I did.
Using some binder clips, clip the fabric all the way around the basket so that you can see exactly how much fabric you need.
Step 3:
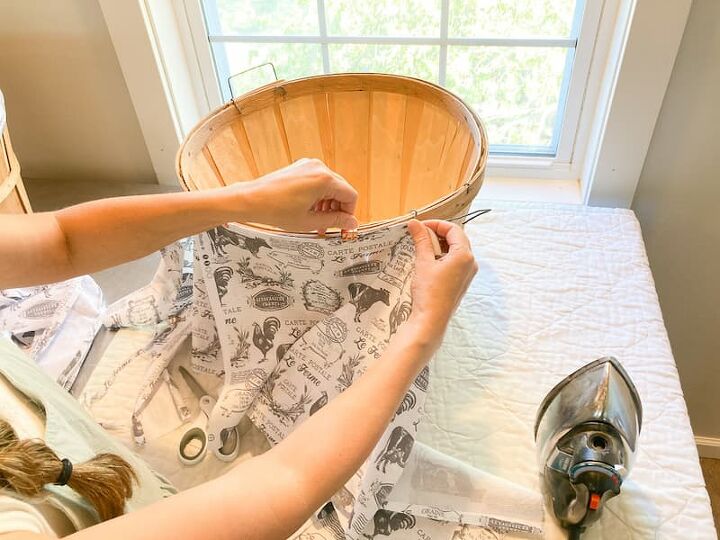
For the fabric that shows on the outside of the basket, measure a strip that is roughly 3.5″ tall. If you don’t have a strip long enough to go all the way around the basket, you can simply stitch some together to go all the way around. That is what I did and it isn’t really noticeable.
Do the same thing you did for the sides and use binder clips to clip it around the edge to measure how much you need.
Step 4:
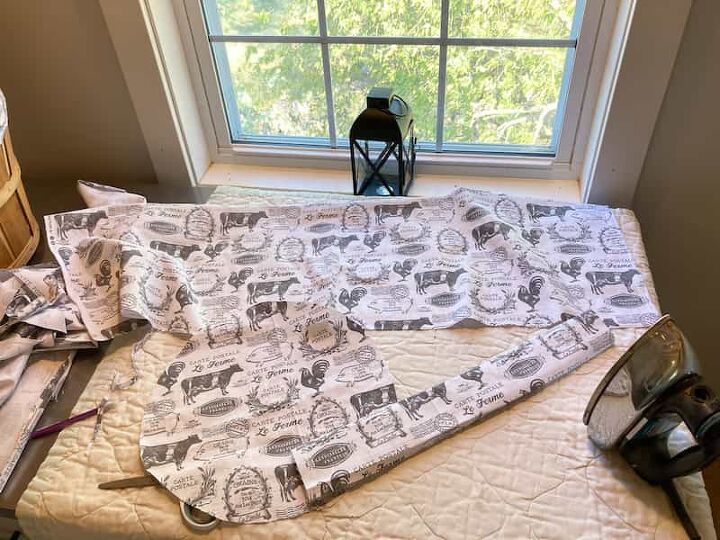
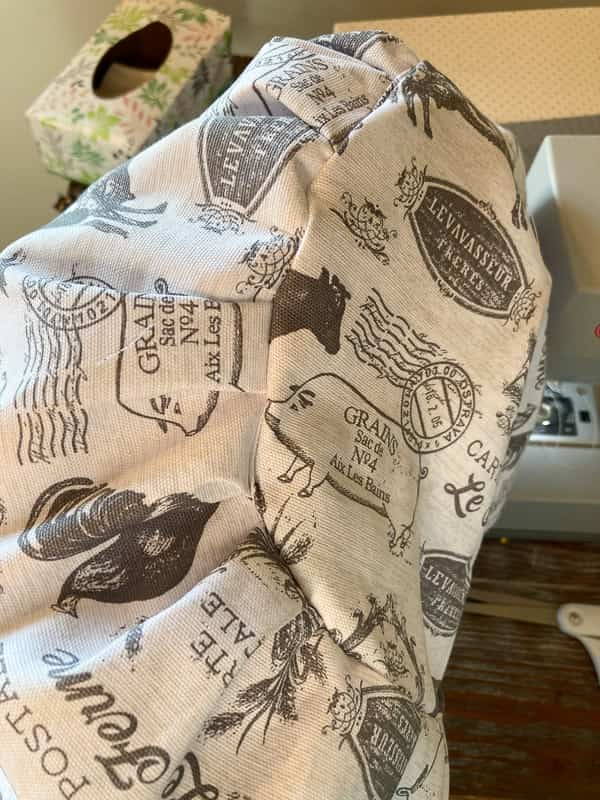
Stitch your side pieces together and also the pieces for the lip.
Step 5:
Take your side pieces and fold the top down 1/2″ and press. Then fold it another 1/2″ and press again. For the outer lip of fabric, do that to the top and bottom. Folding and pressing.
Take those pieces to the sewing machine and hem the top of the sides. Be sure and hem both the top and the bottom of the outer flap.
Step 6:
Now assemble all of your pieces. Stitch the sides to the round bottom. You will need to make little pleats or folds of fabric as you work around the bottom. It doesn’t have to be perfect, just kind of work around and fold as you go.
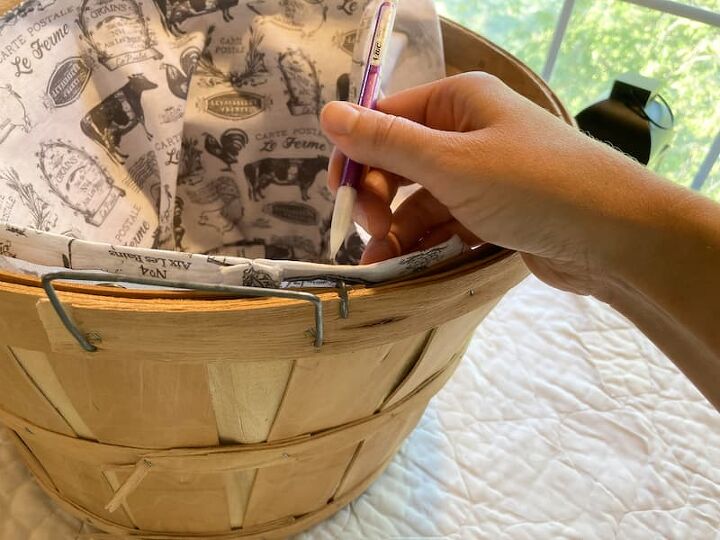
Stitch the top of the lip piece to the top of the lining. Stitch all the way around. Next, take the liner to your basket and mark where the handles need to go through. Make a vertical stitch right outside where the handles will go.
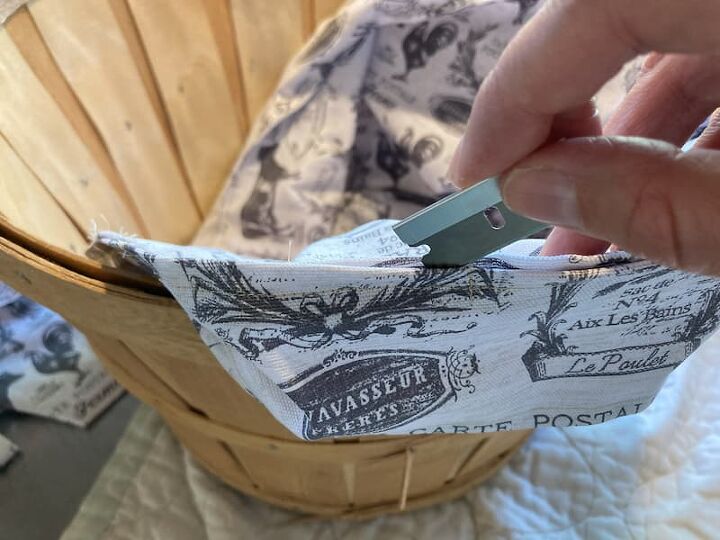
Next, take a straight razor and open the seam between those vertical stitches. Your liner will now fit perfectly in the basket and the handles will go through.
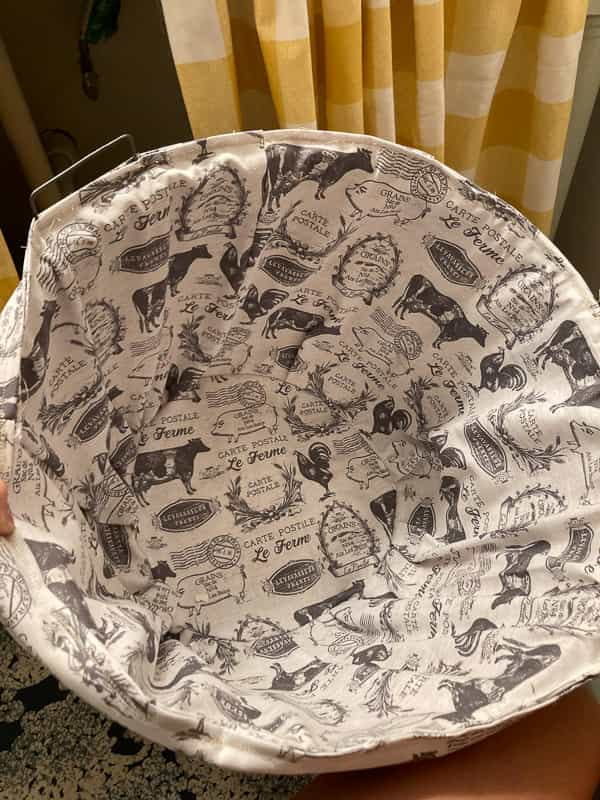
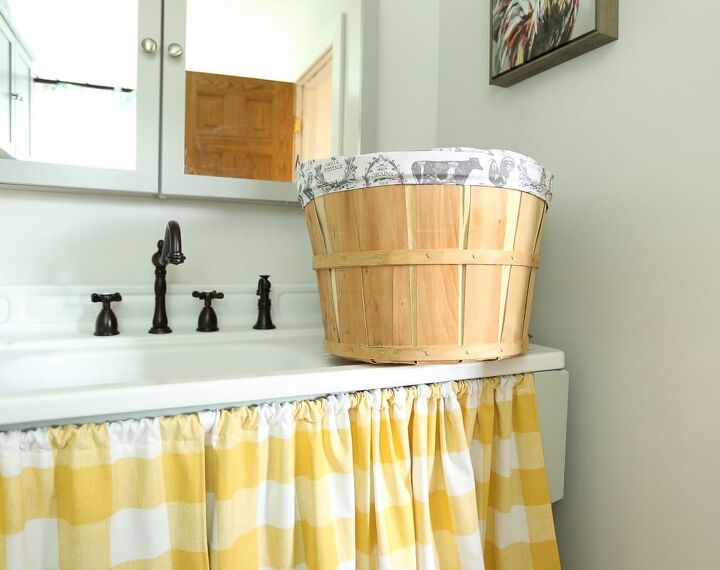
All done! A custom bushel basket liner! I used these baskets for under sink storage in our newly remodeled mudroom bathroom. Here is the post on that project!
Check out my blog for more sewing projects!
Confused? Here’s a Video to Help


Frequently asked questions
Have a question about this project?