Mini Mail Box Paper Craft

H and P Artistry
by H and P Artistry
15 Minutes
Easy
This mini mail box paper craft is a great way to use the Adult Coloring Book pages you have colored. You can also use a sheet of card stock. They make really fun gift boxes for Valentines Day or Easter.
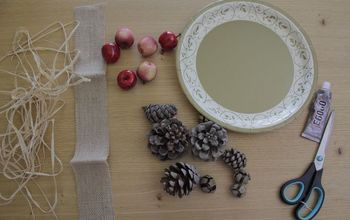
Materials:


1 - 8.5" x 11" Coloring sheet


Ruler


Scissors


Glue


Double sided tape or Velcro tabs


Stapler (for the looped handle)
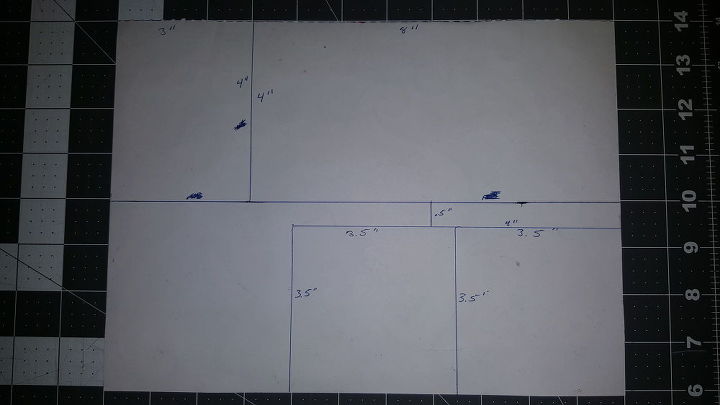
Cut your coloring sheet in to:


4" x 3" Base


8" x 4" Top


3.5" x 3.5" Front and back covers


4" x .5" Handle


Use the rest of the paper for the inside of the hinged cover or to make mini mail.
Cut out the pieces and fold your 6" sides on the top in 1/4". Put the glue on the 1/4" tabs and paste it to the bottom of the base.


I like the base pattern side up so that the pattern is viewable when you open the mail box.


Fold the back and front cover pieces 1/4" and glue the tabs to the underside of the base.


Option 1. To cap the back you can cut wedges in each corner and fold the paper over the top edges. Glue the tabs in place.


Option 2. You can also trace and cut the curve of the top and add 1/4" around the edges. Cut notches in the curve and paste each tab to secure the back.


Fold the .5" x 4" piece of paper to form your handle and glue one side to the hinged cover. Use double sided tape or Velcro tabs to secure the other side of the handle to the top of the box. Remember to take your time and hold your glue in place until it sets before moving to the next step.


Go to http://www.HandPArtistry.com for more information and for the larger mail box instructions.
H and P Artistry
Want more details about this and other DIY projects? Check out my blog post!
Go
Frequently asked questions
Have a question about this project?
Comments
Join the conversation
Next