


Shutter the Clutter
2 Materials
Currently I use a little white metal basket that hangs on the wall to hold bills and other important papers. Not unattractive but not attractive either. The reason it needs to be in view is because out of sight is definitely out of my mind. But I really hated seeing all those bills staring at me every time I walked into the kitchen.
I had some smaller shutters in my Treasure pile from a long ago garage sale ~ an idea struck!
I had some smaller shutters in my Treasure pile from a long ago garage sale ~ an idea struck!
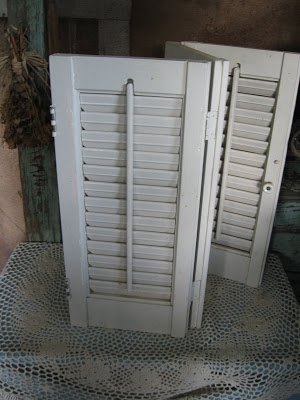
These shutters had 3 sections. I removed the section with the knob by unscrewing the hinges. I also removed the knob and the latch from this section.
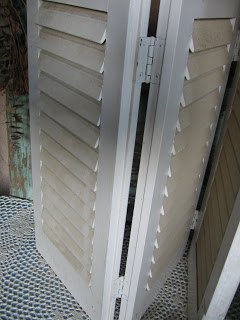
Once that section was removed it left the remaining two to close like a book.
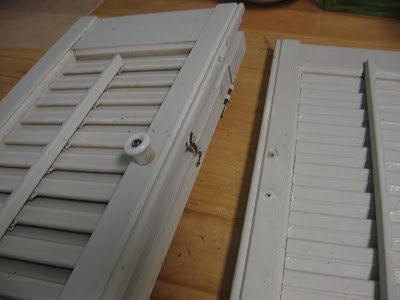
Keeping the two sections together, I added the knob to the front of the "new" shutters.
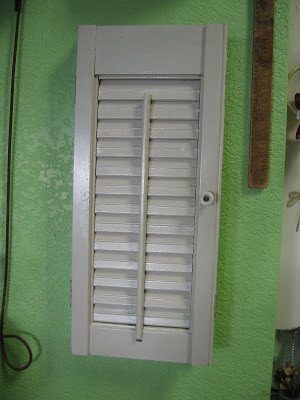
I hung it where I wanted using a couple of good ol' nails.
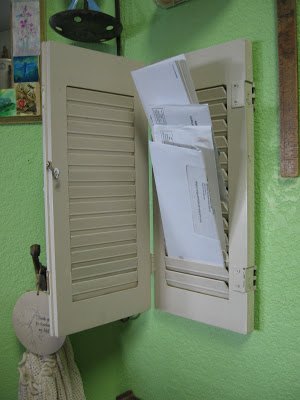
Added those lovely bills into the back louvers...
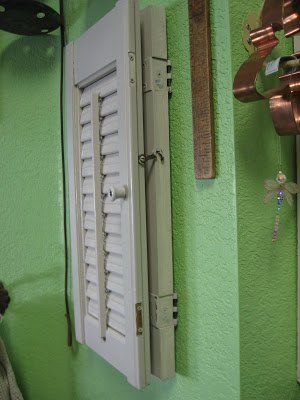
Closed and latched ♥ I'm reminded of the bills every time I see the shutters but they are not staring me in the face anymore. And it's a much neater looking way to to store quickly needed paperwork.

Want more details about this and other DIY projects? Check out my blog post!
Comments
Join the conversation
2 of 6 comments
-
LOL! What a smart use of old shutters!! Love your creativity 👍️♥️
-
Thank you! Needed those bills out of site but not out of mind!! LOL


Frequently asked questions
Have a question about this project?