


The DIY Upcycled Secret Book Safe
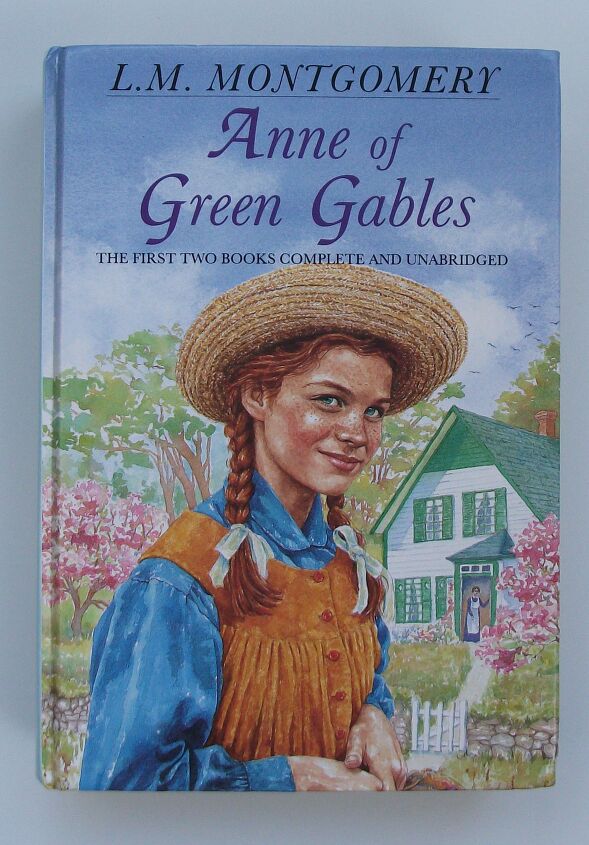
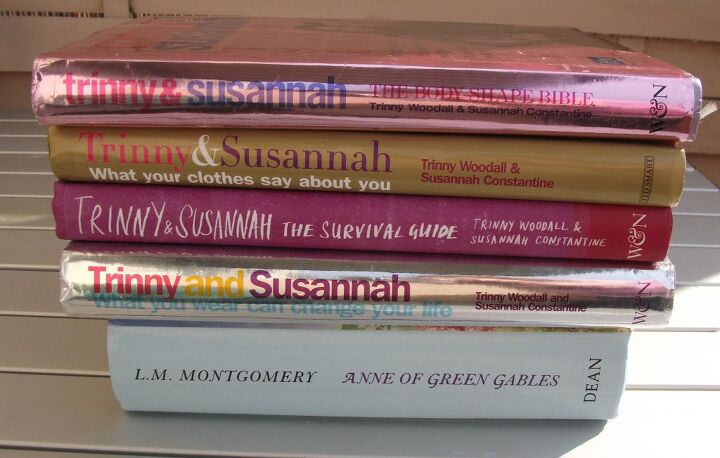
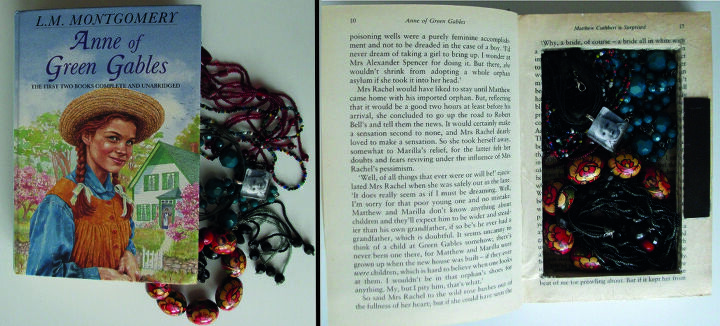
Yay! My vintage Anne of Green Gables book finally arrived from England!
Boo! This is what it looked like when opened:
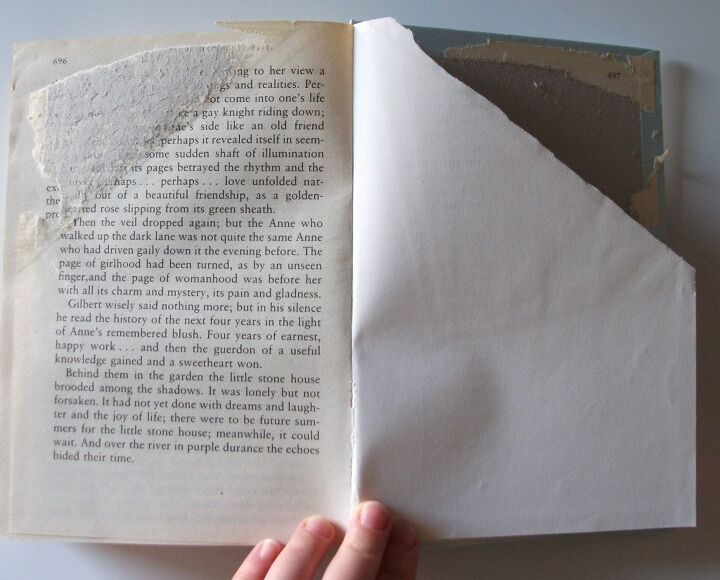
I contacted the seller and thankfully, they sent me a replacement in much better condition.
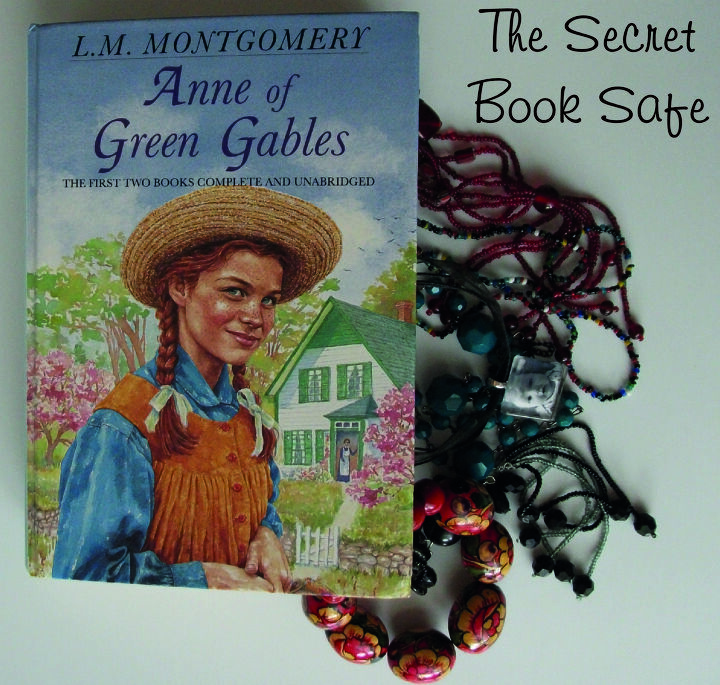
Hmmm, but what to do with the damaged book? Instead of chucking it in the recycle bin I decided to make a nifty little vault for my little one to hide her (future) treasures.
Here’s how to create a DIY Upcycled Secret Book Safe:
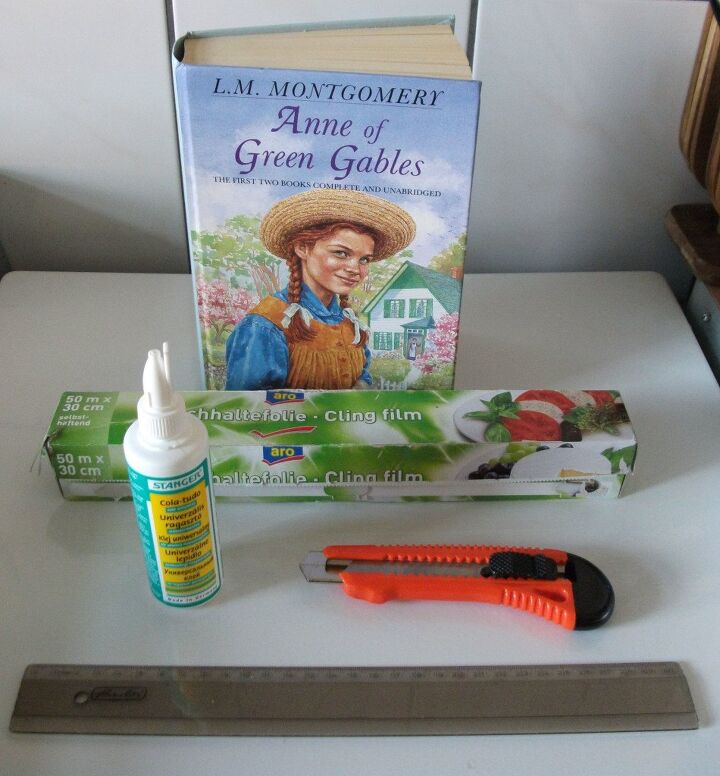
You’ll need: a book you don’t mind cutting up (hardcover is best), glue (I used clear hobby glue), cling film/plastic wrap, a ruler + a utility knife.
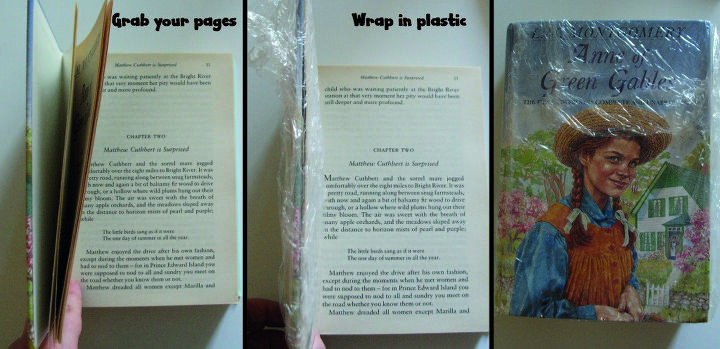
In order for your safe to retain the appearance of a normal book when opened you’ll need leave a few of the first pages loose and ‘flipable’. Grab your pages (I kept the entire first chapter) and tightly wrap them, with the front cover, in cling film or plastic wrap. This is for protection against the messy glue step coming up:
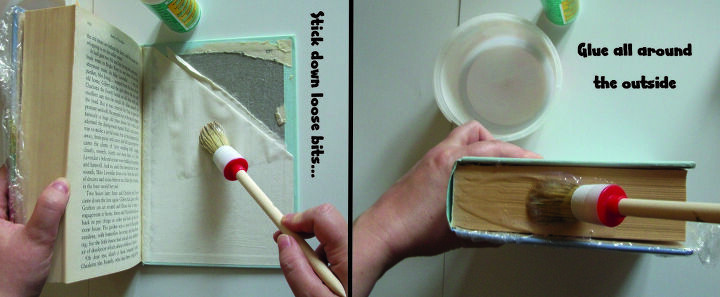
Glue down a few of the back pages. Close your book and brush a load of glue on all of the pages around the outside of the book – you want the glue to be literally dripping down in between the pages.
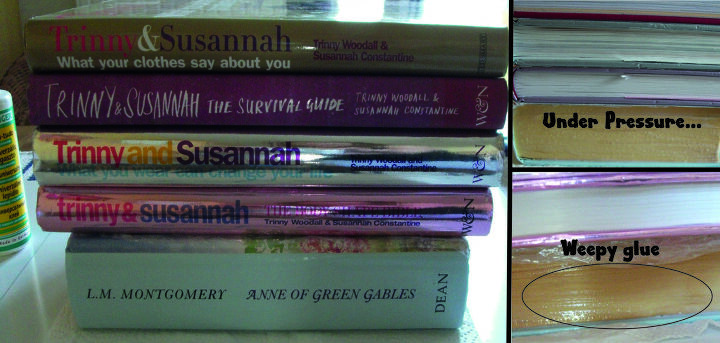
Once you’re happy with your glue amount put something heavy on top of your book that will apply enough pressure to make the glue ‘weep’ between the pages. Let dry for at least 1 hour
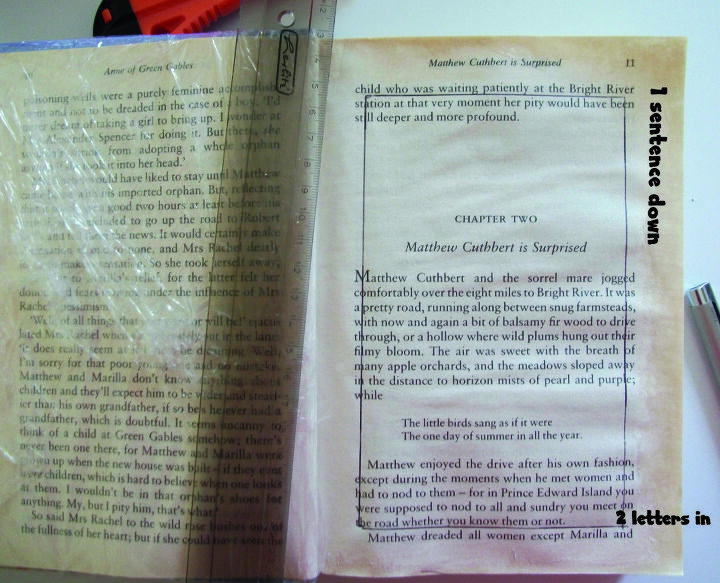
Once the outside of your pages are dry to the touch, open your book and decide how large you’d like your secret compartment to be. I made mine quite large and used the letters as my measuring tool: 1 sentence down from the top (and 1 up from the bottom) and 2 letters in from each side.
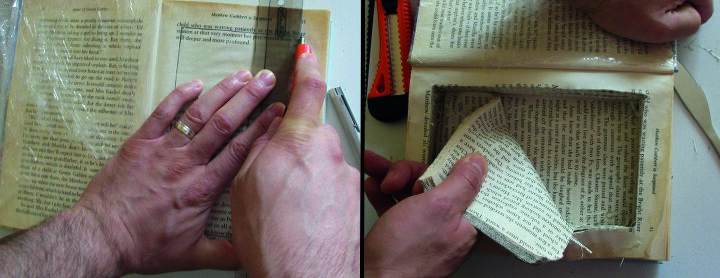
Using a straight edge (we started with a ruler but then switched to a sturdy piece of wood) begin cutting out and removing your pages. Depending on the thickness of your book this can be quite a long and frustrating process.
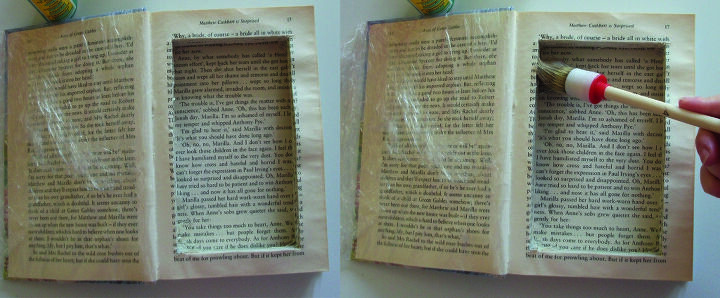
When you’ve cut to the depth you desire, brush a bunch of glue onto the inside of all of the pages and the bottom of the compartment as well.
Close your book, weight it again and let dry. Mine was completely dry and rock hard under the summer sun in about 2 hours.
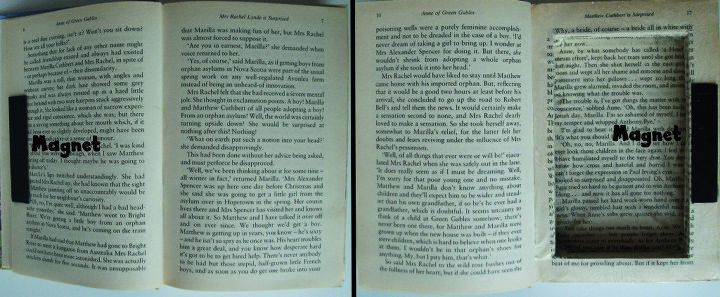
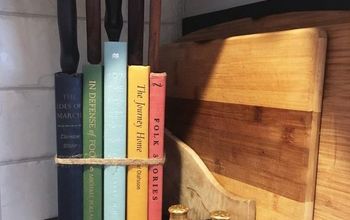
The book safe could be done now but I added a couple of magnets to keep it closed when stood upright.
You could also line the compartment with felt or fabric but as it was cut so evenly and the pages had dried extremely hard I decided to leave it readable.
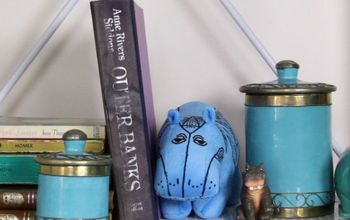
Yay! A much loved book from my childhood transformed into a dandy treasure chest!
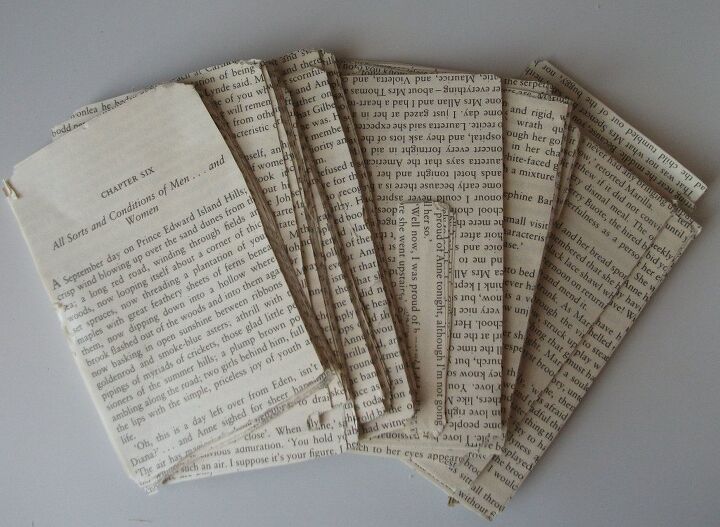
But what to do with all of the cut out pages?
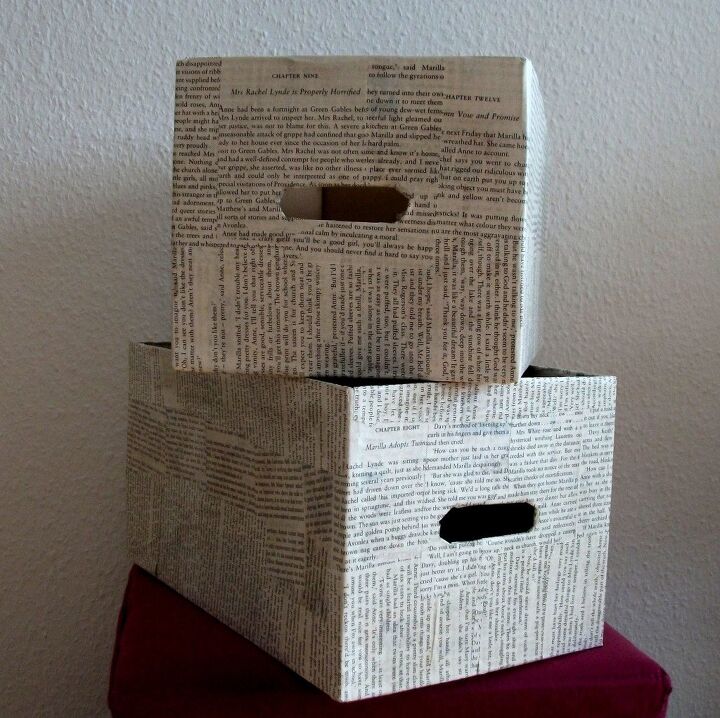
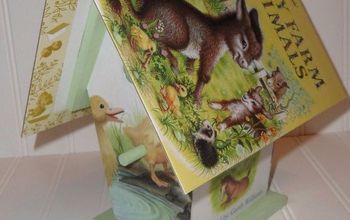
Use them to make some groovy storage boxes or
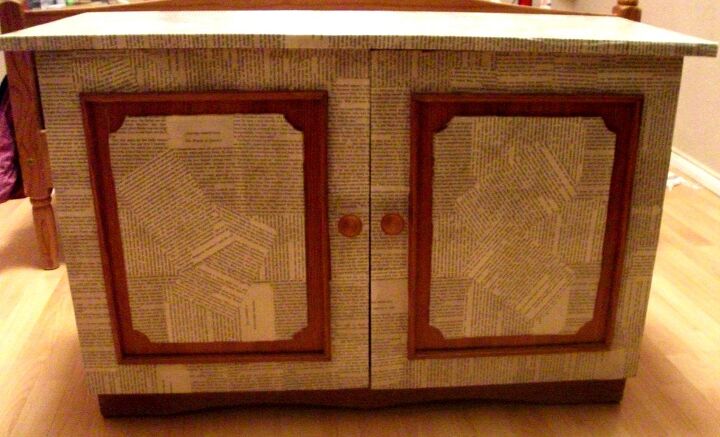
decoupage some new life into an old piece of furniture or
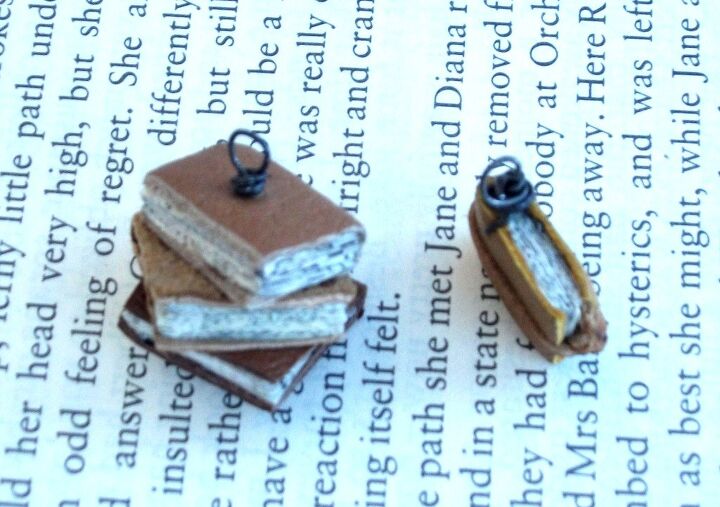
create some absolutely awesome mini book pendants!
Check out all of my upcycled home tutorials right here
Resources for this project:
See all materials


Comments
Join the conversation
-
In fifth grade couple of boys did this to hold things not allowed in class. Great idea until they used text books. It wasn’t pretty but a school day memory (‘64)
-
Great idea!!!!


Frequently asked questions
Have a question about this project?