


Upcycle An Old Tool Caddy Into A Beautiful Magazine Rack
You may have seen an old tool caddy at local yard sales. Here is an easy project to upcycle an old tool caddy into a beautiful magazine rack.
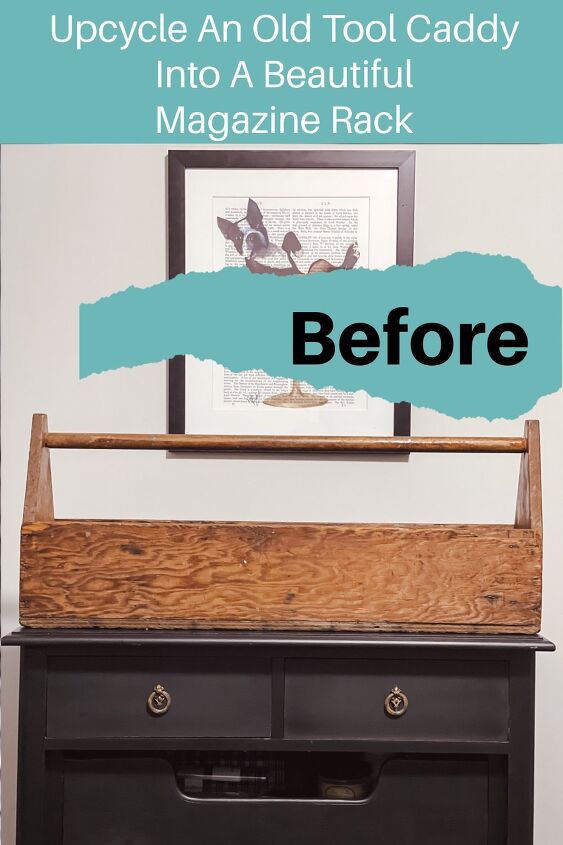
I found this old Amish tool caddy at a local market. It has been in my home for many years. I have moved it from room to room to use it for storage.
This tool caddy is extra long. Most of the time, I see them much smaller.
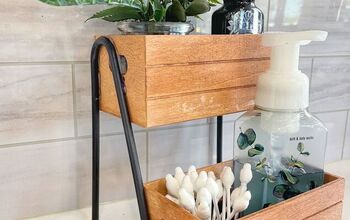
It is so perfect to hold craft supplies, books, magazines, etc.
The wood is old and dry on this tool caddy. It is time to upcycle it to give it a fresh new look with paint.
CLEAN IT
Before starting most furniture projects, it is always good to use White Lightning Cleaner by Dixie Belle Paint Company. When you bring those old items home from the thrift stores, yards and flea markets, they are going to need a good cleaning.
This cleaner is perfect to tackle those dirty bargain finds or “Free” curbside items.
You mix White Lightning Cleaner into water. With a sponge or cloth, you wipe down the piece of furniture or object you are working on. Then I will go over it again with just plain warm water.
BLEED THROUGH OR ODOR ISSUES – ADD A COAT OF BOSS
For this project, I did not have to use BOSS. I do use it on most projects to block any bleed through. It is a great primer available in clear, white or gray.
I knew this wood would soak up the color of the dark paint. Therefore, bleed through would not be an issue. BOSS is also great to cover any pine knots with the gray or white.
If you have a piece for furniture that has an odor, BOSS to the rescue to eliminate that old smell. I have used BOSS on about six projects now. It is an amazing product.
You shake the product really well and apply with a paint brush or sponge. It is important to follow the manufacture instruction for drying times.
Let’s PAINT!
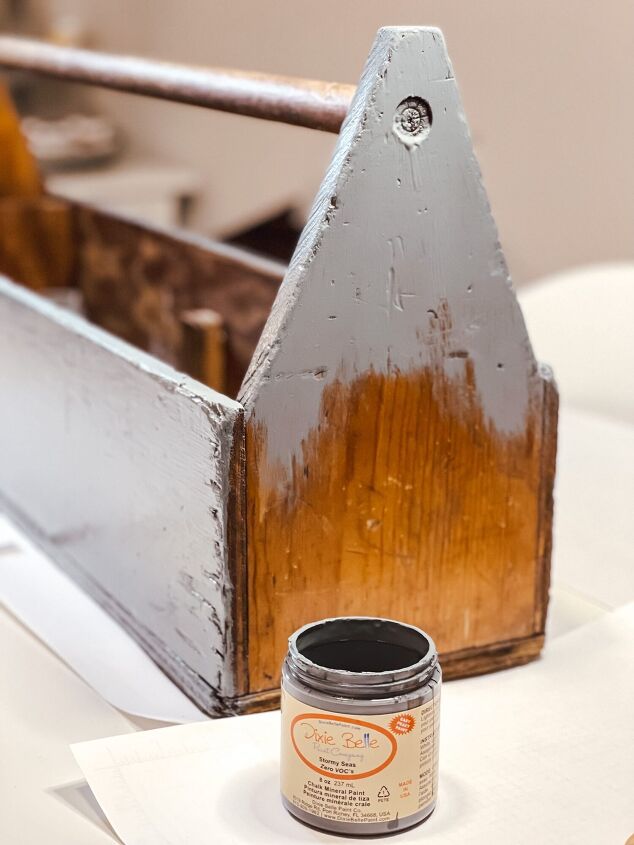
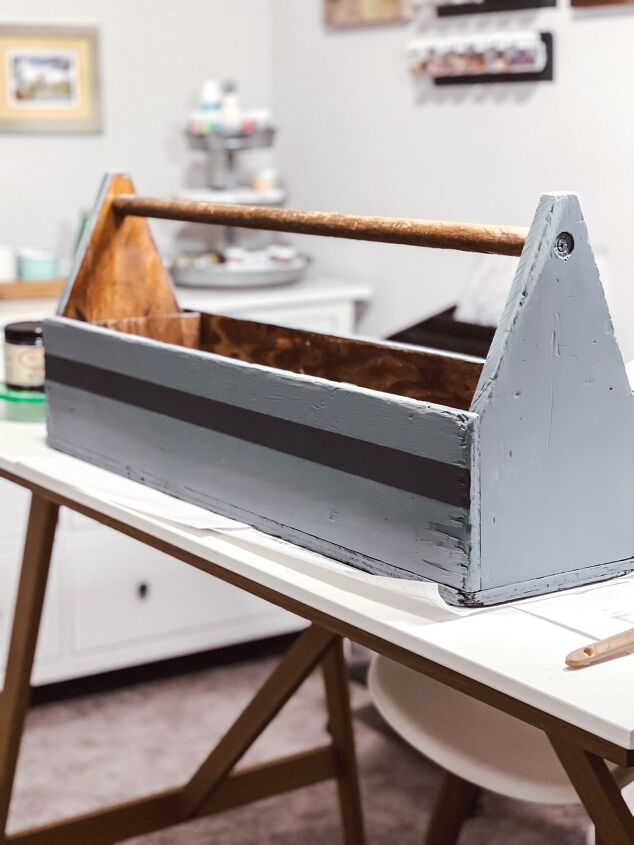
The tool caddy is getting a good coat of Stormy Seas. It will take two full coats.
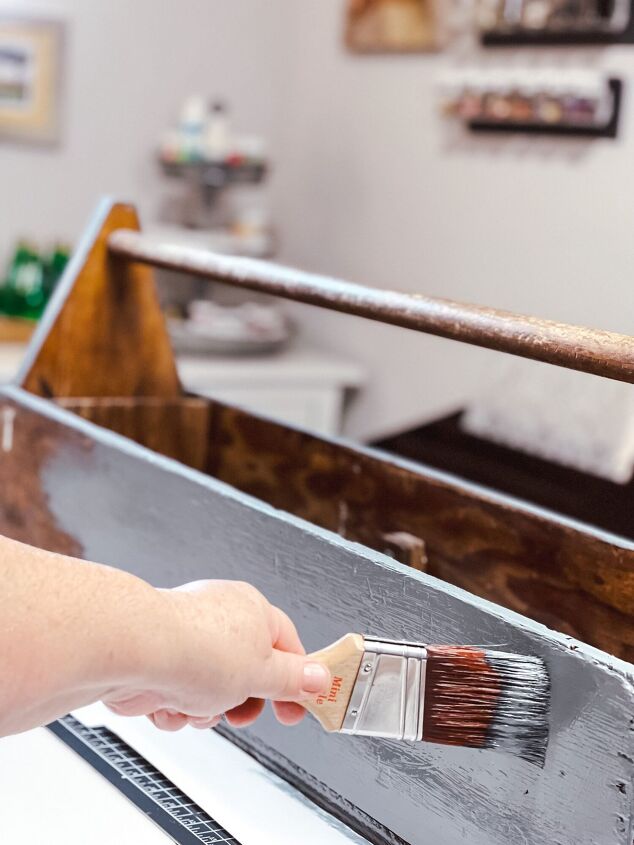
I am painting the front, back and sides. The handle and the inside, I will not paint and leave it as the wood grain.
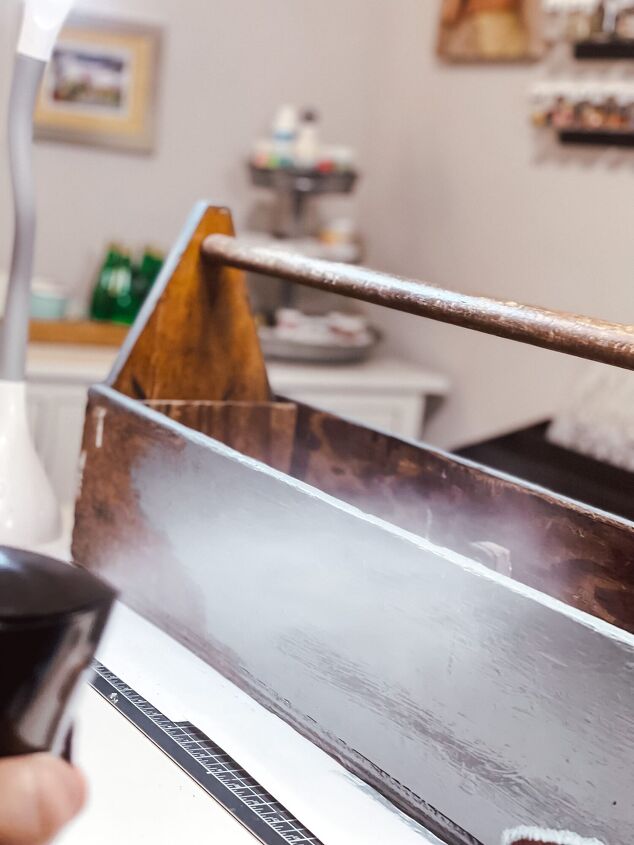
Using a mister bottle to add a fine mist of water so my paint will glide easily across my project.
The front, back and sides will get two coats of paint.
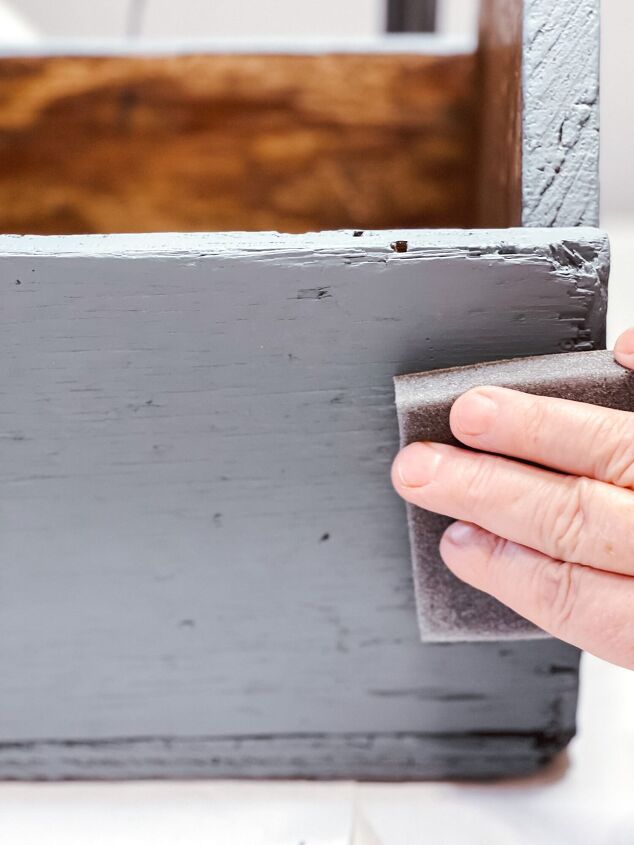
In between my coats, I like to use a Sanding Sponge that helps me get a great finish. After a light sanding, I take a microfiber cloth to wipe it free of any dust particles. Then I will paint the second coat.
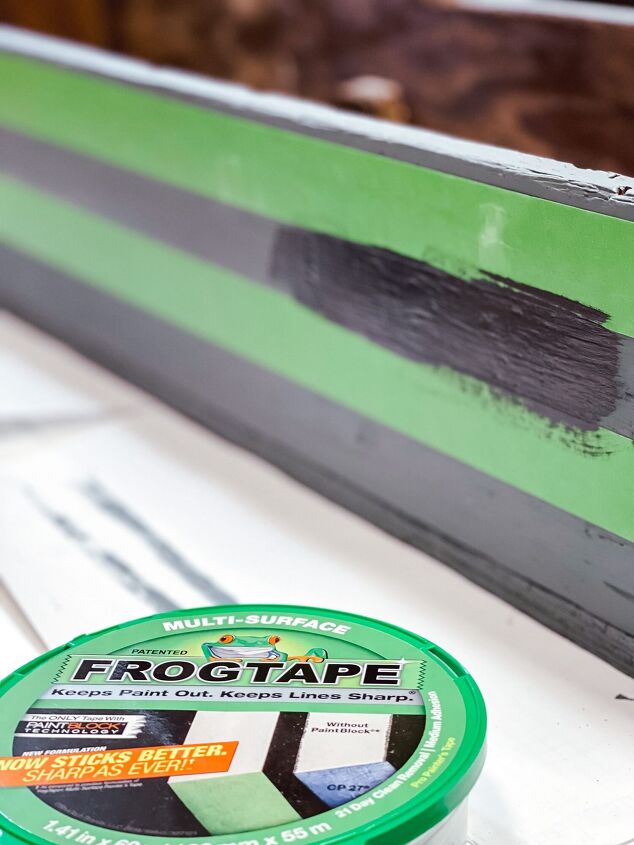
Now it is time to add an accent stripe to compliment the base color. The stripe is done with In The Navy Chalk Mineral Paint. It is a beautiful navy blue.
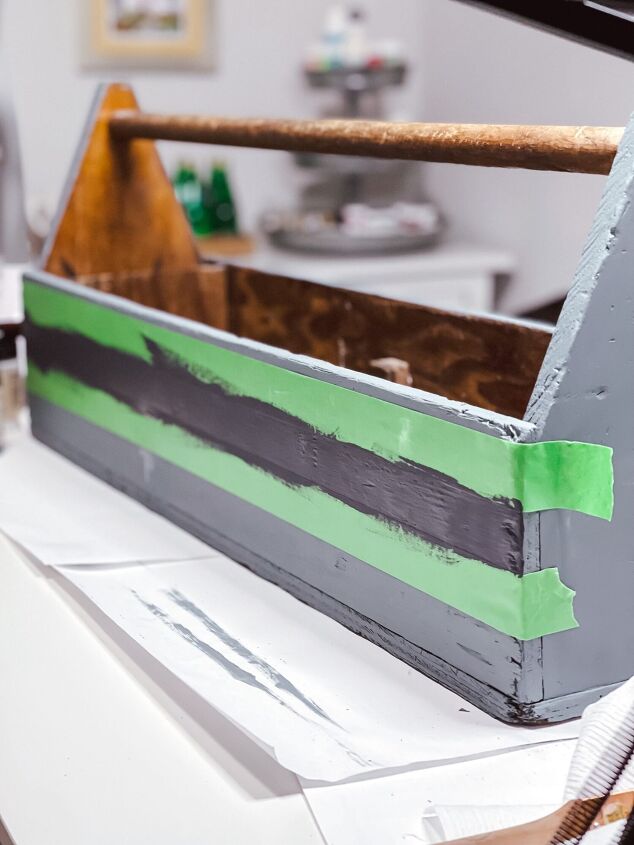
The Frog Tape will help me to create a crisp line for my project. I used a level to draw a faint line to apply my Frog Tape. Next I will use the In The Navy Chalk Mineral Paint to paint my accent line.
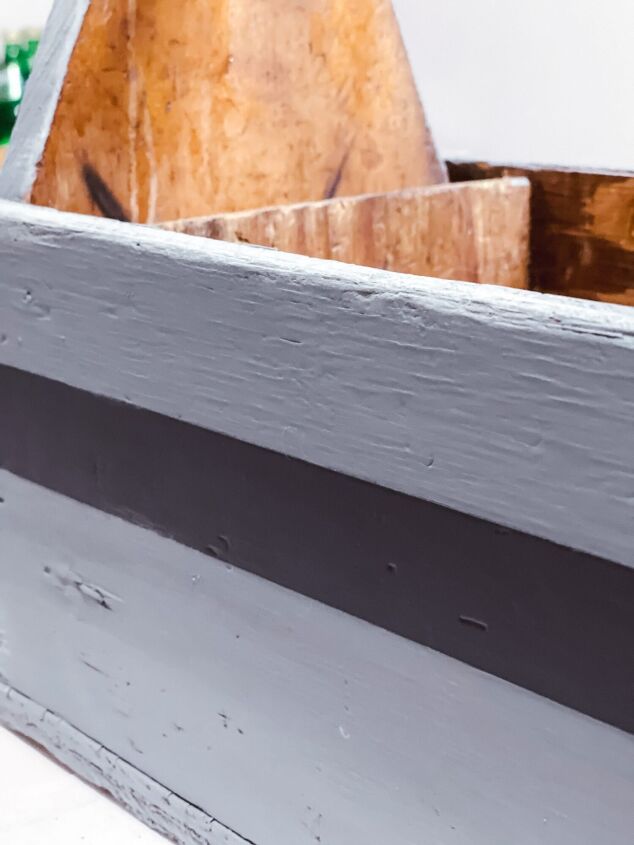
Look how crisp my line is with no bleed through under the Frog Tape. I want to lightly distress the paint with my sanding sponge. If you want a heavier distress look you can use a sanding block.
Seal It
To protect my project, I will be adding one coat of Clear Coat Satin. Most of my furniture projects, I use two to three coats of Clear Coat Satin.
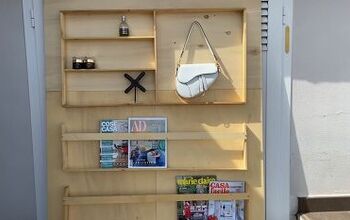
Finished Project
I love how this project turned out!
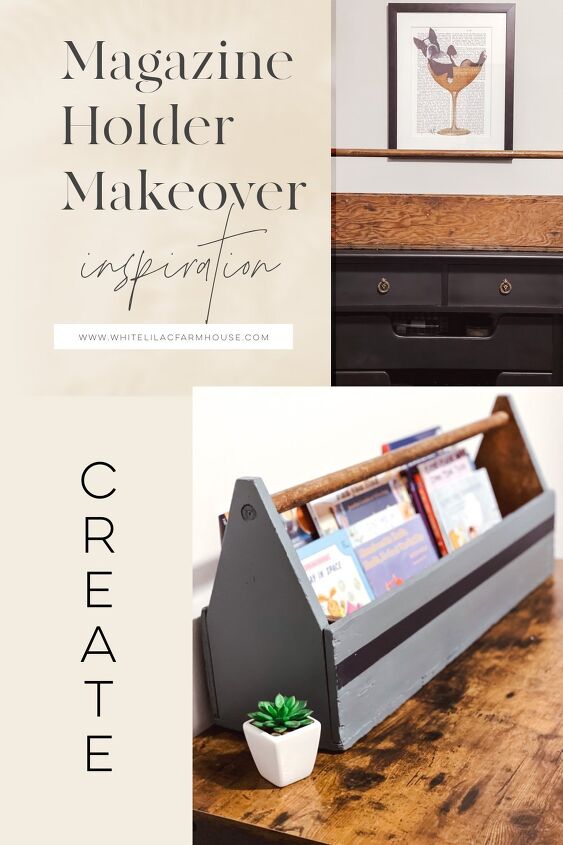
This old Amish tool caddy is a great magazine and book holder. The colors Story Seas and In the Navy are the perfect compliment to this guest bedroom.
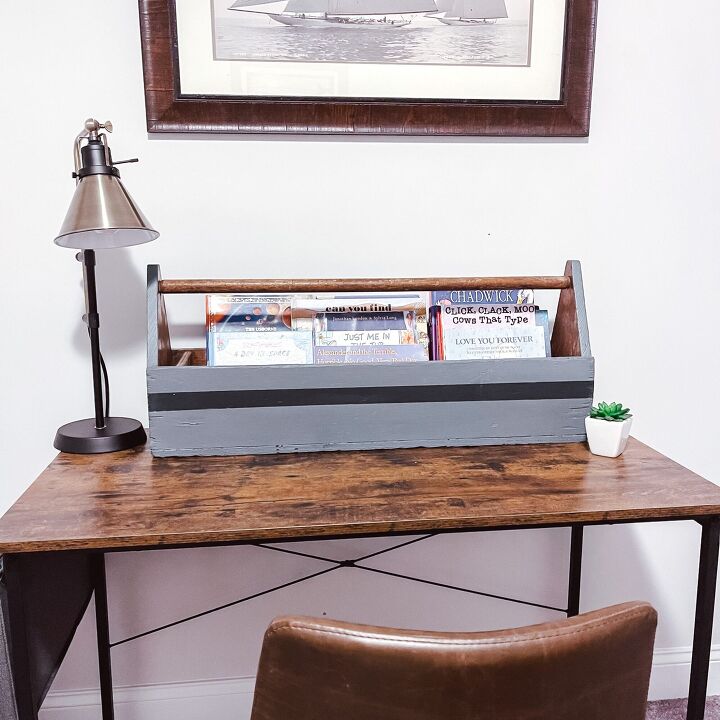
This spot is perfect for my little grandchildren to sit at the desk to grab a coloring book or book from the new magazine holder. It was easy project to upcycle an old tool caddy into a beautiful magazine rack.


Frequently asked questions
Have a question about this project?