


Uprading an Old Shoe Rack

by
Clint
6 Materials
$75
8 Hours
Easy
My brother made a shoe rack about 5 years ago, I noticed I could probably fit an extra shelf in there and some storage for our shopping bags. It was also in dire need of a clean up and refinishing.

I started by taking the whole thing apart, it was held together with small plastic blocks which connected to the shelves and sides. This made it kinda flimsy and less sturdy than it could be, so I went about changing that.
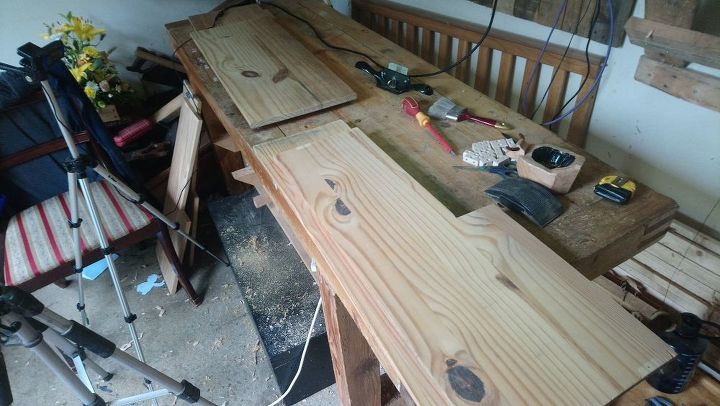
After I got it all apart I sanded every piece down with some 60 grit sandpaper to get all the grime off that I could, I then used some 120 grit sandpaper to make it smoother. After that I used some white/mineral sprits and a cloth to clean off the dust and get some of the stains out.
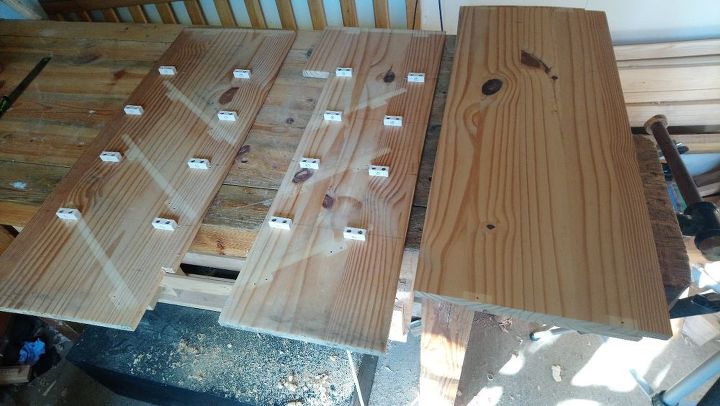
I held shoes up to the sides of the rack to measure the sizes of them, then I spaced the small plastic blocks accordingly and screwed them into the sides.
As this was a one man build I had to resort to some creative clamping to keep the rack in place whilst I drilled the pilot holes for the screws.
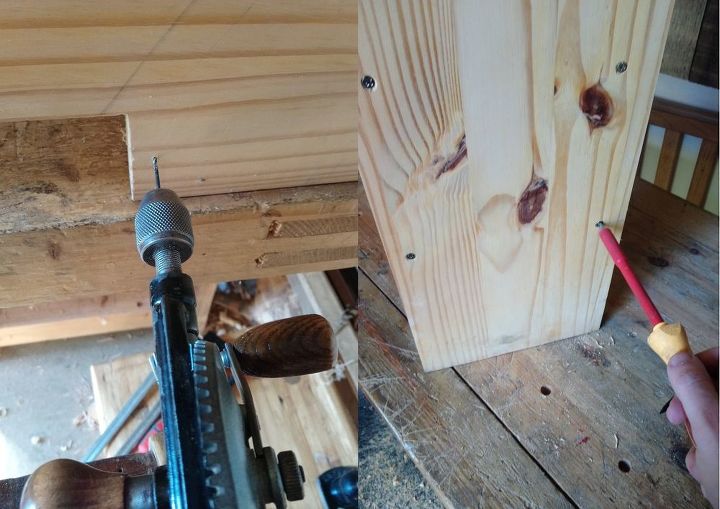
I drilled the pilot holes and countersunk them, then added the screws. I thought this was a little ugly but it did add more structural integrity to a project that I had to get done quickly. After the addition of the screws the whole rack was a lot more solid.
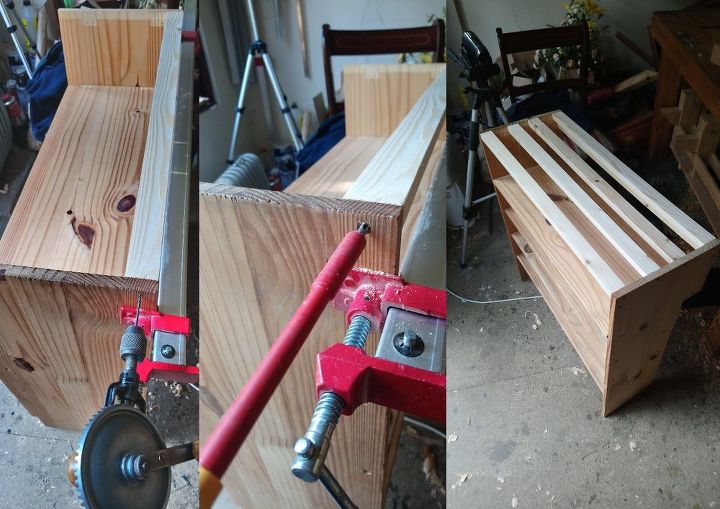
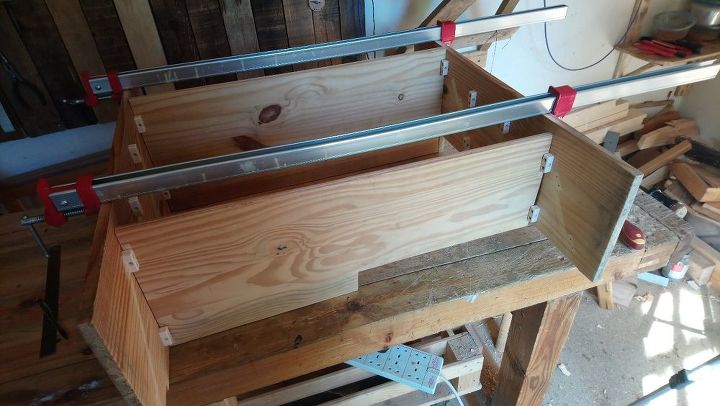
Because I had used the previous top piece to make another shelf I had to improvise with the top. It didn't necessarily need a top but I thought it finished it off and made it into another shelf if needed. Once again I drilled pilot holes, countersunk them and then added screws.
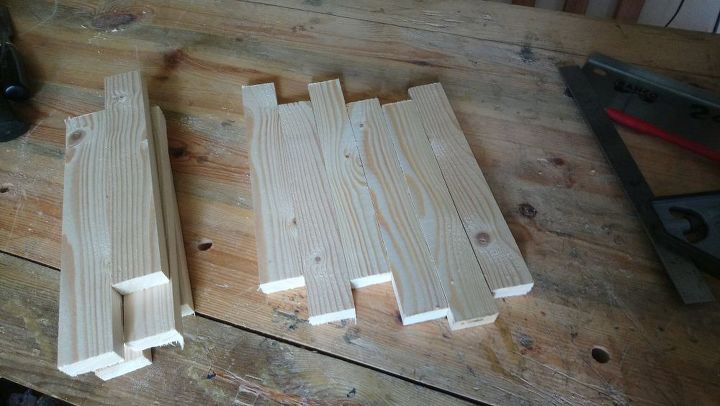
I figured out an easy design for the bag holders to be screwed onto the side of the rack. To make it simple for myself I made them all the same length, mine were around 20cm but it would vary depending on the width of your rack.
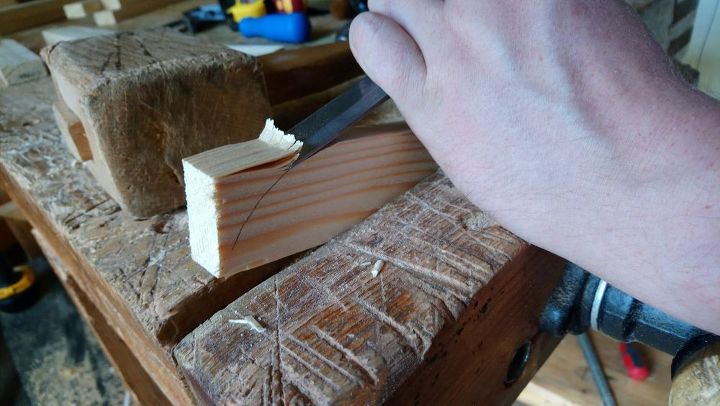
I wanted to add curves onto the tops of the bag holders to make them not only look more pleasing but lessen the chances of hurting our hands on a sharp edge when hurriedly grabbing or putting bags into the holder. This can be done a number of ways; with a jigsaw, coping saw, sander, knife. I decided to do it with a chisel however as it was what I had on hand and also its very satisfying!
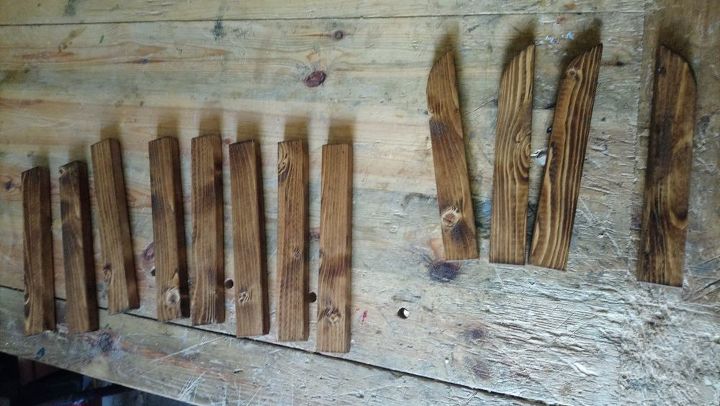
I used some Colron Georgian medium oak wood dye to make the bag pieces a different colour to the rest of the rack, it just gave it a more interesting look and was easy and quick to do.

I fixed the two bottom pieces on first, then the 2 curved sides. After that it was just a case of screwing the final 2 pieces on the front. All pilot holes and countersunk screws again.
{
"id": "5054619",
"alt": "",
"title": "",
"video_link": "https://www.youtube.com/embed/8arqomFLMc0",
"youtube_video_id": "8arqomFLMc0"
}
{
"width": 634,
"height": 357,
"showRelated": true
}
A video on my YouTube channel showing the whole transformation
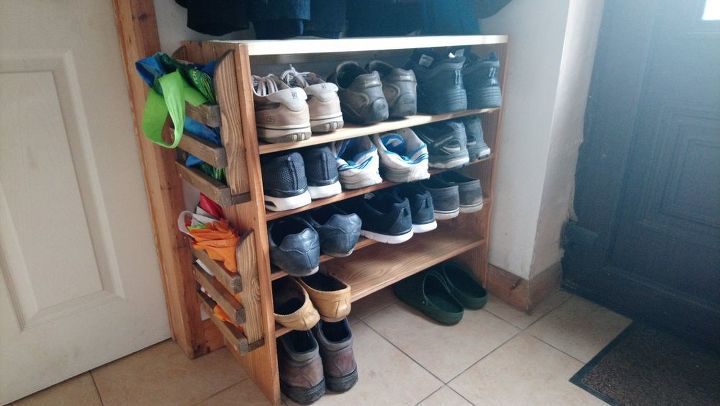
The finished rack after painting on two coats of varnish. Hopefully the varnish should make it easier to clean off any future dirt marks left by muddy shoes.
Want more details about this and other DIY projects? Check out my blog post!


Frequently asked questions
Have a question about this project?