


Metal Bench Makeover - Updated Outdoor Seating
Hello There,
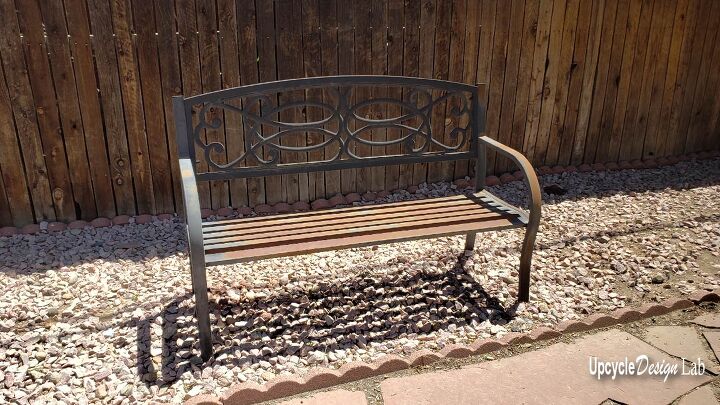
I don’t know about you, but I love to save things that need some love, to take on the challenge to see if I can bring them back to life. Some of my experiments turn out well, and others not so much. But happily today, I can report that this little rusty bench has received a new look, and I myself am quite pleased with it. 🙂
Step 1 – Clean
This bench didn’t seem too dirty when I started, so I used a cloth and some soapy water to give it a quick wipe down.
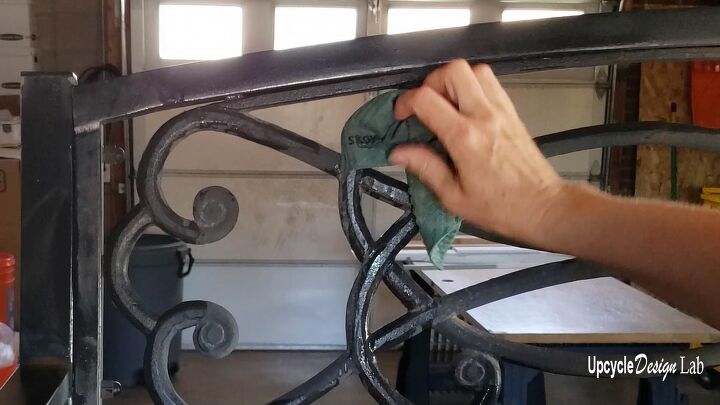
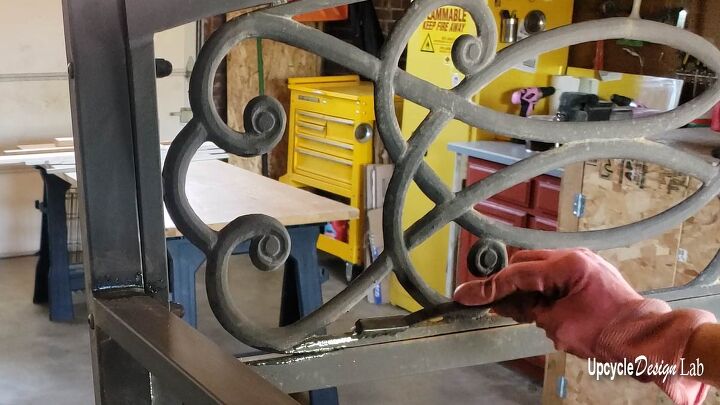
Step 2 – Remove Rust
I scrubbed the bench with steel wool and some vinegar to remove the loose rust. I also used a small metal brush to reach some of the more difficult spots. Then I rinsed the whole bench off with the garden hose. There was some rust left after scrubbing but I could see some improvement.
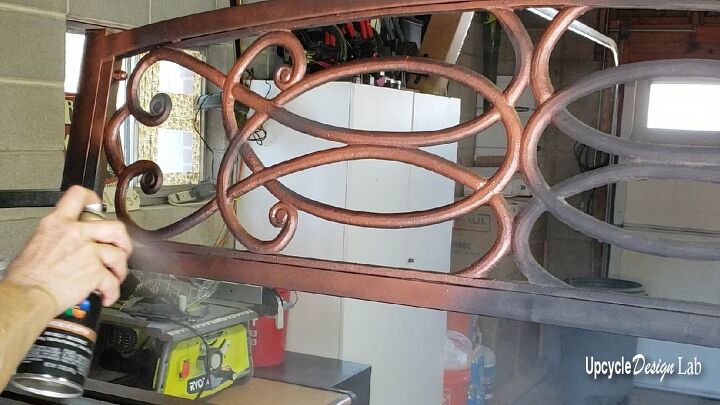
Step 3 – Paint
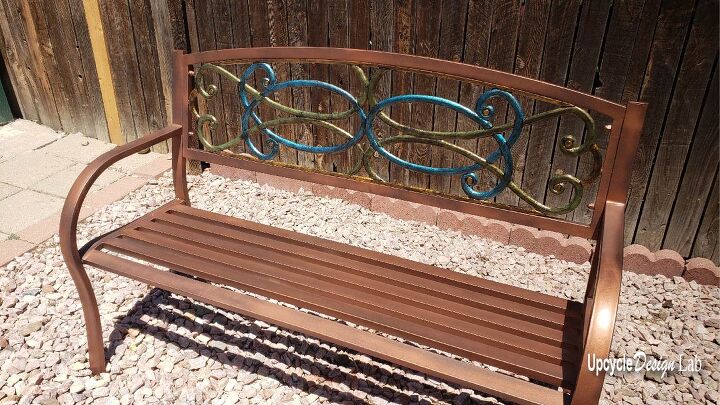
Once the bench was dry, I used Krylon Fusion all-in-one copper metallic spray paint to coat the entire bench. I am expecting this paint to hold up pretty well to the elements as it is rated for outdoor use and is supposed to prevent rust.
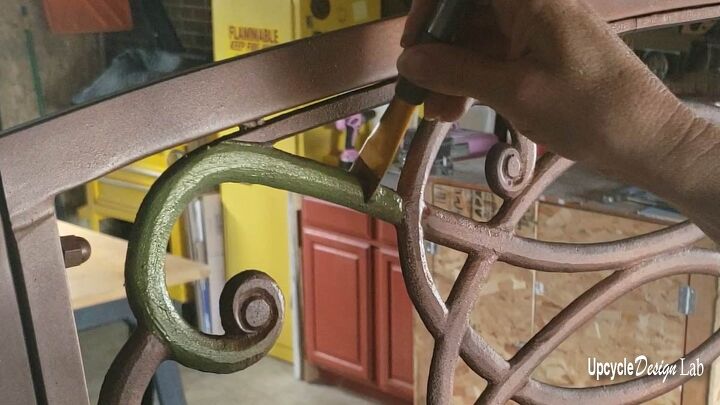
Step 4 – Decorate
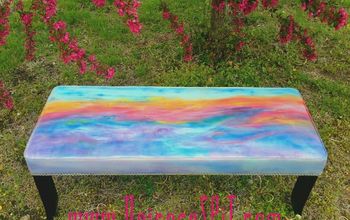
To add additional surface interest, I brushed on some acrylic colors in metallic green, teal, and gold. Then I added a dry brush top coat of metallic black for a more antique finish.
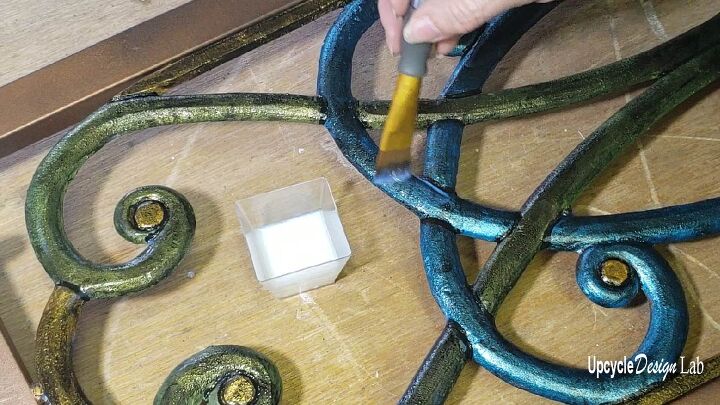
Step 5 – Seal
Since the colored acrylic paints aren’t rated for outdoor use, I decided to use a top coat sealer on this bench portion. So I added two coats of Decoart DuraSeal Gloss Varnish. It is approved for outdoor use and was easy to apply and clean up with water, but only time will tell how it will wear.
As I said I am pretty happy with how it turned out. The colors catch the light differently depending on the time of day, and it is much more cheerful to look at in any light.
Resources for this project:


Comments
Join the conversation
-
Lovely 😍.. I like the black paint over the top..Not so stark with the black..personal preference..
-
Looks great! Here's a tip for dealing with rusty things that I have found to make a big difference: once you've cleaned and removed all the rusty spots the best you can spray with Rust-Oleum Rust Reformer. This stuff makes a huge difference! Once dry your next coat of paint adheres better and lasts longer so you aren't repairing/repainting again as quickly. And I second the previous recommendation to use a spar varnish on outdoor items as a top coat. Minwax Indoor/Outdoor Helmsman Spar Urethane spray has worked great for me since I prefer to spray it on rather than use a brush. I hope this is helpful to someone.


Frequently asked questions
Have a question about this project?
The actual boards/seating area looks a little different. Did you paint that area, too?