How To Paint Your Camper Walls And Make It Last | Sydney And Co.

If you’re tired of looking at your outdated camper interior, fret no more… I’m going to show you how to easily paint your camper walls in a way that will hold up over time no matter how much wear and tear you throw at them.

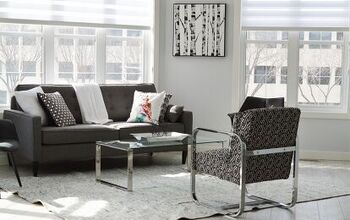
Why are camper interiors so… BEIGE.
Don’t get me wrong, I do love a good set of earth tones. BUT…
Beige walls, beige cabinets, beige curtains, beige, beige, beige.
That’s a lot of beige.
That might be a bit harsh, some of the newer models are certainly stepping it up with chic, modern styled interiors.
Or, maybe, beige is your jam and you want to make your rig feel more “YOU.” No judgements, the world would be boring if everyone liked the same things!
Good news if you are looking at making some color changes, painting walls is easy peasy.
SEE THE BEFORE WALKTHROUGH OF OUR FIFTH WHEEL HERE!
If you can paint a wall in your house, you can paint a wall in your your camper, trailer, RV, or fifth wheel.
It just takes a little bit more prep work.
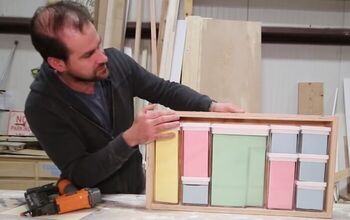
Let’s me show you how I do it…
HOW TO PAINT interior camper walls
SUPPLIES:
- PAINTING TOOLS (roller, brush, etc.)
- CAULK + GUN
- SPACKLING
- 120 GRIT SANDING SPONGE
BE SURE TO CHECK OUT MY PAINTING MUST HAVES HERE
STEP ONE:
PREP
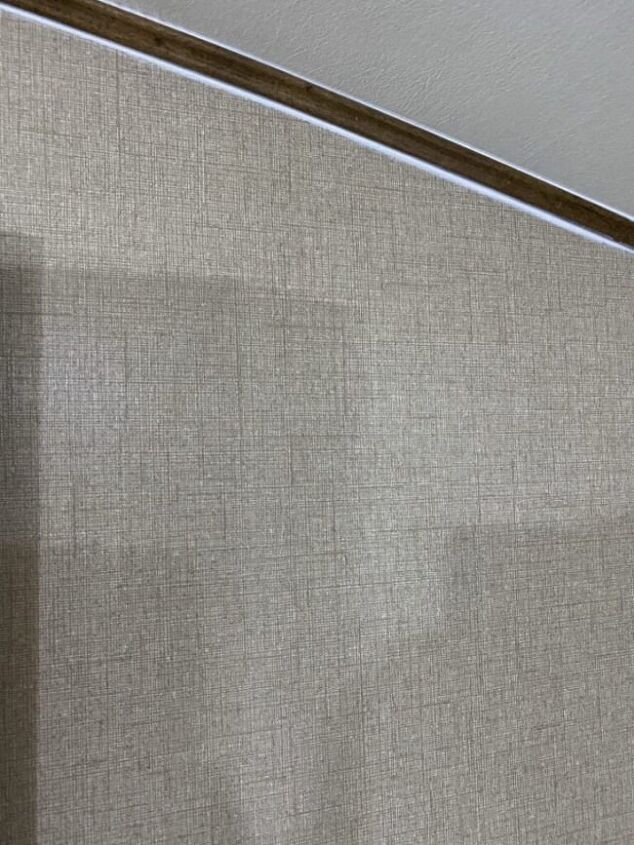
The preparation steps are so so so important, especially in an RV with the weird plastic-like wallpaper covering the majority of the walls.
DO NOT attempt to remove the wallpaper. It is not your average wallpaper, instead, it is permanently adhered to the wood/luan walls. Removing the wallpaper will only create more headache for yourself.
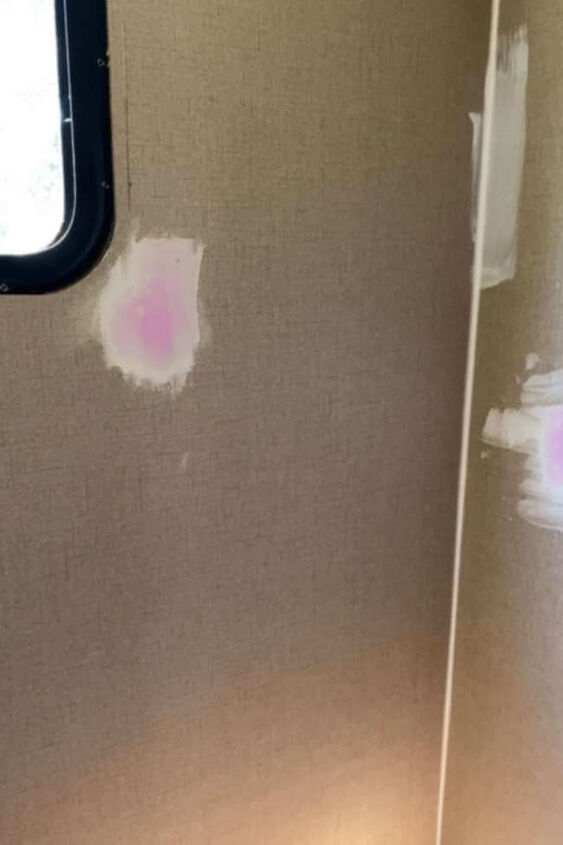
REPAIR DAMAGED AREAS
If any of the wallpaper is peeling, wrinkled, or bubbling, simply cut the bad parts out with a razor knife and sand with a 120 grit sanding sponge to smooth the edges.
Fill in any nail or screw holes with sparkling and sand smooth once dried.
Don’t worry about texture differences, it is my experience that once painted, the paint and roller pwill provide enough texture to the exposed wood areas to make them blend in nicely.
TRIM & CAULK
RV manufactures use thin trim in all of the corner seams and joints to hide where the wall panels meet.
I chose to remove this trim and instead fill all the gaps with caulking for a more smooth and seamless appearance.
This is personal preference, you may choose to skip this step by leaving the trim up and simply painting over it.
If you do decide to remove it, please note the edges will HAVE to be caulked to hide seams. I use THIS EXTREME STRETCH KIND. Whatever you use, make sure it will flex as your rig travels down the road.
SAND
Admittedly, I usually skip this step (FOR WALLS ONLY, cabinets, or wood trim must be sanded).
However, best practice definitely would be to sand the entire area with a 120 grit sanding sponge.
This will remove the glossy surface of the wallpaper, allowing your paint and primer to better adhere to the surface.
In high traffic areas, like our hallway, I did make sure to sand before applying paint.
CLEAN WALLS
Paint will not stick to grease. Let me repeat that, paint will NOT stick to grease.
EVER.
While the sanding step may be optional, this one is not.
Wipe down all the walls and area to be painted with a degreaser. I like THIS TSP SUBSTITUTE. It’s non-toxic, environmentally friendly, and I don’t have to worry about spraying it around my kids or pets.
STEP TWO:
PRIME
The type of primer you use is VERY important.
In this case you’ll want a specific kind, calling a “bonding primer.” Bonding primer is unique in that it’s made to stick to glossy or sealed surfaces and block stains.
In simple terms, it’s made to stick and be stuck to.
Bonding primer, SUCH AS THIS ONE, can be purchased at virtually any paint or home improvement store.
STEP THREE:
PAINT
Now for the fun part.
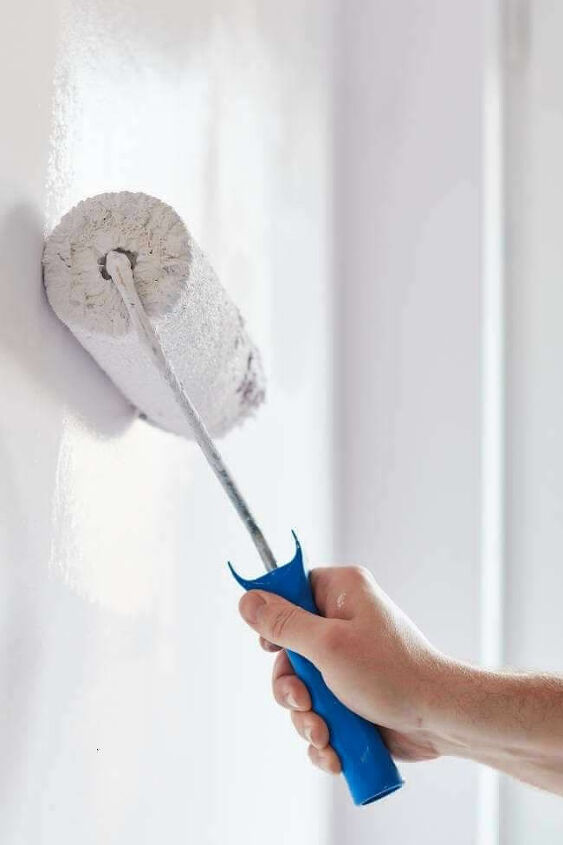
Start by cutting in around all edges. This is where the rubber handled brush from my PAINTING MUST HAVES comes in really handy. Campers have MANY nooks and crannies, and that thing can get in juuuuust about anywhere.
If you aren’t the best at this, you may want to use your frog tape on this step. I usually prefer to freehand it.
Then roll all the open area with your roller. A 3/8” nap roller should work just fine.
At least one coat of primer and two coats of paint will yield the best results. In some cases, you may need a third coat of paint.
If you’re really opposed to extra coats, be sure not to skip out when you’re choosing paint, and go with a higher quality paint.
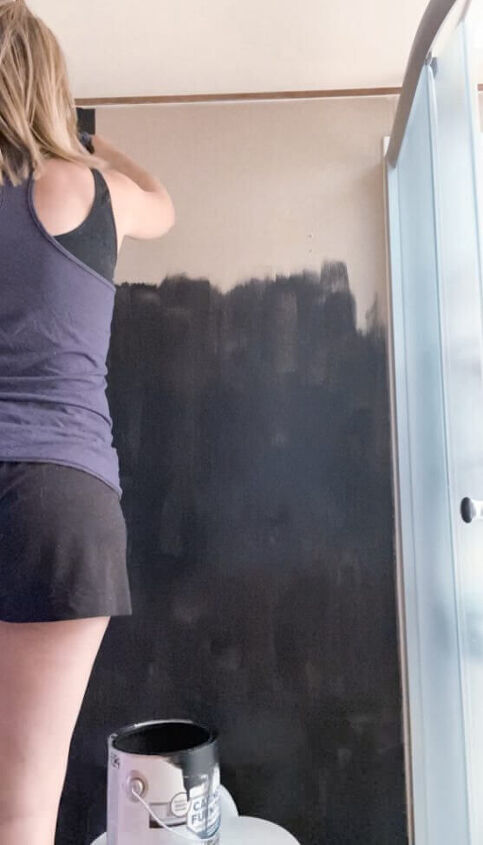
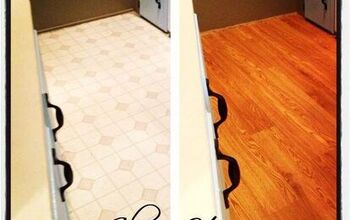
CHECK OUT THIS BEFORE AND AFTER IN MY BATHROOM:
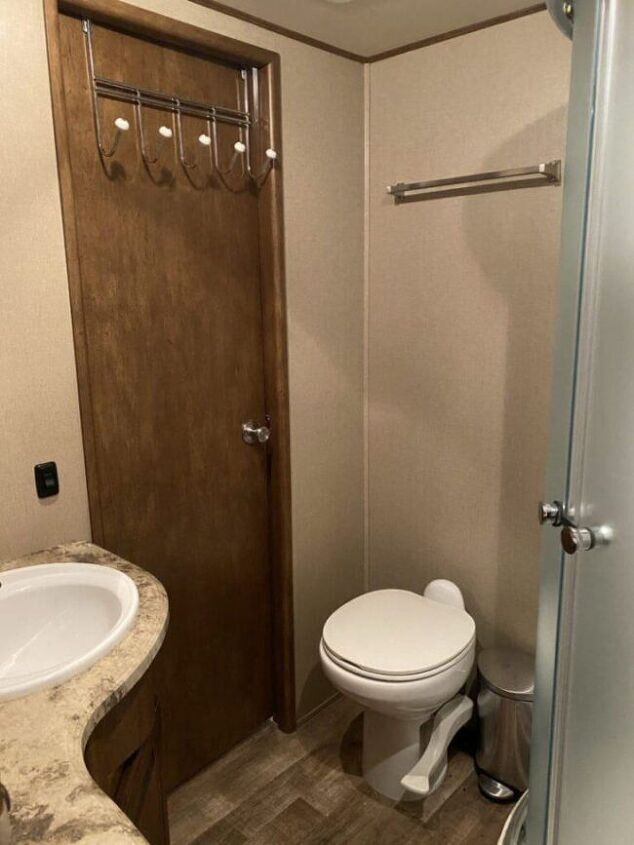
Here’s the before.
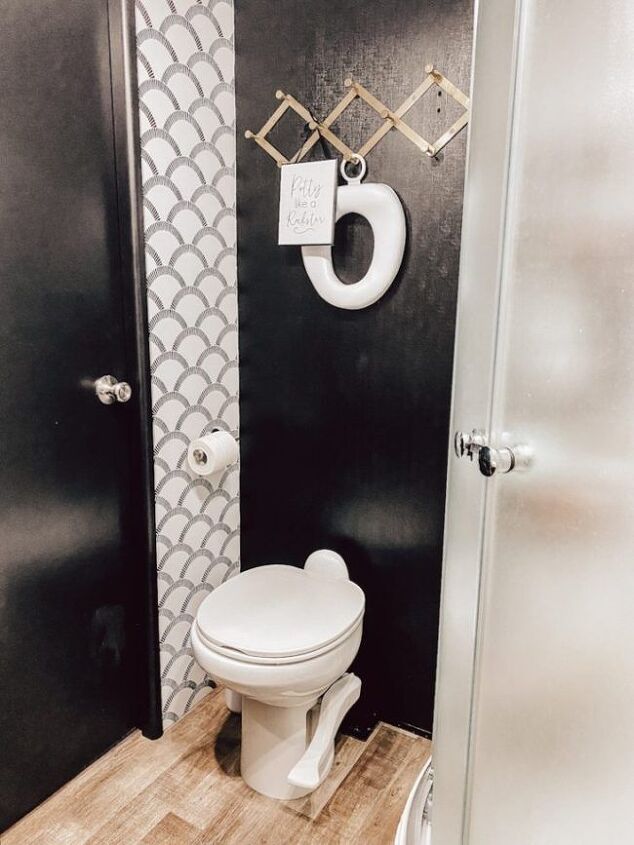
Then the after. Isn’t it crazy what just some paint (and wallpaper) can do for a space!?
what part of your camper will you be painting next?
🖤 Sydney


Comments
Join the conversation
It sounds amazing. I love how personalized you can make them!!! I agree, that white carpet would have been the first thing to go for me too! 😬😳
I so want to convince my husband that's painting..would be great for our ugly wall paper..
Some of RV companies ABSOLUTELY needs to hire New Designer's ...the colors combinations in RV are soo not appealing to the consumers.. at RV shows that was the word throughout ..People's brains were soo confuse how the colors were allowing or wall paper..And white carpet, very light light beige..carpet in the bathroom Reallly..
Every Top Manufacturer's needs to hire new Decorating people...or Designer's with an awesome background in Success in Colors selections!! No more wives or daughters , sisters with no training or at Least Passed the course.
We're elderly and painting the whole RV!!
I HIGHLY SUGGEST WE CONSUMER START LETTING THE RV COMPANIES THAT WE NEED ALL TO BE DONE OVER.