


Deck Refinishing Without Harming Plants

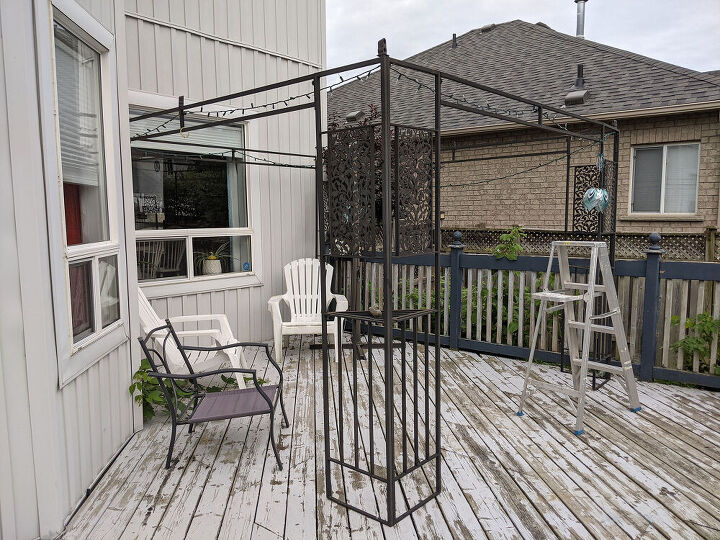
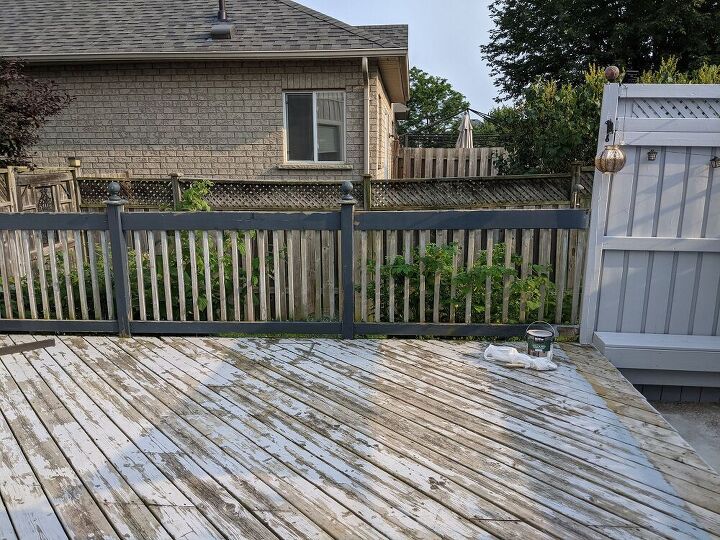
Our deck was in desperate need of attention. I had been putting it off since we moved here eight years ago and decided it was long overdue.
I had originally planned to remove the paint and seal the wood, for a natural look. But after pressure washing, I realized that was not going to work. So I returned the wood sealer and purchased deck & floor paint.
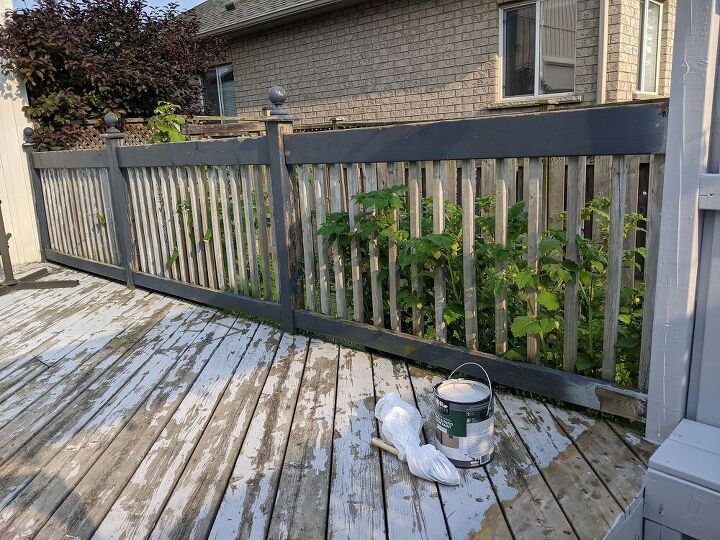
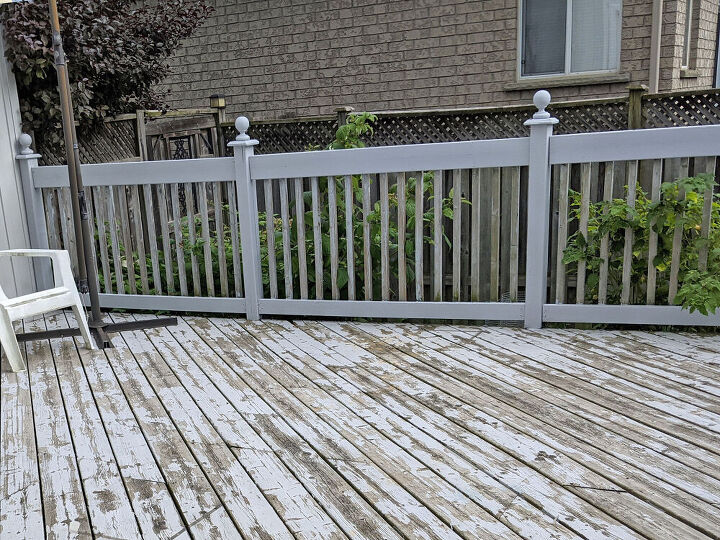
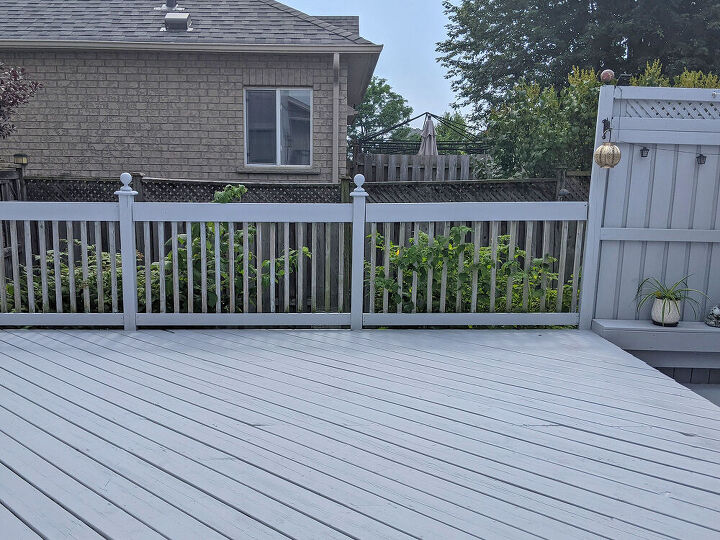
Step 1: Railings
I used a double edge scraper and removed any lose paint from the railings. I painted the horizontal boards and posts, but didn’t paint the spindles. Most of the paint had worn off the spindles and I thought leaving them natural might help tie in the freshly painted deck with the unpainted fence surrounding our garden. Plus, I didn’t want to disturb my veggie plants too much.
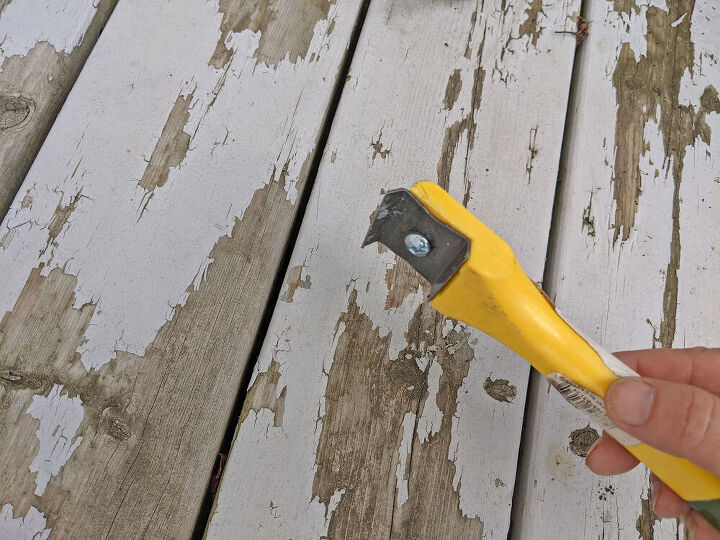
Step 2: Remove Loose Paint
After removing everything, I scraped the entire deck floor to remove as much loose paint as possible, using the double edge scraper. Knee pads really helped! Then I vacuumed all the paint chips up with my shop vac.
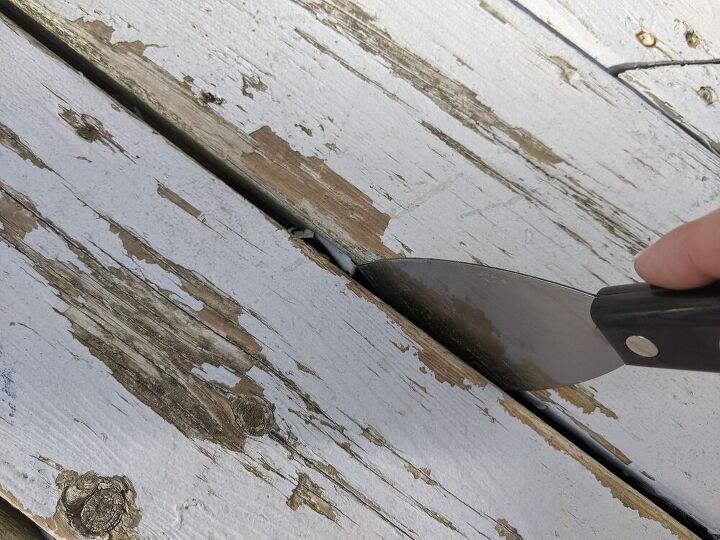
I used a putty knife to remove any loose paint between the boards.
Step 3: Wash
I didn’t want to use chemicals, because of my veggies growing beside the deck. So after some research I decided to go with vinegar and water. The deck was pretty large so I mixed two gallons of hot water with 2 cups of vinegar and a few drops of dawn dish soup.
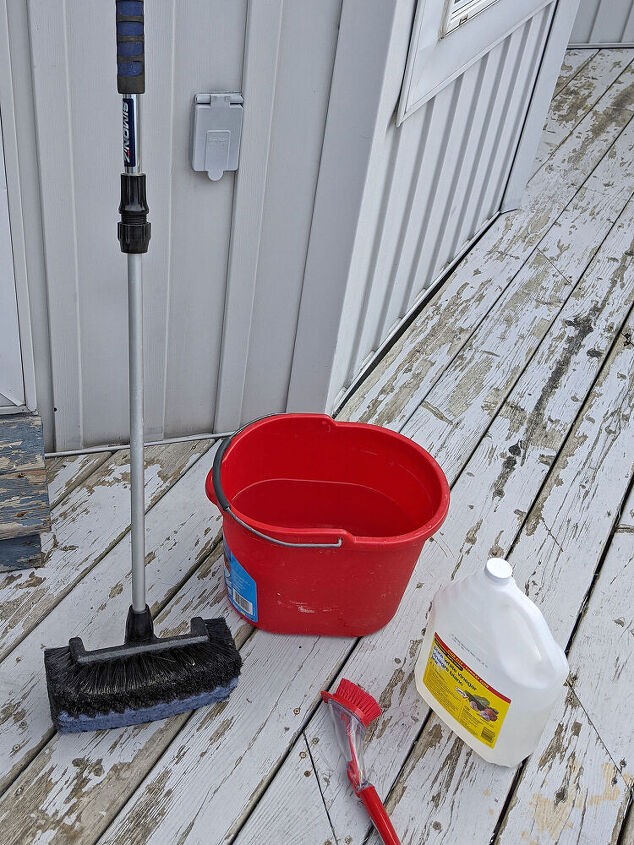
I had a cleaning brush that I had purchased for cleaning my car, but never really used it. So I decided to use that instead of buying a deck cleaning brush. It was the perfect size to get down into my bucket of cleaning solution.
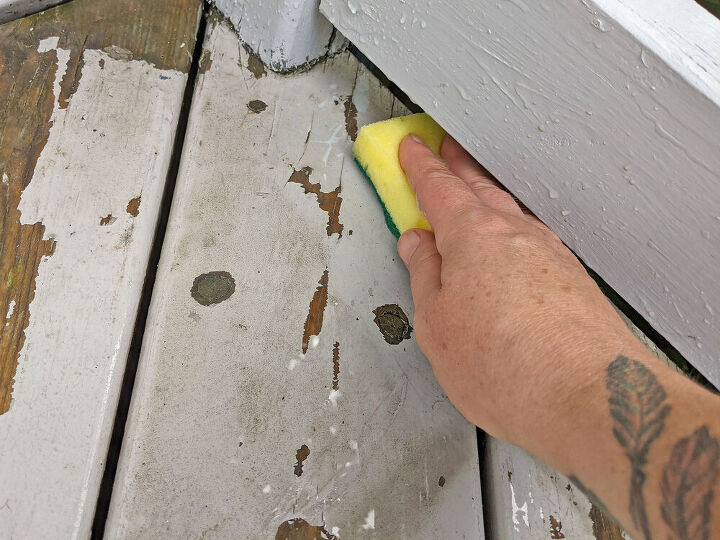
For the edges under the railings, I used a sponge with a scrubber to clean those areas.
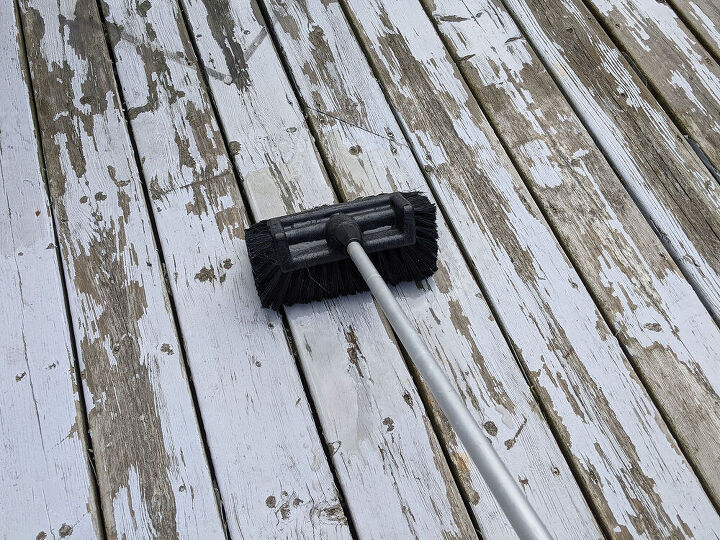
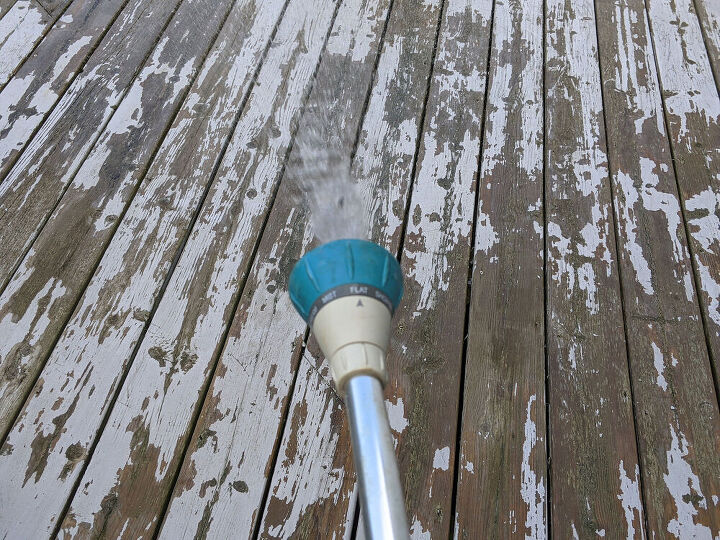
Once I had scrubbed the deck, I sprayed it down with the garden hose. I tried to direct the water between the boards, as opposed to running off the edge and over my veggies as I didn’t want to get their leaves wet and cause sunburn.
Step 4: Paint
Once the deck dried I painted! I used a brush to do all the edges first. Then I switched to a roller, but the roller was not working very well. It wasn’t covering the indented screw holes or the surface cracks in the deck boards. So I gave up on the roller and finished everything with the brush. Those knee pads really came in handy on this project!
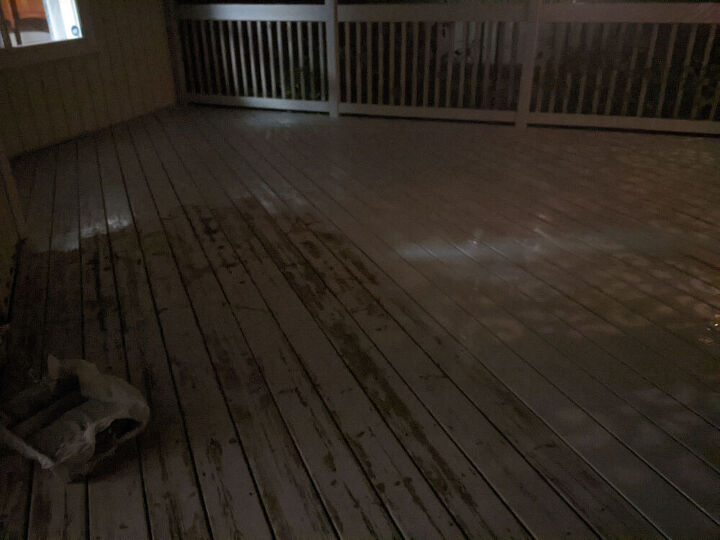
Because the weather has been brutally hot here, I started the painting after dinner and worked until 9pm. At that point I had to give up for the night. I have carpal tunnel in my wrists and osteoarthritis in my knees, so working on my hands and knees got pretty uncomfortable after a few hours. I snapped this photo when I stopped painting. How could I even see?! LOL I guess my eyes adjusted to the dark.
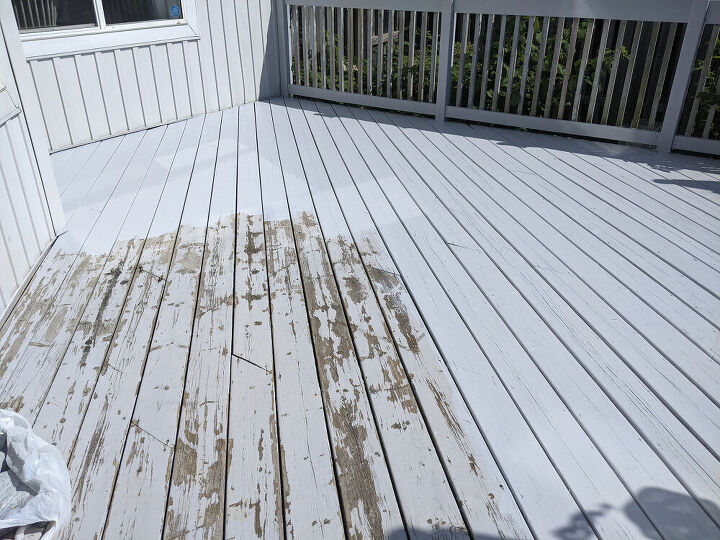
The next morning I checked my progress. Not a bad paint job considering I did it in the dark.
Then I finished up what was left, in the sweltering 40 degree heat.
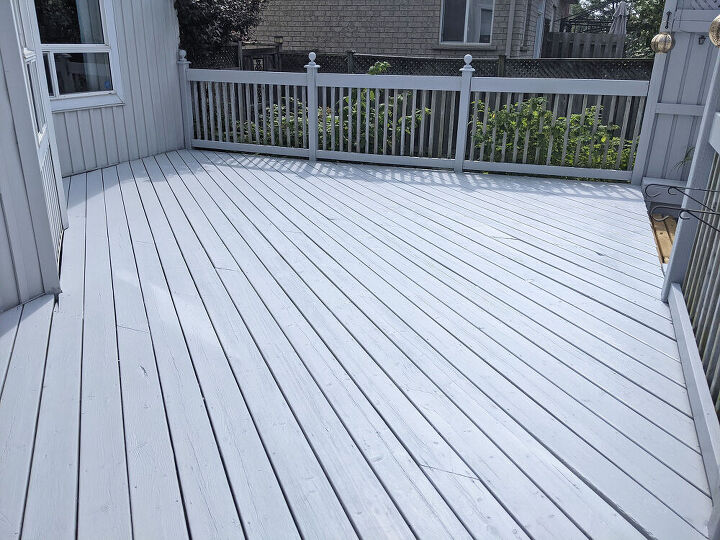
And done!

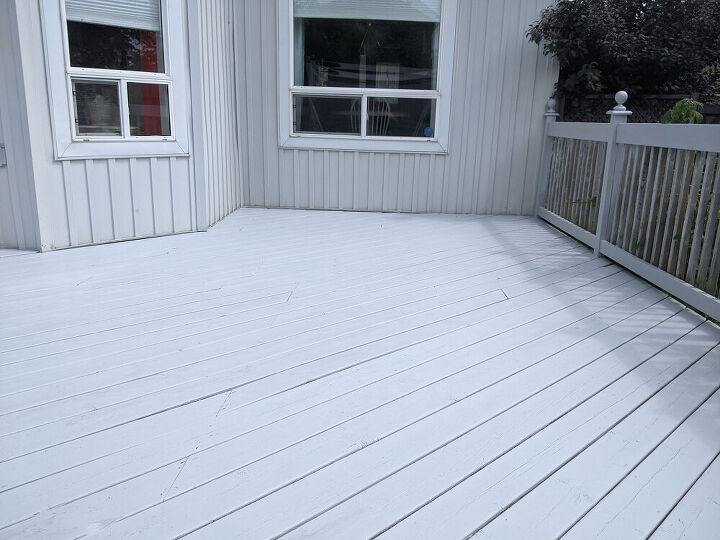
I’m so glad I finally tackled this job. The deck has never looked this good since we’ve lived here. I just wish I had done it sooner. But one thing is for sure, the next time I refinish this deck…I won’t do it during a heatwave!


Frequently asked questions
Have a question about this project?