


Deck Update: A New Drinkrail for My Deck

Topping off my new railings with a wide drink rail. This was the easiest part of the update. BTW 100% of the screws are hidden from the top 😉
(Not necessary, but I dig the look)
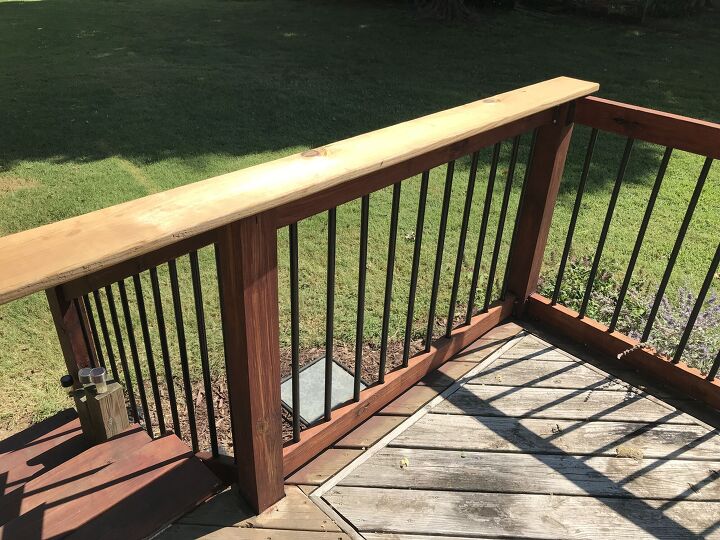
Here are the new railings, brackets, and balusters in place. I looked at several cap options, but didn't like any of the metallic offerings, so I went back to the idea of wood. This is the east/left side ↑. You'll see it again in the finished photo.
This is standard 5/4 deck flooring. I measured longer than I needed when I cut it. You'll see. This is looking at the right side↑.
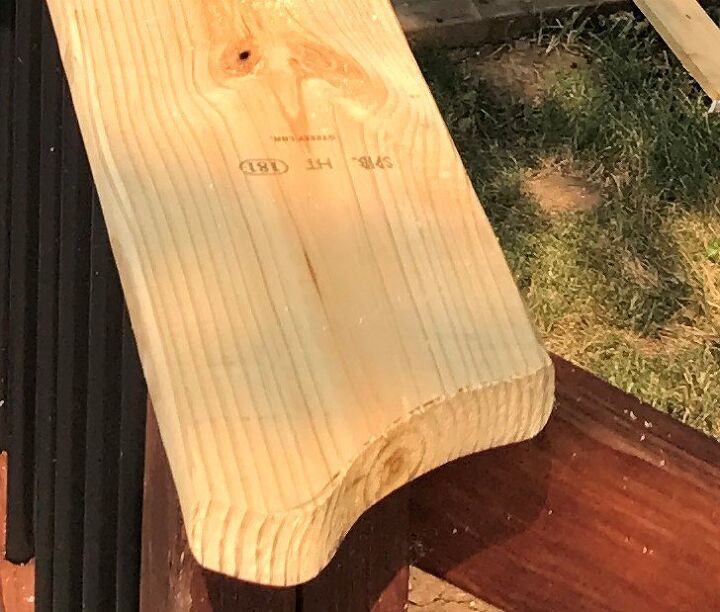
I had this idea to make a decorative end for the openings at the stairs. Not sure where this came from, I just didnt' want something plain. I did this with a jigsaw. I left the other end square, and 1/4" longer than I needed.
this is the left side↑
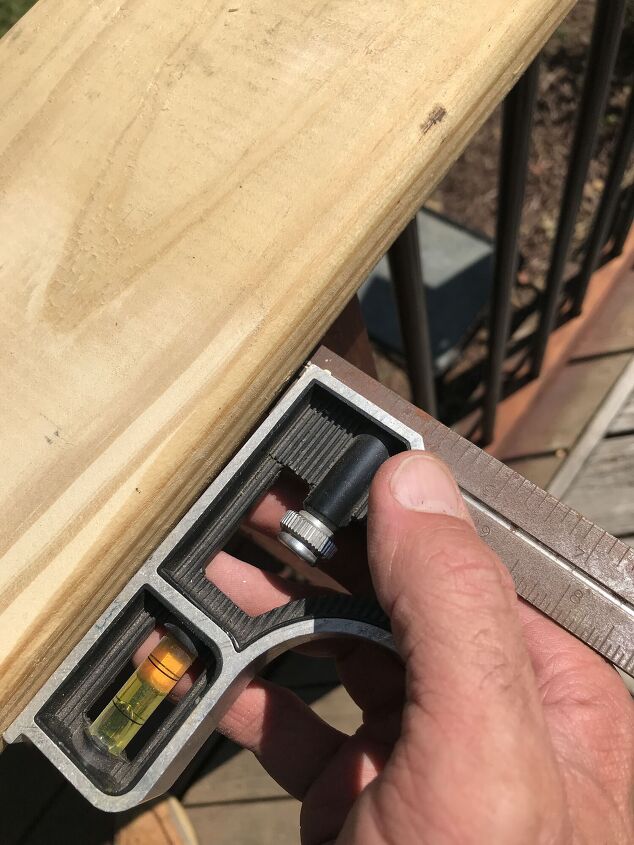
I started at the side of my deck that faces the back yard and used this square to make sure my top board stayed the same distance from the edge of all the posts.
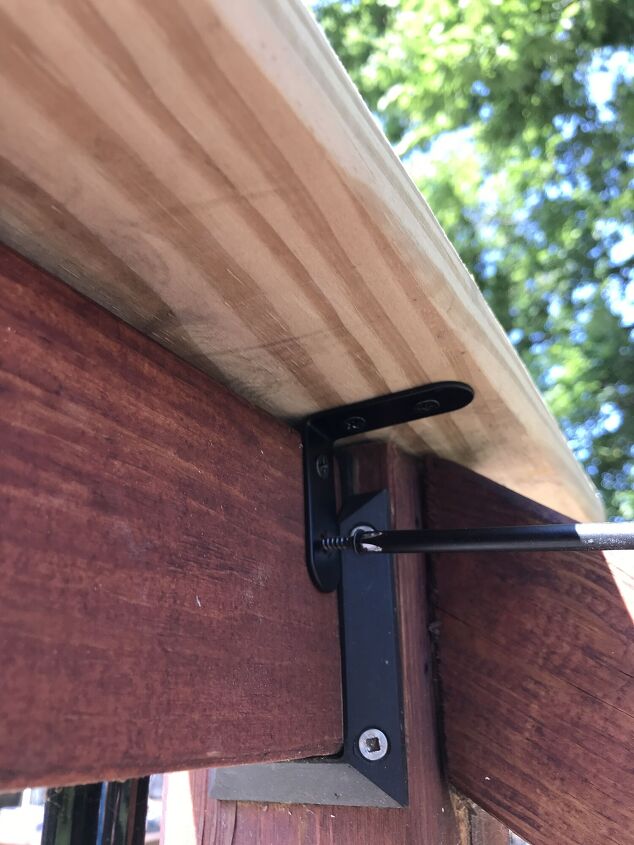
I used black coated stainless 2" brackets from Amazon. Some from the top railing facing outward...
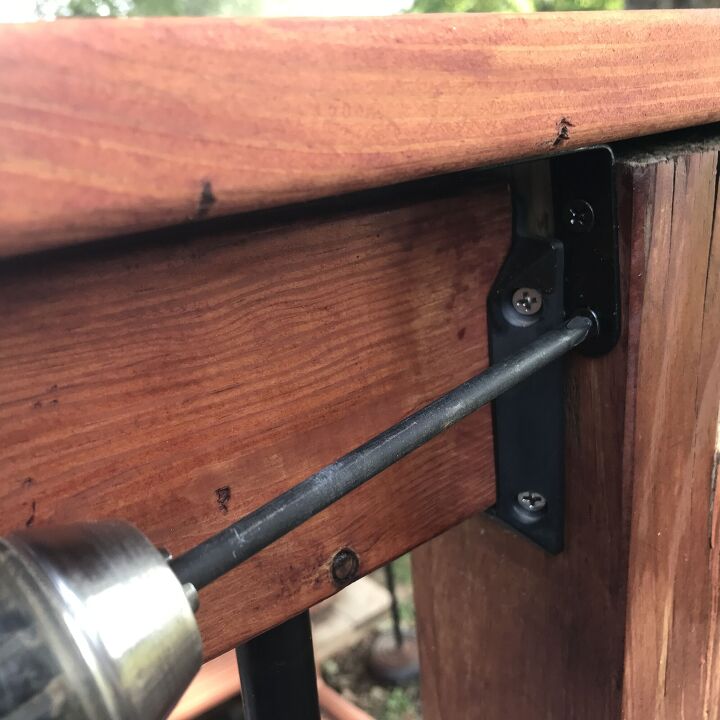
... and others from the posts facing sideways. (I took this photo after I had stained the drink rail.. all the parts had not come in when I started taking pics)
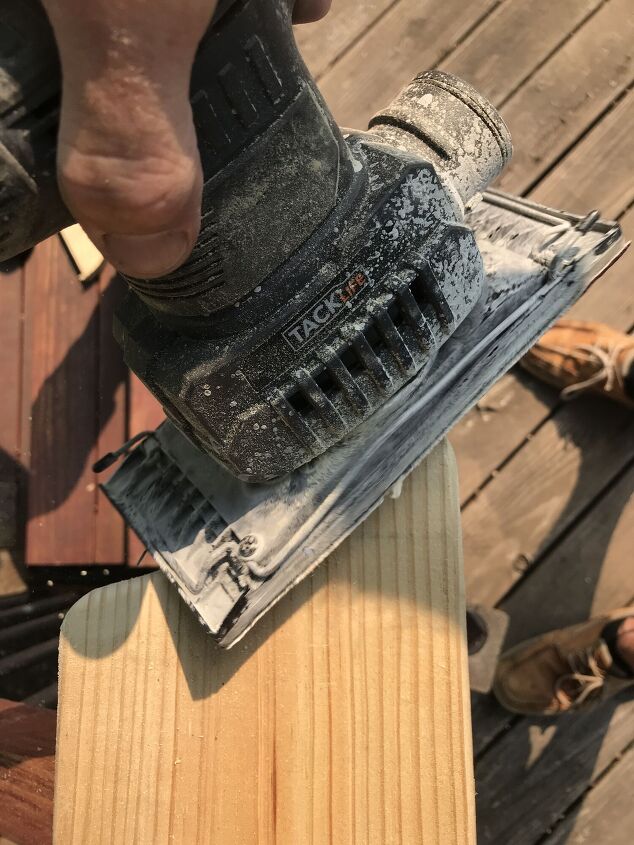
Now that everything is secure, I sanded the contours on the end over the stairs
take your time sanding. I like using 180 grit as not to 'eat too much too fast'
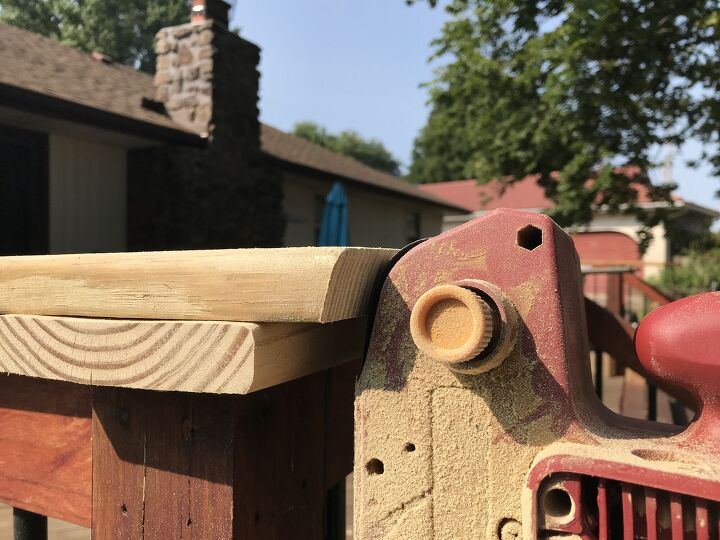
Instead of a 45° cut, I tried to make a curved butt joint. Thanks to my $40-ish Harbor Freight belt sander, it came out fairly close. The bottom one is the board facing the back yard. It's the one I left 1/4" too long.
(Off screen there's a clamp you can't see keeping everything still so I can get away with this, and wear safety glasses!)
this pic is taken standing on the ground looking up from the right side↑
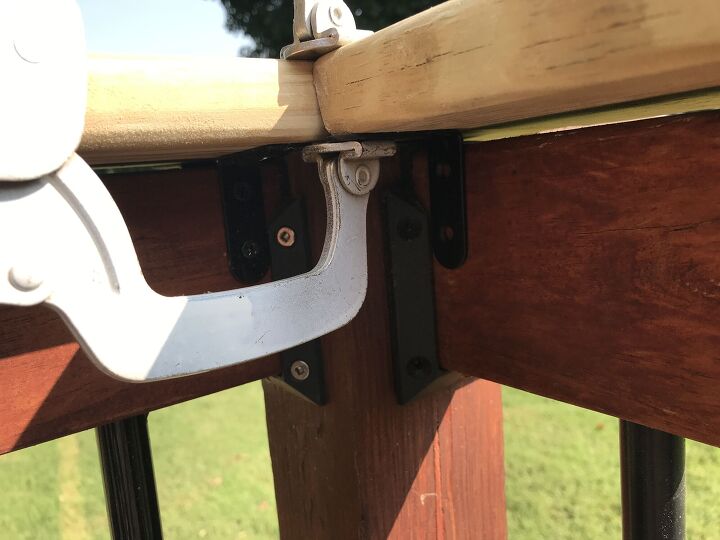
I used a clamp to line up the side drink rail to the first one as I added the L-brackets to keep them level. I kept the L-brackets close to the top railing brackets for appearance purposes
in the corner of the right side↑ 📷
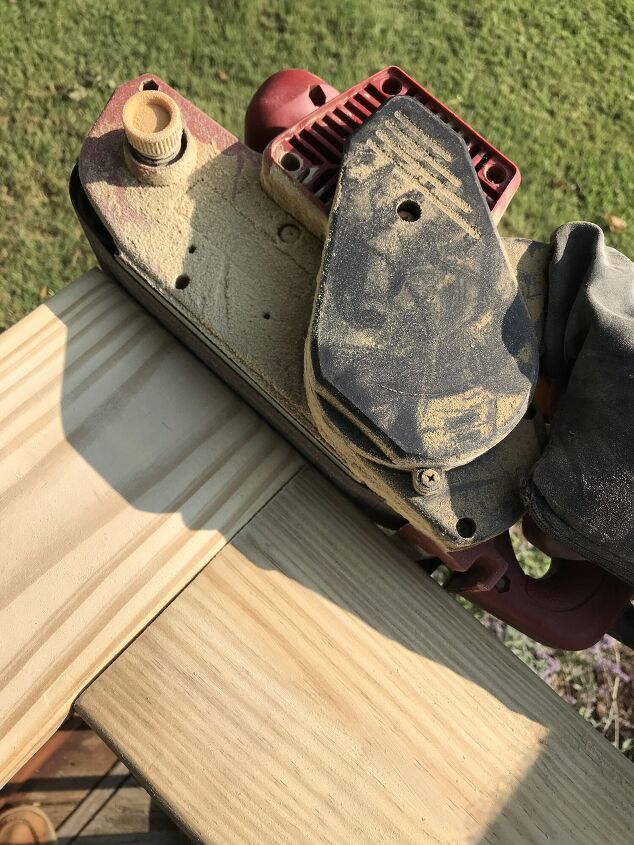
Notice the curved butt joint I made with the belt sander: Looks pretty good. The piece on the left was first, the one on the right was the curved cut-out. That end that was too long is now getting sanded to match the contour of the side drink rail. The 5/4 deck lumber has a hint of a rounding to the outside edges. I simply followed that. I kept the sander moving, and moving quickly!
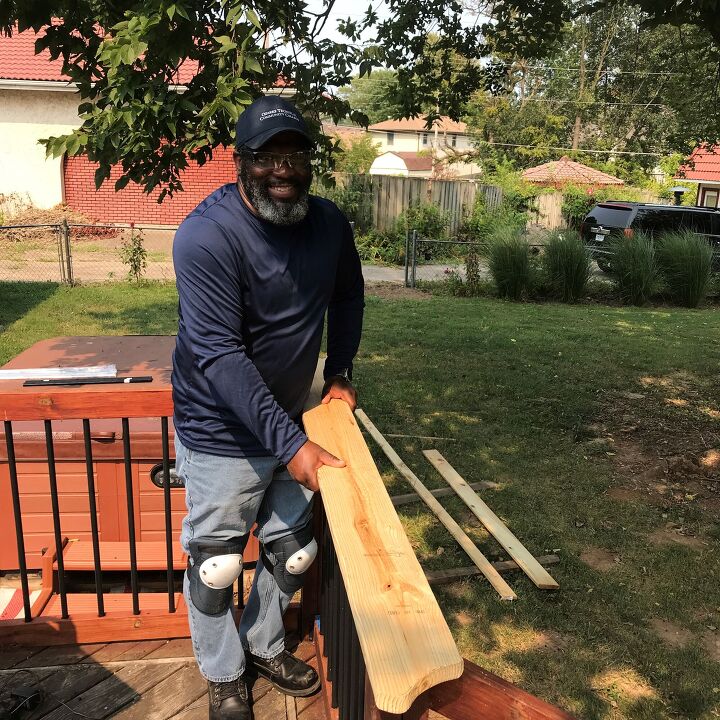
Here's my buddy Anthony lending a hand and hoping to learn a few tips along the way. 😁 We don't work too fast and we enjoy the company.
In the background you can see where I let wood 'dry' after I bring it home. I always wait a week after I purchase it, so any moisture can evaporate before I handle it (unless it rains a bunch).
Here is the west/right side ready for stain (yeah yeah, I know...the floor needs stain too)
Right side↑
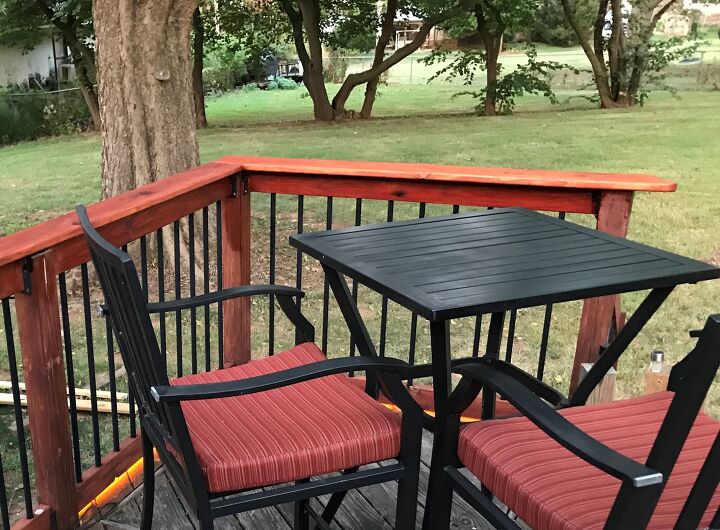
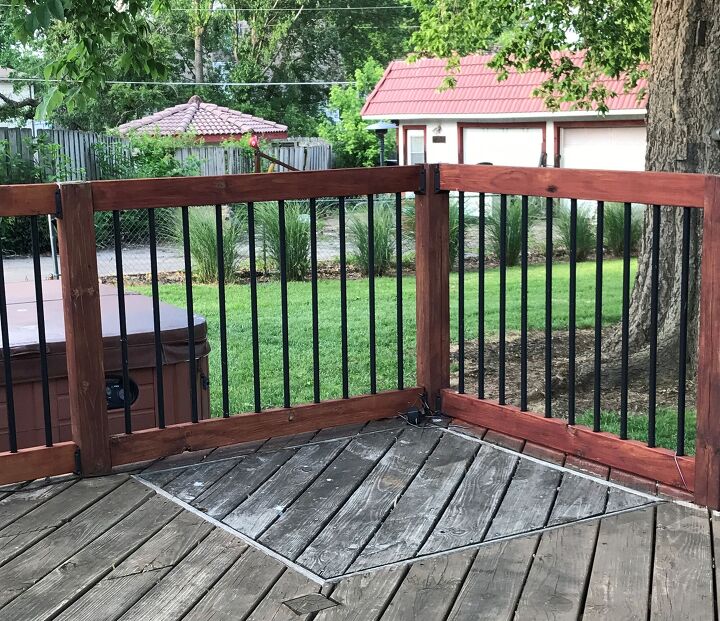
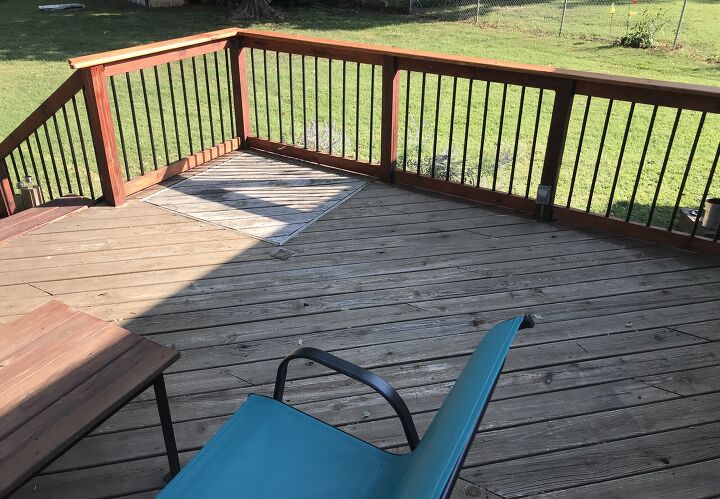
And the finished look! I like this a lot better than the caps, and it's functional.
The more brackets you add the sturdier it is, but you don't want to go overboard and ruin the aesthetics. On the shorter boards I did add a few extra brackets on the outside. The price came out with hardware, lumber, stain, etc to approx. $4 per 4 ft section. I completed 32 ft in a weekend with ease. This was a VERY affordable project/upgrade. I wish I had added it at my old house. That glow you see along the bottom rail is my new Footlight project
Again this is the left side ↑ when I walk out my patio doors ( which just got a low-cost security upgrade )
Holler if you have questions, I'll update as comments are added.
Happy Hometalking!
Comments
Join the conversation
-
Great idea and great job. Looks amazing. Now you just have to watch so the kiddos don't climb on it to sit on 😁


Frequently asked questions
Have a question about this project?