


Before (Mostly) - Garden/Deck/Patio Decor

Summer, heat, sweltering, - time for the garden!
Earlier this spring I set about planning a container garden. Hubby and I relocated to the area a couple years ago. I tried to plant flowers last year but the ground was not cooperating. There's a lot of clay here. This year I went with a container garden, while incorporating a few DIY hacks I've seen around the web to use for decor.
This post is the "Before" one.
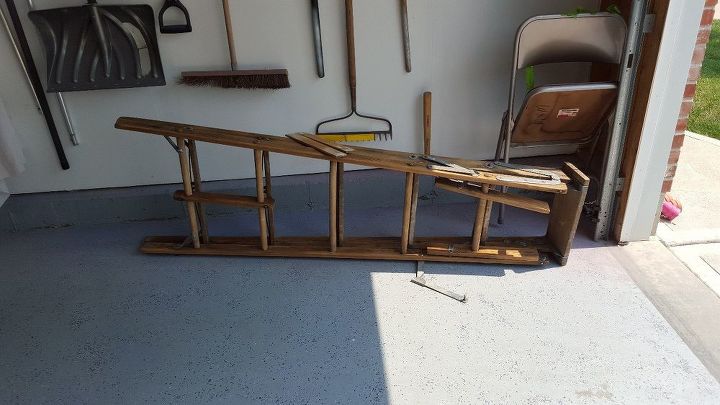
This step ladder was found at a flea market. I wanted to separate the two sides, but alas, even though this thing was rickety and old, the rivets wouldn't give. So, I cut off the legs and you can see on the second post how it was put to good use.
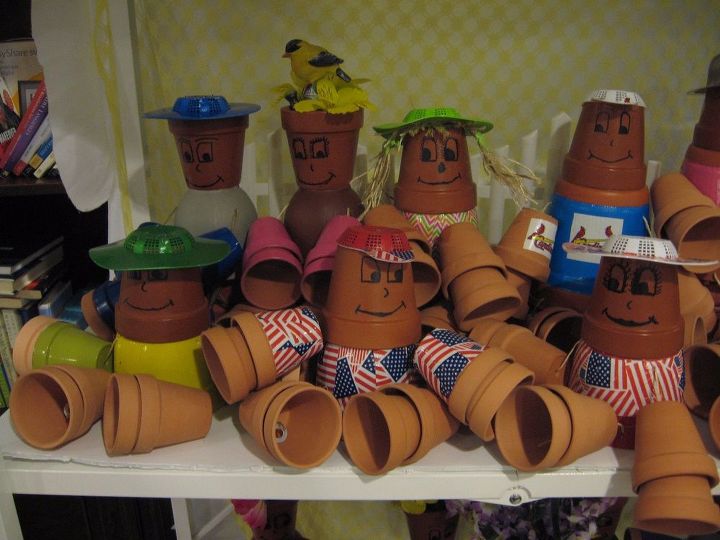
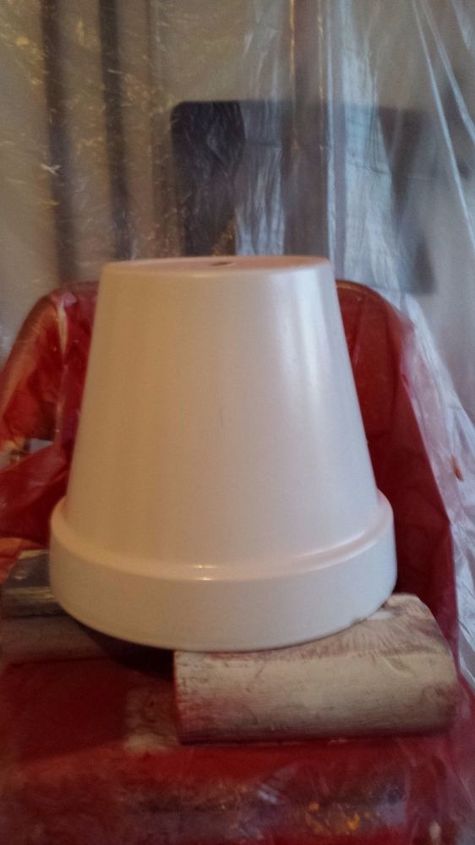
My "pot heads" are an easy way to brighten up any space! Using inexpensive pots, duck tape (they make all kinds of patterns), wire, glue, washers and spray paint, there is no end to the possibilities. For hats I used rubber or mesh sink stoppers! Decorations came from my stash or the $ store. Drill holes into the pots to run wire through to connect the head and body. Drill holes through the body for the arm and leg sisal ropes to connect them. I wove the ropes/wire through the holes and then tied washers on each end to keep them from pulling through. Finally, drilled a hole intot he center bottom of the item, and feeding the rope through and tying it off with a washer. This was to be able to set them on a wood block or "chair" and be able to anchor them down.
For the topsy/turvy pots, I started with a piece of rebar. It was washed and spray painted, along with a selection of pots in graduating sizes. Holes were drilled in the pots and threaded down the rebar. I applied a large thick rubber band beneath each pot, as well as E6000, to hold them in place. Be careful to not glue the hole shut - it needs to drain. Plant the flowers, and you're done. When I make these again, I will use larger pots. The top two do not hold much soil and it is difficult to find plants that small that won't outgrow it before the season is over.
This old small table top BBQ morphed into a planter. Just add dirt and flowers. I tried using the top, too, and found it was difficult to keep it balanced. I will work on that for next year.

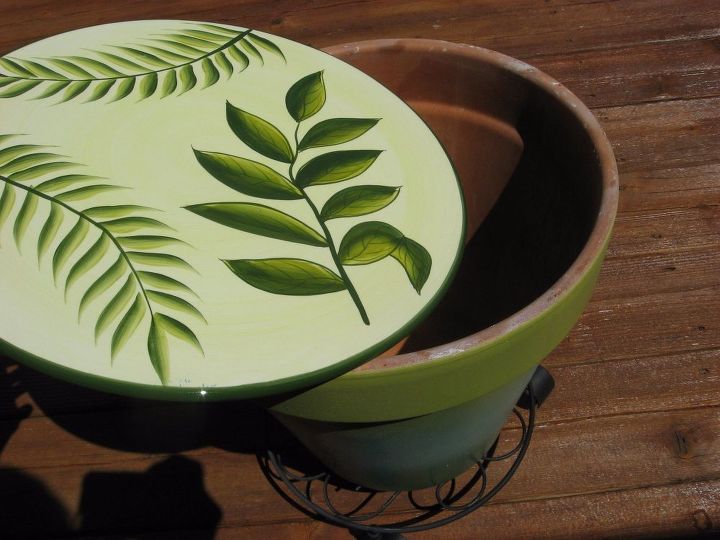
I don't believe this shows up on the deck pics. The top plate for this was a wonderful find at the thrift store. It has a ring around the bottom that fit perfectly onto the pot, and keeps it from sliding off. I had a large pot and spray painted it with different shades of greens. It makes a great foot rest, side table and storage area! Setting it on a roller keeps it portable.
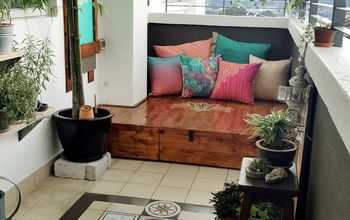
The story regarding our deck chairs was typical. Old, tired, a blah gray color. They just begged me for a new color.
This heavy bench was found at the thrift store for $12. It was sanded and painted with an outdoor paint, and then sealed. Don't set a plant on it without protection! I found out the hard way and had to sand it down and repaint it. Uugh.
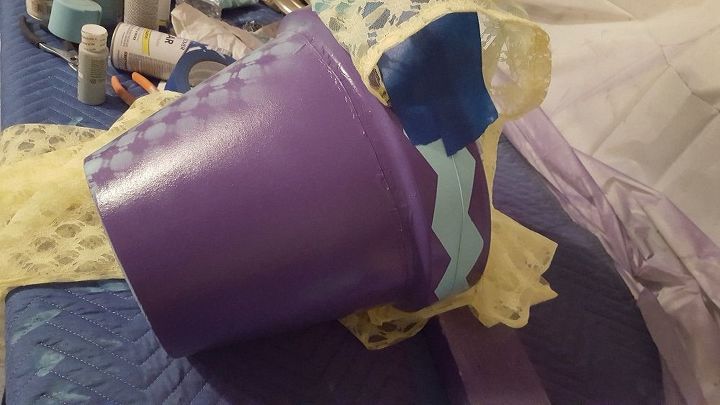
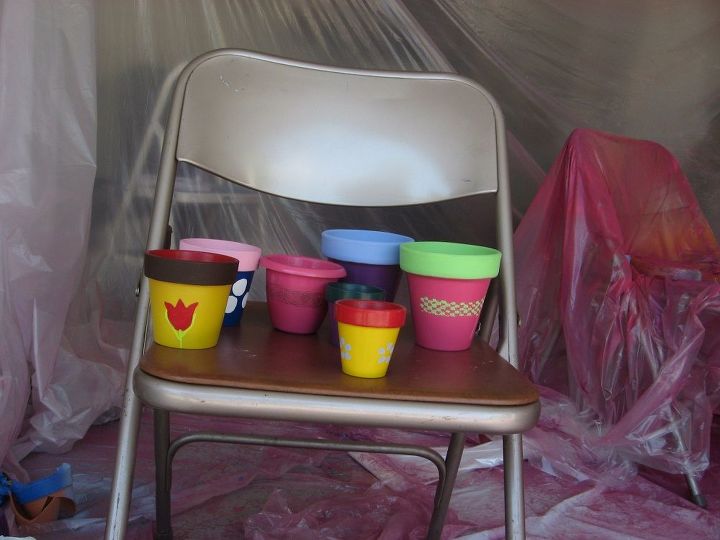
These large pots were washed, and then spray painted a solid color. After drying, a large piece of lace (from thrift store for $1) was placed over the pot and spray painted again in a contrasting color.
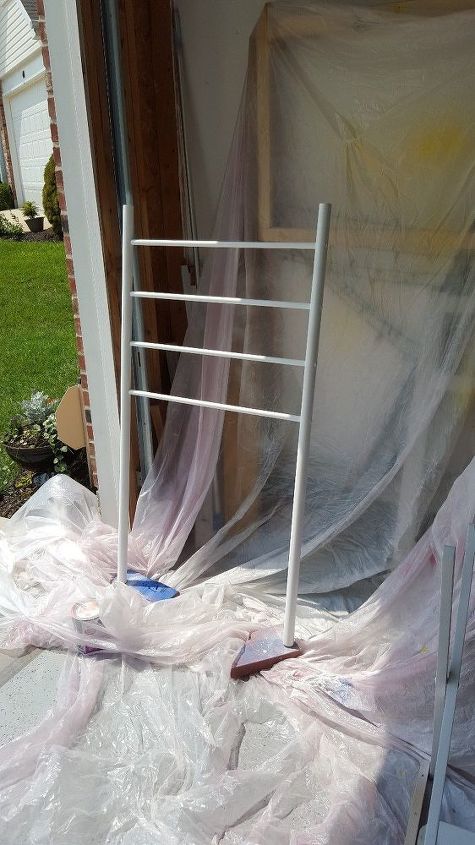
After looking for awhile and not finding what I wanted, I made this ladder. Using two different size dowels, I drilled holes in each side of the thicker dowels, inserted the smaller dowel "rungs", and glued and screwed them into place. This fall I think I will add one more rung to make it more cohesive.
The large pot above is the base for my "lighthouse". I spray painted graduated sized pots and sealed them. For the windows I used a small cut of an old door screen. The walkway was made by cutting out the bottom of a $ store wire basket and using a $ store lantern. The pots were then E6000 glued together.
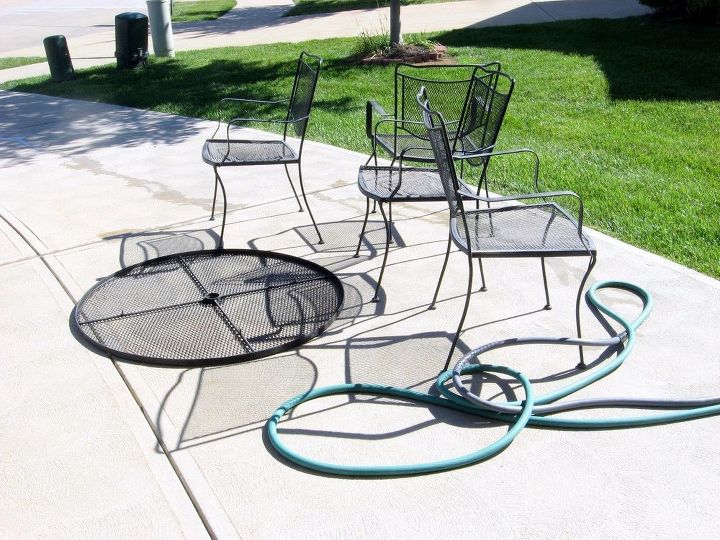
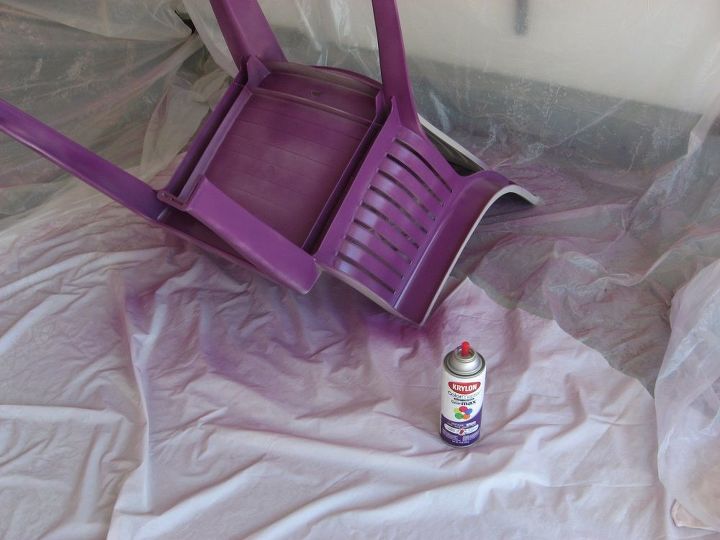
I found this metal patio table and four chairs online for $50. A little scrubbing, a couple cans of spray paint, and viola! A new beginning!
Comments
Join the conversation
2 comments
-
The link to the second post is: http://www.hometalk.com/diy/build/planters/after-garden-deck-patio-decor-18674226
-
Wow!! You did such a great job here!! Thank you for sharing :)


Frequently asked questions
Have a question about this project?