


DIY Horseshoe Pit
Today, I am sharing a fun outdoor DIY project, a DIY Horseshoe pit for your backyard. Our DIY Horseshoe Pit was super simple to make, inexpensive, and our whole family loves to play Horseshoes now. Full disclosure, I am TERRIBLE at playing horseshoes. Here’s how we DIYed our Horseshoe Pit with our kids help!

We used leftover pressure treated 6 by 6 posts to create the horseshoe pit area around where the stakes go. You will also need large galvanized nails, landscape fabric, sand, 2 outdoor stakes & horseshoes.
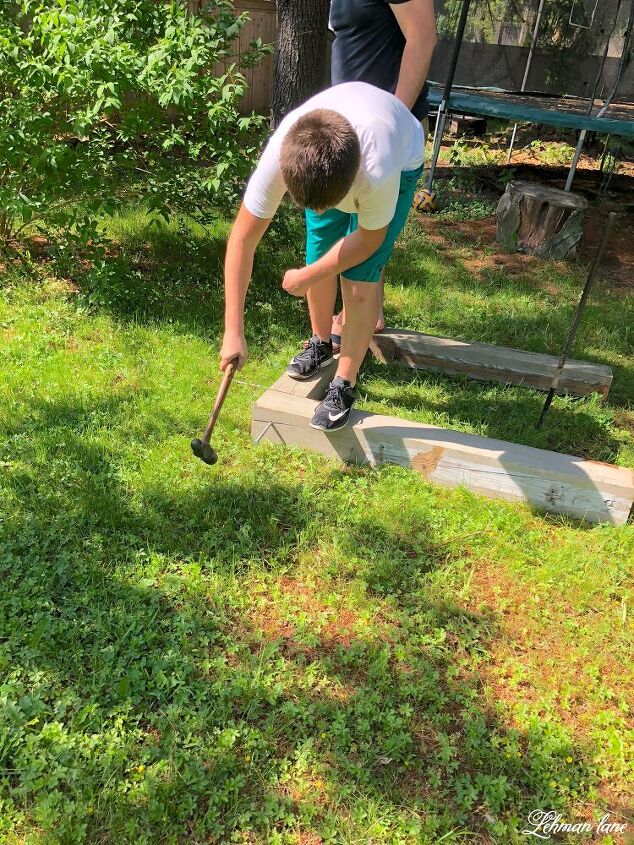
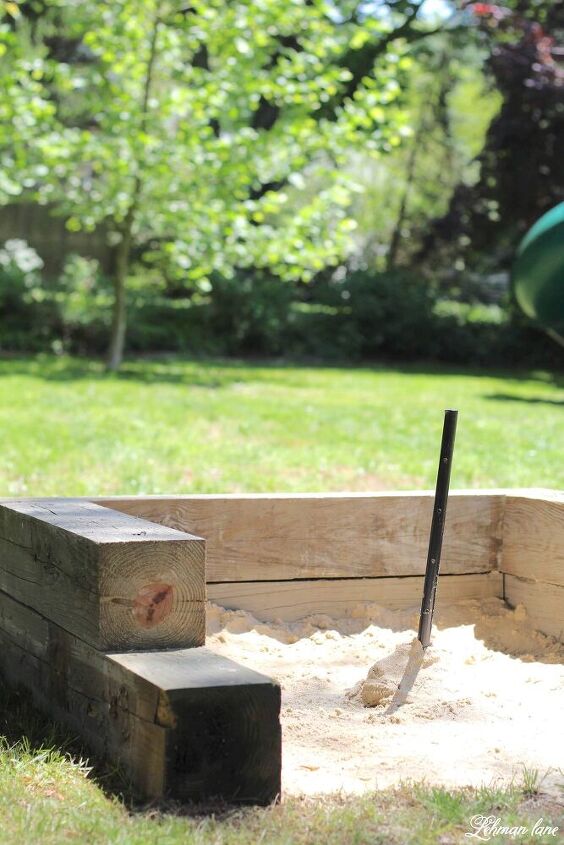
After determining the size we wanted our horseshoe pit to be, we cut the posts with our circular saw & hammered the pressure treated posts together with galvanized nails found at Lowes. Our Horseshoe pits are approximately 42" wide by 48" long by 12" tall.

We added landscape fabric to the bottom of the horseshoe pit to keep the weeds from coming up inside of it. We hammered in the 2 stakes also from Lowes in the center of each horseshoe pit.
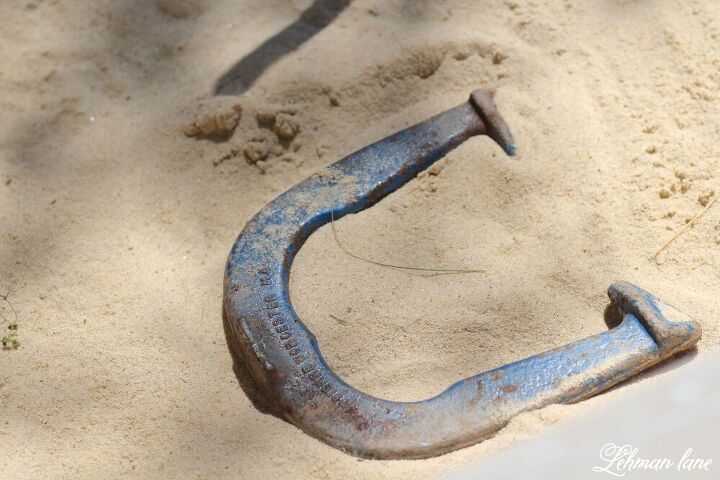
Lastly, we added sand to each horseshoe pit & we were ready to play with some old horseshoe my inlaws had given us a few years back. We recently moved our horseshoe pits near the tire swing we added to our yard a few years back. For more information on how to create a DIY Horseshoe Pit of your own or for more Outdoor DIY Projects from Lehman Lane click in the link below.
Resources for this project:
See all materials


Frequently asked questions
Have a question about this project?