


DIY Outdoor Pillow

by
Amber Oliver
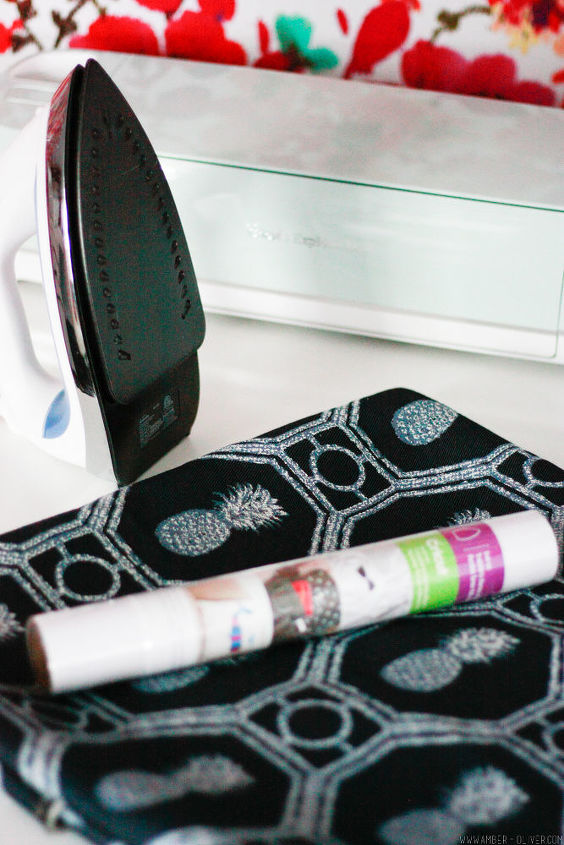
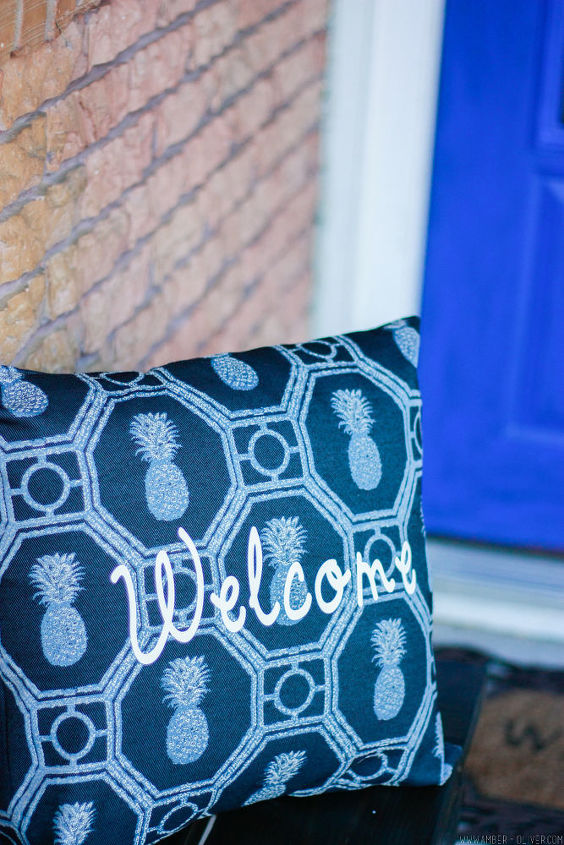
Since I’m still learning the ins and outs of my new Cricut Explore Air™ 2 machine , I wanted to start with a simple project. Aside from paper crafts, the thing I cut the most is vinyl. I love how neat and clean it looks and there are SO many things you can use it for. My very favorite is heat transfer vinyl! I made a super cute “crafty tee” last year and one for the election, but I was pulling my hair out and messed up so much vinyl each time. Last week, I sewed simple envelope pillow cases with leftover pineapple fabric I had, so I decided to add some heat transfer vinyl and make a “Welcome” DIY outdoor pillow for my porch.

For this project, I started in the Cricut Design Space. There are tons of “Make It Now” projects that you simply setup your mat and cut, but for this you’ll just create a new blank project. I called mine “Outdoor Pillows”.
Next, click “Add Text” from the left side menu and type your phrase. I used “Welcome” but you could put anything you’d like! Then you will select the font from the menu on the right. I chose the Cricut font “Holiday Cake”. You can also use your system fonts.After you’ve decided on the text, you’ll resize to fit on the DIY outdoor pillow. You can do this with the green arrow in the bottom right of the text selection, or from the Edit menu on the right. The lock in the bottom right (or on the Edit menu) allows you to resize without constraints. I resized mine to fit across my pillow and for the text to be 3 inches tall. If you want something wider than 12 inches, you can use the 24 inch mat. After I resized, I also adjusted the letter space so the letters weren’t as far apart.The last thing I did was ensure that layer was set to cut, and changed the color of the layer. While this doesn’t matter much for this project, it’s good practice. As you create more complex projects, you’ll want to color code the layers so it’s easy to see visualize what you’re doing when it’s time to send to the machine.
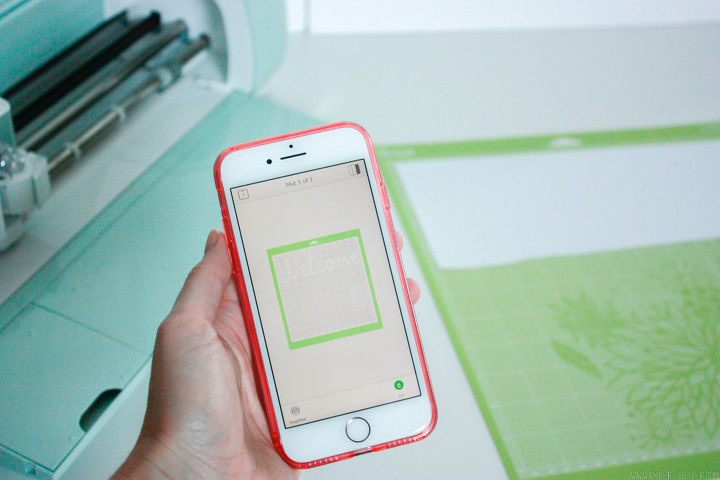
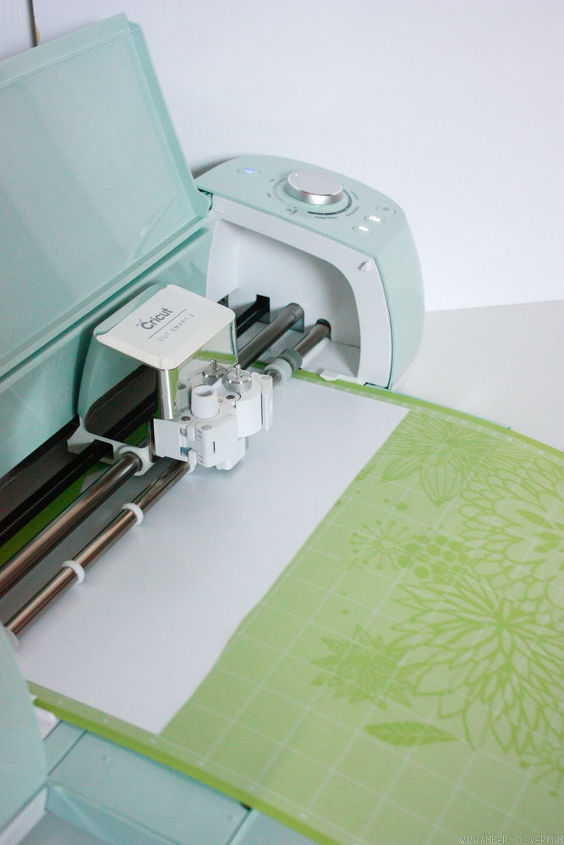
Once I had everything set, I cut out just enough vinyl, put it on my mat, and loaded it into the machine. I used the Cricut app to start the cut and AS USUAL I forgot to mirror the text! Anytime you are cutting heat transfer vinyl you must mirror the image/text! Luckily there is an nice little button you can click before cutting that will mirror for you. Cricut to the rescue!After you’ve cut the vinyl, it’s time to weed. (Not just a verb used in gardening!) Here we mean removing the excess vinyl away from your design. The Cricut weeding tool makes this really easy, just be sure to peel carefully.When your design is ready, place on the pillow case. Follow the instructions on the vinyl package to find out how long to apply heat, etc.
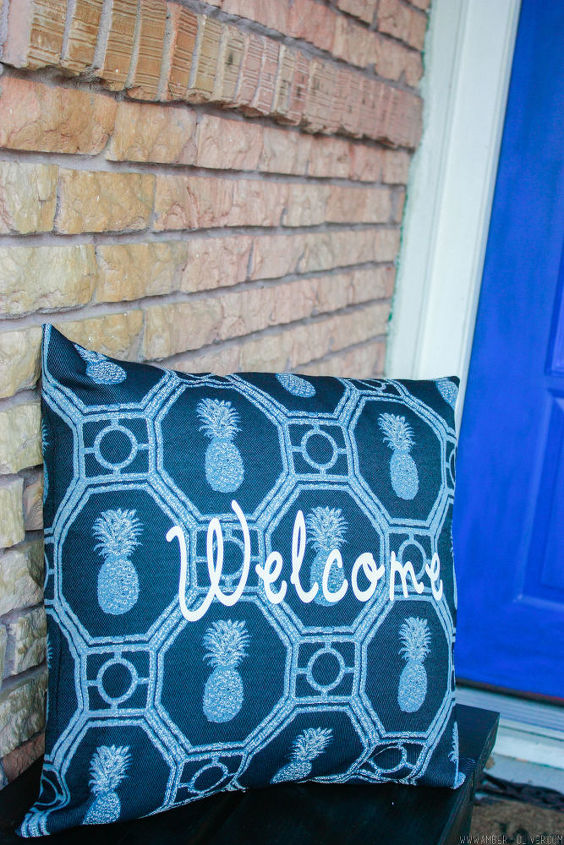
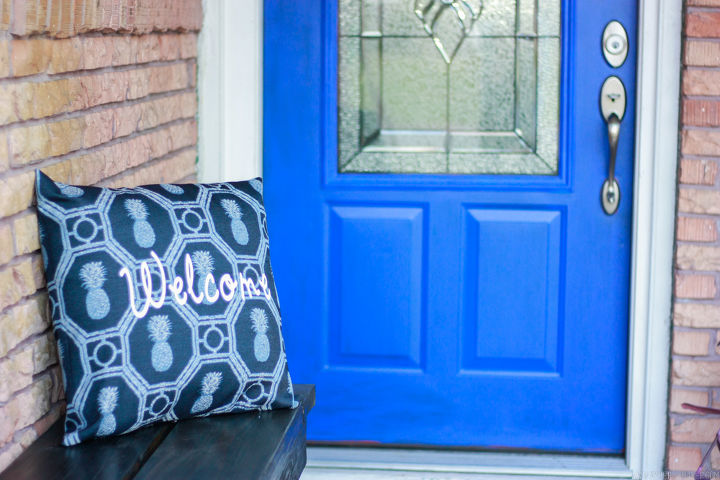
I love how this looks on our front porch! It is a great addition to the DIY bench we built. This project took less than 30 minutes (including sewing the pillow!) but when you’re learning, allow yourself some extra time. You’ll find yourself getting distracted by all the amazing “Make It Now” projects in the Cricut Design Space!For the free download cut file please visit: http://amber-oliver.com/2017/02/diy-outdoor-pillow/
Want more details about this and other DIY projects? Check out my blog post!
Comments
Join the conversation
2 of 7 comments
-
Pillows came out great but I have to tell you, my front door is the same bold blue!

-
The cushion is so beautiful! And absolutely LOVE
the blue on your door! Well done! 


Frequently asked questions
Have a question about this project?
I clicked on your air machine, but couldn't get any information. I googled and got info, but I don't understand any of it. I just not getting what this is. I'm probably the only person on here that don't know what your working with. Can you briefly explain what your air machine is?
I'm in the market for a Cricut Explore Air 2. I've never had a cutting machine before and have no idea what extra materials I need, or whether the package deals are of value. Any purchasing advice?