


Easy Porch Makeover Using Stone:Planter Boxes
This project is sponsored by Evolve Stone
Y’all Summer is finally here & that means there is a lot of porch sitting going on at the Southern Yankee house!
Nothing beats watching the sunset on the front porch in the warm weather.
Well actually if you are getting to sit on a newly madeover porch that might beat it!
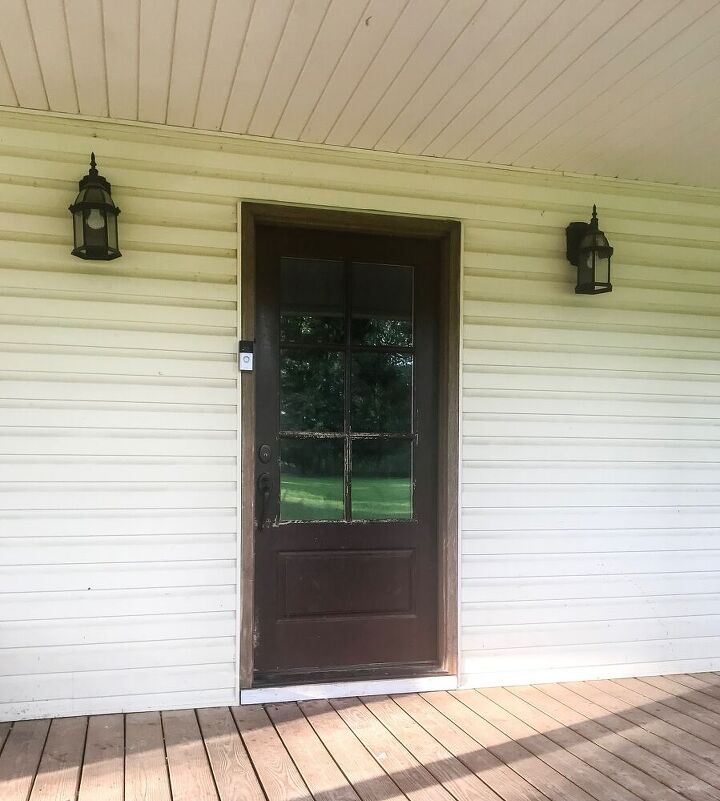
The porch at our new fixer upper farmhouse was seriously lacking character & charm, which is a shame because the 18 acre view is incredible.
Turns out all it needed was a little stone & a whole lot of imagination to make it great!
Planter Box Tutorial
Supplies:
- Evolve Stone (Morning Aspen)
- Rain Screen
- Typar
- Treated Plywood Sheets
- 1×2 Pine Boards
- 2” Stainless Steel 16g Finish Nails
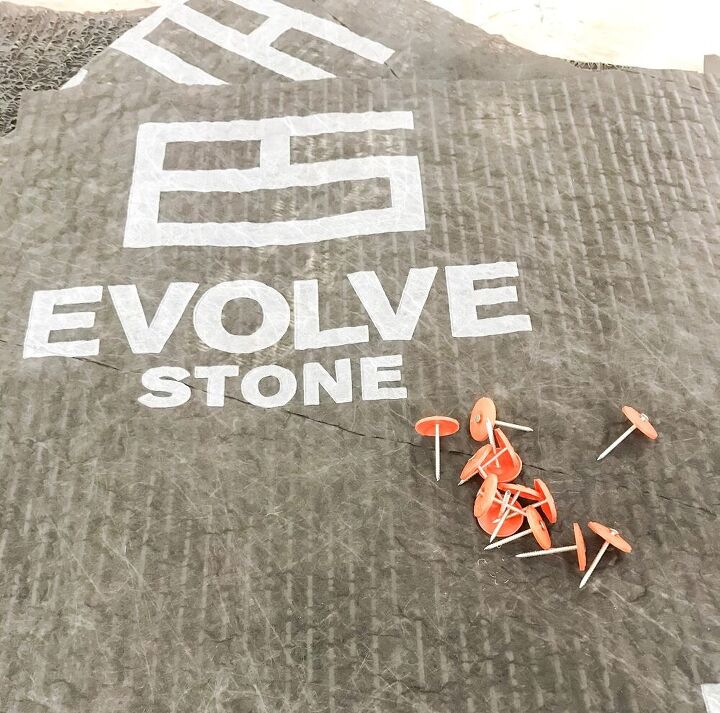
- Cap Nails
- Level
- Nail Gun
- Measuring Tape
Tutorial:
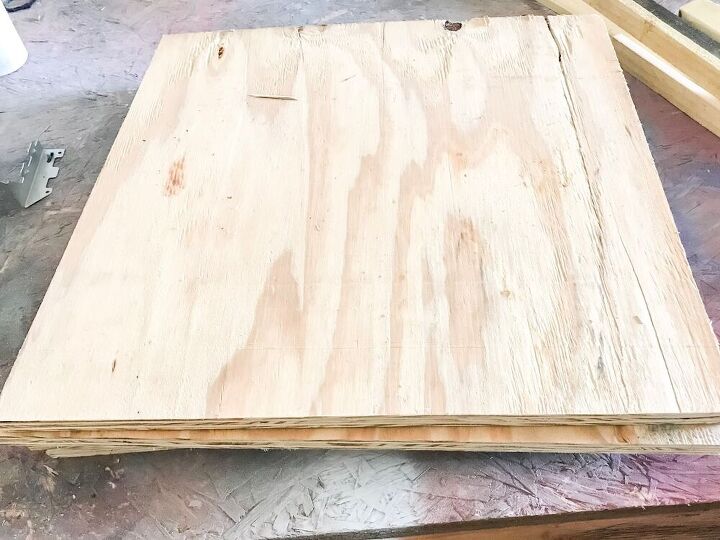
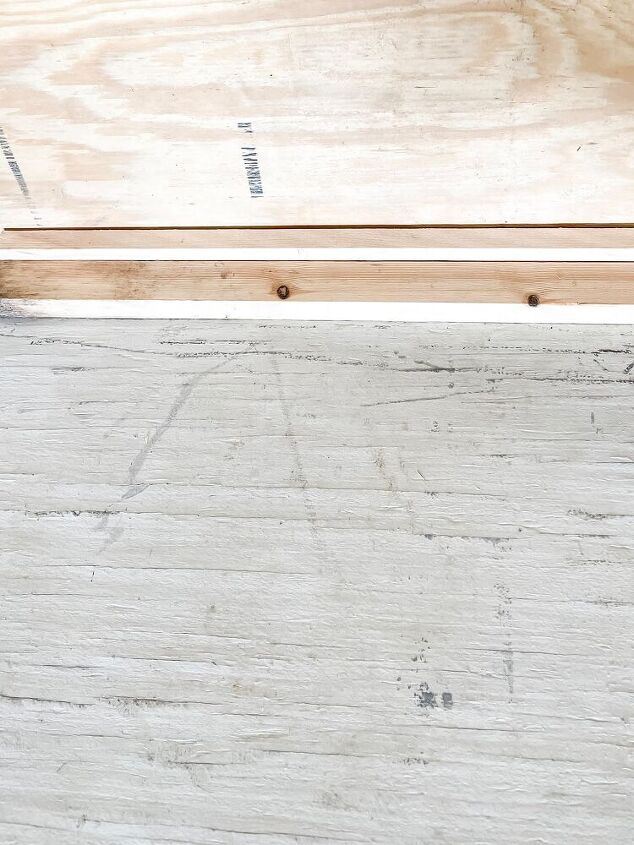
- The first step is to build your planter boxes. For this I used pressure treated plywood ripped into (4) 2’ by 2’ sheets.
- Next I made the 1×2 legs for the boxes. These ended up being 2 ½’ long because I wanted to be able to see a small amount of leg at the bottom of the planters.
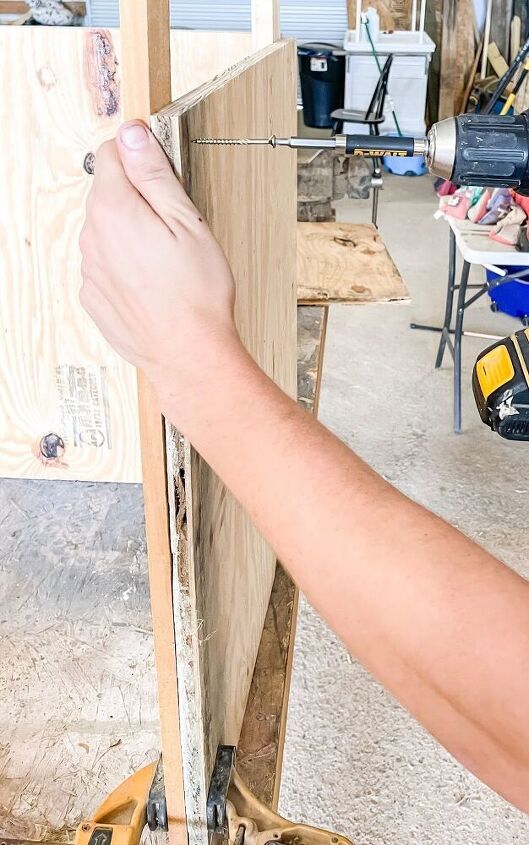
- There are a million ways to assemble a box, but I simply attach 1 flat leg piece in the corner of the plywood & another in the same corner on its side. The picture will help that make more sense I promise!
NOTE: The reason I used two pieces of wood per leg is because the plywood is thicker & with the addition of stone I wanted the planter box to be really solid!
- I use a combination of 2” nails & 2” exterior screws to secure the legs to each piece of plywood.
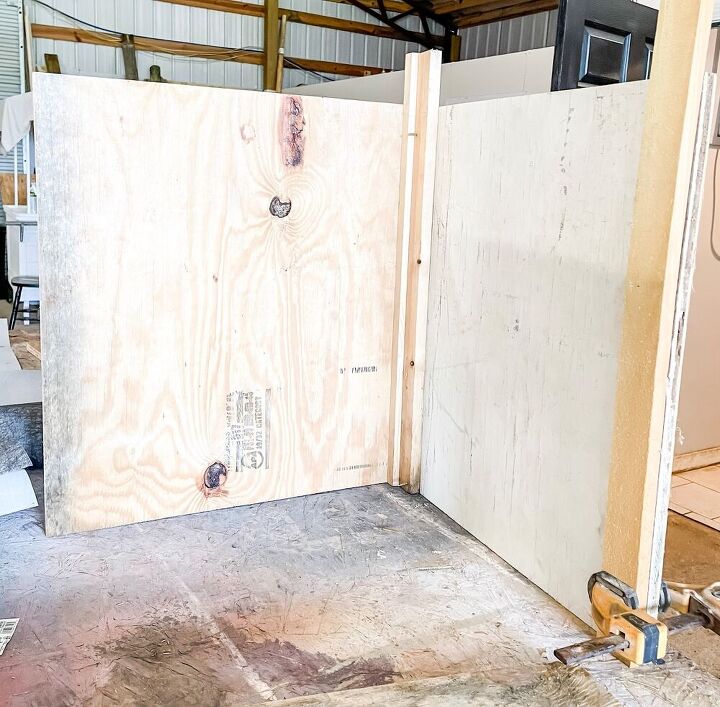
- Once I have attached the legs to the plywood, I simply start adding my plywood pieces together to form a box.
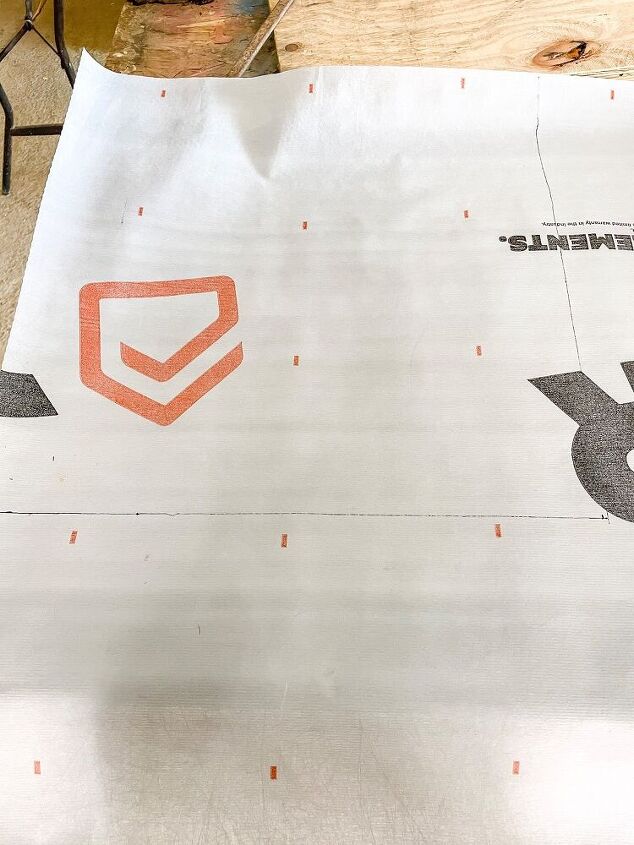
- After the first planter box was assembled I attached Typar to the outside of the plywood using stainless steel staples to hold it into place.
NOTE: We use Typar because it acts as a moisture barrier & we want these planter boxes to last a really long time!
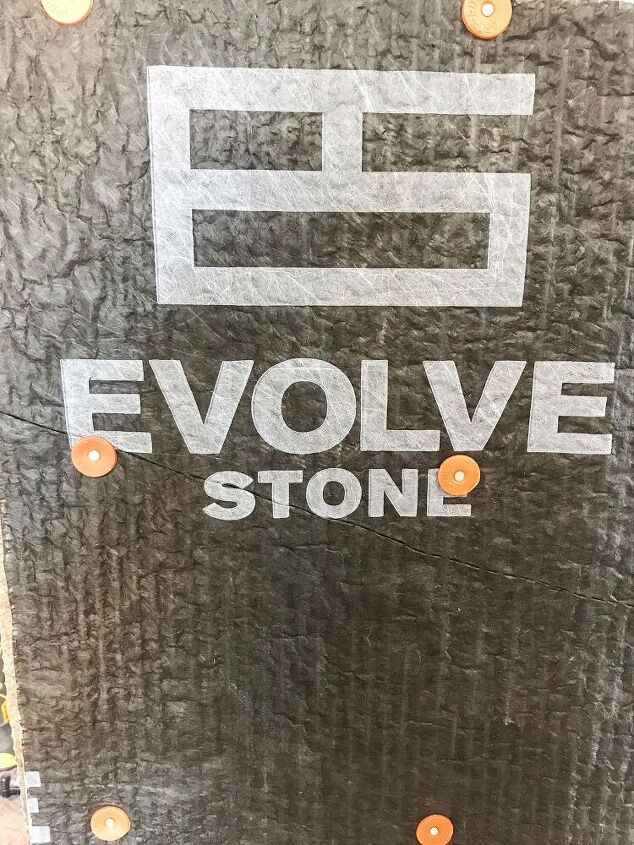
- Once the Typar is installed next comes the rain barrier. Install this with the coil side facing inward. It is super important to make sure to not wrap the edges of the box in rain screen because that could cause tenting.
- I used cap nails to secure the rain barrier to the plywood.
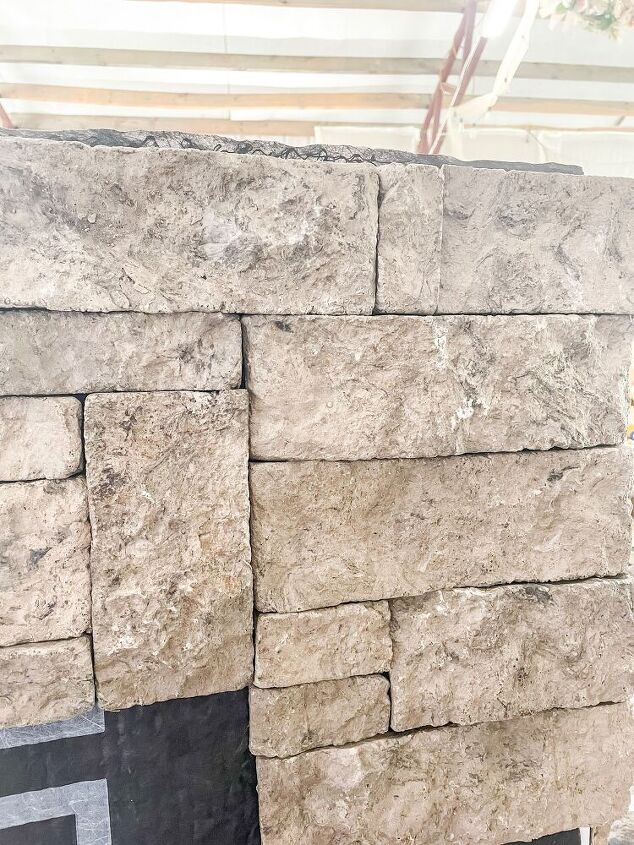
- Finally it’s time for the fun part, attaching the stone! I chose to use Evolve stone because you can attach it with nails & no messy mortar. We went with the color Morning Aspen in a Capital Sky pattern.

- Start by finding the center of the plywood & mark it with a straight edge. I also marked some lines along the sides to ensure I was installing the stone as straight as possible.
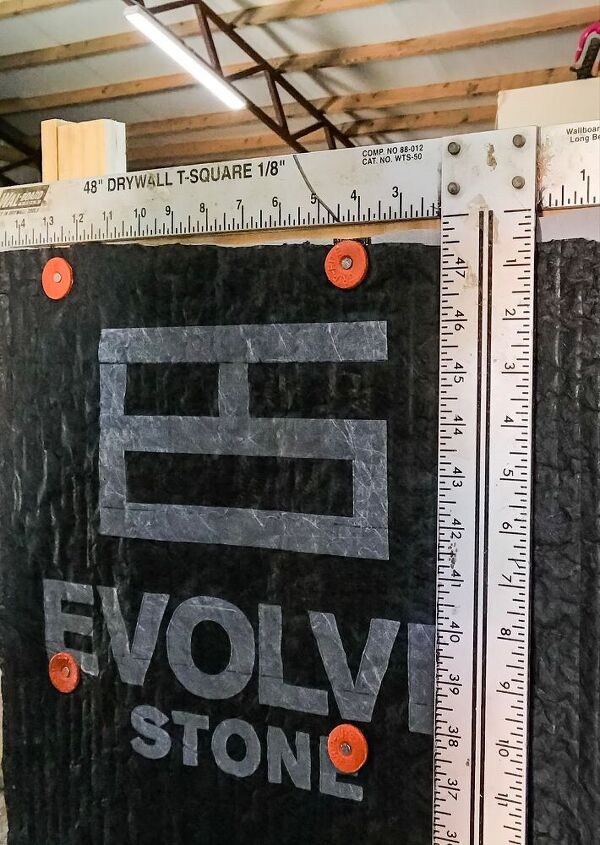
- Once my lines were marked I simply started at the top of the planter box & worked my way from left to right, then down.
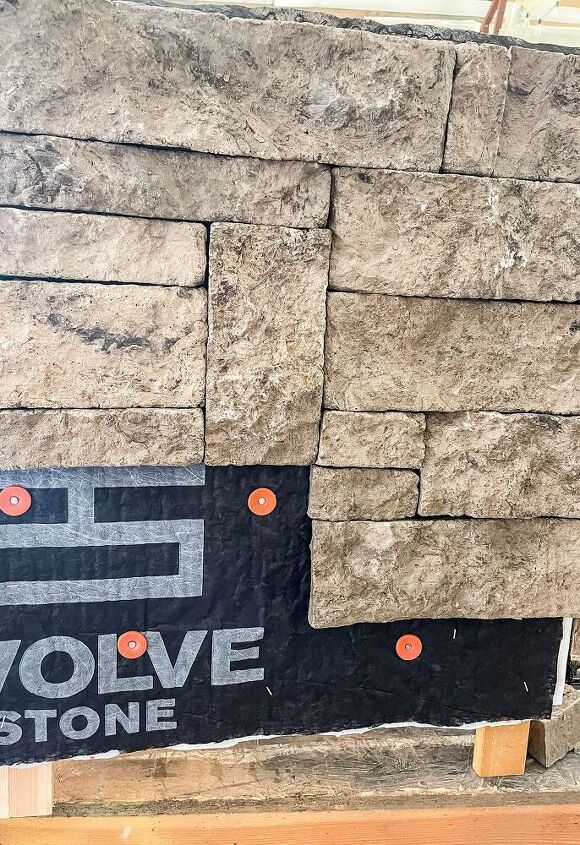
- I tried to stick to my pattern as much as possible but in some spots I got a little creative with my stone placement. It was like playing the funnest game of tetris ever!
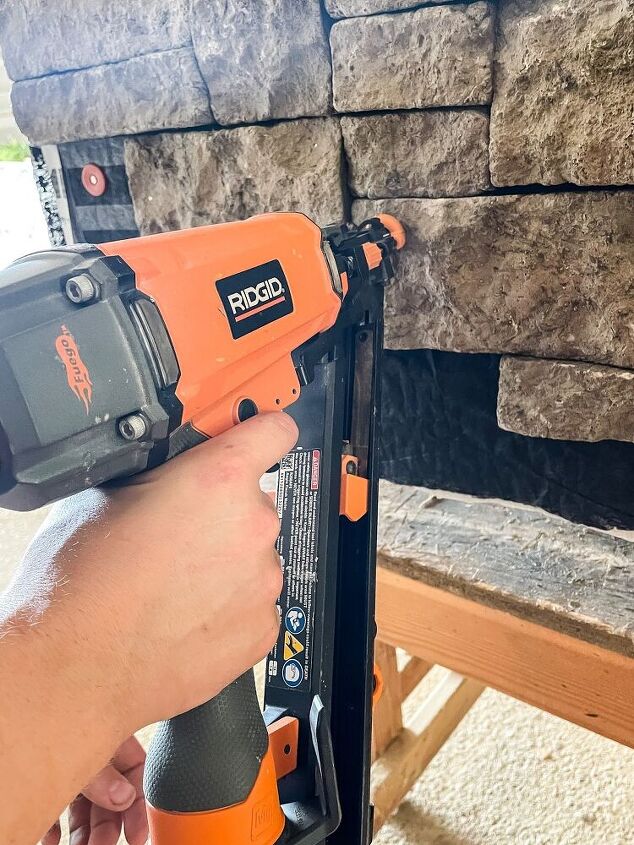
- The stone was attached using my 16 gauge nail gun & 2” stainless steel nails. I shot them at a slight angle for extra hold.
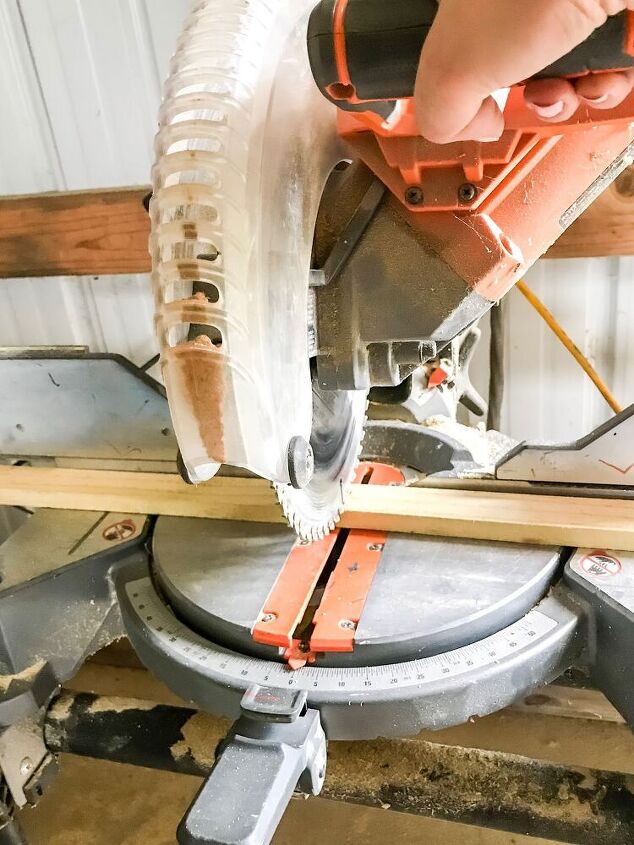
My favorite part of the Evolve stone is how easy it is to cut smaller pieces with my regular saw. There is no need for any special blades to get a nice clean cut.
NOTE: Use a hammer to tap stones into place to ensure they are nice & straight.
- There are a ton of ways to install your corner pieces but I went with the easiest method, butt joints.
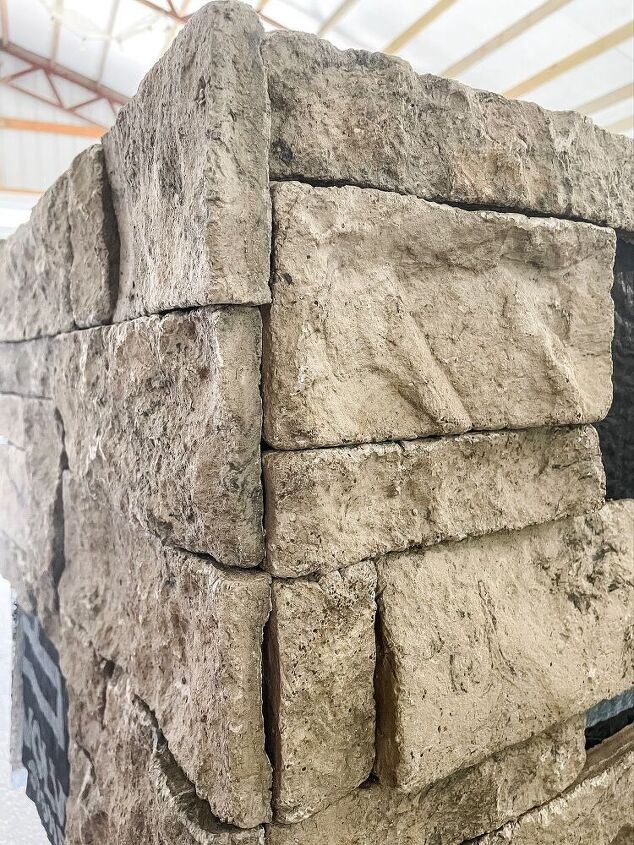
- Once you get moving the stone is installed really quickly! For the top I played with a couple of different options but ultimately decided I loved the stone too much to use any other material.
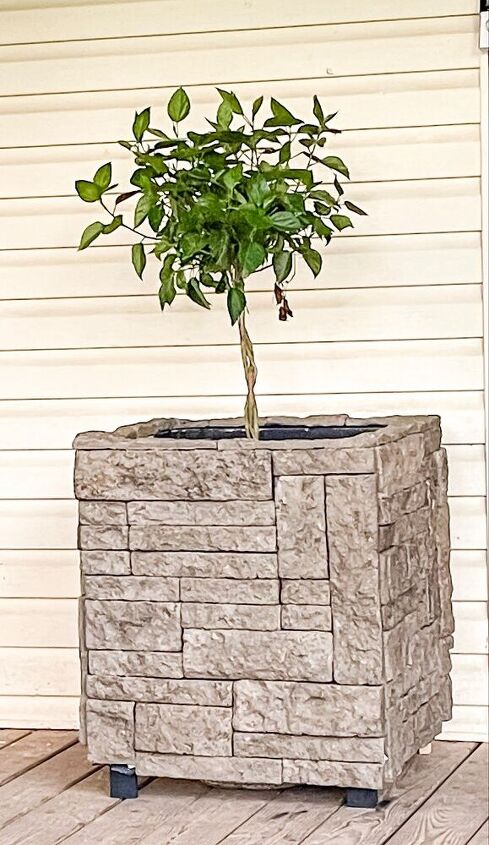
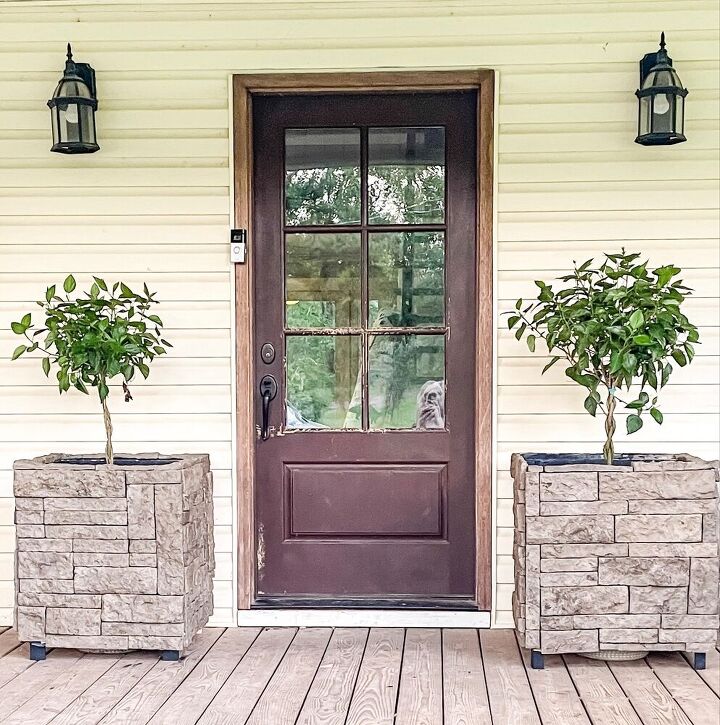
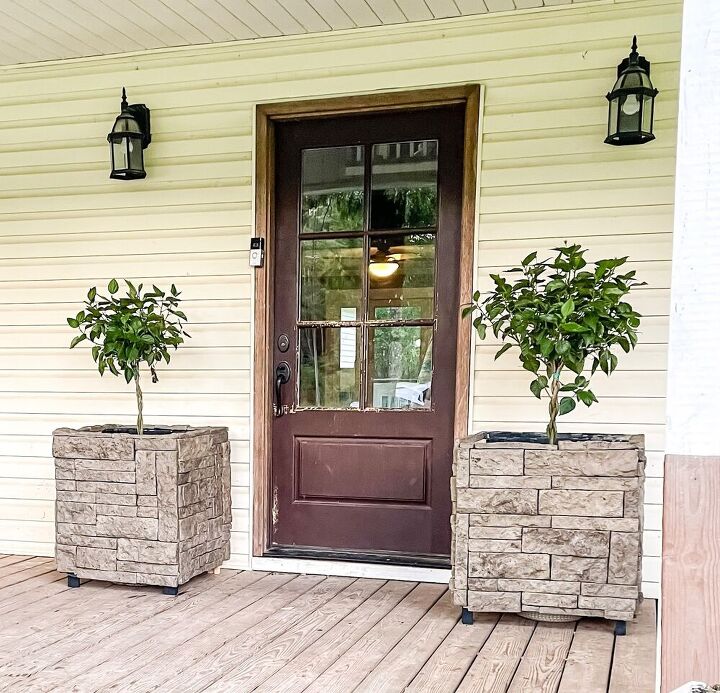
How gorgeous are these planters yall!? I am in love with how the stone adds so much character to the planter boxes & the porch. The first step to a good porch makeover is always adding greenery or flowers & having something as stunning as these planter boxes to put them in!
The Morning Aspen stone color is absolutely my favorite for that clean & crisp feel I like to have on a front porch.
A Few Other DIY Front Porch Makeover Ideas Are:
- Adding hanging baskets
- String lighting around the perimeter
- Painting the ceiling a fun color
- Adding wooden shutters
- Building a porch bed swing
- Restaining the deck
- Painting the front door
Those are just a few of my favorites!


Comments
Join the conversation
-
They do paint the door. It’s a deep navy blue, it’s in a different DIY tutorial
-
I love this. I see potential everywhere. Yes seem a bit oversized but not fully knowing complete composition may be in scale with surroundings (hate when scale is ignored; no matter what you do, how much you spend time and money if scale is ignored it’s a flop every time no exceptions). When you look at cost of plastic planters this is way better and doubt will blow over


Frequently asked questions
Have a question about this project?
Why was the door left so shabby looking?
Looks nice, never noticed Evolve b4. Is that greenery a ficus? Cuz when it grows, to balance out those bulky containers, it will crowd out the porch lights.
Luv the additional ideas of painted porch floor and especially the ceiling. Southerners really grasp the idea of a well done ceiling.
So? You screwed the stone to the wood? How obvious are the screws on the stone?