


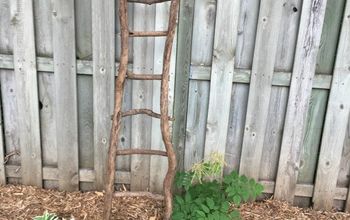
How to Build a Wooden Garden Trellis – Standing Obelisk for Free
Today I’m sharing How to Build a Wooden Garden Trellis or Free Standing Obelisk Pyramid, using a reclaimed porch railing that was discarded after a recent porch update. These easy, step by step instructions, will keep your new plants vertical and off the ground. I began looking for a some inexpensive ways to build a trellis or free standing obelisk and finding some reclaimed wood was the perfect solution.
Supplies for Wooden Garden Trellis
When you are using reclaimed materials, your options may be limited. Here are the dimensions that we were able to work with based on the wood dimensions that were available for free.
- 2 x 4 lumber 44 inches long
- square porch spindles
- wood screws
How to salvage reclaimed wood for Garden Obelisk
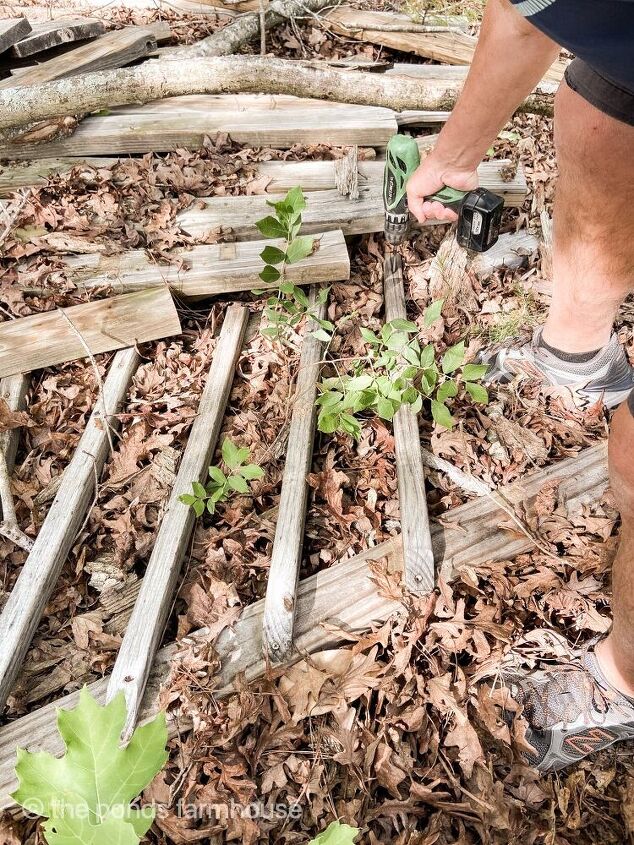
The porch railing was still attached with screws and therefore, we were able to salvage the wood, as well as the screws, to build the garden obelisk. Although the railing had been abandoned in a trash pile, it was still salvageable, because it was built from treated lumber.

Once all the wood is gathered, it’s important to remove any nails or screws before cutting the boards to size.
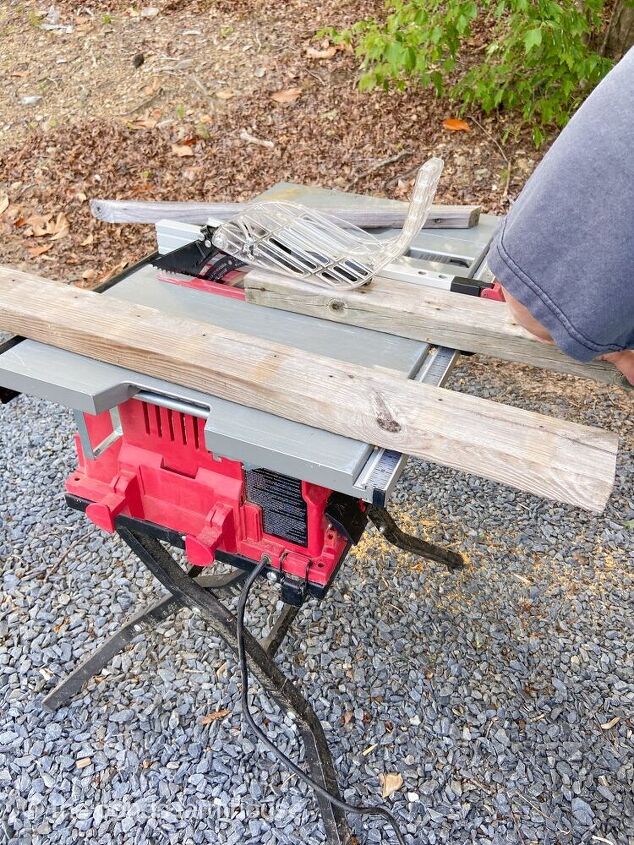
Next, split the 2 x 4 boards in half using a table saw. If the spindles had been a longer length, they could have been used instead of splitting the wider boards. However, you have to be flexible when working with reclaimed materials.
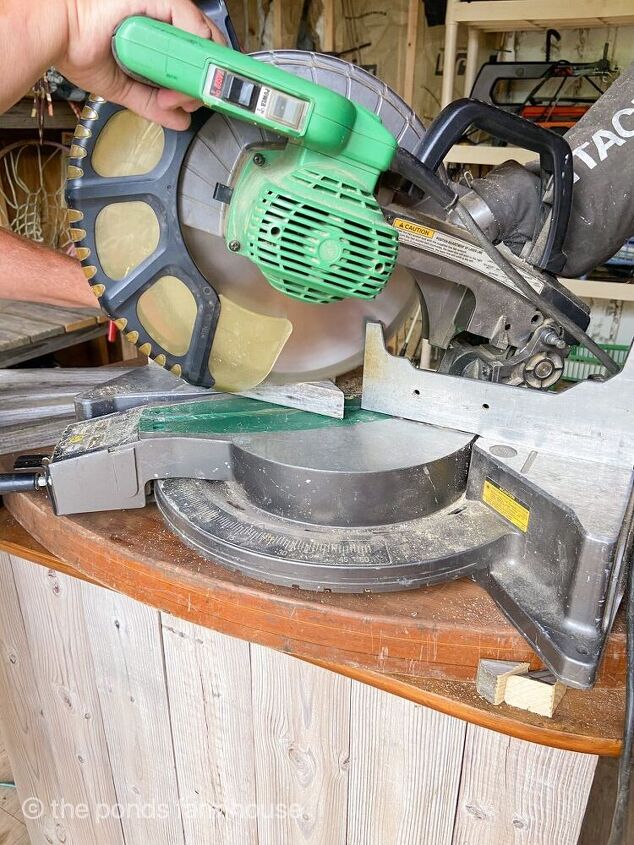
Now it’s time to cut each spindle to the desired size. Here are the dimensions we used.
- Cut 4 spindles at 19 inches each – cut on a 45 degree angle using a miter saw
- Using a thinner piece of molding, we cut 4 pieces at 14 inches each
- Then 4 more spindles at 9 inches each – cut on a 45 degree angle
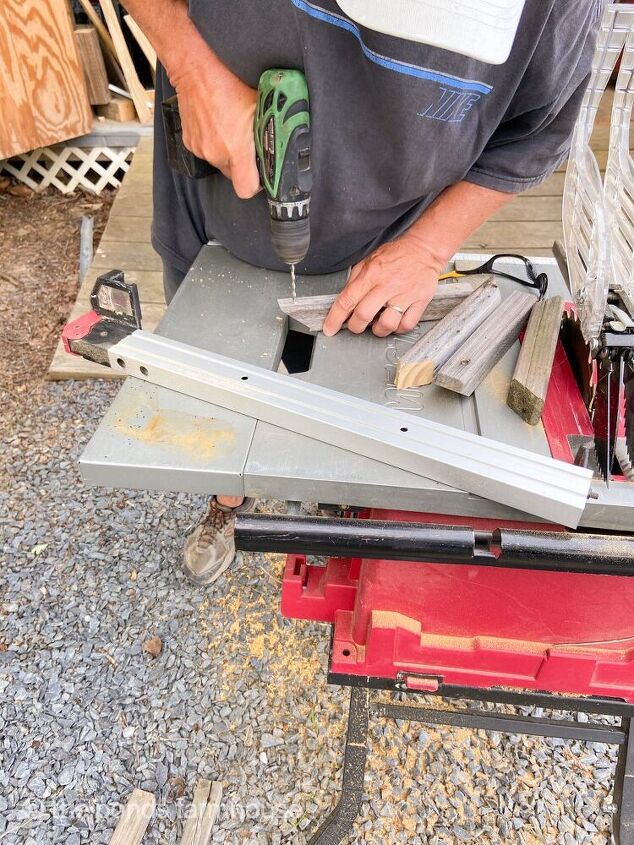
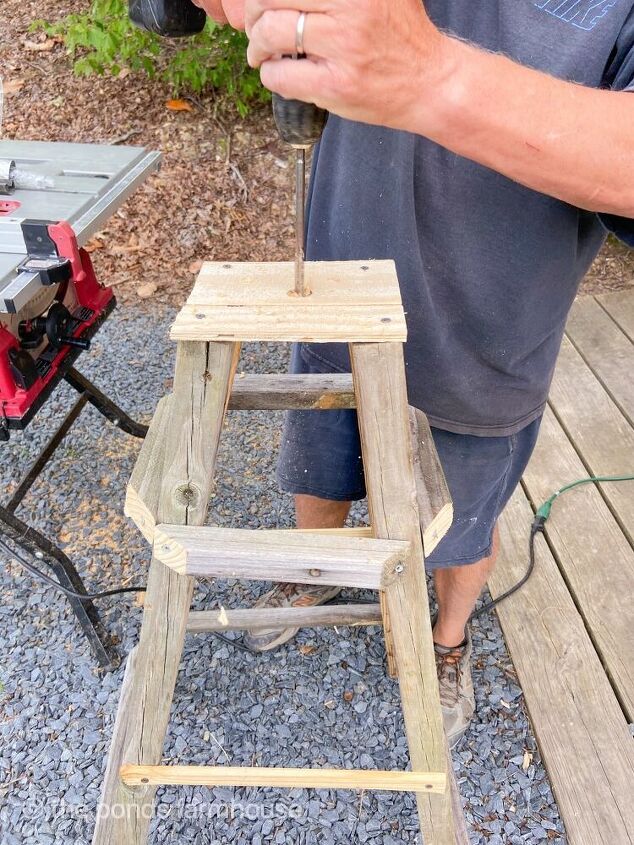
Finally, drill a pilot hole in the 45 degree angle cut with a cordless drill. Using the original screw holes where it was feasible, helped to reduce the construction time. to Assemble the Garden Trellis
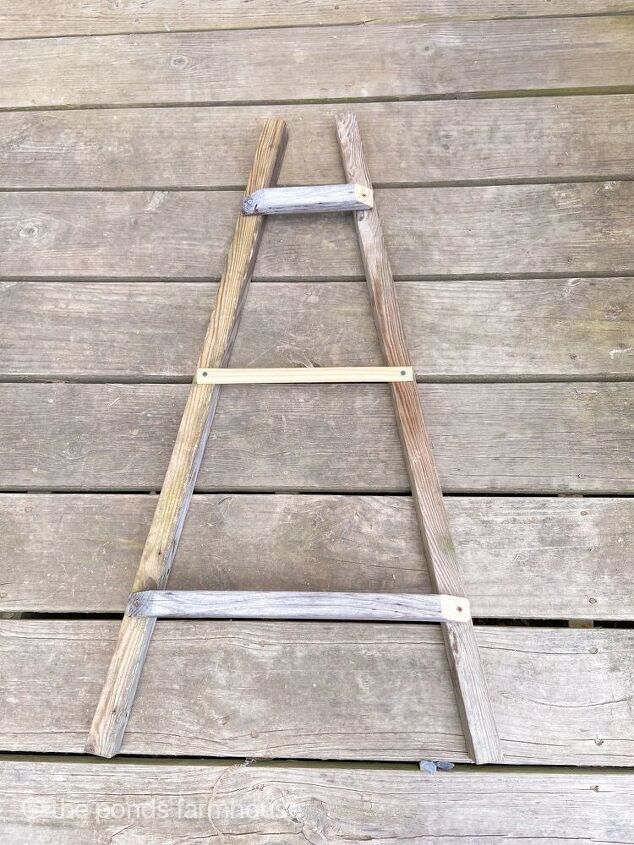
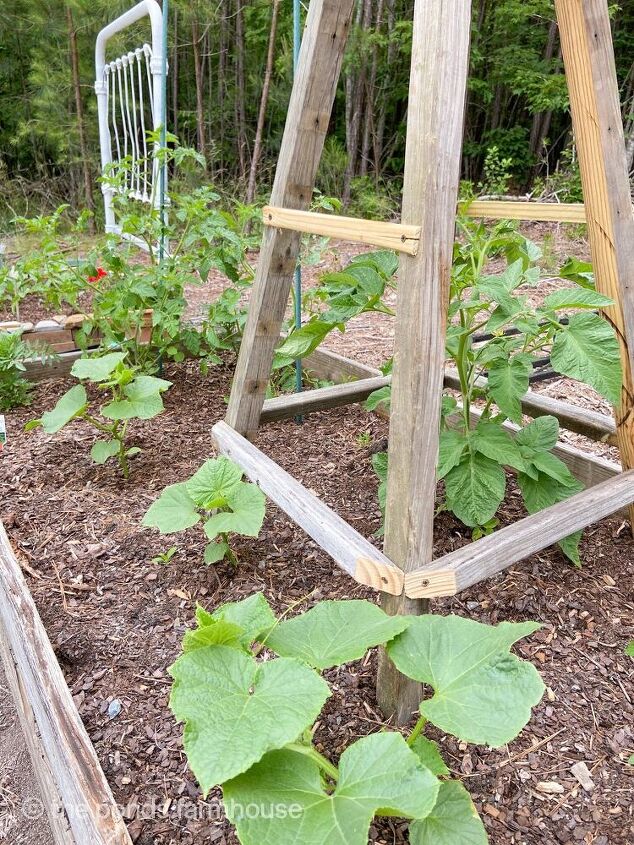
Now that all the reclaimed wood has been cut to size, it’s time to assemble the garden trellis or obelisk pyramid tower. This is how we built our garden trellis.
Begin by measuring and marking the location of each spindle on the split 2 x 4 post. I placed a spindle mark at 7 inches from the top and bottom of the post. Then another directly in the center of those two.
Lay two boards flat and attach the spindles to the post at each marking, using wood screws. Then repeat on the remaining two posts.
Once the two sides are secure, attach them to each other using the remaining spindles. Be sure to attached them at the same height as before.
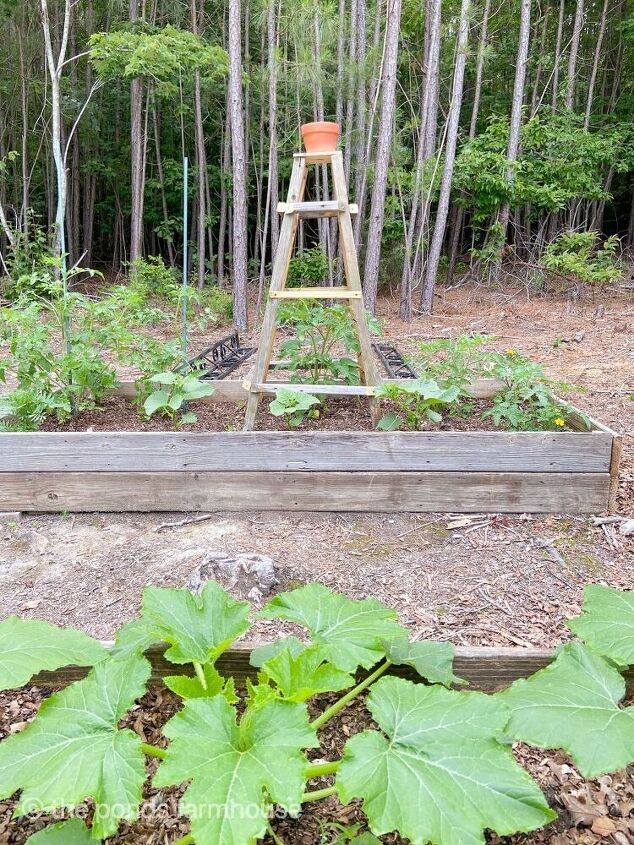
In addition, another option is to attach a top for the obelisk tower. We used a piece of treated siding and drilled a hole in the center to allow for a solar light.
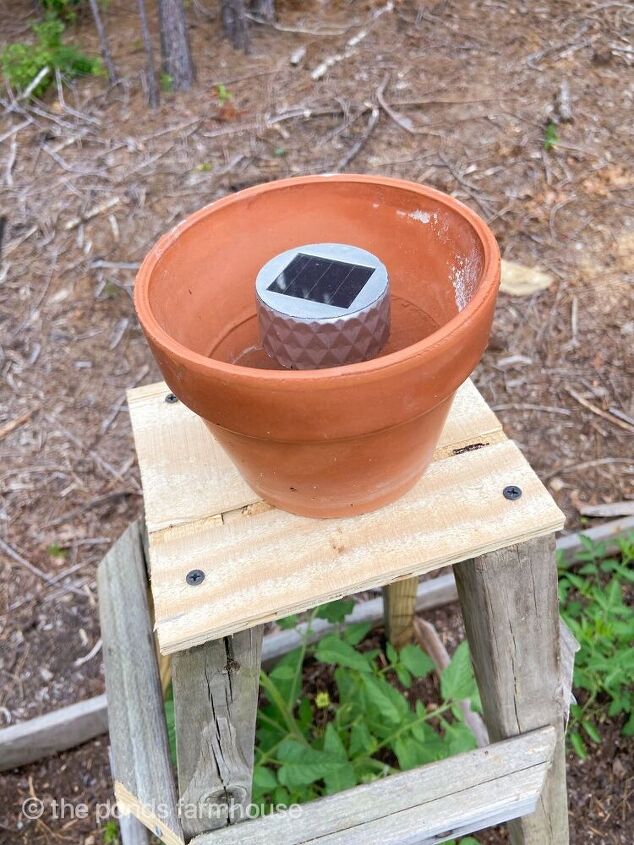
I originally added a simple solar light from The Dollar Tree. However, the results were less than thrilling. Therefore, I added a terra cotta clay pot to hold the solar light. It isn’t permanently attached, so it may be changed once I check into some other options.
I also used these same solar lights on How to Repurpose a Chandelier.
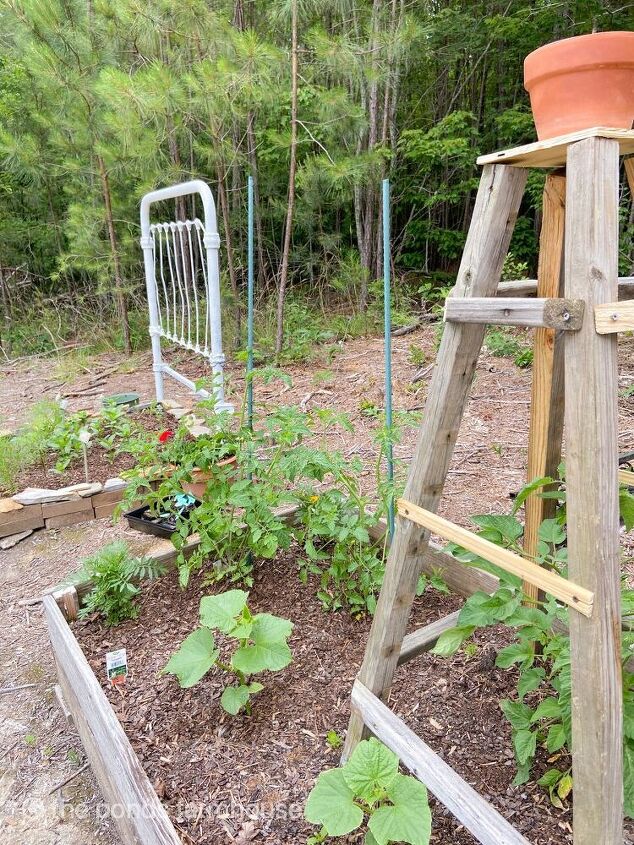
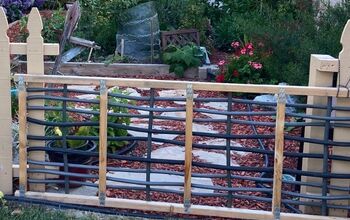
This spring the raised garden bed was added using a trashed iron bed as the base. You can see the details on How to Build a Cheap Raised Garden Bed, here.
The garden obelisk pyramid tower fits perfectly into the raised garden bed. The free materials give it a primitive rustic feel but with a little paint, you will never know the wood was reclaimed.
The rustic garden obelisk actually works well with our country setting and will hopefully create a vertical garden. I hope you enjoyed How to Build a Garden Trellis and that you found the instructions helpful and inspiring.
Resources for this project:


Comments
Join the conversation
-
My HOA would never approve this?
-
I have a couple of 8’ obelisks. But your little one would work anywhere! Very cute! I love how you reused material to make it.


Frequently asked questions
Have a question about this project?
Do deer come out of the woods & eat your entire garden?
Nice project. I could see this dressed up with paint or stain for a different setting. Have you thought of planting herbs in the flower pot with the solar light?
Very cool recycle.... does that solar light cast any light inside that clay pot? I truly am curious cuz it doesn't seem like it could. Cool garden!