


How To Decorate A Mailbox
Curb-Appeal Mailbox
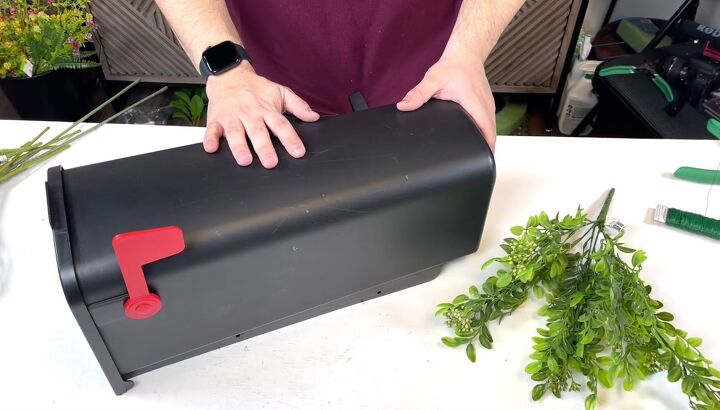
For this project, I picked up a cheap plastic mailbox for less than 20 bucks and today I’m going to show you how to decorate it. This DIY mailbox idea will use all products from nicksseasonaldecor.com.
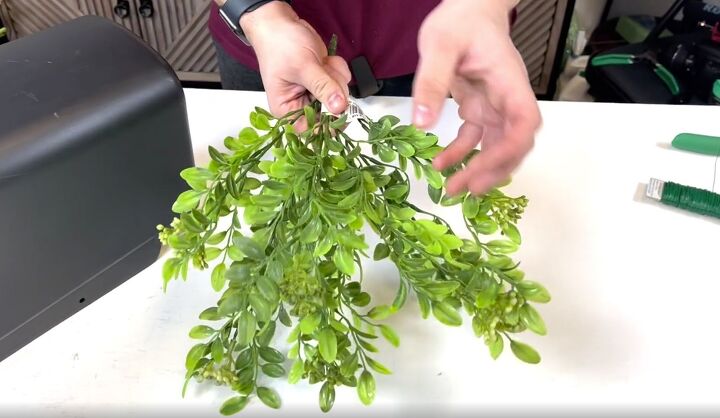
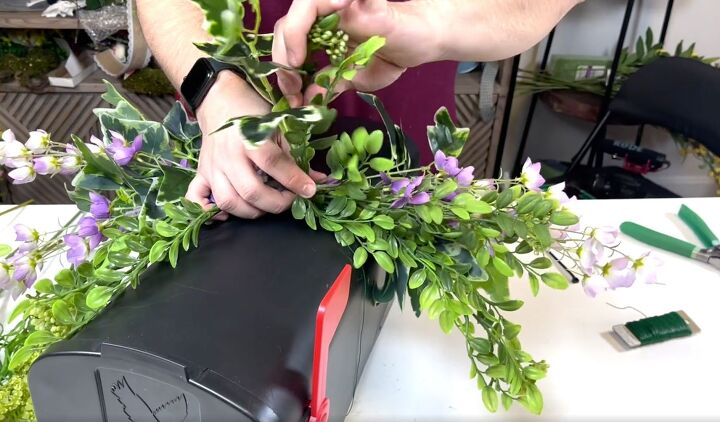
To start, I used one of my favorite greeneries at the moment. It's a seeded eucalyptus with the eucalyptus leaves and the beautiful seed heads on the top.
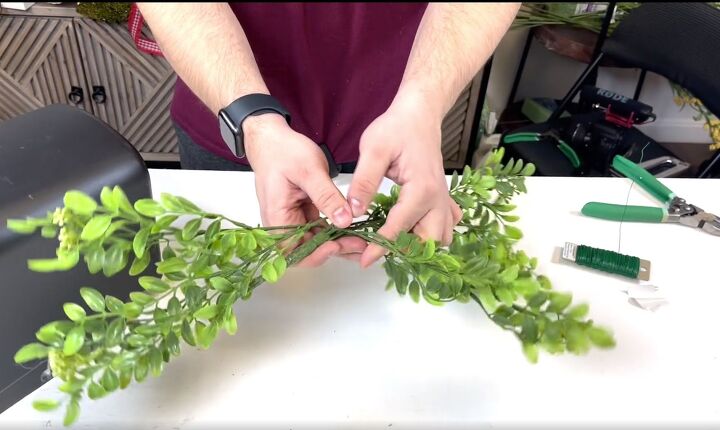
I took the eucalyptus and bent half of the branches backward.
I used those as a support system instead of using foam on the top of the mailbox.
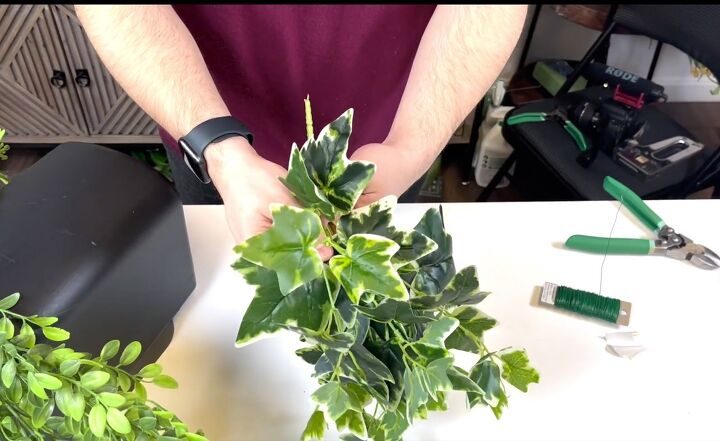
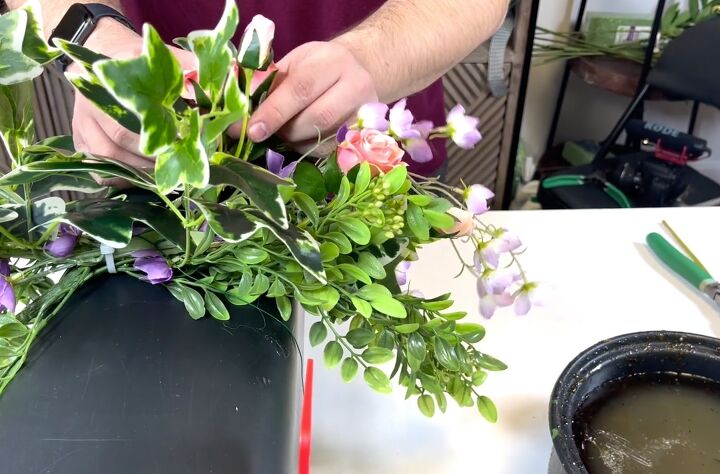
Before I got too involved with the flowers, I needed to create a nice sturdy base. To do that I used a UV-treated variegated ivy and did the same as the eucalyptus.
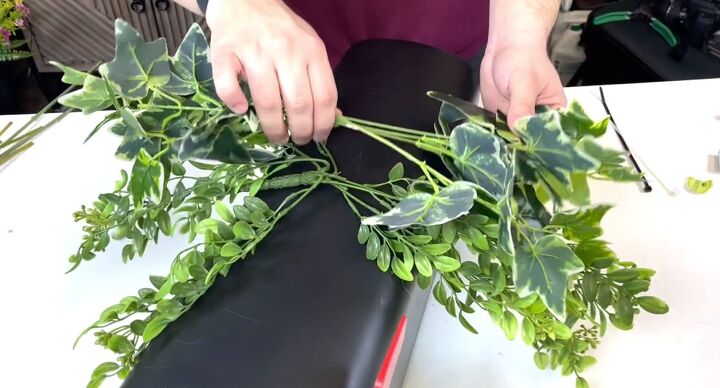
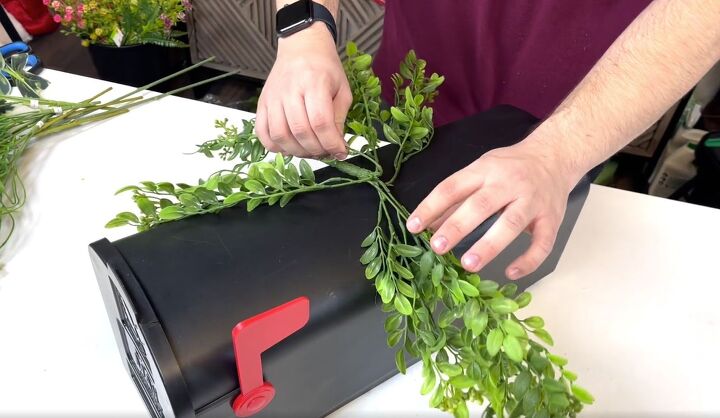
With that done, I went ahead and placed it on top and it kind of looked a little funky at that point but that was okay.
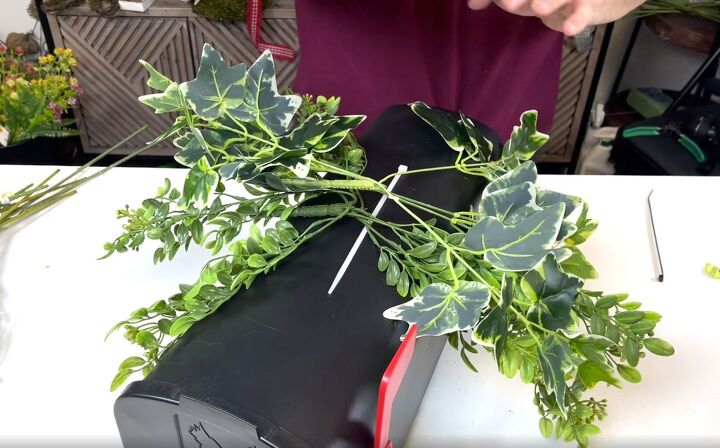
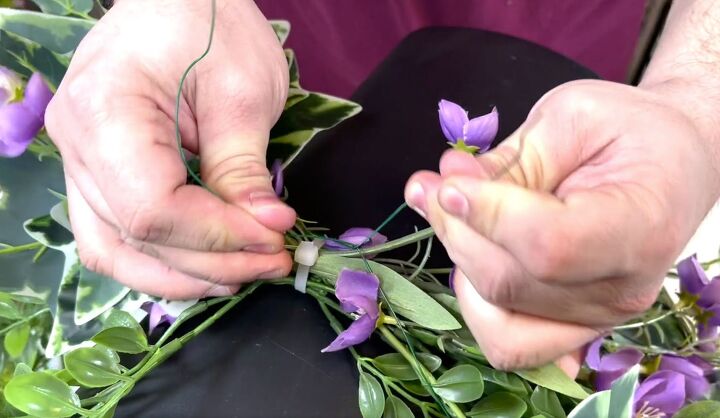
To secure the greenery to the mailbox, I used a zip tie. Before I tightened it though I just put it in place and left it loose.
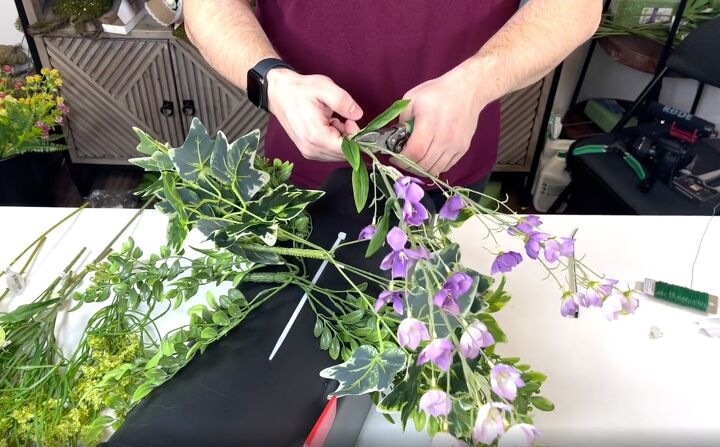
That allowed me to start working with some other products. The first flower I added was a wild Campanula branch. The purple added a little spring color. I snipped them off as each spray comes with two and snipped apart two stems.
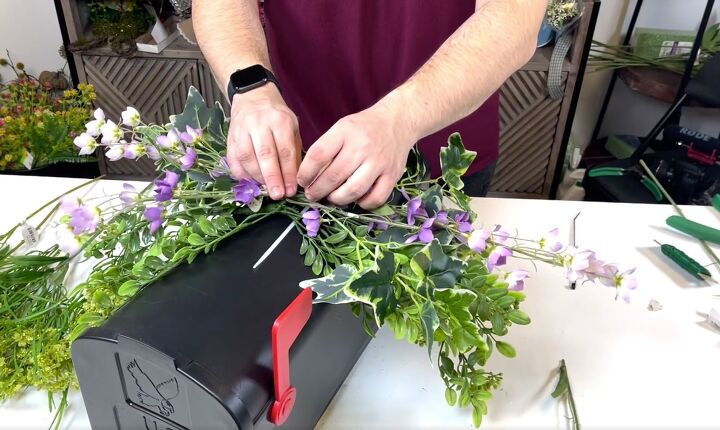
Then I placed 2 pieces on either side.
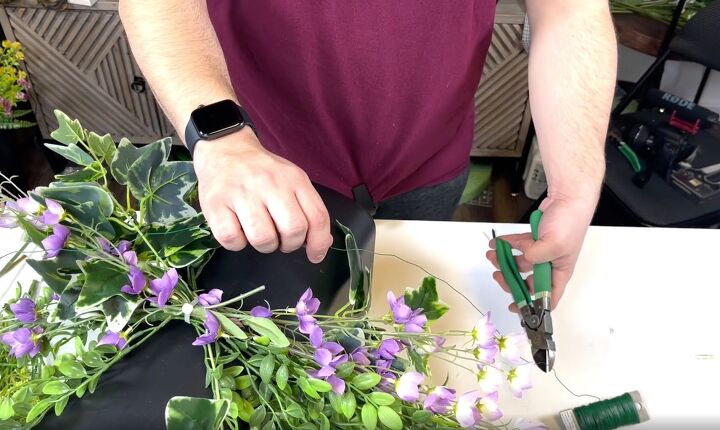
With the greenery and purple flowers in place, I went ahead and tightened the zip tie.

I also snipped off the end once it was nice and tight.
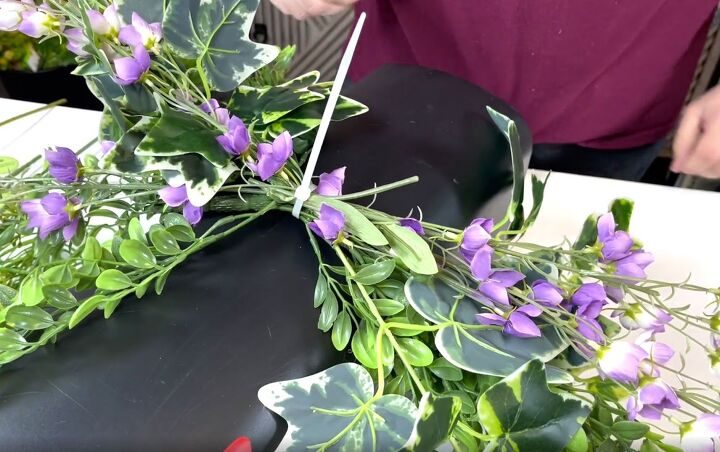
Next, I took a piece of 22 gauge florist wire and cut a long length off.
I took that piece and slid it under the mailbox
and then pulled it up and tied it around the middle of the stems. I snipped off the ends of that as well.
Then it was time to start fluffing and space everything out. I pulled the greenery apart and bent the purple flower down so that they looked natural.
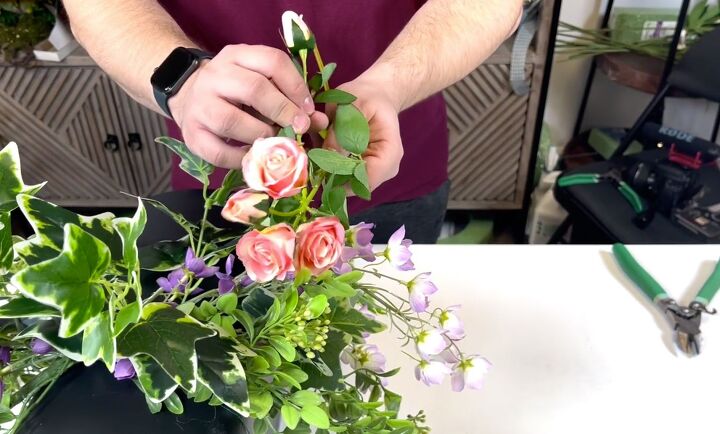
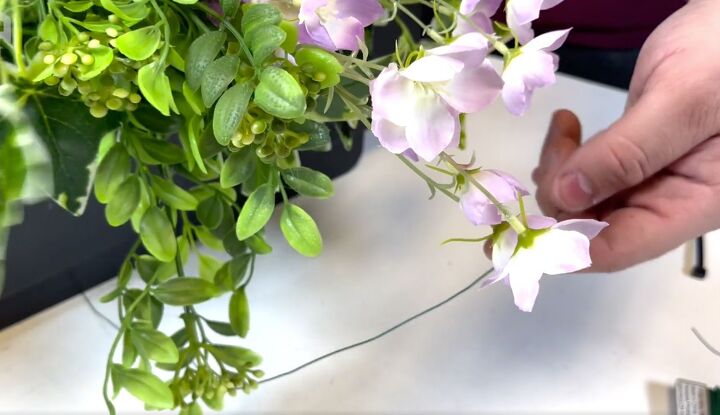
I wanted to add some pink because I think pink and purple are the ultimate combo with the beautiful greenery I used. To add the pink, I used some wild perfume rose sprays.
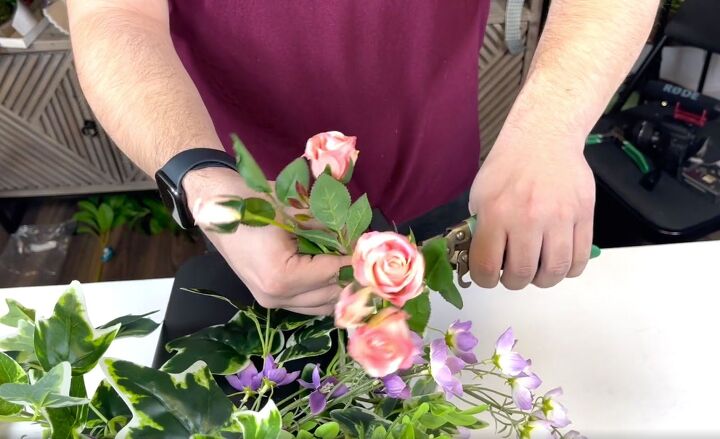
I cut the rose sprays into smaller pieces
and then used some hot glue to attach them to the greenery.
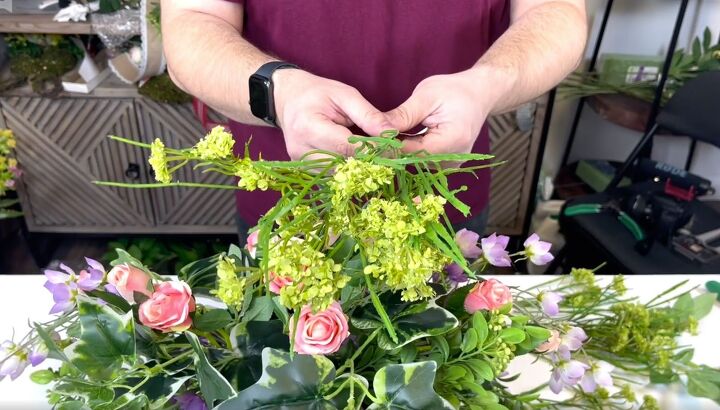
Now it was time to work in some beautiful status sprays. I used 2 for my decorative mailbox project.
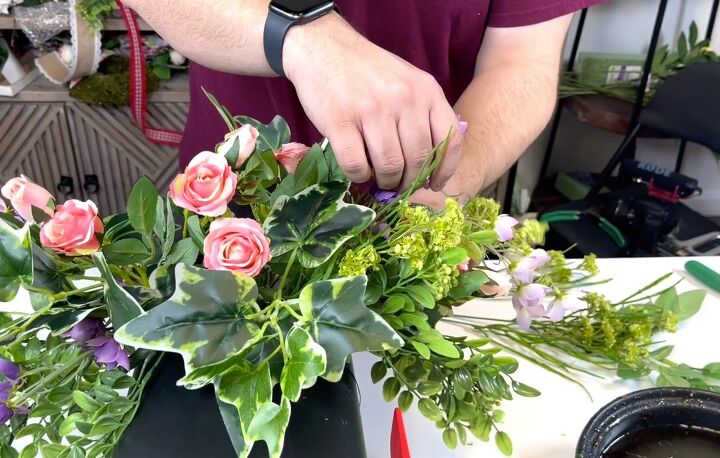
After snipping it apart, I went ahead and used them to fill in little spaces. They added a wildflower effect and really added some beauty to the design.
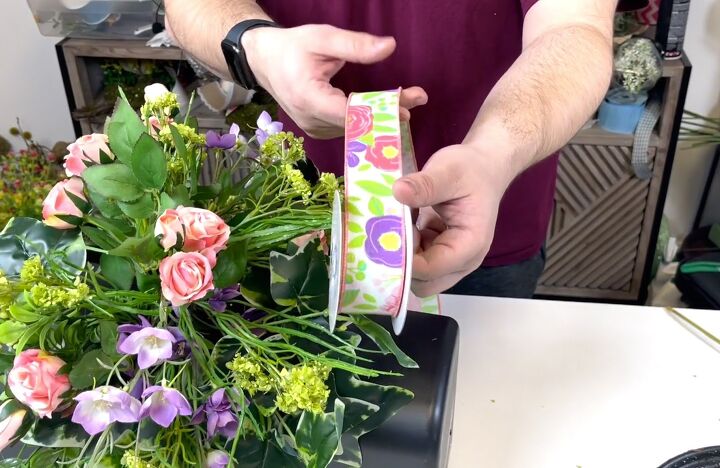
That was it for the florals and to finish off my design I wanted to work in some beautiful ribbon.
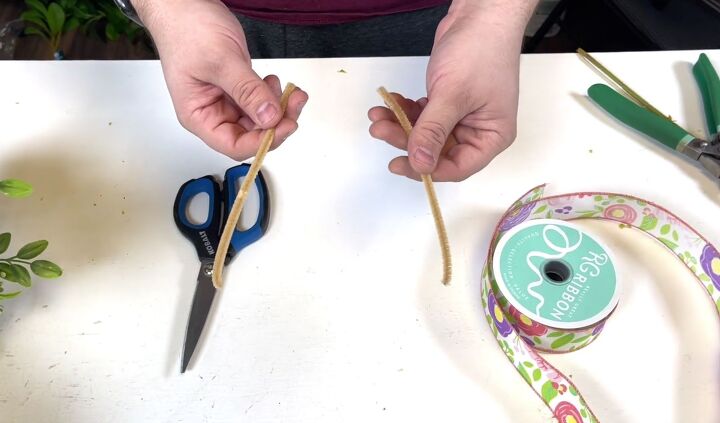
For this part, I needed the ribbon, wire snips, a pair of scissors, and a beige pipe cleaner.
I didn’t want to make a traditional bow, but rather just a few loops and tails to keep it organic and loose-looking.
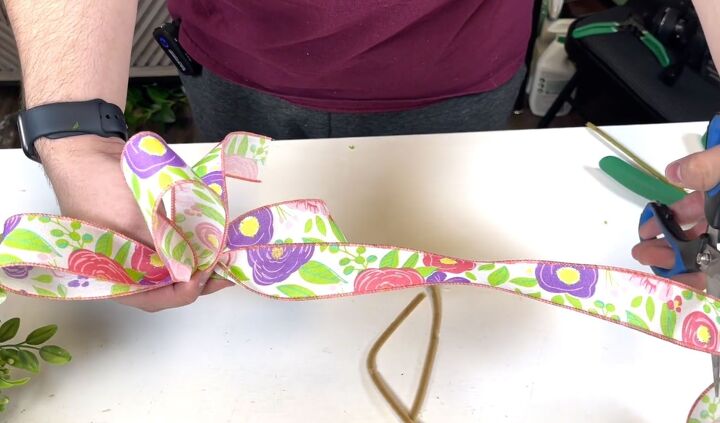
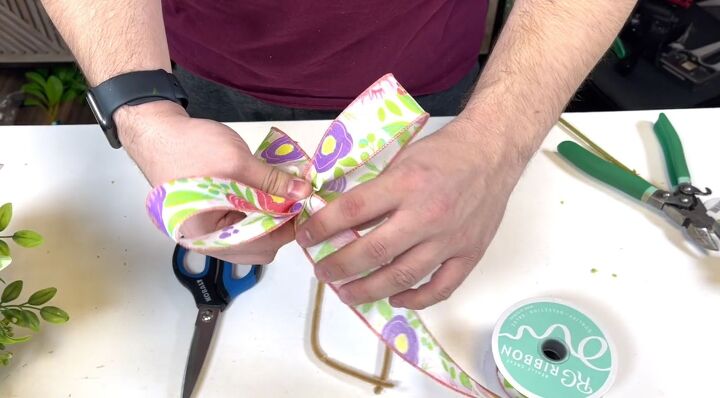
I ended up doing three loops and two tails and made two of them.
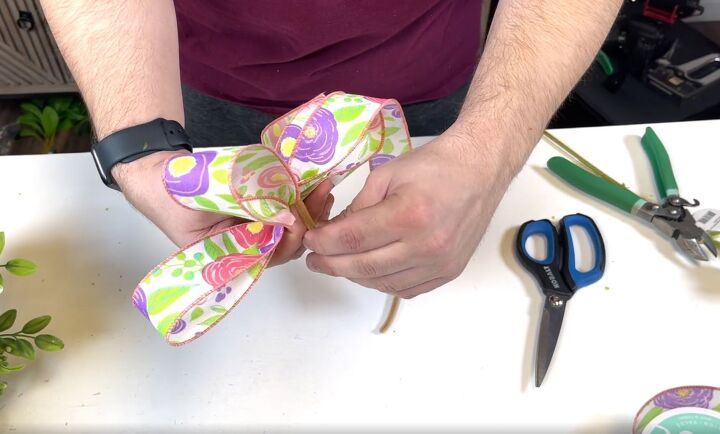
To keep the ribbon secure, I used half of the pipe cleaner for each one around the center of each.
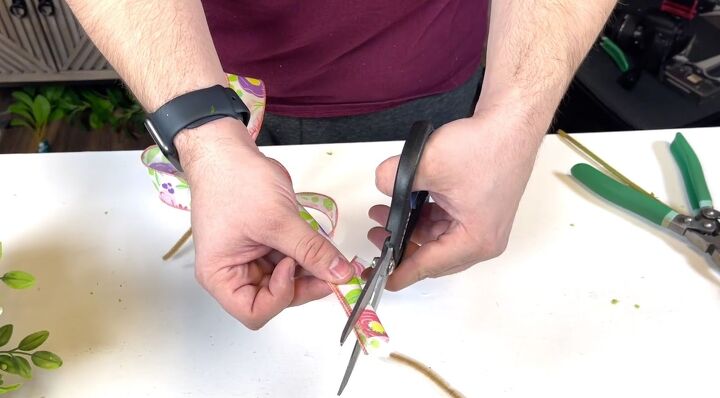
To finish off the tails, I made sure to dovetail them. I folded the end of the ribbon in half and cut from the middle out towards the wired edge at an angle. You never want that blunt edge and doing it this way looks a lot more professional.
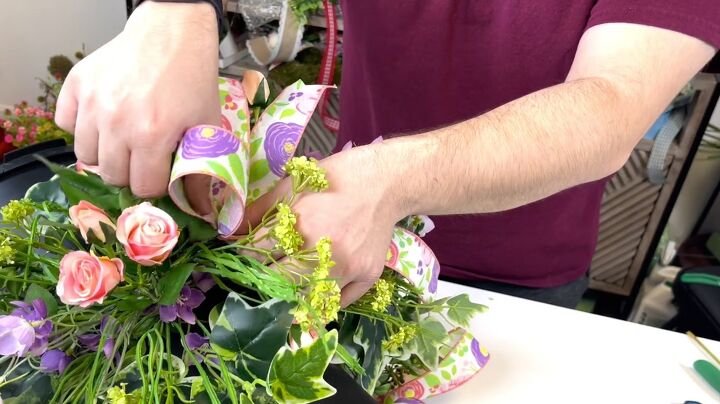
The final step was to attach the bows to the arrangement. I used a little hot glue on the ends of the pipe cleaners and attached one to either side.
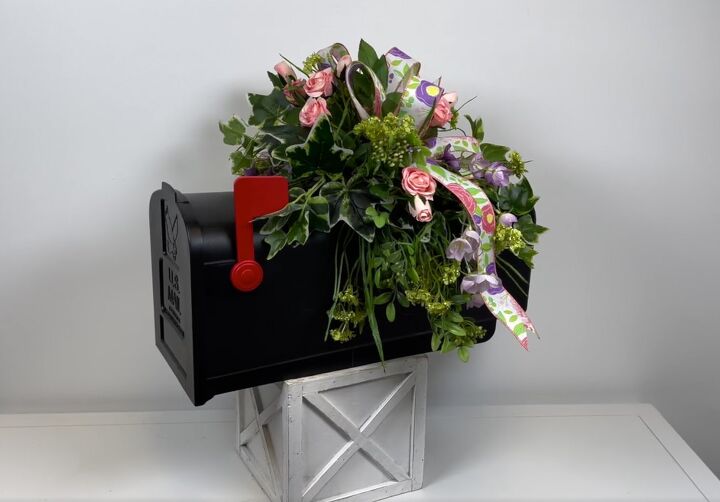
This beautiful mailbox swag was fun to create and is so pretty. With just some greenery and a few beautiful flowers, I was able to put it together in no time. I hope you enjoyed seeing how to decorate a mailbox and will give it a try. Please share a pic if you do.
Resources for this project:
See all materials


Comments
Join the conversation
-
Beautiful as always Nick! 🌸🌿 Thx for the inspiration
-
I do think I will be trying this project with a little tweak. It gets so hot hear in NC that I think I'll use floral wire instead of the hot glue to keep the flowers together. Beautiful job!


Frequently asked questions
Have a question about this project?
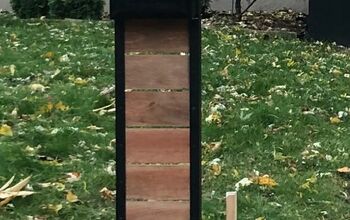
It’s lovely 💕 Did you mount it outside, or is it an indoor decoration?