


How to Make a Modern Plant Trellis for Climbing Flowers
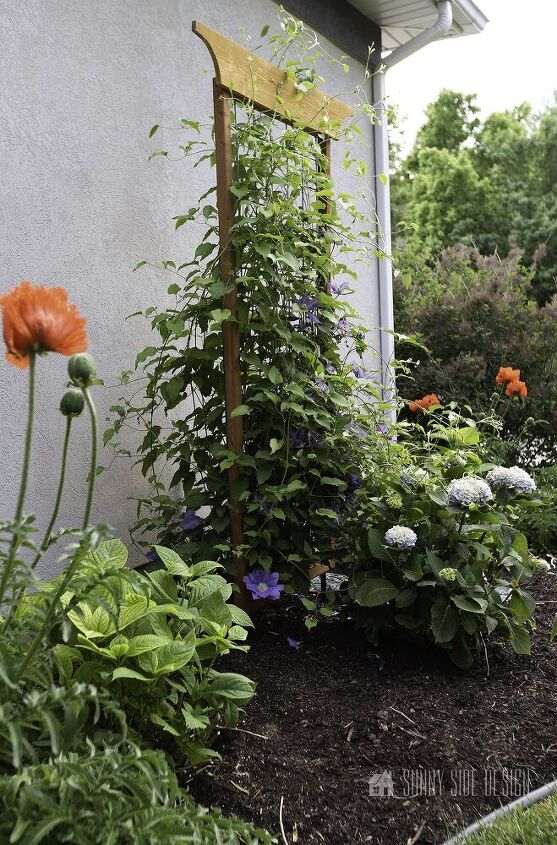
I love to wander around my garden and enjoy the variety of flowers and plants in my yard. In fact, one of my favorite spots is the east side of my house. Early in June the clematis and poppies start to bloom and I think the color combination is absolutely gorgeous. For years, I’ve had a metal plant trellis from the home improvement store, but it has struggled to stay upright with the weight of my clematis.
So, that brain of mine started turning and I thought it would be fun to make my own plant trellis with the leftover galvanized hog panel we used on our deer fence. I hate to see anything it go to waste.
As it happens, we had just enough of the galvanized hog panel to make two trellises. In addition, I love the way the plant trellises compliment my deer fence.
Scroll on down and see how I built these trellises for my garden plants.
For each plant trellis you will need:
- 2- 2″x2″x8′ pressure treated lumber
- 1×6 cedar fence slat
- galvanized hog wire
- wood glue
- wood screws
- 2- steel fence U po st
Tools we used:
- chop saw
- router or you could use a table saw
- router table
- 1/4″ straight cutting bit
- drill
- pneumatic nail gun
- grinder
This post contains affiliate links for your convenience. As an Affiliate Associate I earn from qualifying purchases and no additional cost to you. See our disclosure for details.
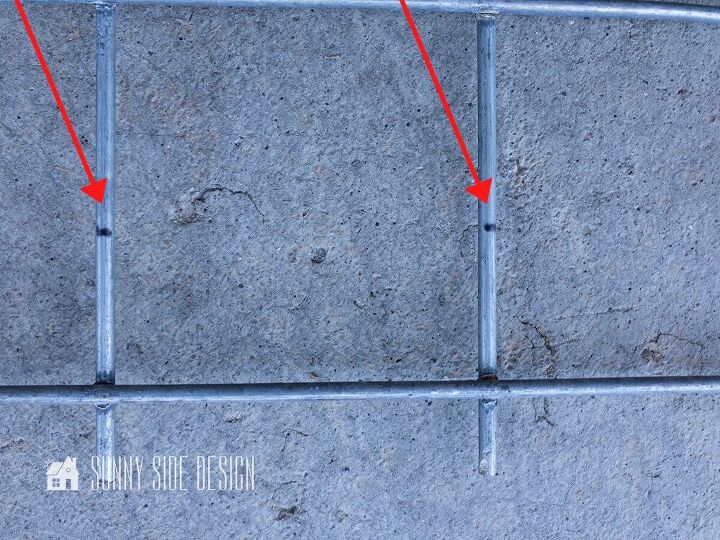
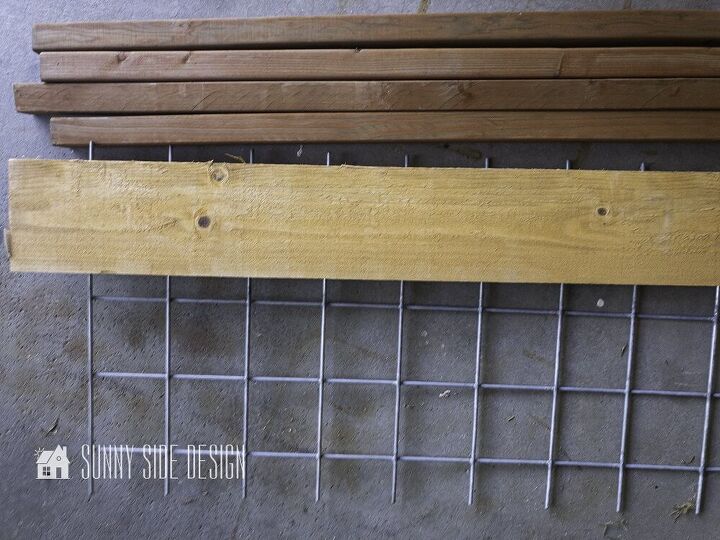
First mark the hog wire panel to the desired dimensions for your plant trellis.
I made two plant trellis with hog panel leftover from our deer fence. The finished dimensions of my trellises are as follows:
61 1/2″ x 27″
61 1/2″ x 18″
The galvanized hog panel for each trellis are cut as follows:
59 1/2″ x 25″
59 1/2″ x 17″
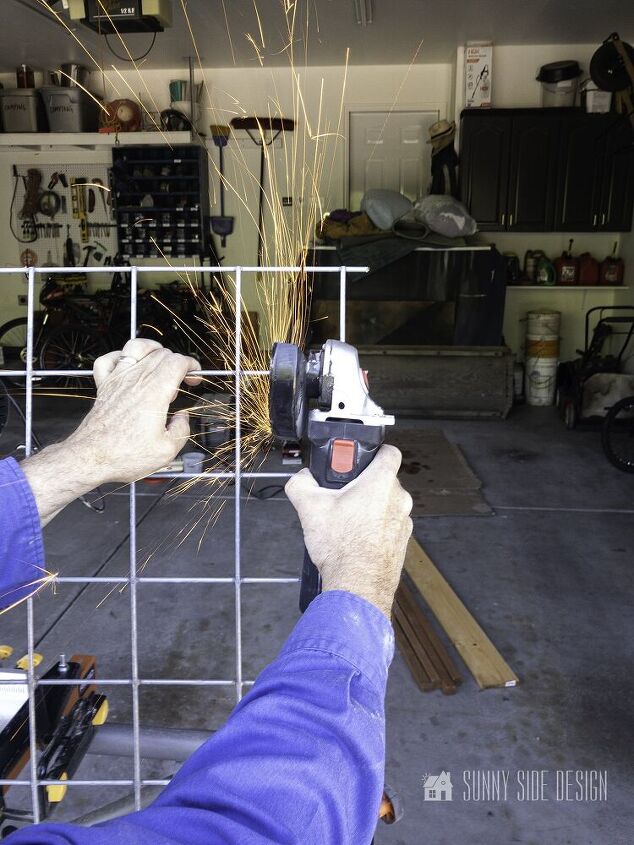
Once we determined the size for our galvanized hog panels we used the cutting blade on our grinder. For this part of the project I enlisted the help of my hubby. He had on a long sleeve shirt and the sparks from the cutting wheel are hot.
Be sure to use safety goggles for any cutting project. Always be safe!
Another option would be to cut it with a hacksaw.
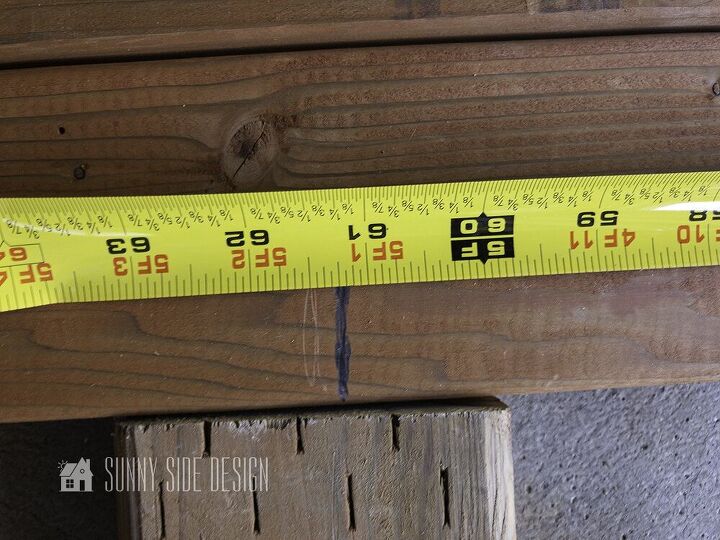
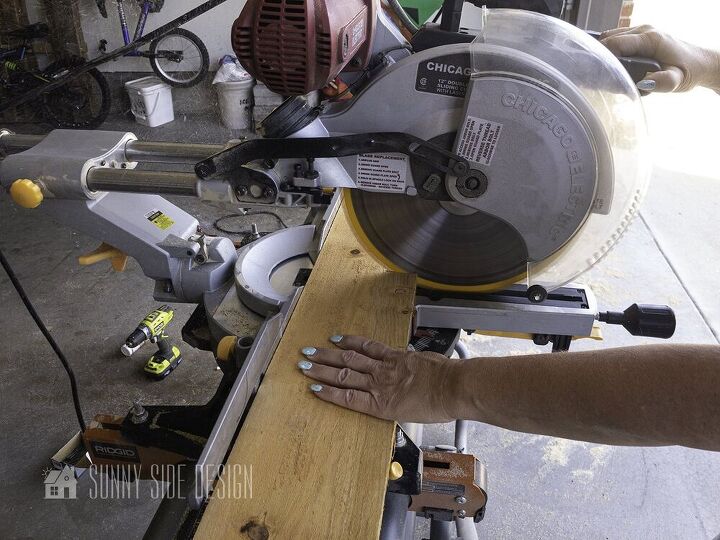
Now it’s time to cut the lumber as follows:
- 2 61 1/2″ 2×2
- 2 24″ 2×2
or
- 2 61 1/2″ 2×2
- 2 16″ 2×2
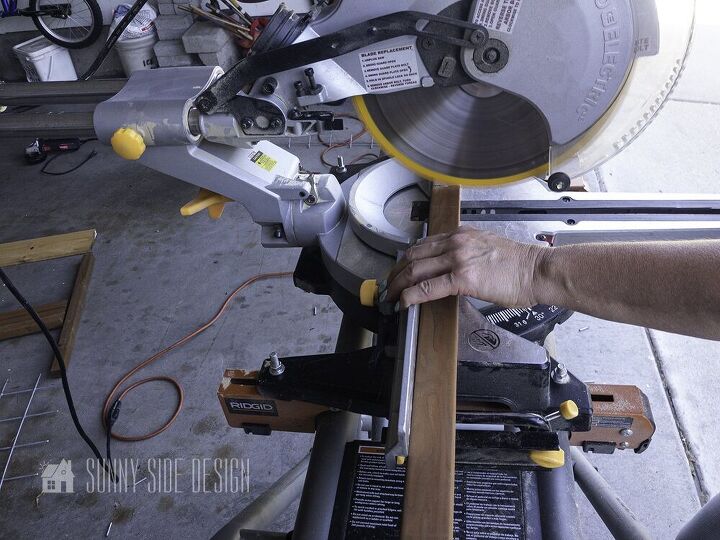
Cut one side piece and one crossbar from each 2×2 pressured lumber.
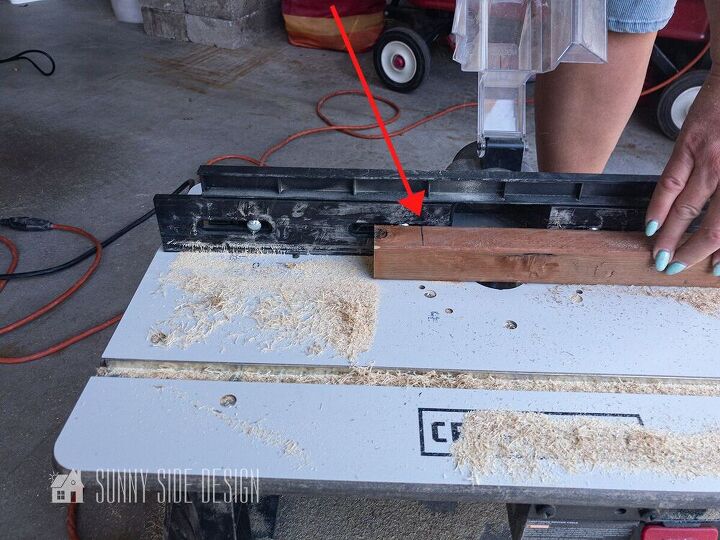
Now we need to cut a groove in the center of the each 2×2 board leaving 1 1/2″ at each end without a groove.
I feel that a router is the easiest way to create a groove. But if you don’t have a router you could use a table saw and run it through a couple of times to get the 1/4″ wide groove that you will need.
At this time, we inserted a 1/4″ straight bit into the router and set it to a depth of 1/2″.
Then we mounted the router to the router table and set the fence to cut directly in the center of the 2×2 board, starting and stopping 1 1/2″ from each end of the board.
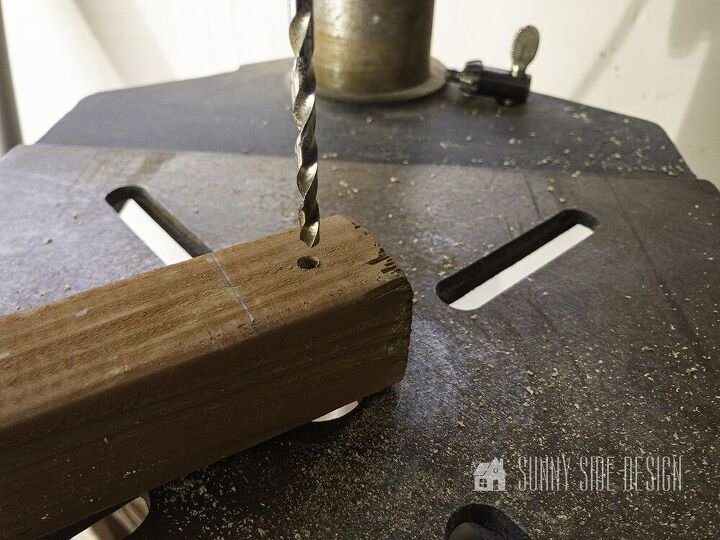
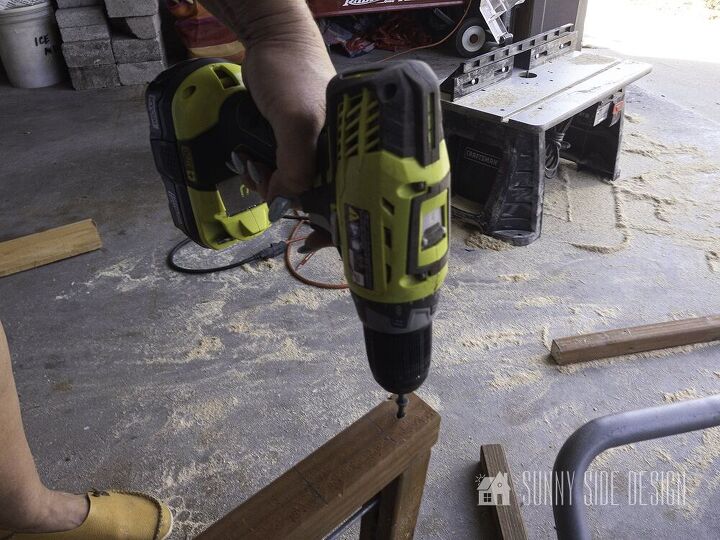
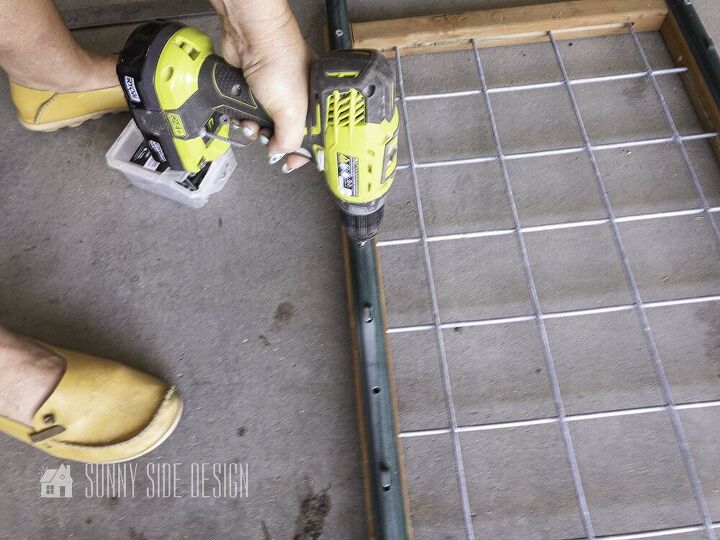
Because we don’t want the wood to split we drilled pilot holes at the top and bottom of each side piece, centering the hole.
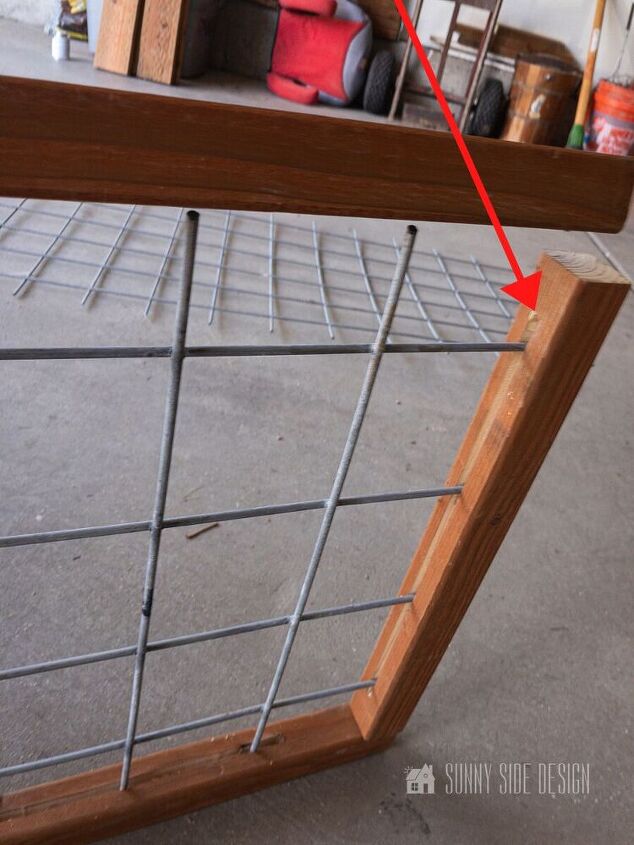
At this time, we are ready to assemble the plant trellis. Place the galvanized hog panel in the grooves on each side pieces.
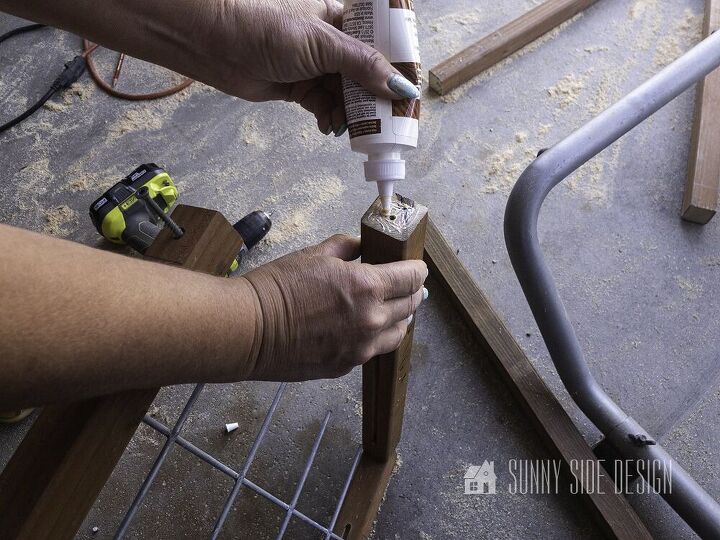
Then place wood glue on each end of the cross bar piece.
Finally place a screw through the pilot hole into the crossbar piece. And repeat for the other cross bar piece.
For the decorative header we cut a piece of 6″ cedar fence slat to 38 1/2″ for the larger trellis and 31″ for the smaller plant trellis.
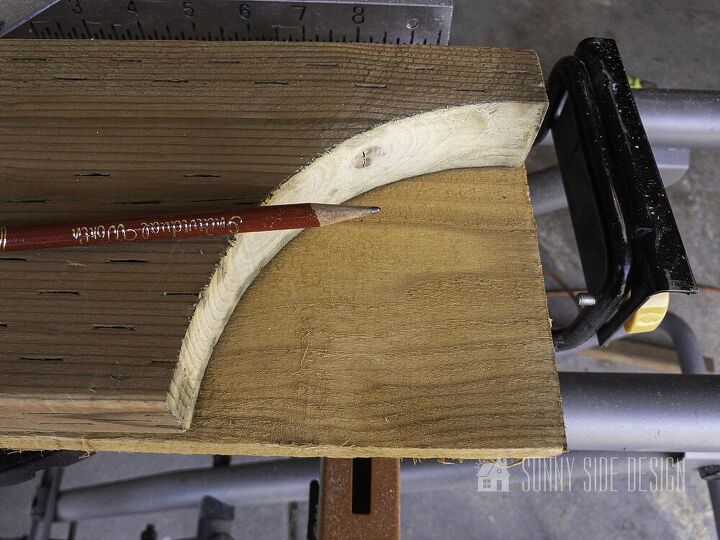
To create the decorative arc on the side of the cedar slat we created a template using a plate. This is the same way we created the arc on the deer fence trellis as well.
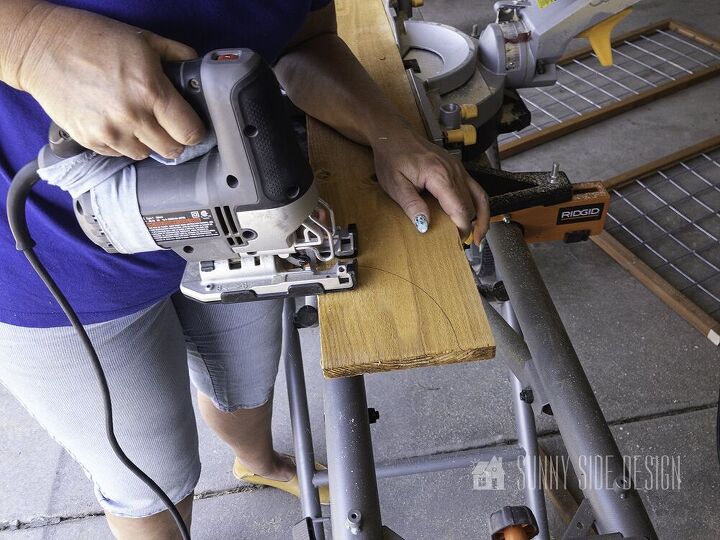
Then cut out the arc with a jigsaw.
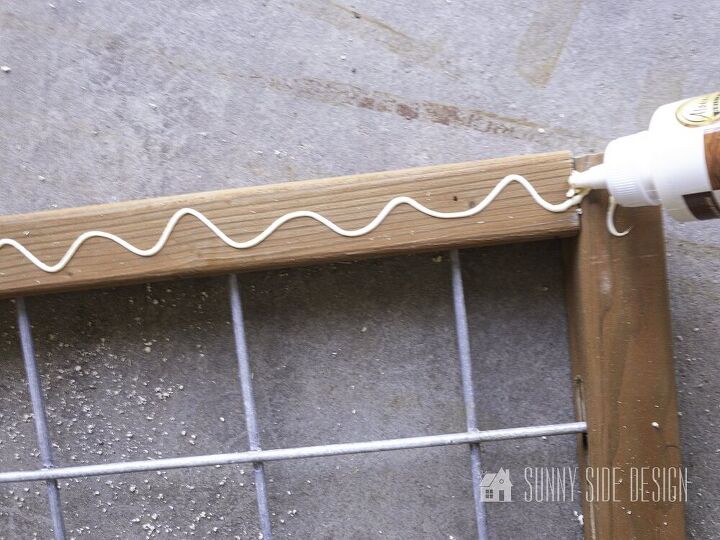
Finally to attach the decorative header, run a bead of wood glue along the top crossbar.
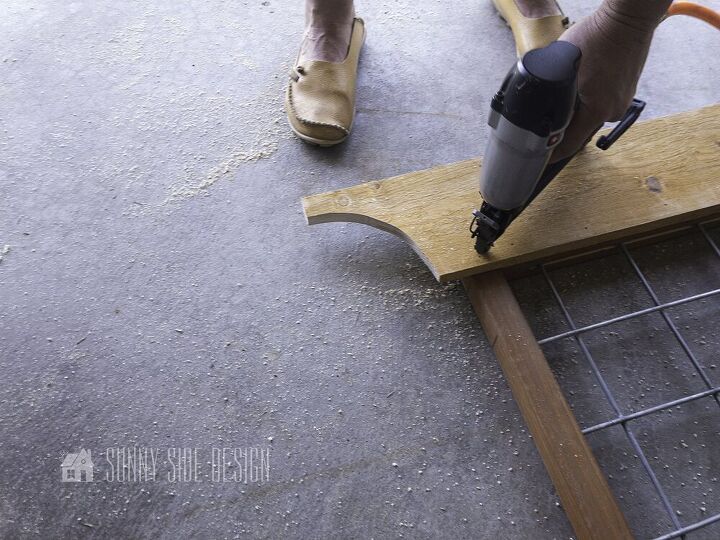
Then nail on the cedar slat. I used the pneumatic brad nailer for this. But an old fashioned hammer and nails will work as well.
Last but not least attach the steel fence U post with screws to the back side of the trellis. Allow for the post to extend about 12″ past the bottom of the trellis.
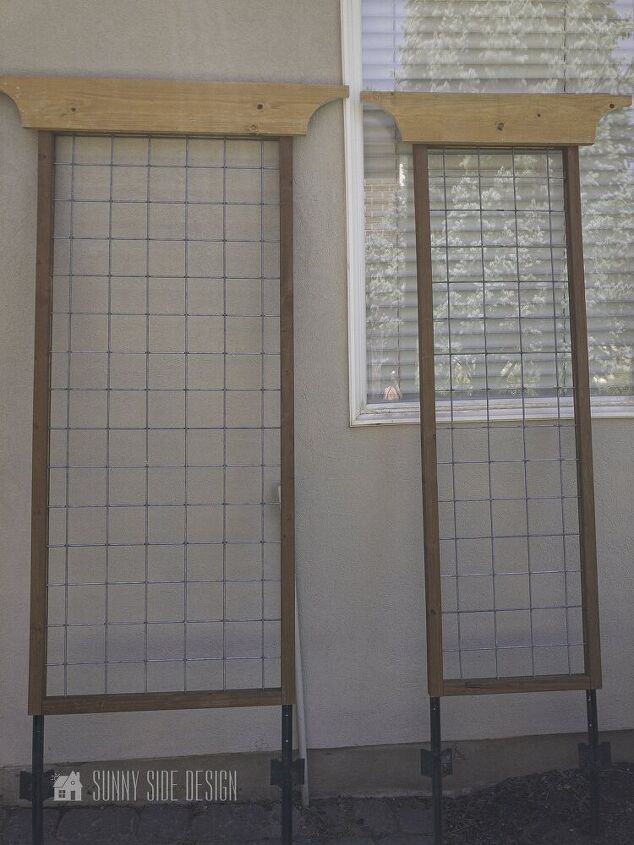
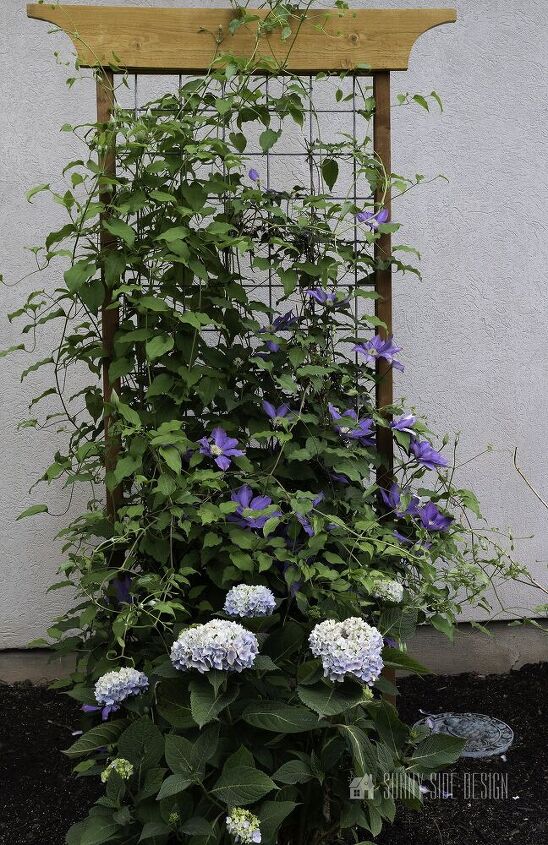
Here are my two completed plant trellises for my clematis vine.
Now it’s time to place the plant trellises in my garden.
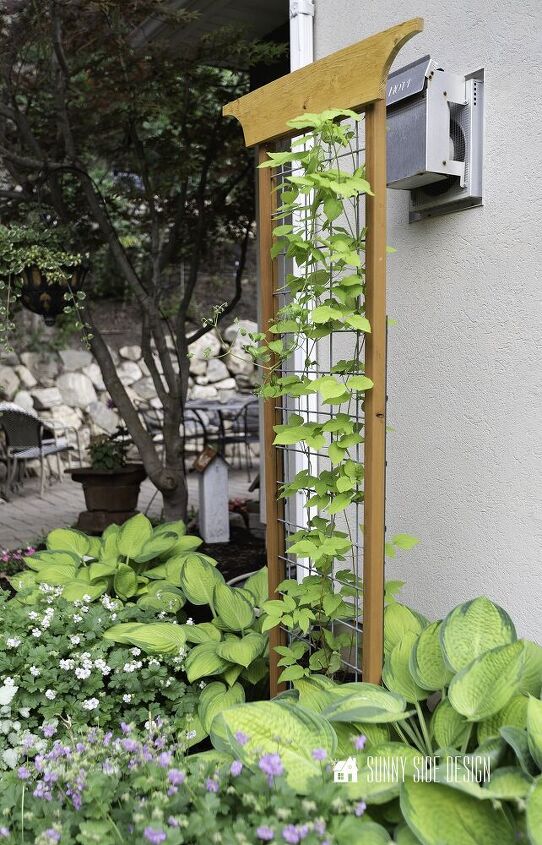
Certainly these trellis look so good in my garden. I love the modern look of the wire grids.
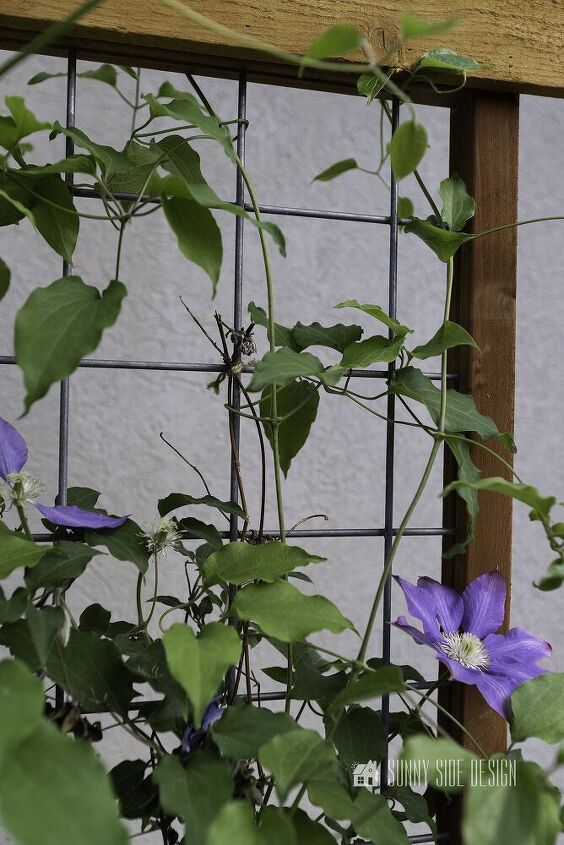
My clematis is looking so gorgeous this year. I took these photos a couple of weeks ago and now there are about 10 x’s the blossoms and many more buds to open soon. It definitely is a feast for the eyes!
Doesn’t the clematis vine look so beautiful with the bold orange poppies?
Do you use plant trellises in your garden? Not only do these trellises look great with a flowering vine, but they would also work well in the veggie garden. They would be perfect for cucumber or beans too.
So tell us what you think, is this a project you would like to build for your garden?
Do you have any projects your are working on in your yard you’d like to share with us?
And if you have specific things you’d like to see on our blog you can leave us a comment below or drop us an email. We love hearing from you!
Please PIN and share with your friends! Sharing is caring! If you’re new here, WELCOME! We love to meet new friends.
Say hi in the comments below, we’d love to hear from you. You can also learn more about us here.
Thanks for spending some time with us today!
And as always here at Sunny Side Design
WE HOPE TO BRING YOUR HOME TO THE SUNNY SIDE OF THE STREET!
Be sure to follow us on Pinterest for even more home decor and DIY ideas.
To see what we are working on before it’s on our blog, follow us on Instagram.
You can also find our video tutorials on our YouTube channel.

Resources for this project:
See all materials


Comments
Join the conversation
-
Lovely idea! would like to make one, but I don't have a router.
-
It’s beautiful but I wish we could see the finished product up front so we know whether or not we like it and maybe try it out!


Frequently asked questions
Have a question about this project?
When cutting the lumber you state it should be cut at 61 1/2" but your tape measure shows 61 1/4"???