


Outdoor Checkerboard Table

I am sharing the cutest DIY today. It contains some of my favorite things, upcycling, the color green, succulents, concrete, board games, and moss!
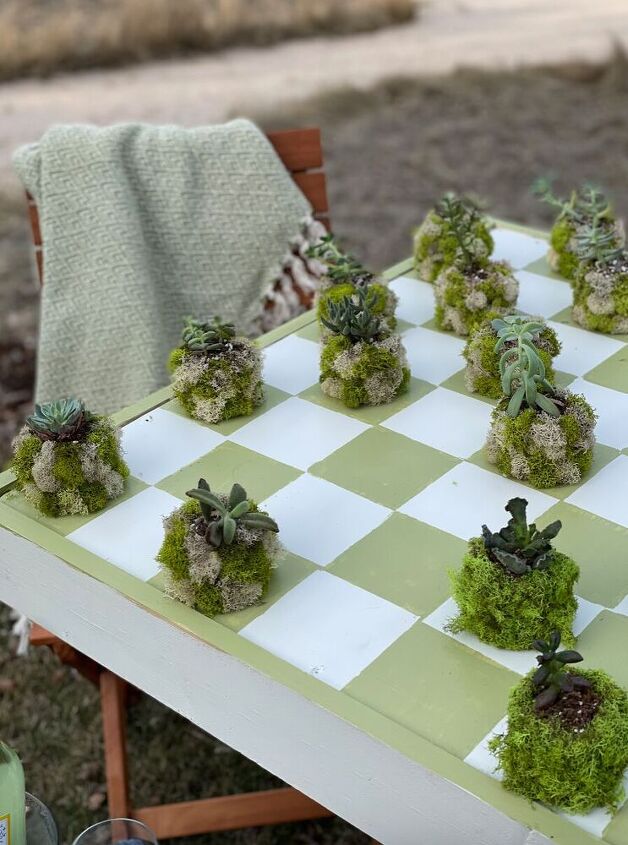
The idea started with these little concrete containers that I wanted to cover in moss (I recently found boxes of moss I had bought for wedding decor and never used). I thought they would make adorable game pieces for a checkerboard.
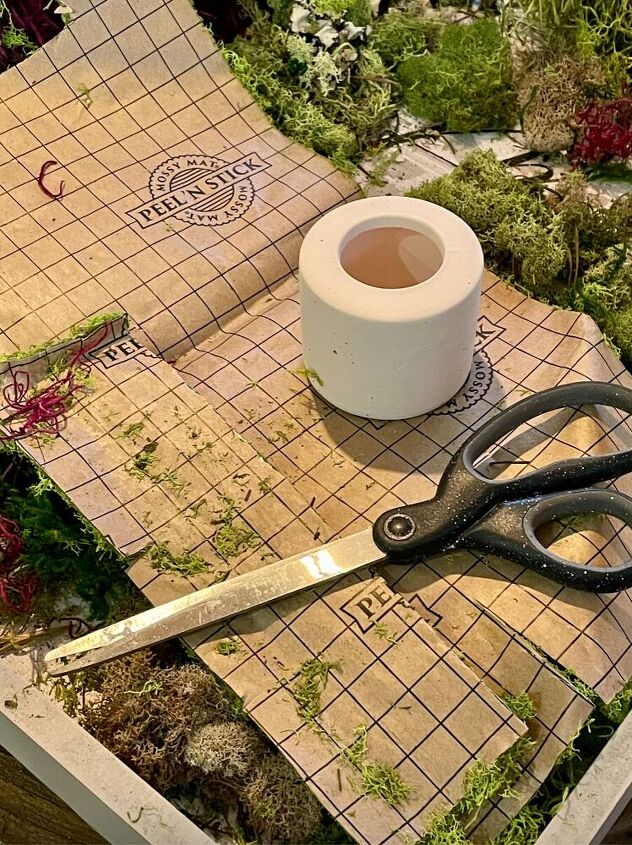
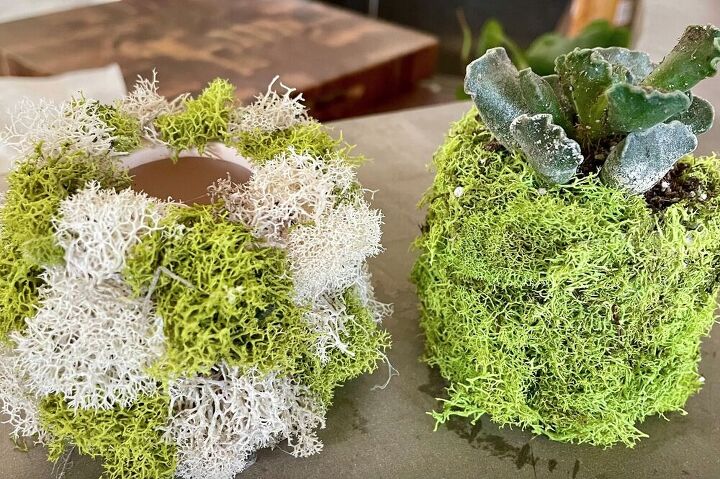
I was working with the moss that I had, so I used two different types. Above is the peel and stick moss, a dream to work with, and some Reindeer Moss that I hot glued on. The Reindeer Moss colors I used are green and cream.
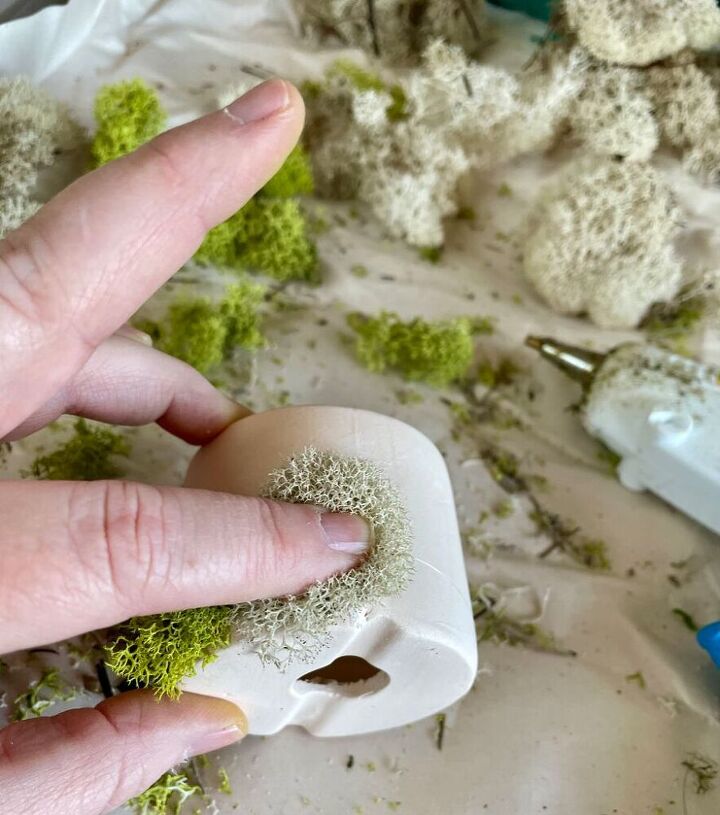
I went with the solid green for one set and the cream and white for the second set. You need 12 pieces per set. Once the moss was applied I decided on using Succulent plants for their durability.
Once the game pieces were completed, I had to figure out the checkerboard itself. I decided it would be pretty to make it green and white. I had my husband make a checkerboard tabletop out of wood. The table will eventually be moved to the Airbnb, which has some cover on the patio.
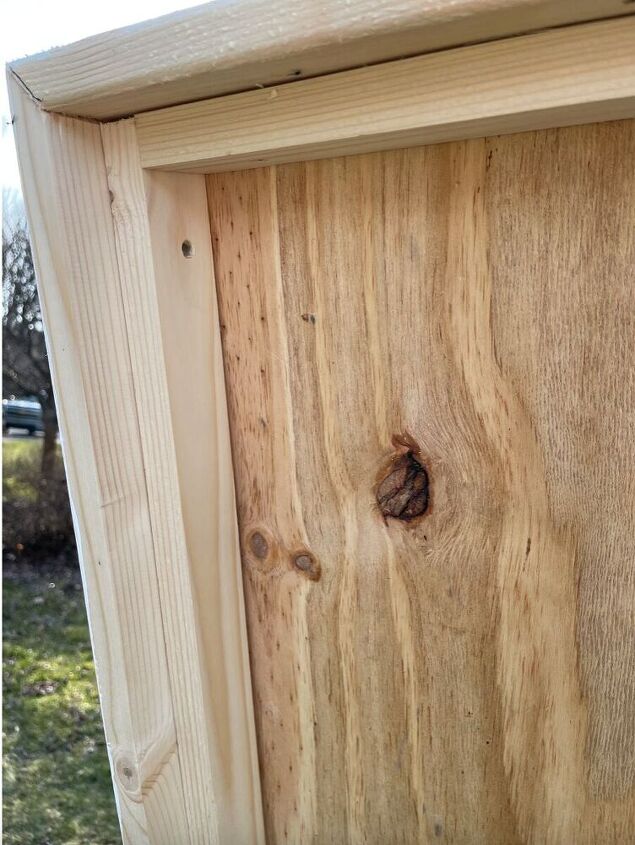
A checkerboard has 64 spaces. 8 up and 8 down. I established that I needed the squares to be 3.75 inches each to fit the games’ pieces. So the actual board had to be 31 inches square (that stretched my math abilities). Hubby used 1/2 inch plywood for the base and 1/4 boards for the outside of the frame. We used wood glue and a pneumatic nailer to assemble the tabletop.
For the base, I found an old cafe table in our shed that had seen better days and was a perfect size to use as the base, so he also added the 1 x 2 inside for a snug fit over the existing table. Yay for upcycling!! Next up, painting a checkerboard pattern.
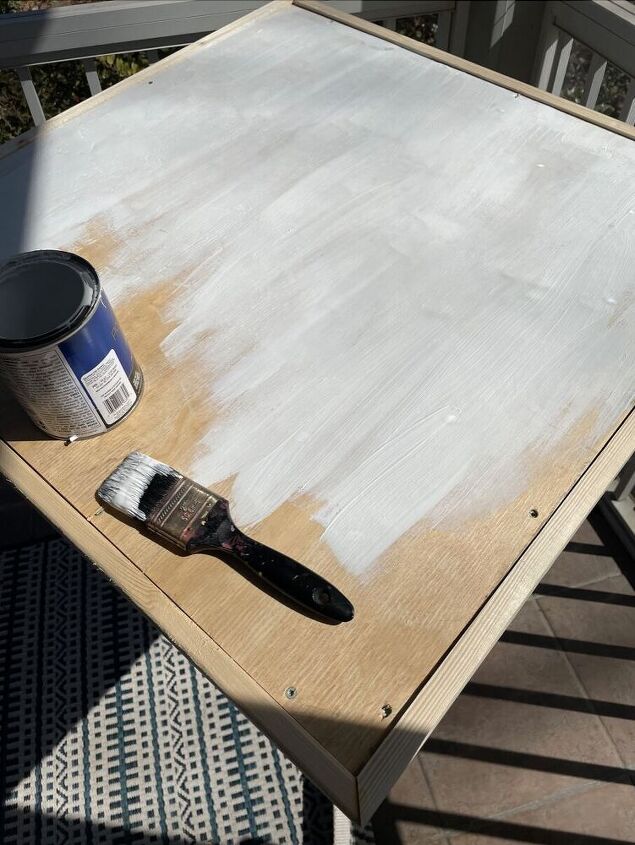
Let me state I was not looking for perfection in this paint job. I wanted it to feel homemade and quaint. I decided to handprint the squares. The hardest part was how to paint them. I decided post-it notes would work. Plus, we had them on hand. I cut a larger size down to a 3.75 size and laid them out.
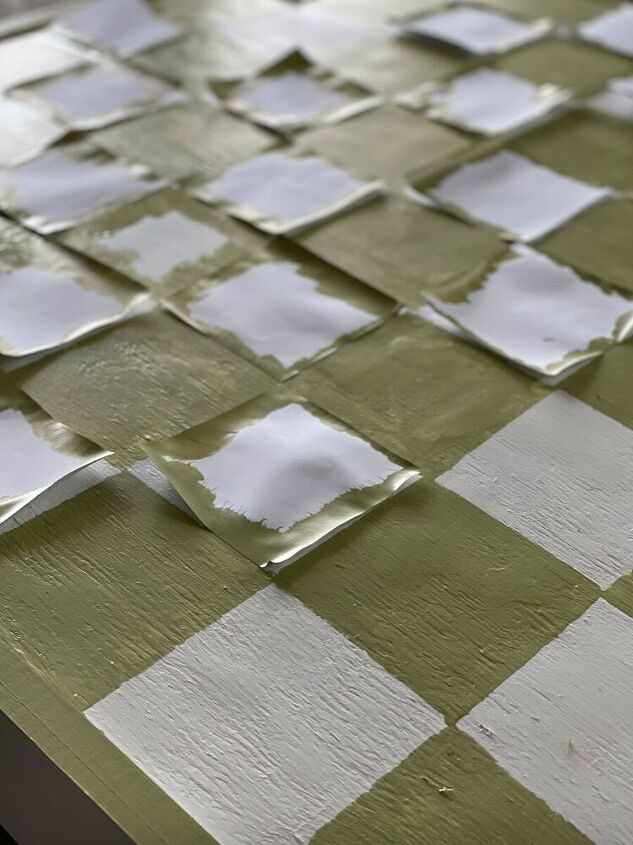
The post-it plan worked GREAT! I painted three coats of white (it had primer in the paint already) and two coats of green. When dry, I sprayed the entire board with 3 coats of exterior polyurethane for added protection from the elements.
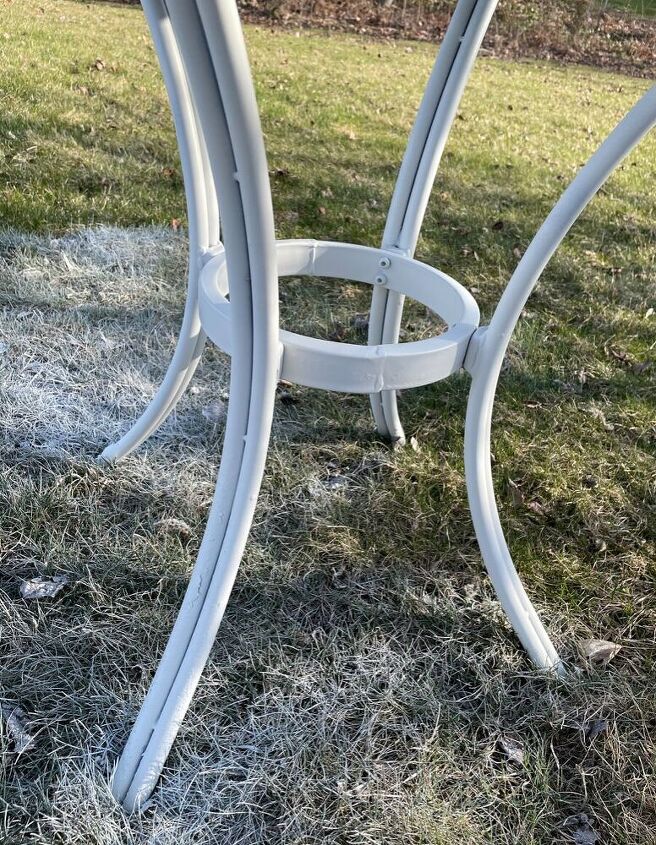
I then spray-painted the table base white, and my husband secured the tabletop to the old cafe table with wood glue and a few screws.
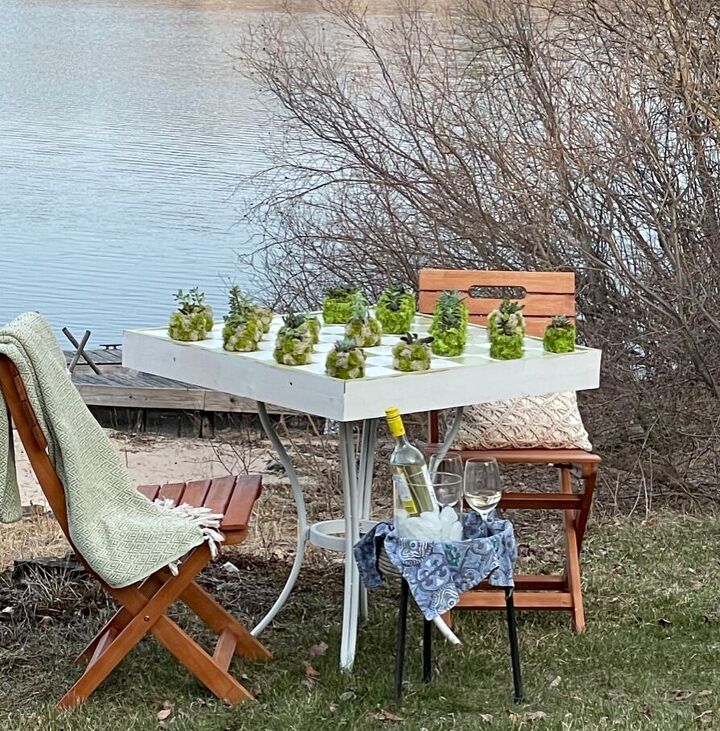
And here is the finished table. I still have to move it over to the patio at the Airbnb, but since we have guests scheduled for the next few weeks, I took advantage and enjoyed a few games outside. It was an excellent way to celebrate the Spring weather we have been enjoying. And a bonus….I won all the games!! ;)
Check out a few of the other projects I made with that leftover moss!
https://alifeunfolding.com/moss-art-diy-textured-wall-decor-in-less-than-a-hour/
https://alifeunfolding.com/5-of-the-easiest-ways-to-elevate-your-dollar-store-vases/


Comments
Join the conversation
-
Really, really pretty, love the green and white colourway
-
Love it!! Thanks for sharing.


Frequently asked questions
Have a question about this project?