


Outdoor Light Refresh

My new motto: Why buy when you can DIY. This motto is mostly out of necessity rather than desire. I would LOVE to buy brand new outdoor lights but geesh they can be $$$. So instead I am settling with a quick, practical, easy and frugal way to refresh my outdoor lights. Here's what I did!
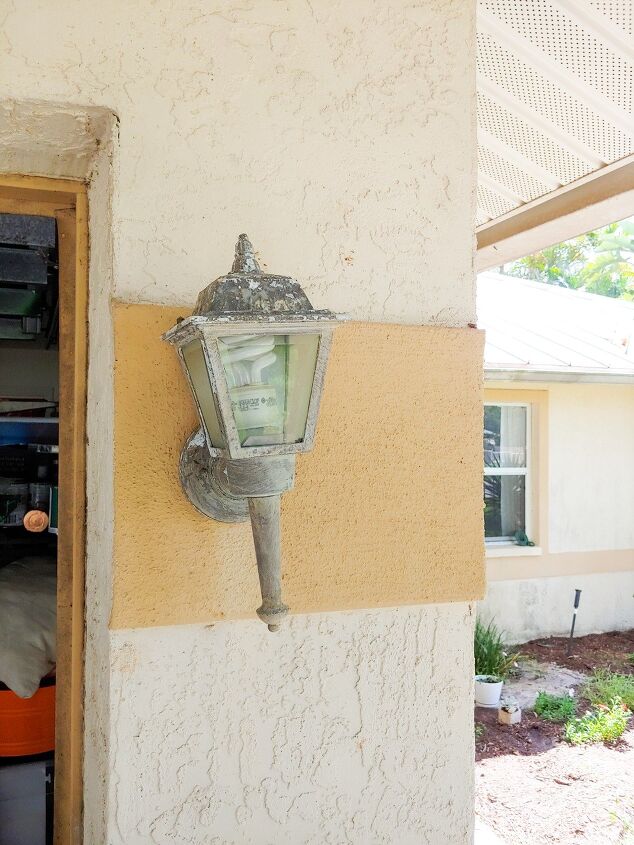
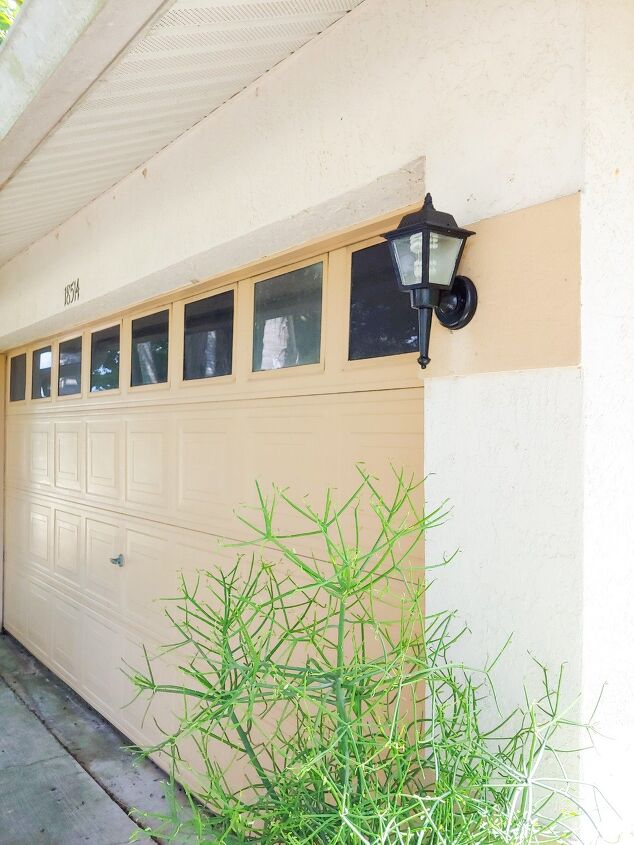
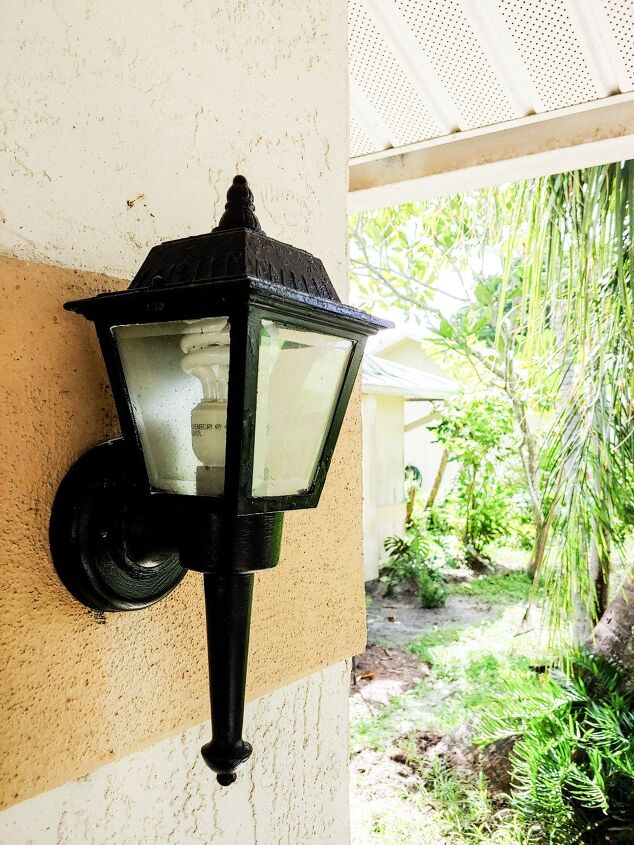
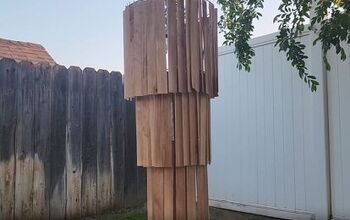
BEFORE
ew.
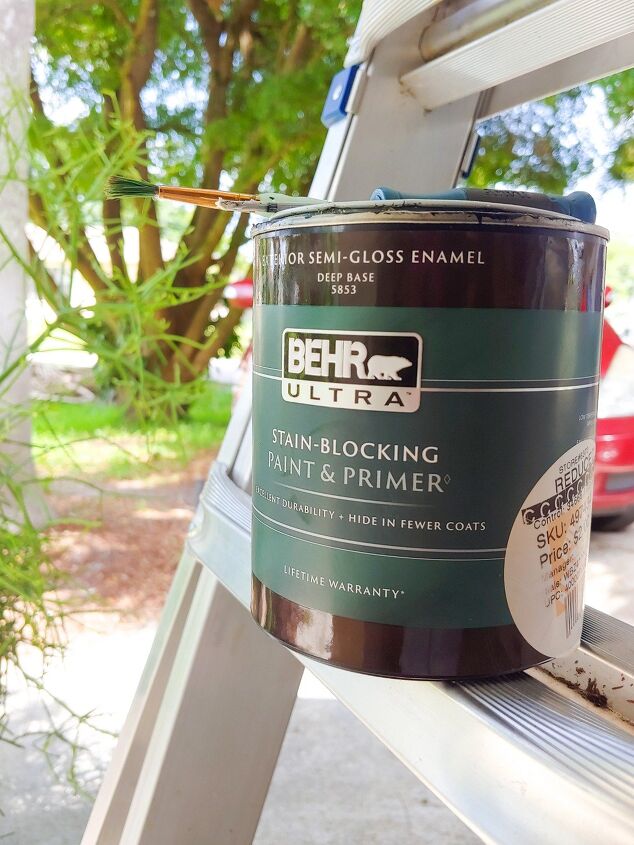
Materials:
- BEHR Ultra stain blocking paint and primer (outdoor use)
- Paintbrush
- Tape
- Scrub brush for cleaning
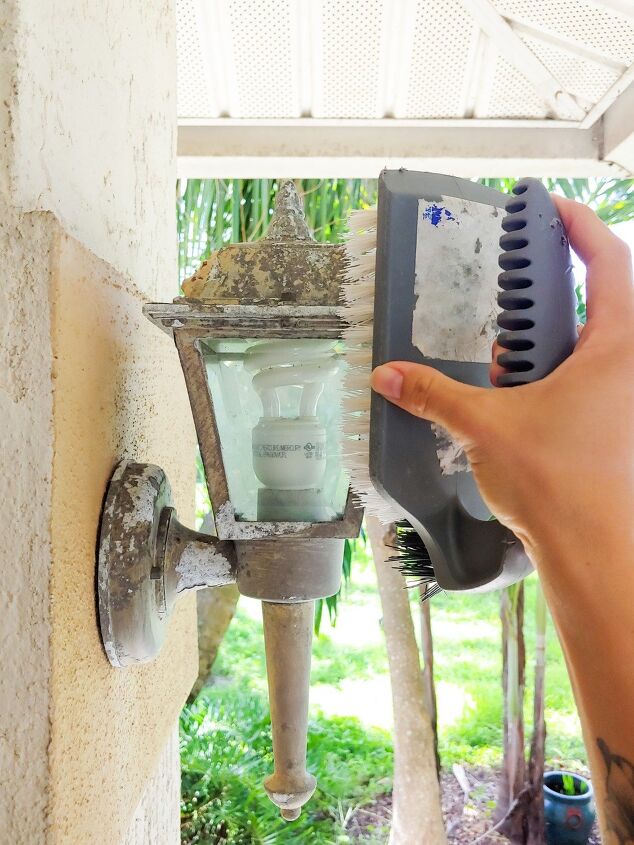
I started off by cleaning off these lights. As you can see the before photo is in desperate need of love. I'm assuming these are original to the house and just hadn't been maintained, cleaned or cared for much like a few things around the house.

As I scrubbed a ton of dust and flakes of the old light came off. Which proved a good cleaning was necessary before painting.
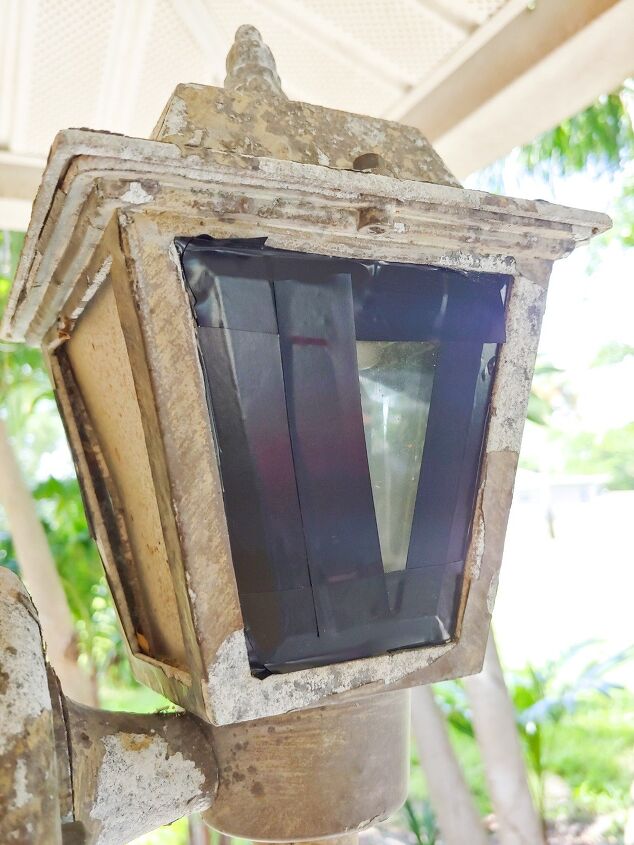
I taped off the glass portion of the lights to keep them clean while painting. Apparently I had used all of my painters tape and electric tape was all I had on hand (don't hate!).

Then I got to painting. This went quickly after cleaning and because of the paint I used only required 1 good coat. Around the edges of the light that was attached to the house I used a smaller brush and made careful strokes. If you have an unsteady hand I would suggest taping around the area to keep paint off the house itself.
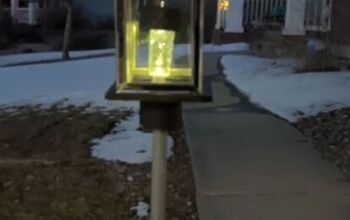
After about 30 minutes they were already dry! But the change in appearance is undeniably awesome! I'm super happy for the updated lights and giving these lights a new life.
I mean really... no comparison to the before shot at ALL!
Resources for this project:
See all materials


Comments
Join the conversation
-
Wow I found these on the ground about a year ago and kept them tucked away. Thank you for reminding me about them. I can work on them this weekend. I will send a pic when fixed up 😀
-
Great transformation!


Frequently asked questions
Have a question about this project?
They look great, but apart from the obvious display of the brand, just what kind of paint did you use? If the light is metal, I'd think you'd want to go with Rustoleum or something comparable if the fixture is going to withstand the elements.