


Upcycled Shower Curtain DIY Pillow Covers
A few months ago I replaced the shower curtain in our master bath and intended to donate the old shower curtain. Instead of donating it, I used the shower curtain to make pillow covers.

I’m so glad that this shower curtain didn’t make its way to Goodwill. The fabric pattern is perfect for spring and summer pillow covers to enjoy.

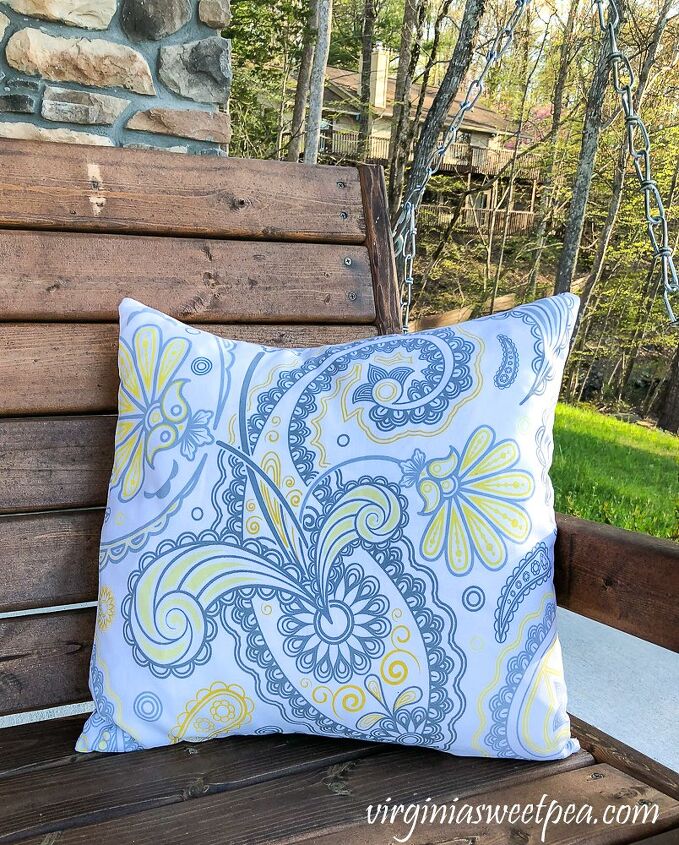
The pillows look great on our DIY 2×4 Porch Swing that we made a few years ago. I love to sit on this swing while relaxing and admiring our view of Smith Mountain Lake.
On the Sofa
The next spot that I tested for enjoying the pillow covers was the sofa on our patio.
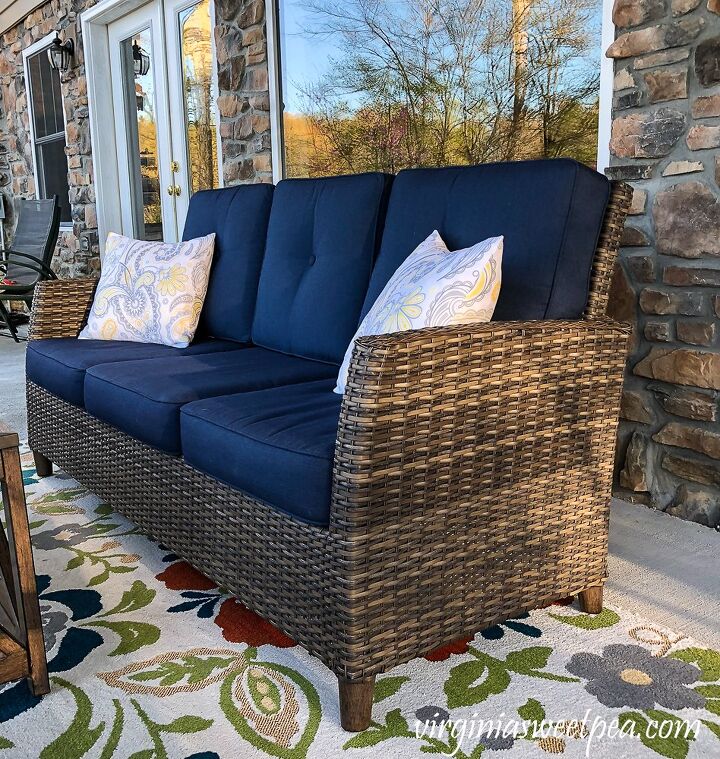
They also look great on our sofa that overlooks the lake.
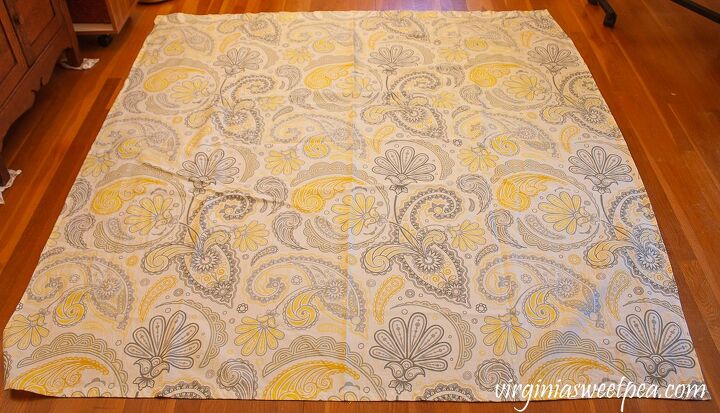
I started by spreading the shower curtain out on my sewing room floor. I should have ironed the shower curtain before starting my project.
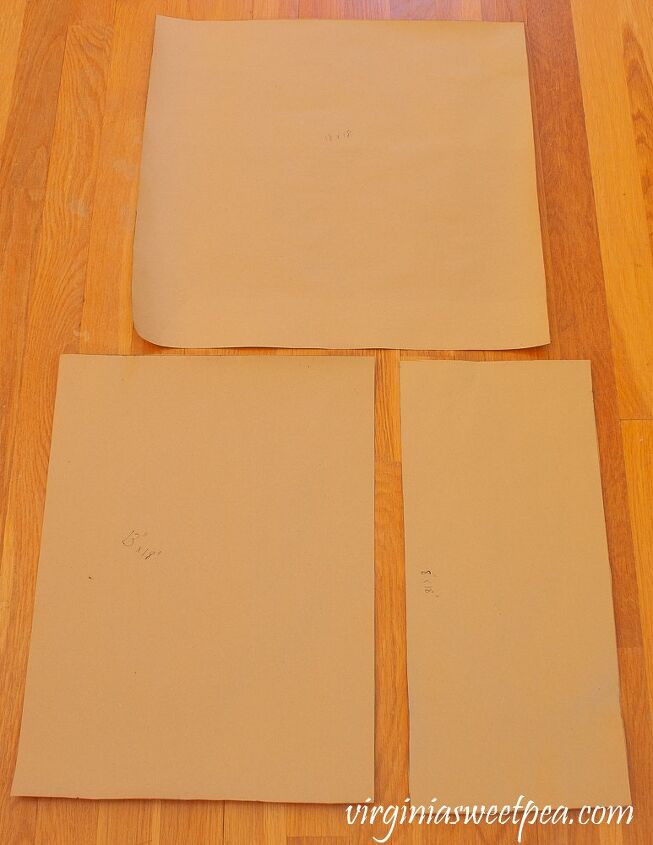
Since I make pillow covers often, a long time ago I made pillow patterns using craft paper.
To make a pillow cover for a 20″ pillow form, cut one piece 18″ x 18″, one 13″ x 18″, and a third 8″ x 18″.
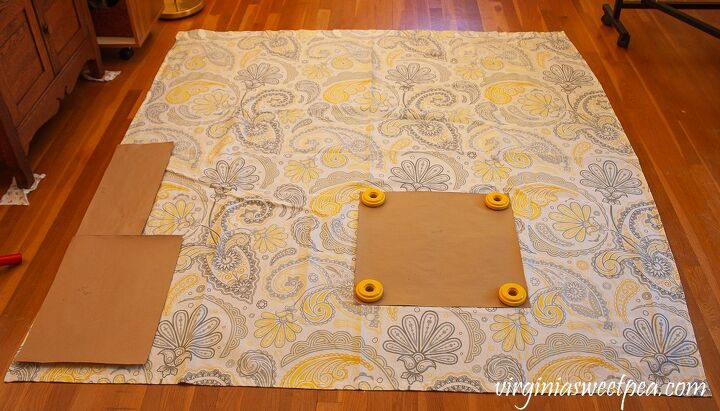
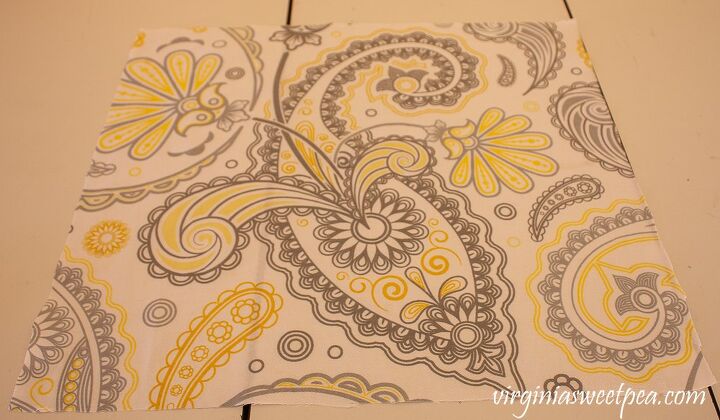
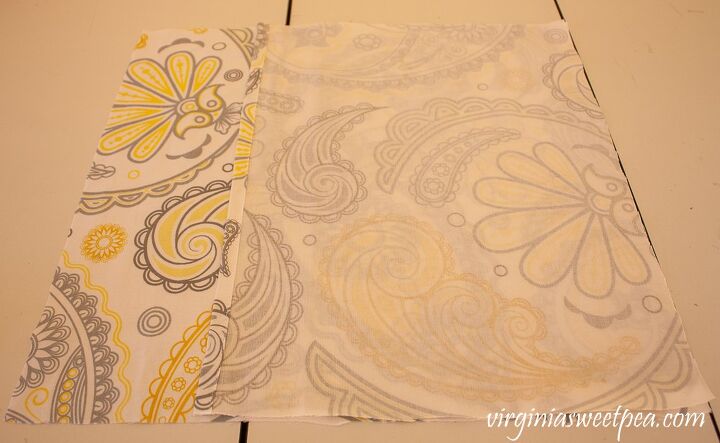
I positioned the 18″ x 18″ pattern piece over a spot on the shower curtain that had the design that I wanted for the pillow front.
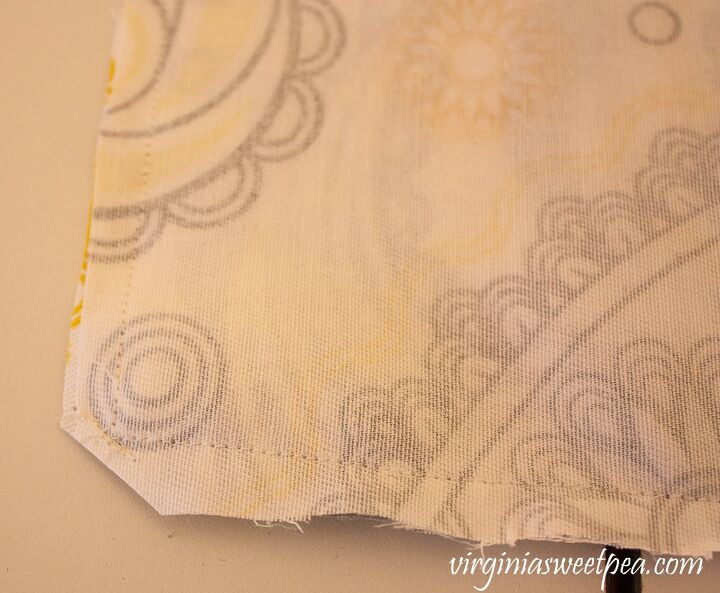
For the back two pillow pieces, I positioned them on the side of the shower curtain that was hemmed. This saved a sewing step in my pillow cover-making process.
I recommend using pins on a pattern but if you don’t care if your cuts aren’t perfect, pattern weights ( similar) save a lot of cutting time.
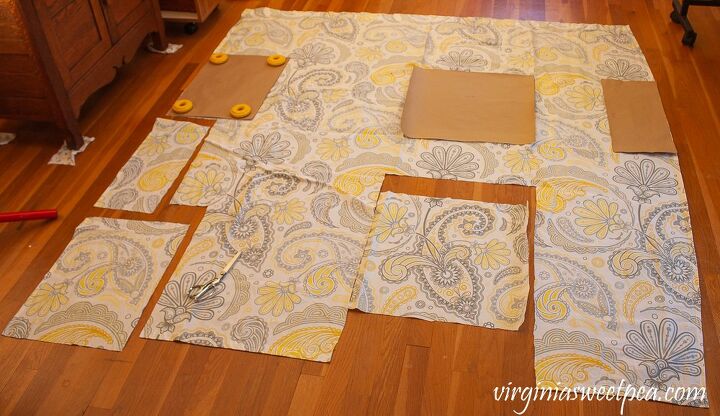
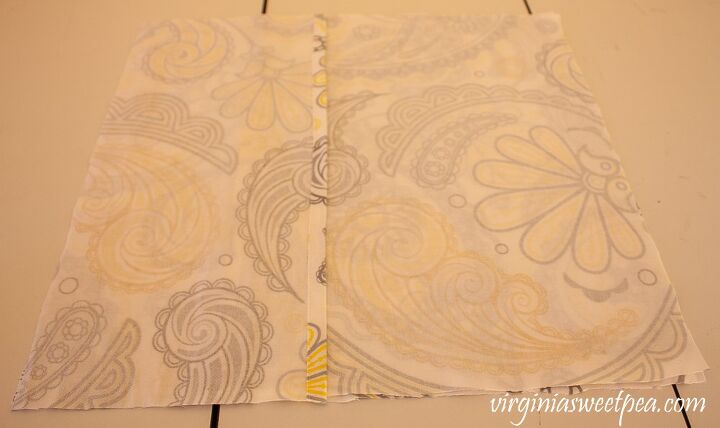
After I cut out the pieces for the first pillow cover, I repositioned the pattern pieces and cut out pieces for a second cover.
Normally when making a cover, each side of the back pieces would need to be folded over 1/2″, pressed, then folded over again and pressed, and finally sewn.
Using the hemmed edges of the shower curtain allowed me to skip that step.

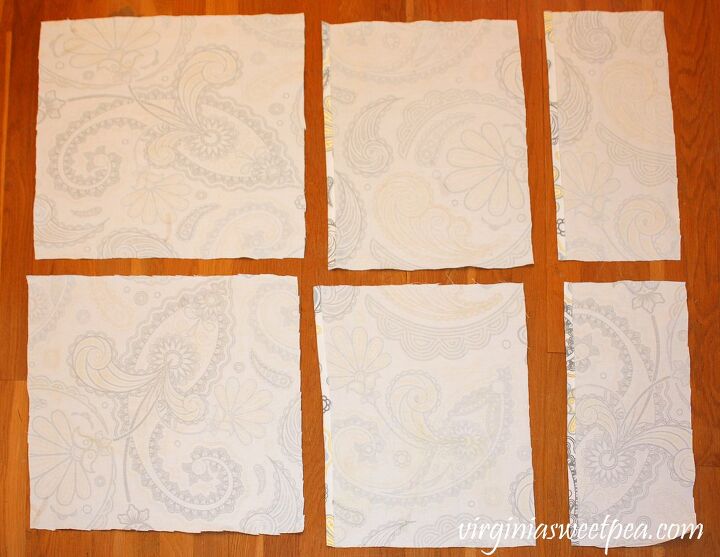
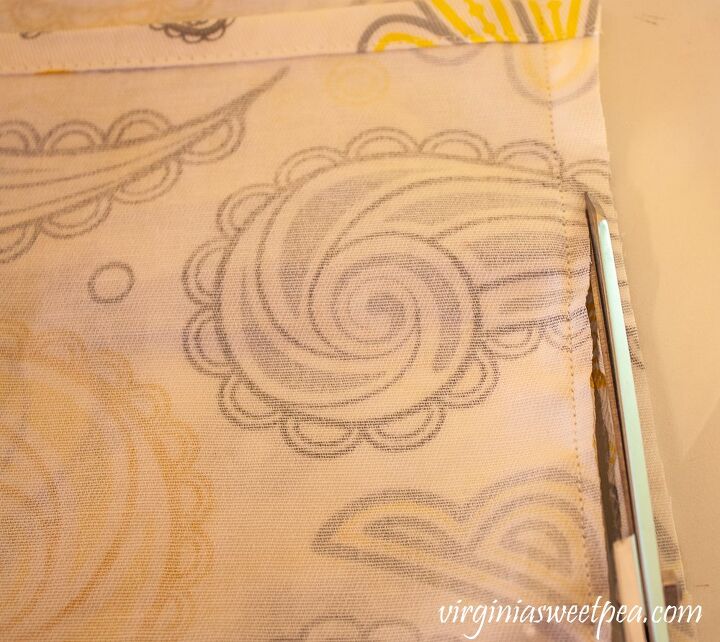
Before pinning the pieces together, I ironed each one.
Place the front cover piece face up.
Position the 13″ x 18″ piece face down over the pillow front piece, lining up the edges.
Position the 8″ x 18″ pillow piece face down on the opposite side of the front pillow cover piece.
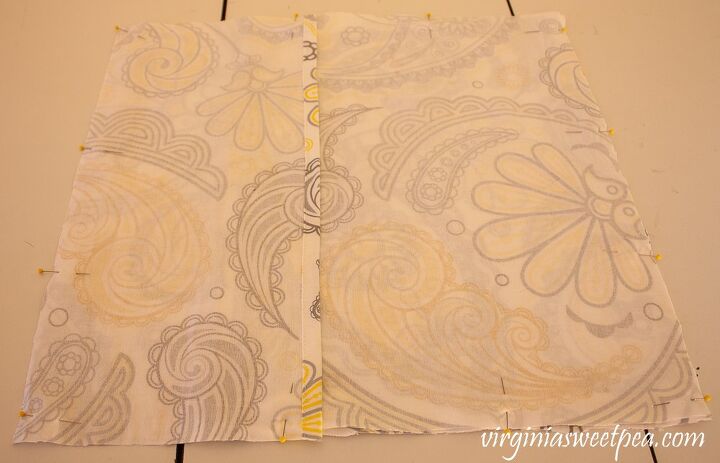
Pin around the edges.
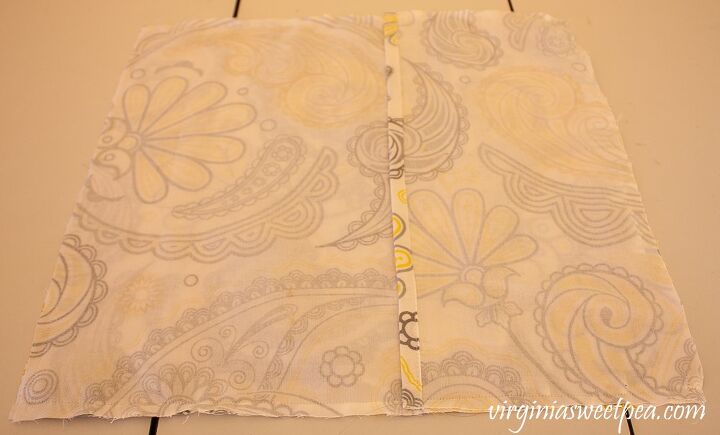
Sew around all edges using a 1/2″ seam allowance.
To aid in turning the pillow cover, clip the corners.
Then remove bulk by trimming the sides of the pillow cover.
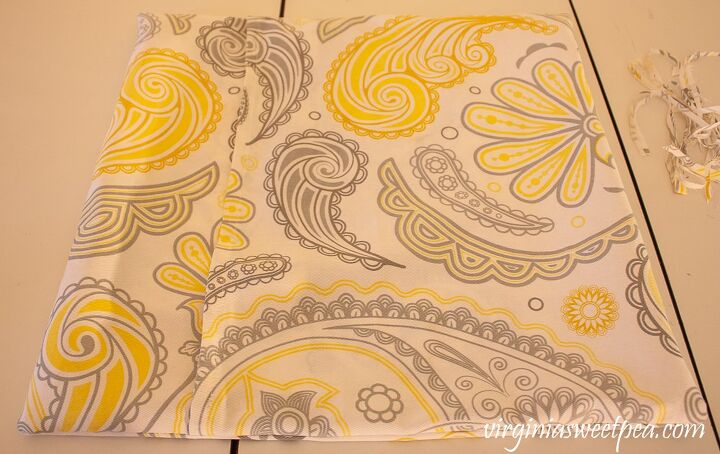
Turn the pillow cover and press with a hot iron.
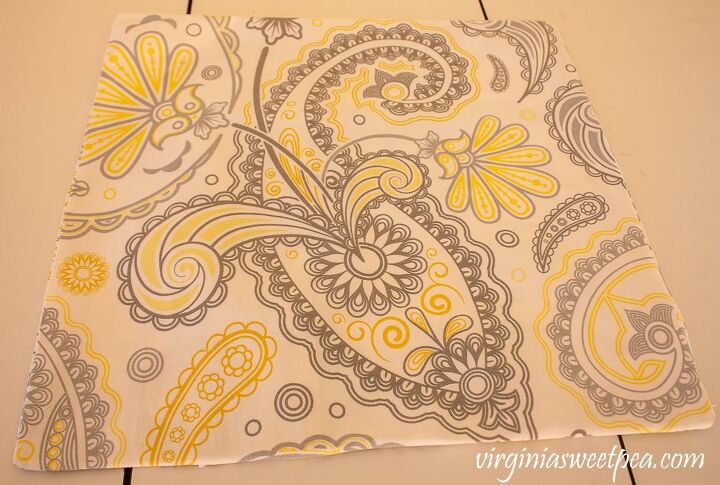
Stuff with a pillow form and then enjoy the pillow.
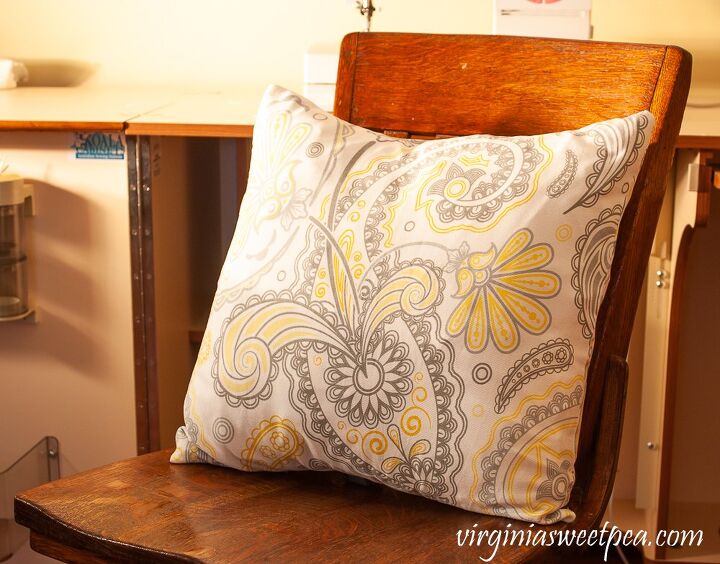
Here is one of my pillow covers on my sewing chair that is an antique teacher desk chair. I’m super pleased with my new pillow covers and they didn’t cost a cent to make.
Resources for this project:
See all materials


Comments
Join the conversation
-
It always puts a smile on my face to see articles like this...That shower curtain would probably have ended up in trash bin..Love your lake house..And your projects!
-
I recently did the same thing but I bought a shower curtain online, (Amazon has beautiful ones for great prices) cheaper than buying fabric! I cut a 16 x 40 piece of fabric, fold in two and sew both sides. Sew a few inches on the bottom towards the outside then add velcro at the bottom. I also made pompoms, hot glued to the corners.


Frequently asked questions
Have a question about this project?
Sorry if this is obvious, but how do you make a cover for a 20" pillow that is only 18" wide/tall?
In the instructions it says - To make a pillow cover for a 20″ pillow form, cut one piece 18″ x 18″, one 13″ x 18″, and a third 8″ x 18″.
I love this idea and just want to clarify for myself.
Thank you!
Where did you get that shower curtain. I've been looking for one like that. Thank you,Eva