


Boho Rewoven Patio Chair

by
Zest it Up
7 Materials
$20
3 Hours
Medium
I am BIG on giving things a second life. I guess there is a part of me that hates to think of things piling up high in our landfills, forlorn and slowly decomposing. I don’t want to harp of an eco-responsibility platform at all. I just like to think that with a little creativity and know-how, I can slow the pace down.
Photo Cred: Anya McInroy
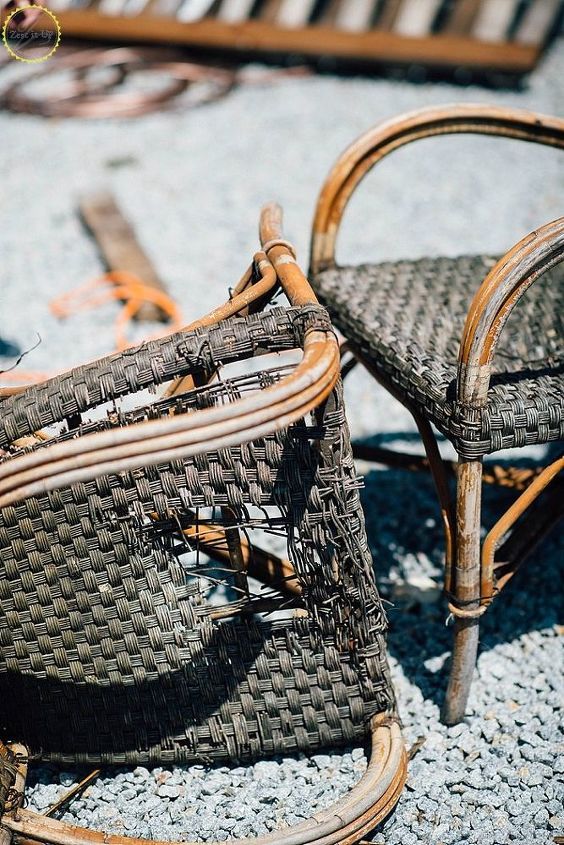
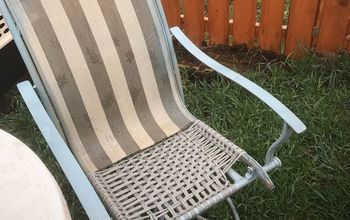
Obviously, these chairs were destined for the dump. They were more than a little janky! Trying to sit in them could actually hurt a person’s backside lol. But, on closer examination, I realized that the bamboo frame was still nice and sturdy. With a sturdy frame, I knew I could let my creativity play. After a short trip to Ace Hardware, I had a game-plan and I was off!!
Supplies
- pliers
- screwdriver
- sandpaper
- Spar Varnish
- 3 50ft packs of 3/4″ Nylon rope/cording in any color
- scissors
- matches or lighter
Not gonna lie, this was a messy job and had a tendency to heighten my frustration unless I took a few breaks (aka put it to bed and come back to it another day….heck, I wasn’t in any rush!)
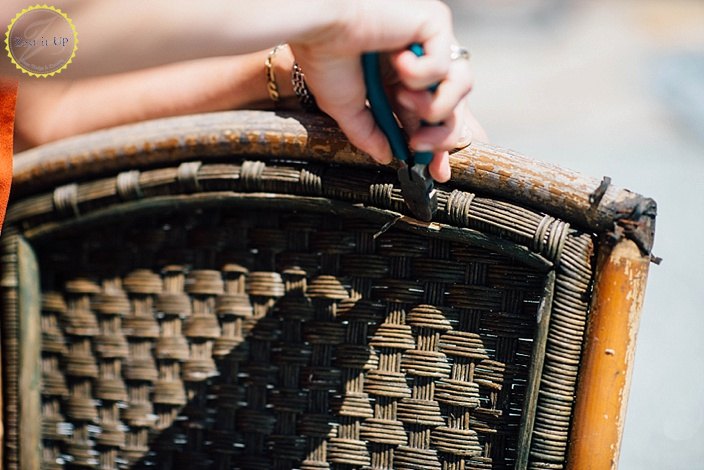
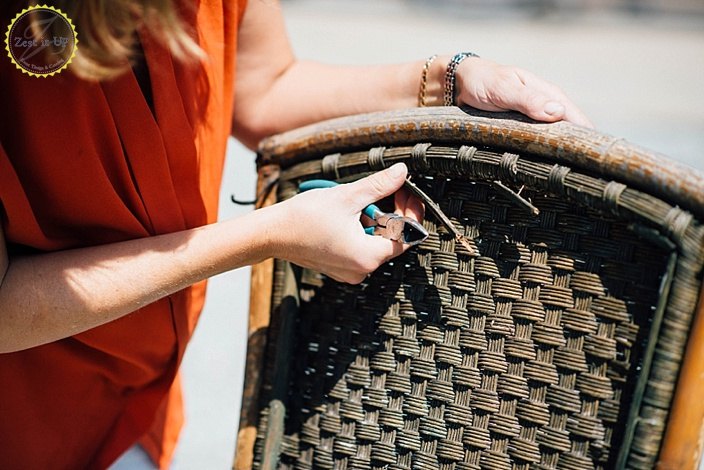
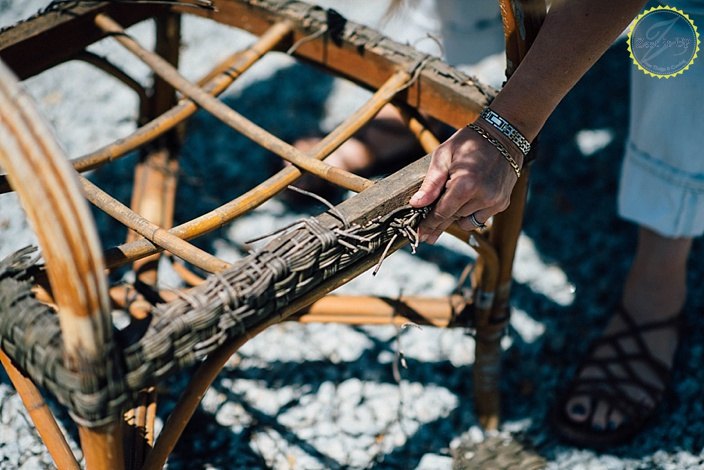
The first step is to examine your chair. Where are things attached and how are they attached? At first, I just hacked away at the crumbling weave with pliers and wire cutters. I was on a mission and not willing to slow down. Hahaha, stupid move! After some annoyance with hacking and pulling apart, I discovered that with the removal of a couple of screws, the whole back simply pulled away from the sturdy frame. Live and learn! At least I figured it out before I started the second chair.
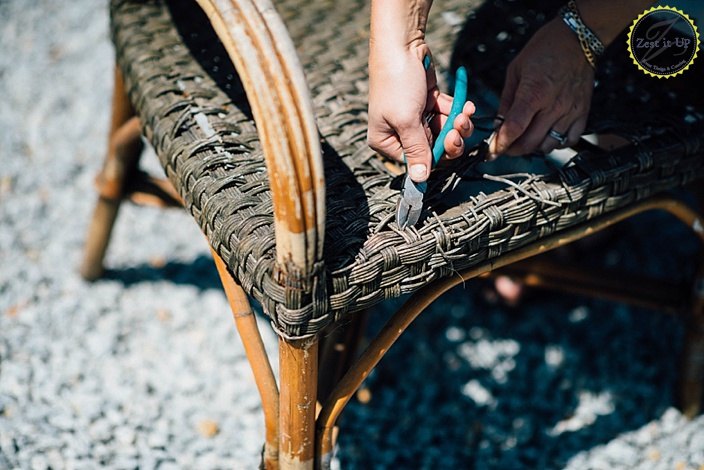
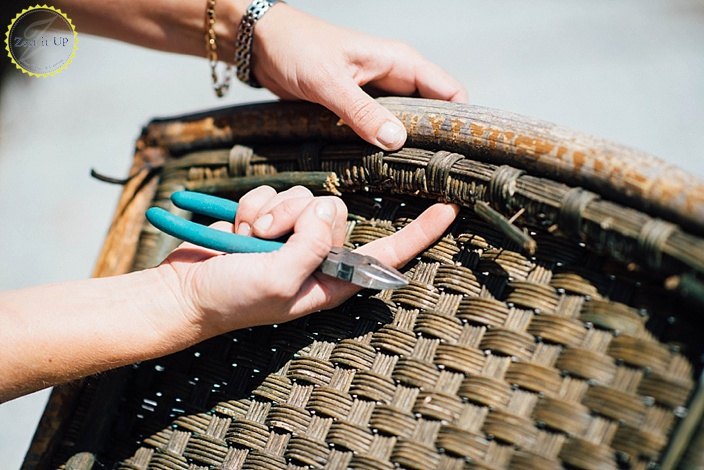
The seat genuinely needed some cutting of the weave and removal of about a MILLION upholstery staples! Gah!
Don’t forget to give the frame a good rub down with sandpaper.
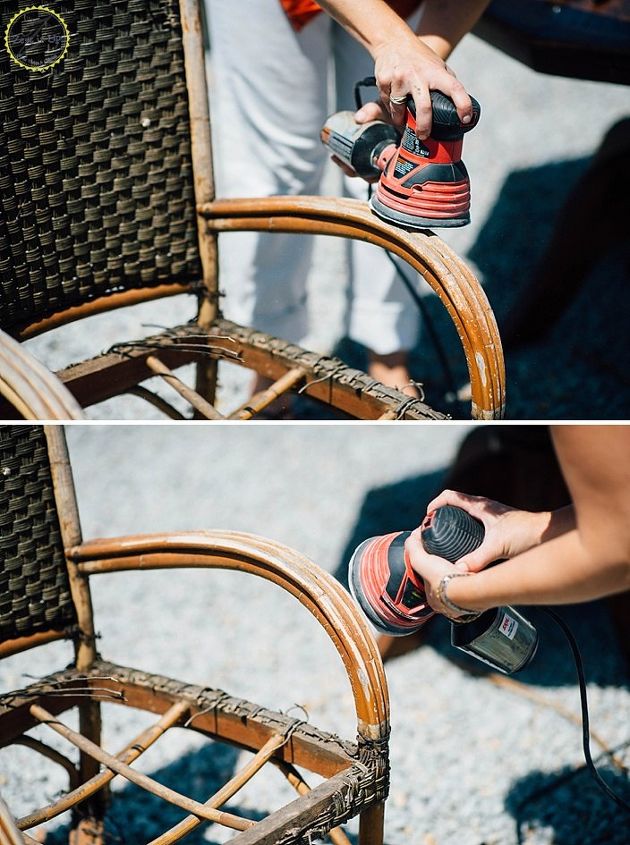
I wanted the old, peeling finish to be gone, so that I could safely recoat it with Spar Varnish (my favorite finish for outdoor furniture cuz it holds up to the weather and UV rays).

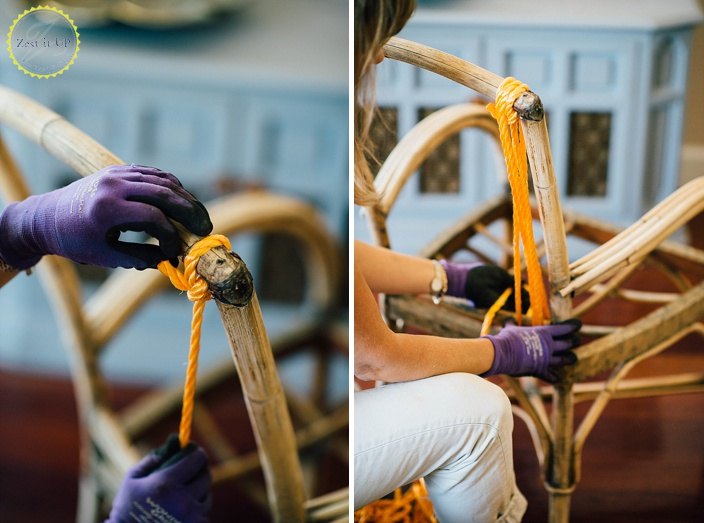
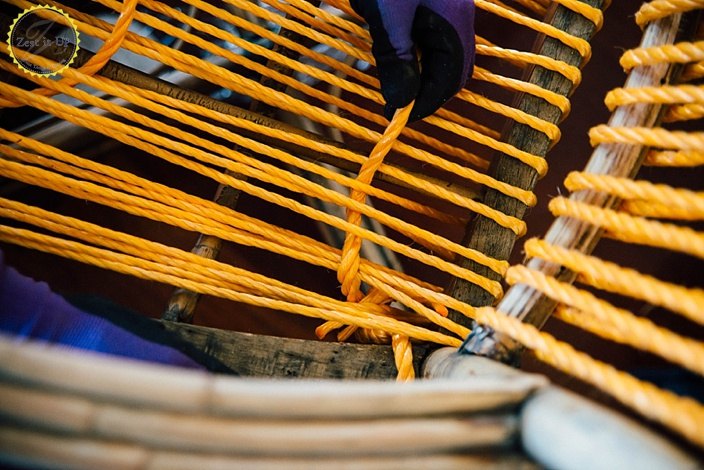
Once all the weave is removed and the Spar Varnish has dried, it is time to get to weaving! I wore gloves for this job, for sure! After handling the rope and giving good tugs, your hands will be feeling that rope burn! So, glove up!!
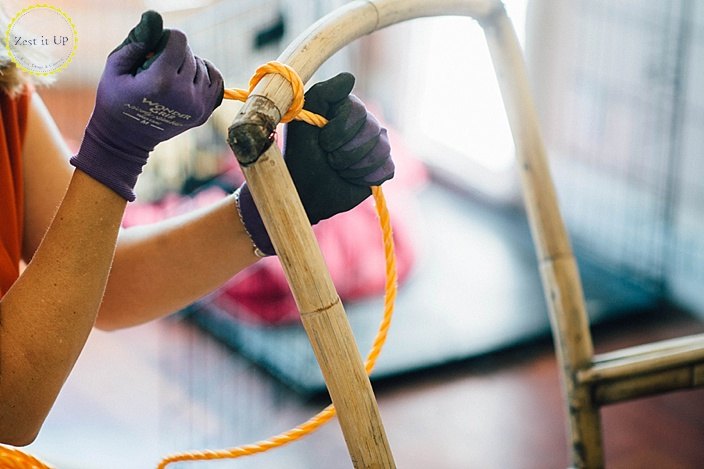
After securing a sturdy knot, I looped the cording over and through using the top bar and bottom bar of the frame’s back support.
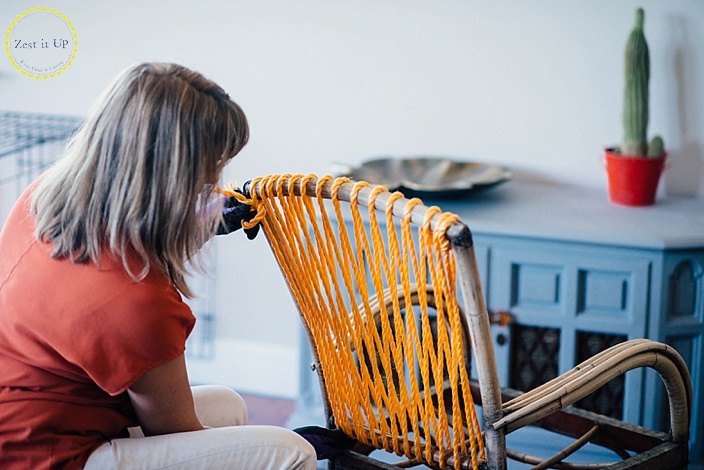
My first plan was to do a horizontal weave through all these linear lines, but I liked the look so much that I left it. Instead, I saved the traditional weave for the chair’s seat.
Once you have secured the backrest by tying it off and tucking in the cording, start on the seat.
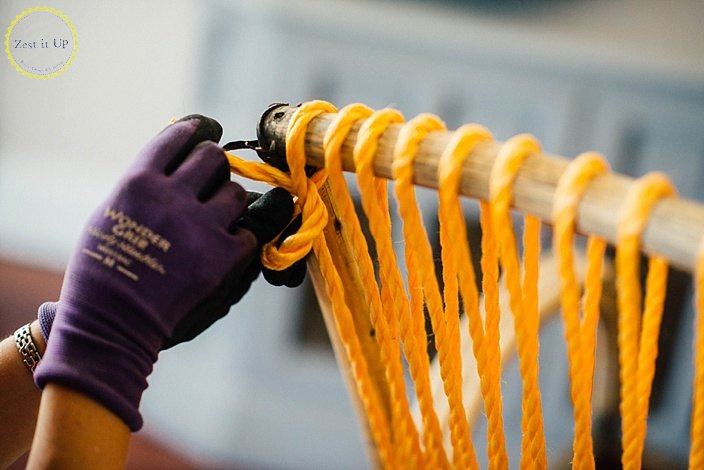
Sidebar here: When you tie off nylon cord and cut it, it wants to unwind fast. Simply fix that by lighting a match and burning the ends so that they melt together and form almost a glue. Problem solved!
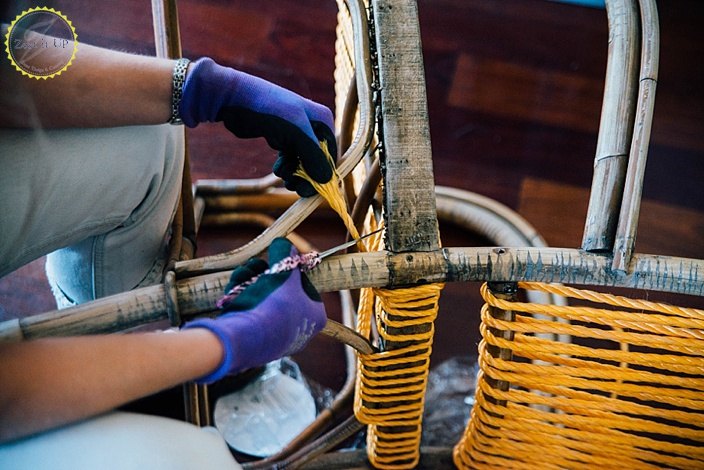
I first created the vertical lines for the seat. Then time to start the horizontal weave.
Securing the cording to the frame, then simply begin weaving the cord in and out of the vertical lines. This is a GREAT project to do while watching a movie. It takes time and a movie may help keep your mind off the repetitive work you are doing….or maybe that is your jam!
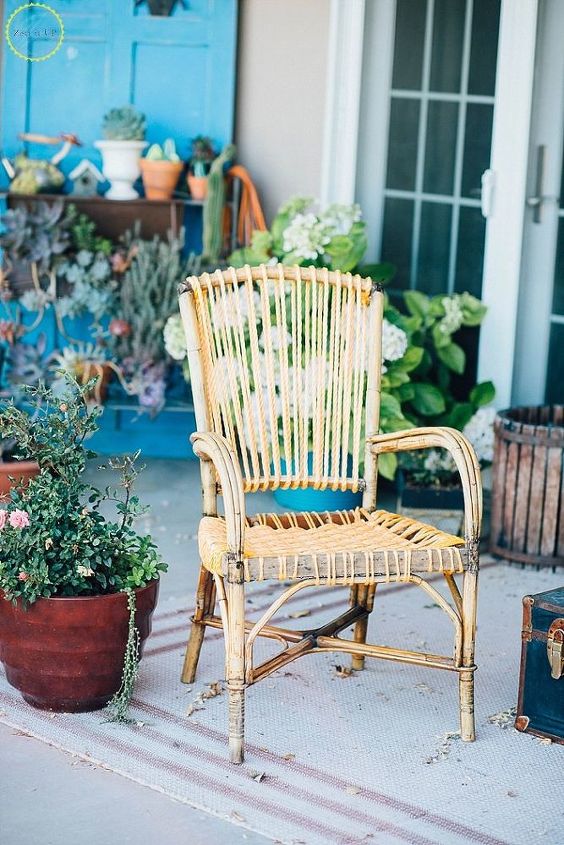
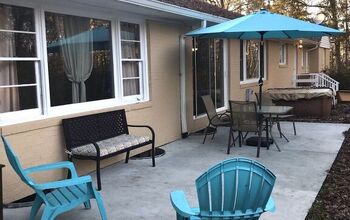
When all was said and done, and all the knots have been secured and burned, I was a very happy girl. Two chairs saved from the trash heap and turned into patio furniture! And so much cheery color and playful texture. Sooo purdy!
Cheers to furniture upcycle!
xoxo,
Chanda
Resources for this project:
See all materials


Any price and availability information displayed on [relevant Amazon Site(s), as applicable] at the time of purchase will apply to the purchase of this product.
Hometalk may collect a small share of sales from the links on this page.More info
Want more details about this and other DIY projects? Check out my blog post!
Comments
Join the conversation
2 of 53 comments
-
Great job and great tutorial! Thank you!
-
It may have taken 2 years but I finally tried and finished this project.
http://c-ing.blogspot.com/2020/04/reweaving-porch-chairs.html


Frequently asked questions
Have a question about this project?
I wonder if this technique would work on something larger? We have a patio swing with sunshade which has seen better days. I would really like to bring it back to life, but a) Would it support 2 fluffy people and b) Is it picky against the skin?
Did you think to seal the nylon rope after installing it? I have some nylon pieces that were exposed to the elements including sea water that have frayed over time.
How Long ago did you do this project and has it been out in the sun for a few years yet as the nylon rope used on my sons play set turned out terrible as it would fray and lodge in the skin like a terrible splinter.