


How to Make a Refrigirator Bag With Your Own Hands

Hello! Today i will show you how quick and easy you can make a refrigirator bag with your own hands.

For this DIY project you will need:
- bucket with lid
- camping mat with foil
- double sided tape
- scissors.
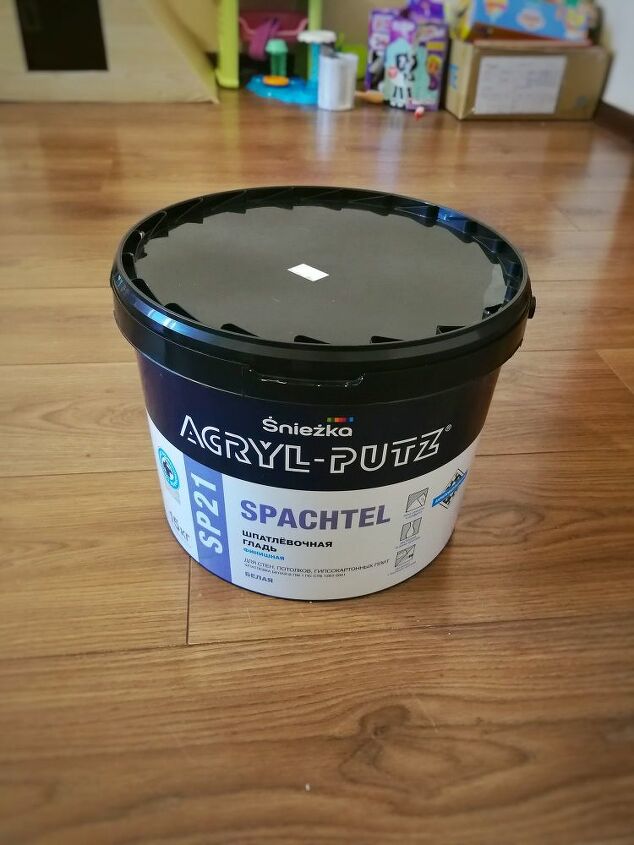
I used a bucket for building mixes with a volume of 15L
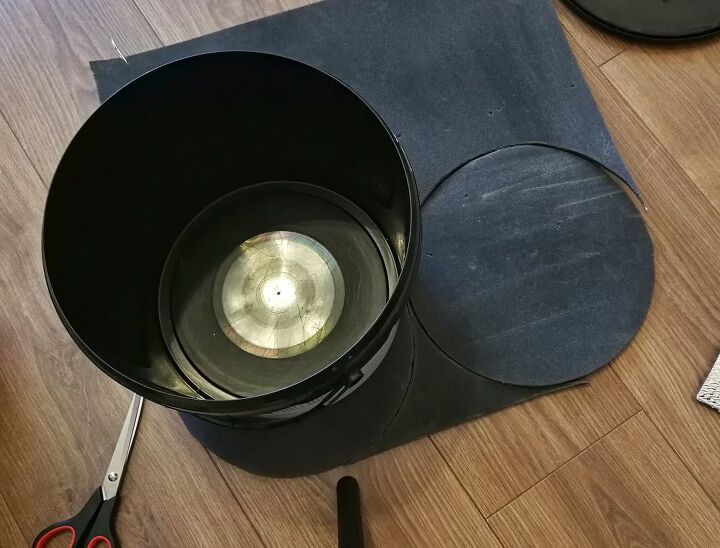
We trace the bottom of the bucket along the contour and cut out 2 circles. One circle we will install on the bottom of the bucket and the second on its cover
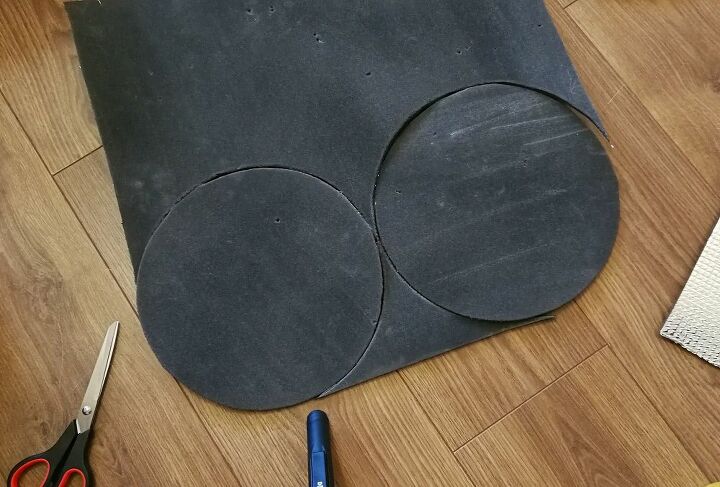
Cut out 2 circles.
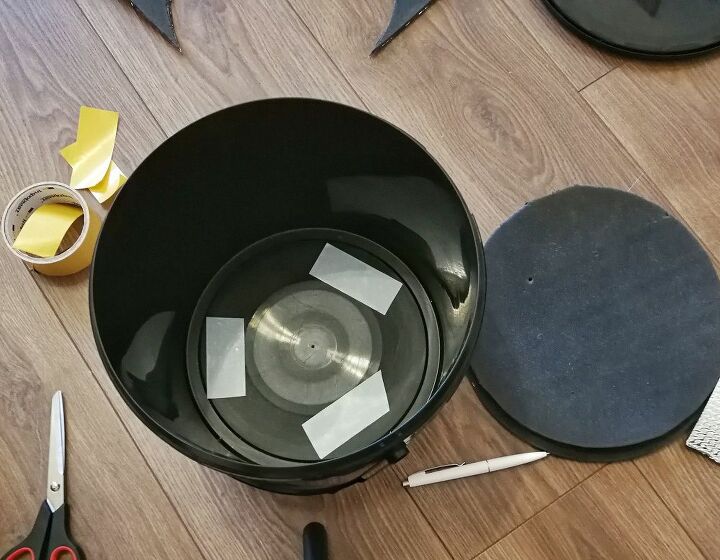
Take the tape and glue to the bottom of the bucket
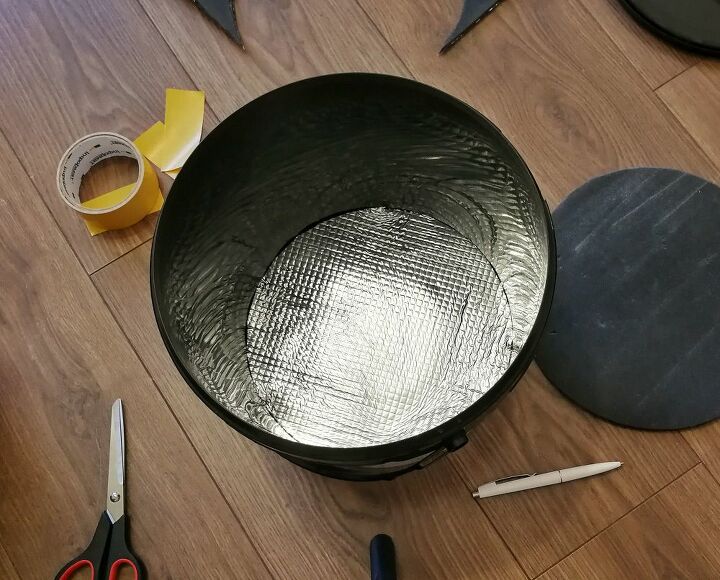
The cut circle is glued to the bottom of the bucket. Аoil should be on top.
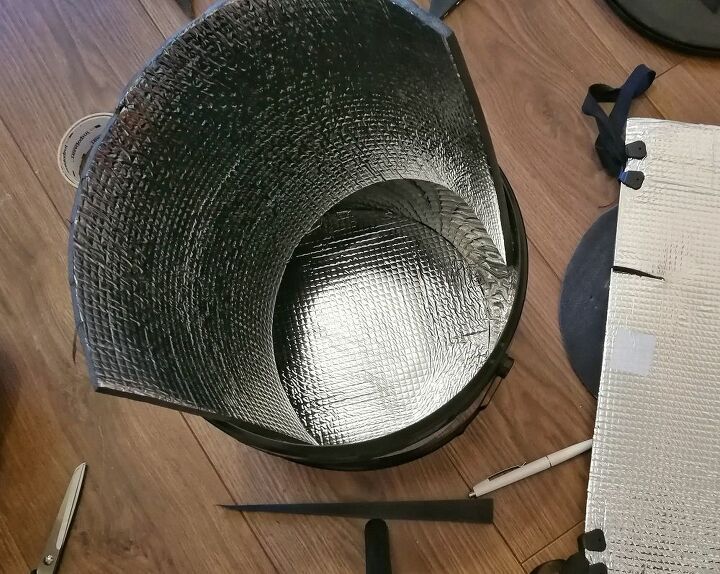
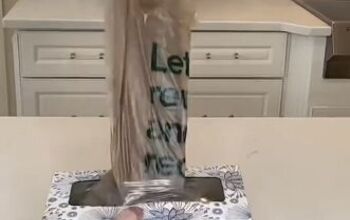
Insert the Mat in to bucket..
...and cut the size we need. I had small pieces of mat, so I glued two pieces.
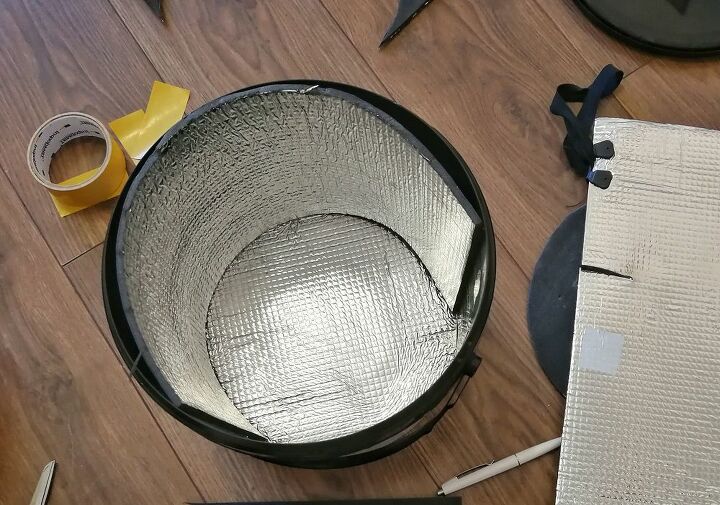
Оn the walls of the bucket with glue double sided tape.
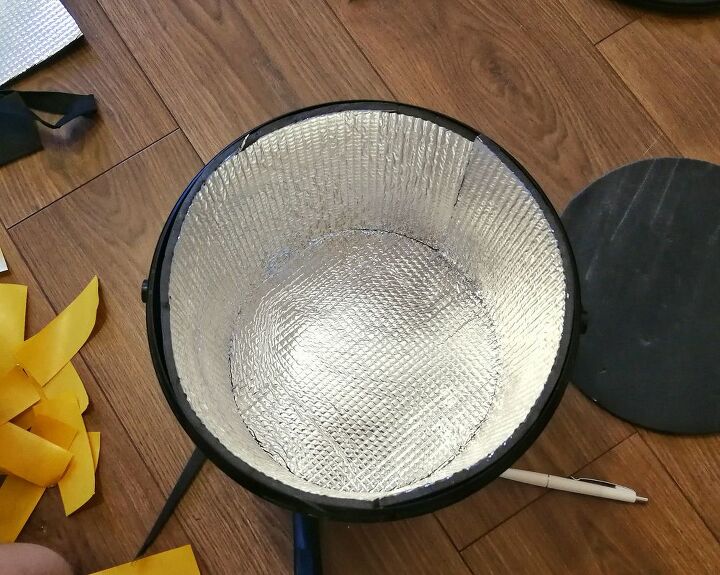
Glue the cut pieces of the mat. If glued loosely, add double-sided tape.
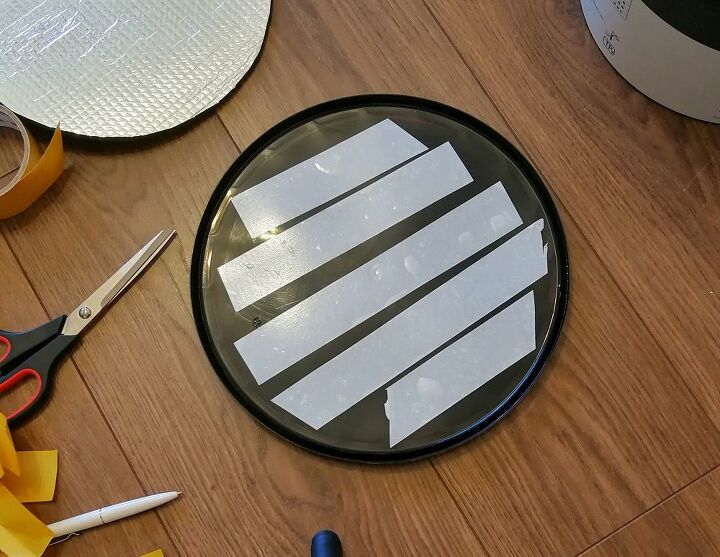
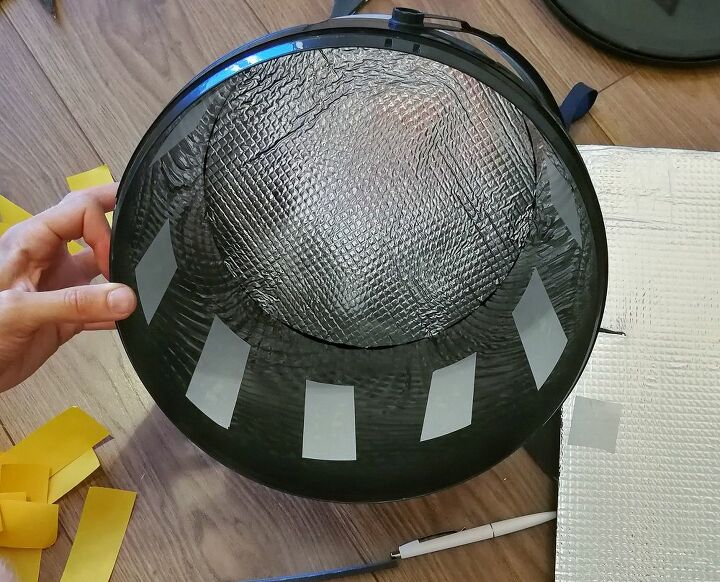
Now take the lid from the bucket. And glue to it double-sided tape
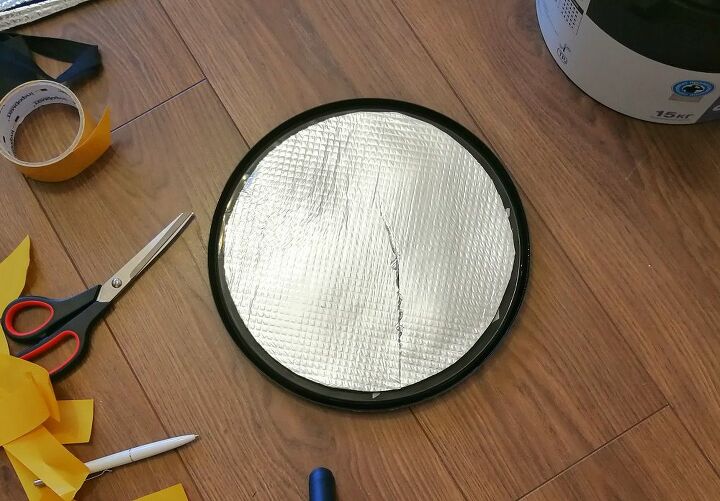
On top of glue the second circle that we cut out at the beginning.
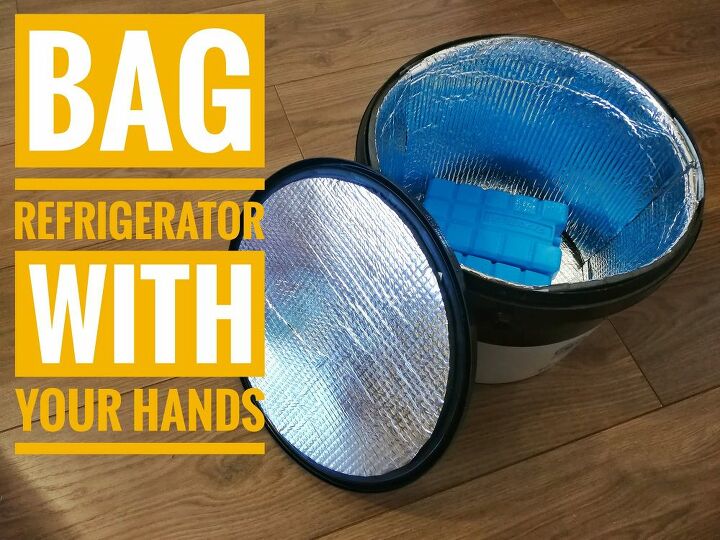
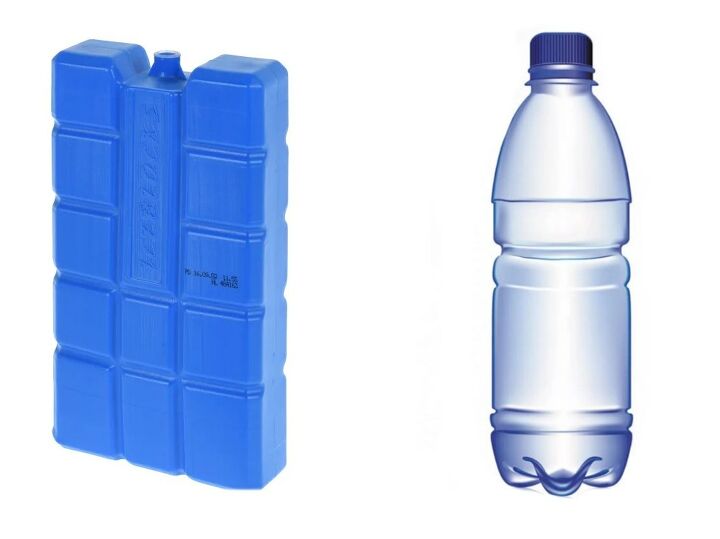
All you need is to freeze cold accumulators or plastic bottle with water and place it inside our bag refigirator. They will cool our products during a picnic or a trip to the beach. The cold persists for 5-6 hours!

P.s. Little bonus! The bucket is strong enough. My 65 kg withstand with ease. Therefore, it can be used as a chair :)
Hope you like my DIY project :) Thanks for watching! 
Comments
Join the conversation
-
Very creative. A cooler made out of a bucket. And it's also a stool for sitting. Thanks for sharing.


Frequently asked questions
Have a question about this project?