


Upcycled Barrel Bistro Set
6 Materials
$10
2 Days
Medium
My sister always finds the coolest things and sometimes I find myself wanting to do her projects more than my own.
She never has the time to work on her projects, because unlike me she has a real job, and I, on the other hand, am always on the lookout for a good project…so we’re a good fit.
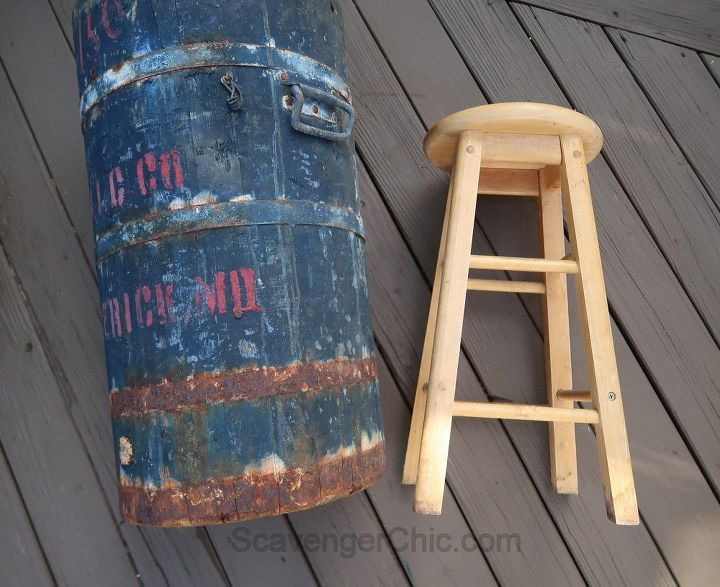
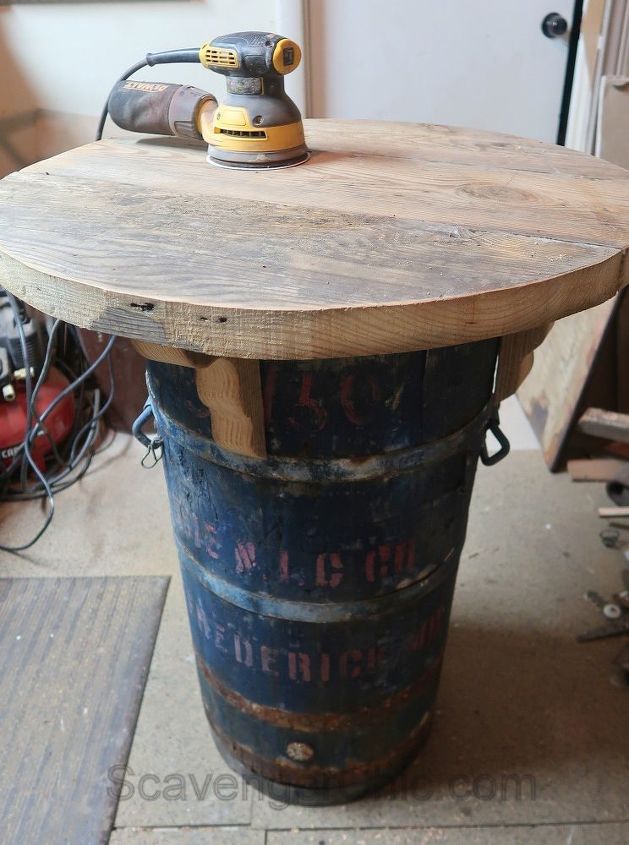
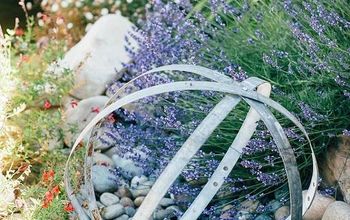
She had found this barrel in a barn owned by her husband’s, friend’s, parents, who were looking to clean out some of the “junk” in their barn. She had placed a temporary table top on the barrel until she could get around to working on it.
And I had bought two stools at a thrift store, the perfect fit for her barrel.
I wanted to use the counter height stools with the barrel but that meant adding 4 1/2 inches to the height which would equal 3, 2 inch thick boards that are milled down to 1 1/2″.
To the bottom of the barrel I’m adding my first 1 1/2 inch board cut to the same size as the base.
I stained the base then attempted to paint this addition as close to the color of the barrel as I could.
Screwed these pieces onto the bottom of the barrel. These were actually the only pieces that were screwed directly onto the barrel. I didn’t want to damage the barrel any more than I had to.
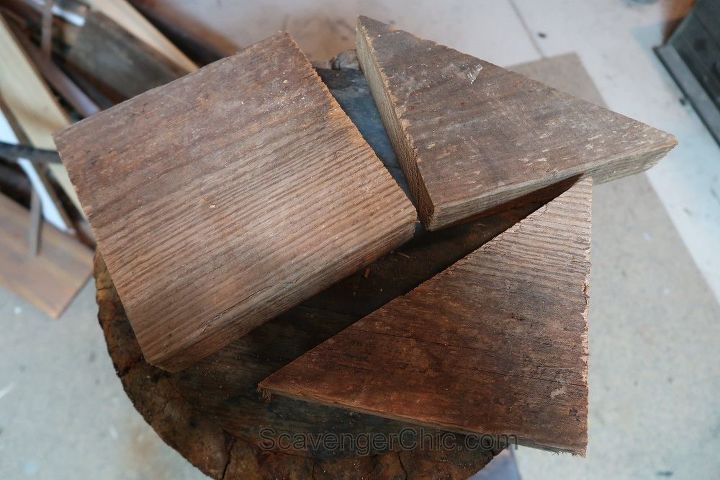
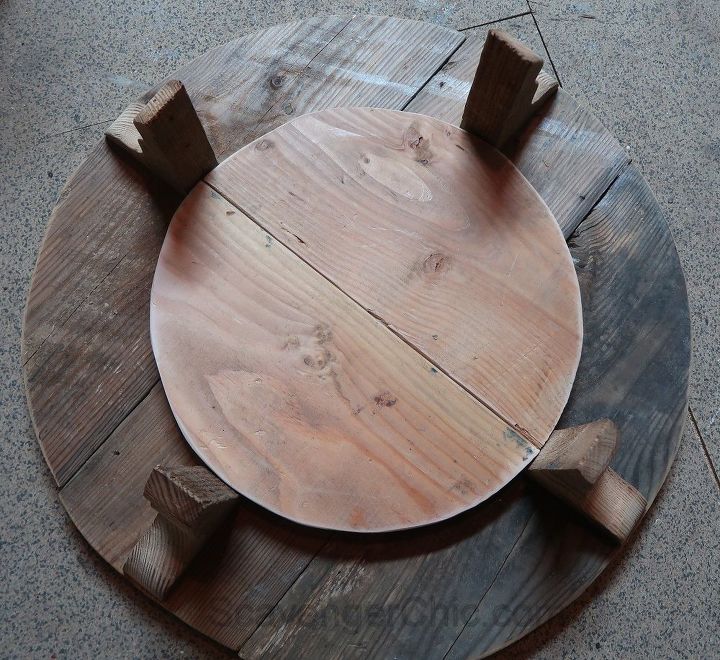
I’m using more scrap wood cut into triangles to hold up my table top.

From those triangles I made my own pattern for wood brackets.

Cut out with a jigsaw, bandsaw or scroll saw and sand.
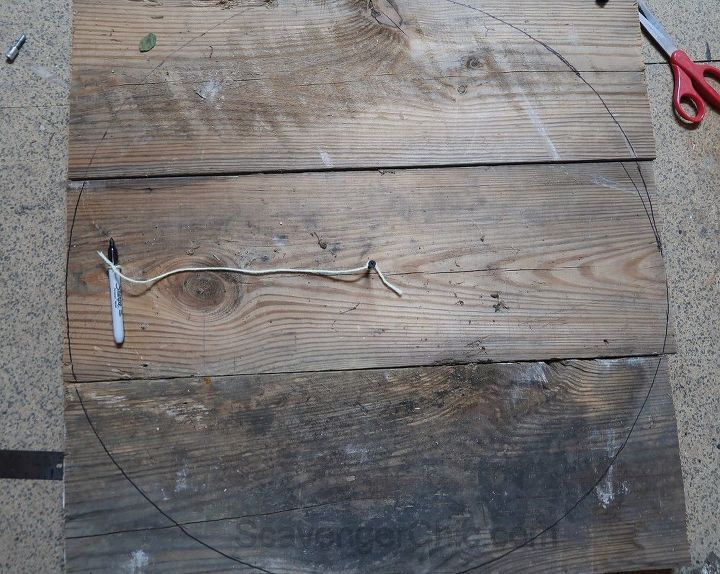
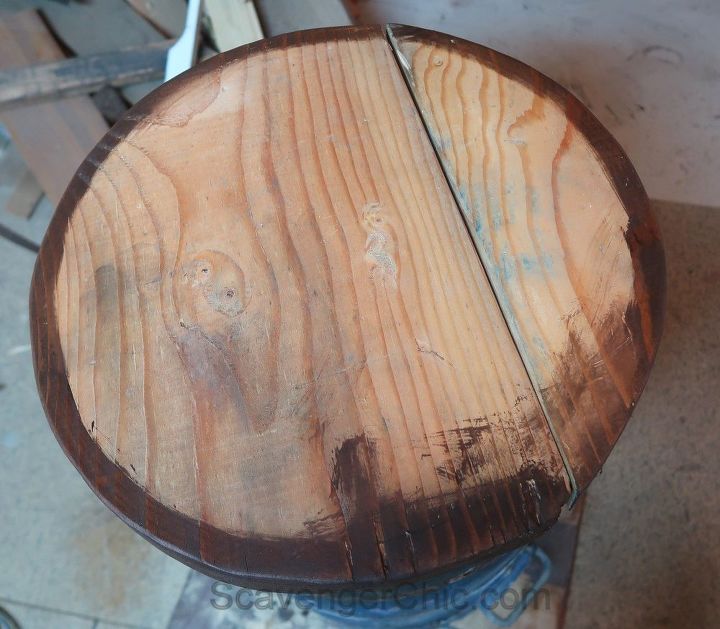
For the tabletop I’m using 3 old pieces of 2×10’s I rescued from my son’s back yard.
If you find the center of the wood you can draw a circle using a string and marker (or chalk).
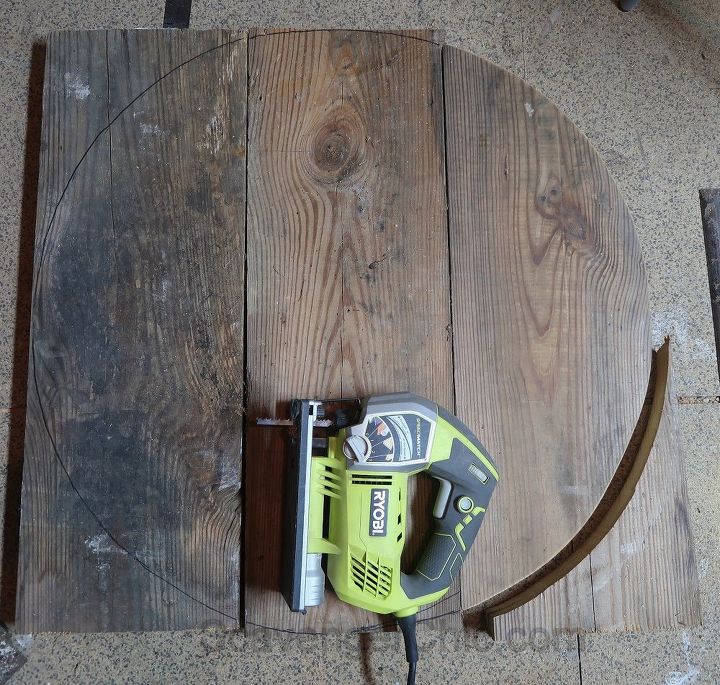
Cut out once again using a handheld Ryobi Jigsaw  , scroll saw or band saw.
, scroll saw or band saw.This was the second 1 1/2″ height addition.
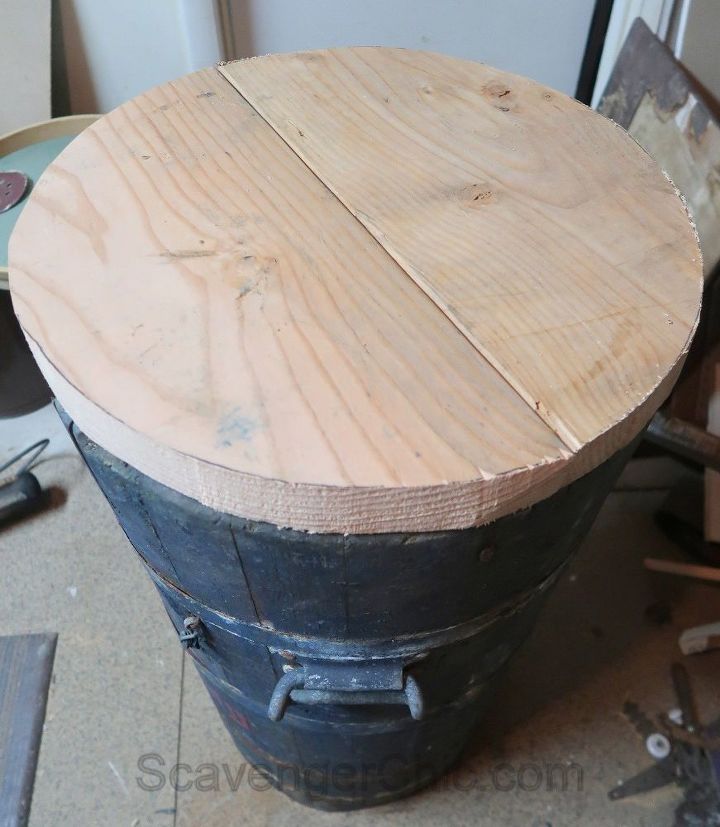
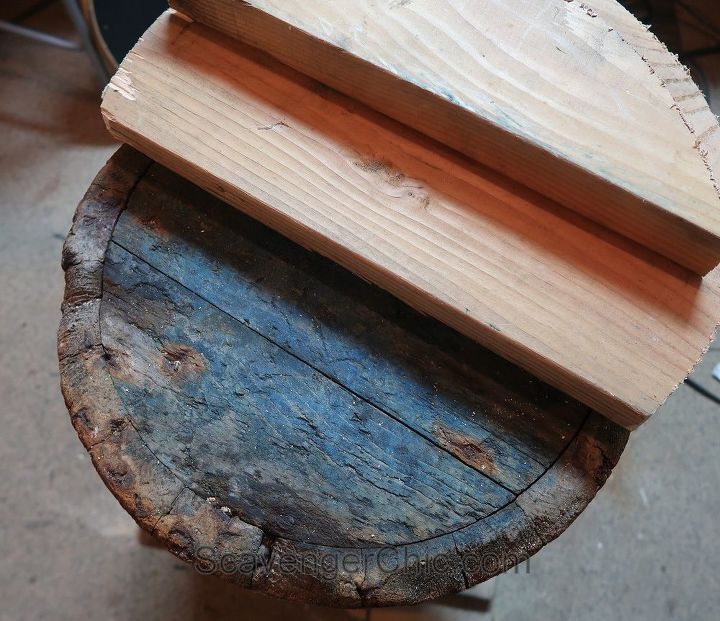
For the last 1 1/2″ height addition, I cut and sanded one more circle the exact circumference of the top of the barrel.
The top of the tabletop was assembled with kreg jig screws and wood glue. The smaller circle was then screwed and glued to the upper piece. This also helped keep all the top pieces together.
Finally, I screwed the brackets into both pieces.
Those pieces I just assembled fit neatly over top of the barrel. No screws necessary. The brackets keep the tabletop from sliding or tilting.
Gave all the pieces a good sanding with a electric sander .

The color on the bottom barrel piece matched really well but it still looked like I had stuck on a new piece of wood and attached it. Well, that is pretty much what I did.
The barrel had ended with a bunch of leftover barrel hoop rustiness. I needed more rust.
I had found this rusty hoop a couple years ago in a dump and I have wondered why I ever brought it home. But wonder no more, it’s absolutely perfect for my barrel….at least it’s super close.
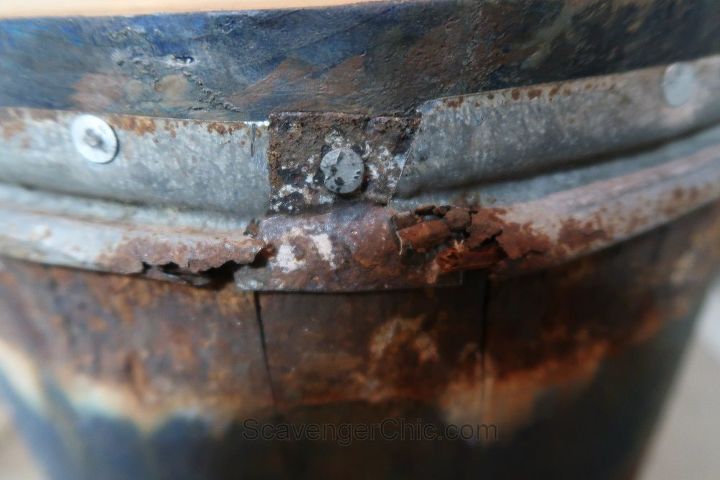
Used some old roofing nails to tack the piece into place. I’m only nailing into the added piece, not the original barrel.

I stained the stools dark before painting them with white chalk paint and distressing the edges.
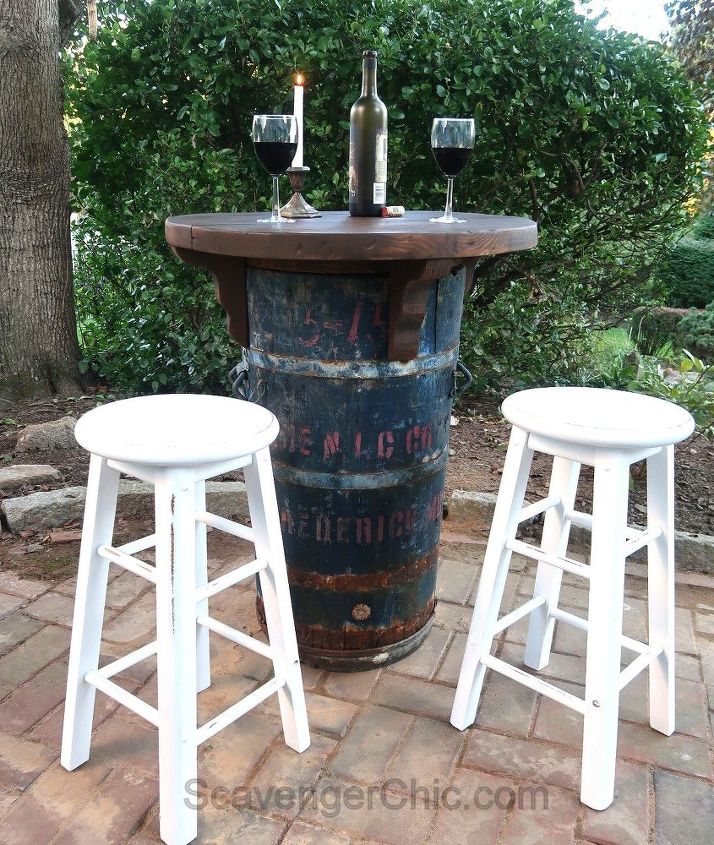
Voila! The finished bistro set.
If you need more step by step pictures, what I did to cover up the rusty hoop that was just an inch short and how I finished the top, make sure you stop by my blog.
See you there.


Any price and availability information displayed on [relevant Amazon Site(s), as applicable] at the time of purchase will apply to the purchase of this product.
Hometalk may collect a small share of sales from the links on this page.More info

Want more details about this and other DIY projects? Check out my blog post!
Comments
Join the conversation
2 of 20 comments
-
Great idea
-
Awesome!!


Frequently asked questions
Have a question about this project?