


Easy Affordable Garage Renovation- The Village Cape on Facebook

Being that our garage has been mostly a giant shed....I needed to come up with a budget friendly way to create a usable space in our garage in a hurry before our daughters graduation party. This is what I came up with! It cost about $350 and took less than a week to complete! We now use this space all the time during warmer weather and its an easy transition to use it for parking one of our cars in the winter!!
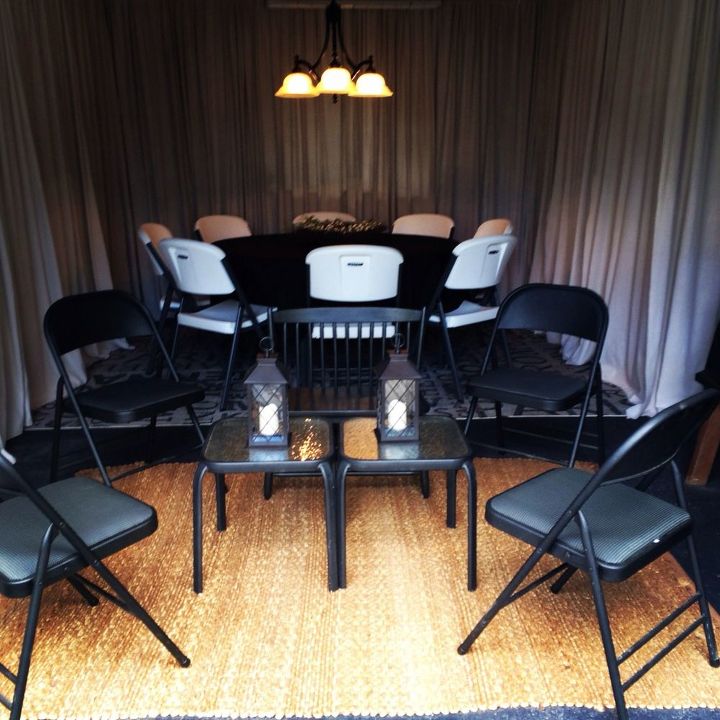
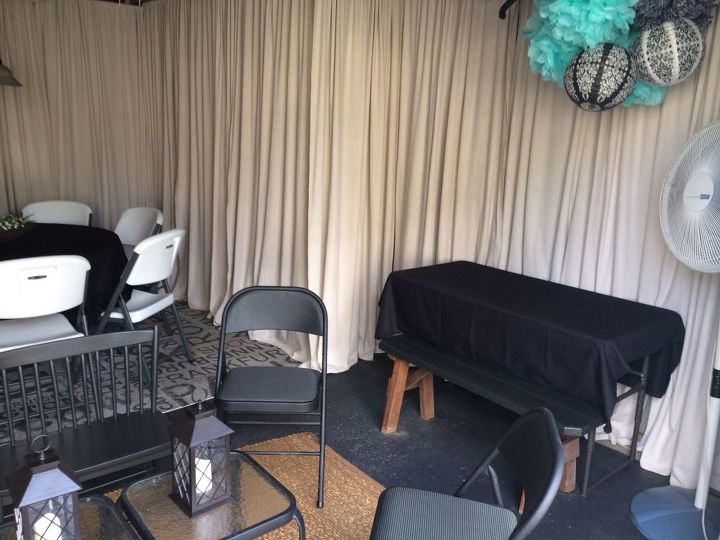
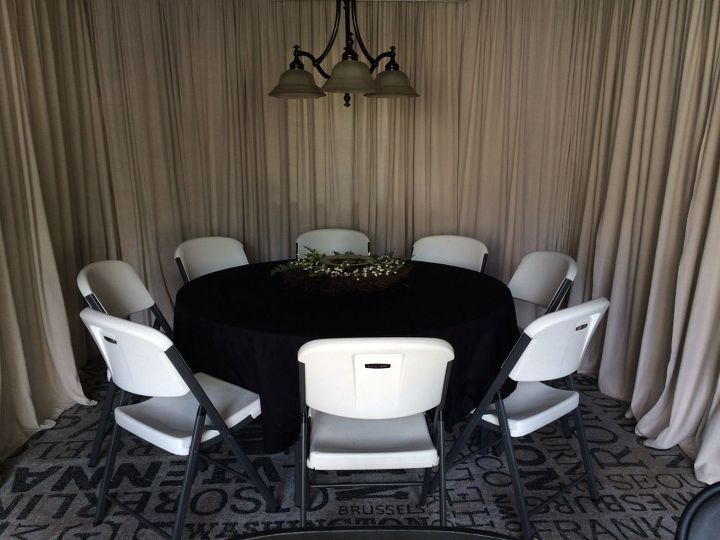
This is the final reveal......the after!
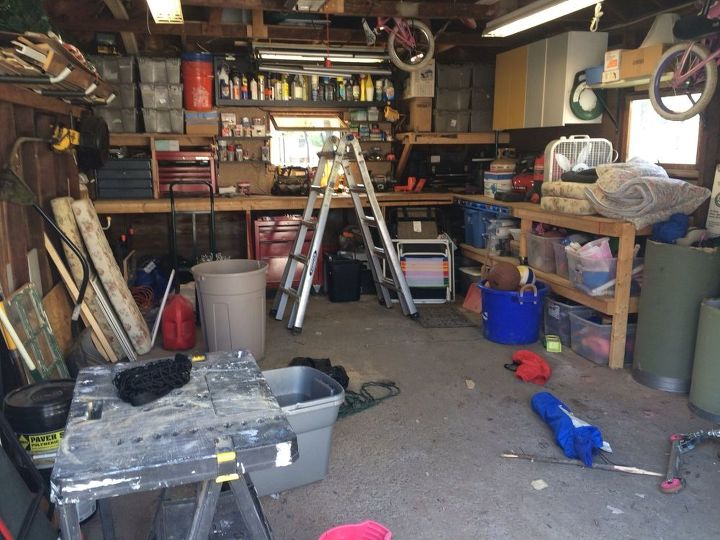
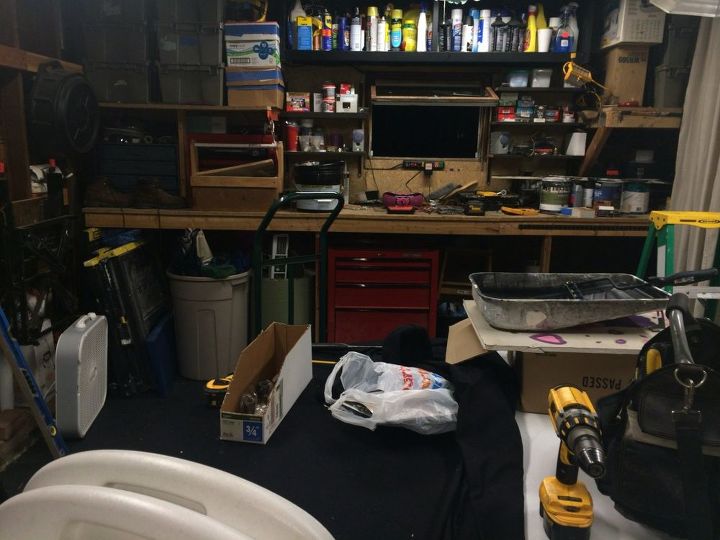
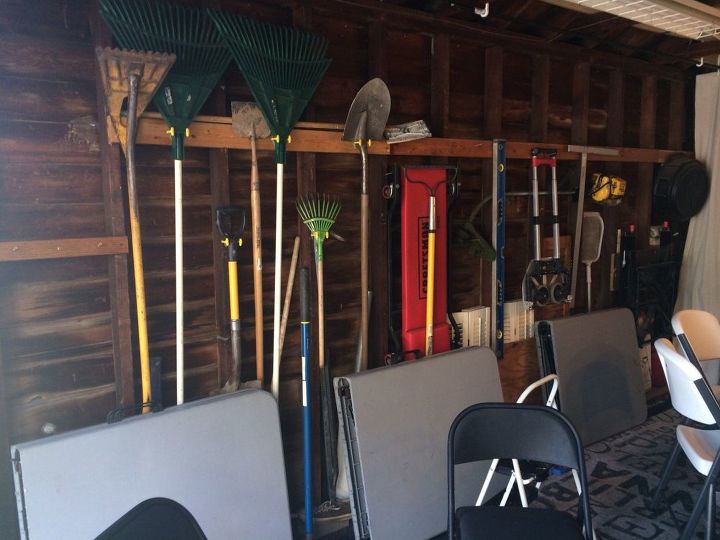
This is the before.....
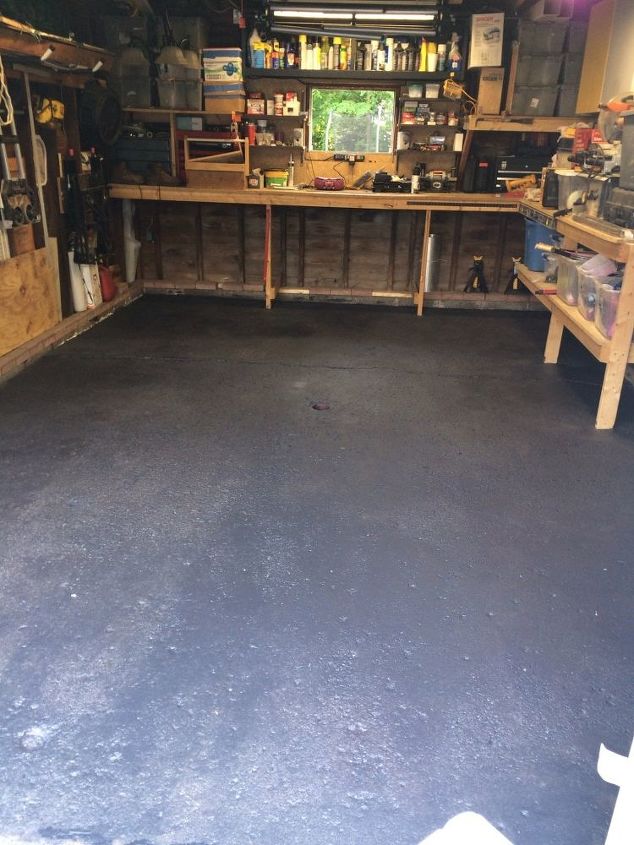
We began by clearing out the floor space and washing it. Then we applied a concrete stain in a dark gray to the garage floor.
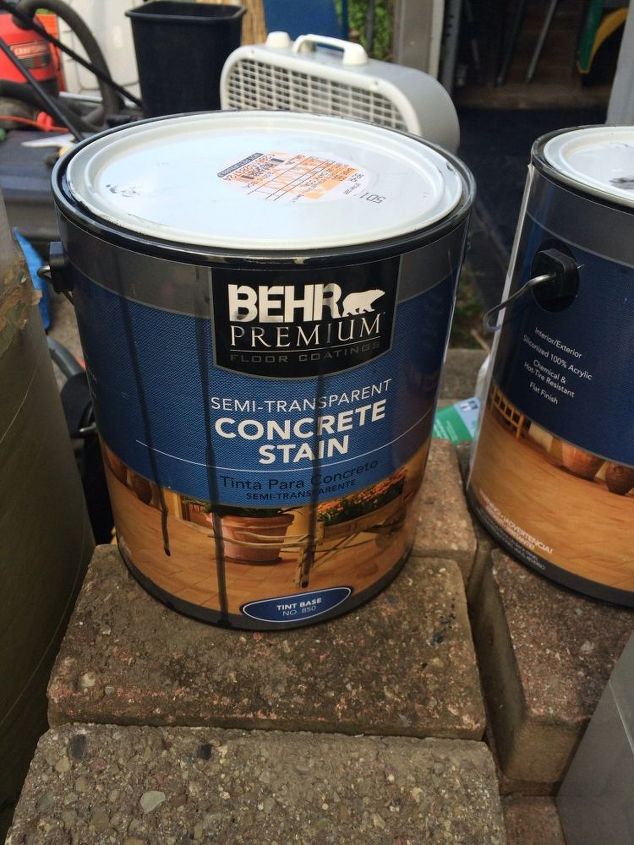
Behr Premium Concrete Stain in Dark Coal. We chose a stain instead of paint because we wanted something that would penetrate the surface. We use our garage in the winter to park our snowy, slushy vehicle so we wanted something that would withstand the moisture.
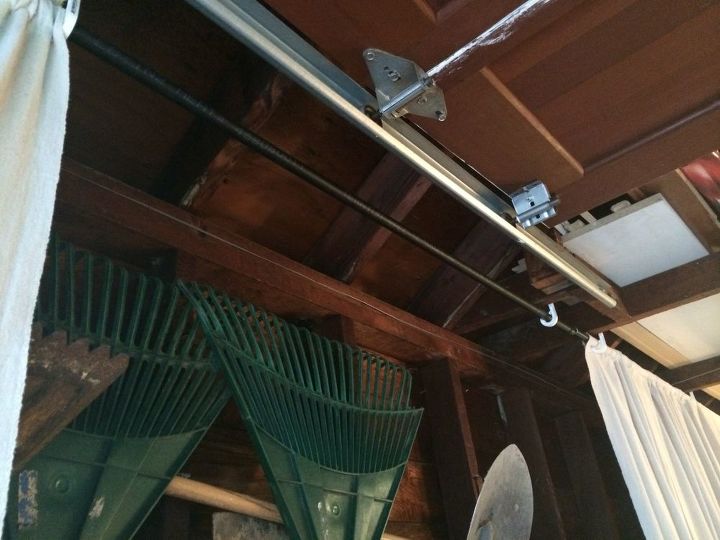
Next....my husband purchased black utility pipe from Home Depot and hung it around the garage perimeter using heavy duty white plastic pipe hooks. These were installed just far enough from the wall to allow clearance of all our stuff.

I purchased these 6x9 drop cloths from Home Depot for $10 a piece. This was a trial and error process, as there are 2 different drops packaged in the same packaging. Some drops have a horizontal seam, and some a vertical seam. I learned the drops where you can actually see the seam at the side of the packaging contain the vertical seam drops. However, some of them had an extra random seam. So after 3 Home Depots and 6 returns, I successfully purchased 17 of the same drop cloths with only one center vertical seam! Success!!!
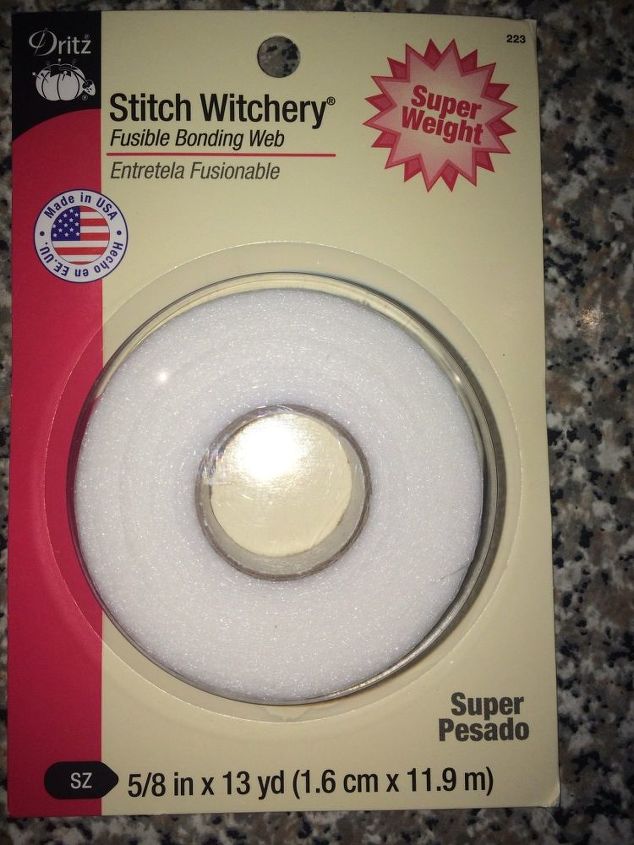
I opted out of the sewing machine and decided to use this no sew iron bonding tape to create the pocket rod at the top of the curtain. Be sure to wash, dry and iron all the drop cloths to get rid of the packaged smell, soften and pre shrink the fabric. The ironing is the longest part of the process.

We began hanging the finished curtains from the piping. Right side wall in progress....
Right side wall complete!
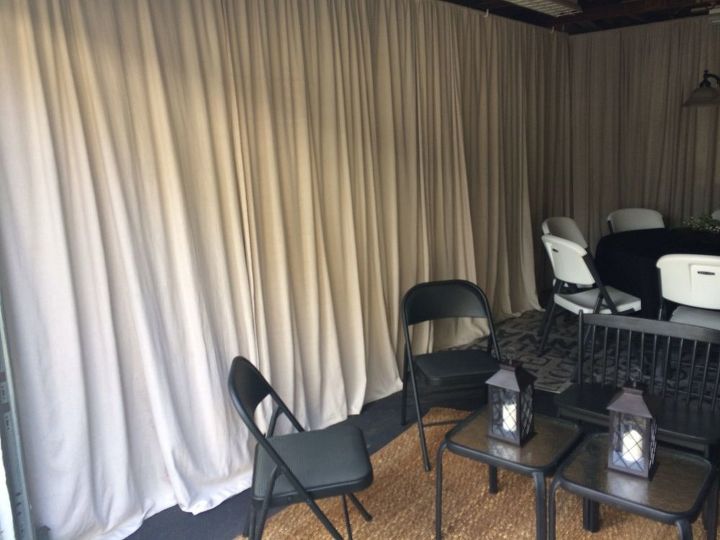
Back wall before....
Back wall after!
Left side wall before.....
Left side wall after!
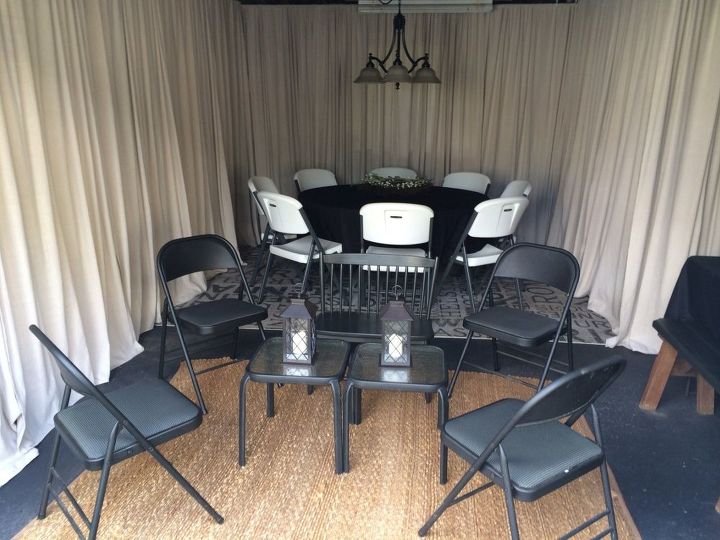
We love our newly renovated space! See more projects and pictures of our home on Facebook & Instagram!
Comments
Join the conversation
2 of 6 comments
-
Very clever, a great use of space !
-
Thank you!


Frequently asked questions
Have a question about this project?