


How to Install Vinyl Garage Flooring
3 Materials
$1100
4 Hours
Easy
We always knew some kind of garage floor treatment was going to be a big part of the project. We have only had experience with a paint-on metallic look epoxy product so we knew we didn't want to tackle that again. Plus, we did not have the luxury of taking everything out of the garage for the amount of time it would take to prep and apply a painted or epoxy coating.
I (Vicki) researched various options and settled on G-Floor vinyl flooring as the best option for my garage. It needed very minimal prep and was ready to use as soon as it was positioned onto the floor.
{
"id": "4865047",
"alt": "",
"title": "",
"video_link": "https://www.youtube.com/embed/uUEkLituYPA",
"youtube_video_id": "uUEkLituYPA"
}
{
"width": 634,
"height": 357,
"showRelated": true
}
Watch the video to see how we install this garage flooring.
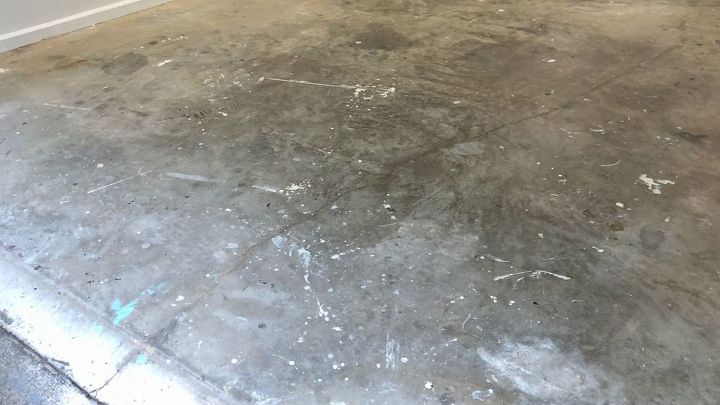
This garage floor was a mess! We decided on the G-Floor vinyl flooring because of the simple install and because it was usable as soon as it was done, unlike epoxy or paint that needs considerable prep and drying time.
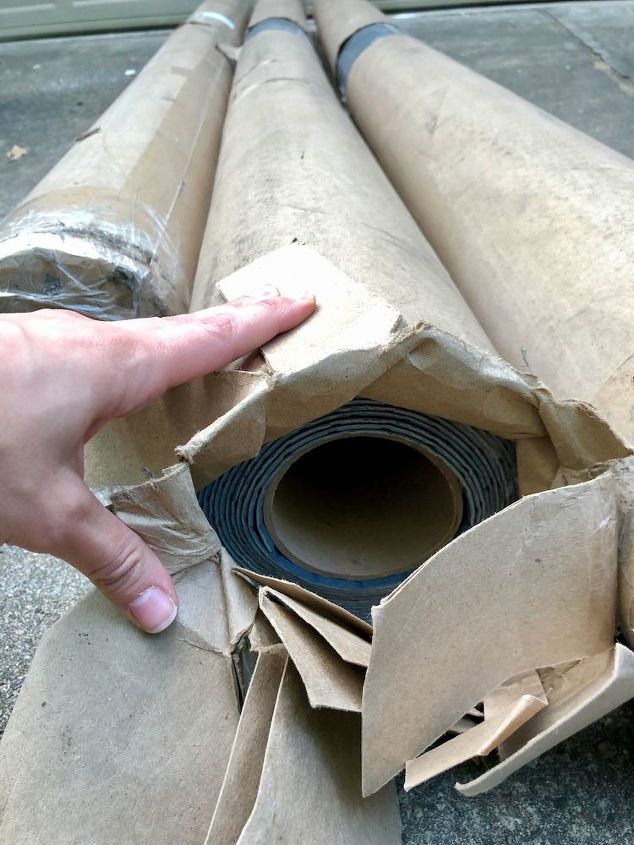
The vinyl came rolled up in plastic and cardboard packaging. It's very heavy so you'll need a couple of people to help you carry it.
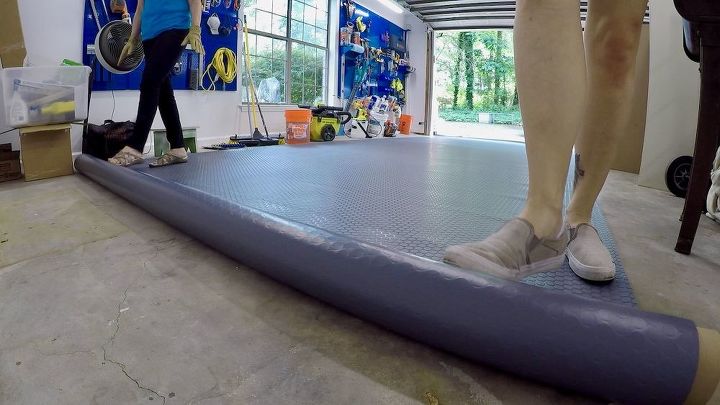
The vinyl needs about 24 hours to rest and relax before it is installed. We laid out all three rolls of the vinyl and let them sit for a good 24 hours. The wrinkles, with the exception of some on the edges, smoothed right out.
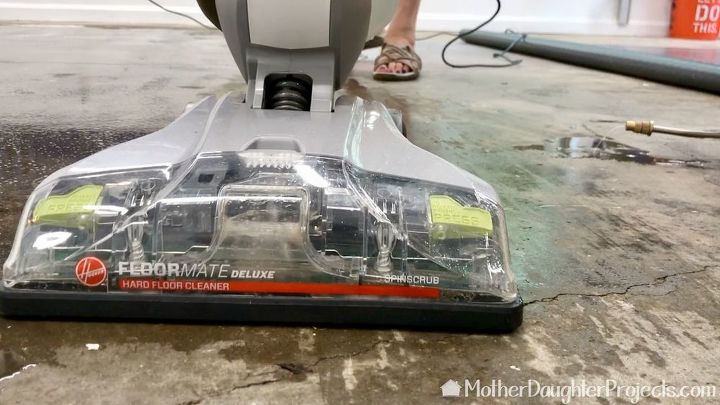
The only prep needed before installing the flooring was to clean the floor. After blowing out the dirt, we cleaned the floors with a hard floor cleaner. This machine scrubs and sucks up the dirty floor. It really did a good job. After washing, we let the floor dry overnight.
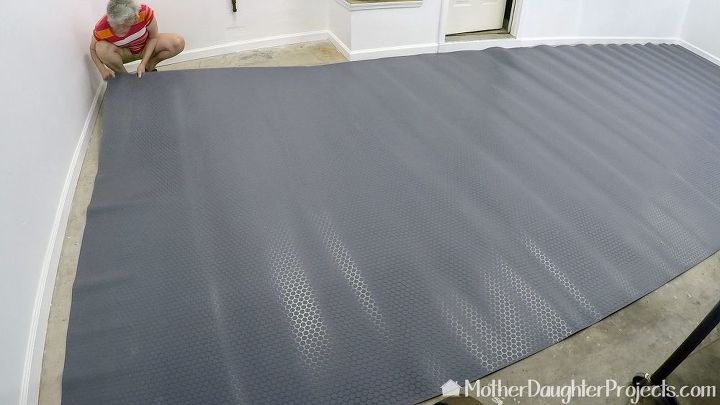
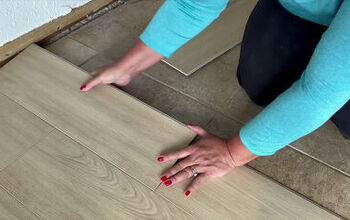
Putting the first piece into place. We had to roll this up to move it so it got wrinkles in it again. We let it sit for a bit for them to relax and then put it into place.
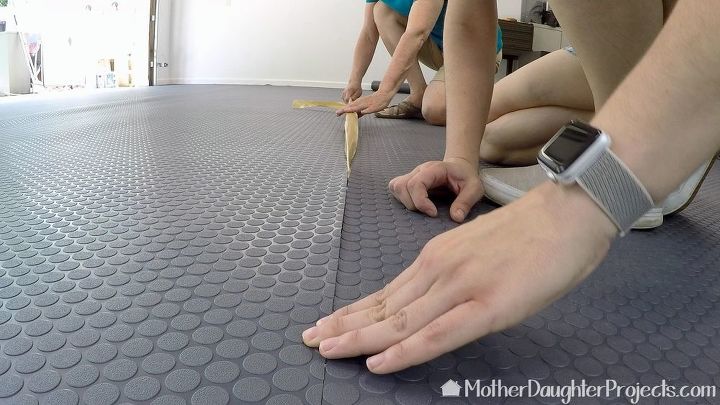
The seams and edges were secured with vinyl installation tape. This is very sticky so it's important to get this part correct because you're not going to get a second chance!
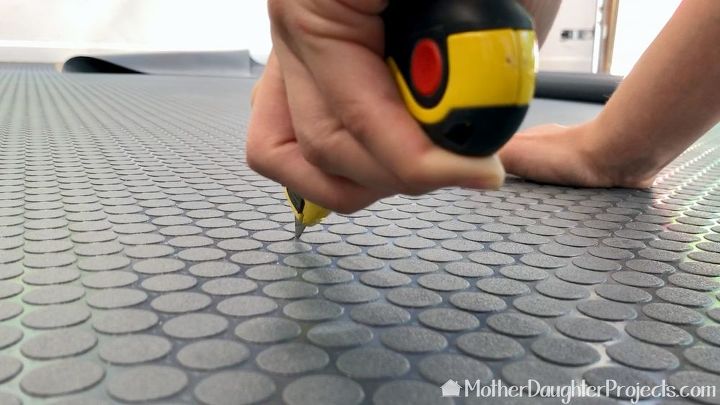
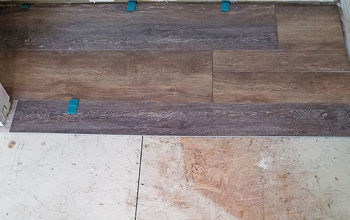
We had to trim one of the pieces. It cut very easily with a utility knife.
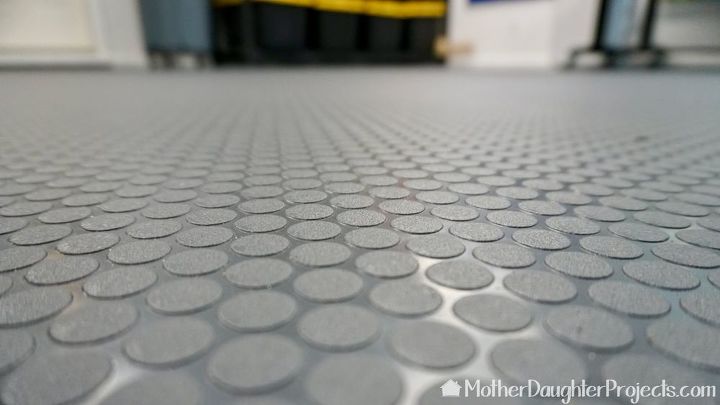
What a difference this flooring makes!
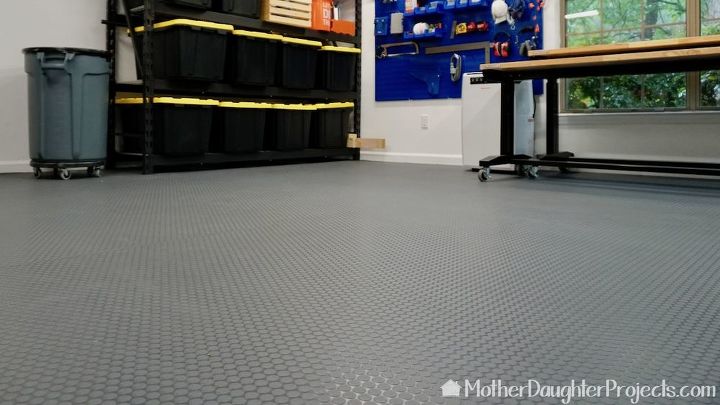
This was a perfect choice. I love the new vinyl flooring! For more detail please watch the video above.

before/after
Resources for this project:


Any price and availability information displayed on [relevant Amazon Site(s), as applicable] at the time of purchase will apply to the purchase of this product.
Hometalk may collect a small share of sales from the links on this page.More info

Want more details about this and other DIY projects? Check out my blog post!
Comments
Join the conversation
3 comments
-
Another incredible garage floor redo! You guys are awesome!
-
Easy and affordable! My hubs can't say no to this!! Thank you, ladies1


Frequently asked questions
Have a question about this project?
I LOVE the look of this and would love to install it in my garage.. can you actually put a car on it? My husband is a mechanic and has very heavy rolling tool boxes.. would we have an issue with shifting because of this? (Once in place we do not move the boxes around)
Can you glue it down or no?