


A Rusty Bed Spring Becomes a Trellis

Procrastination
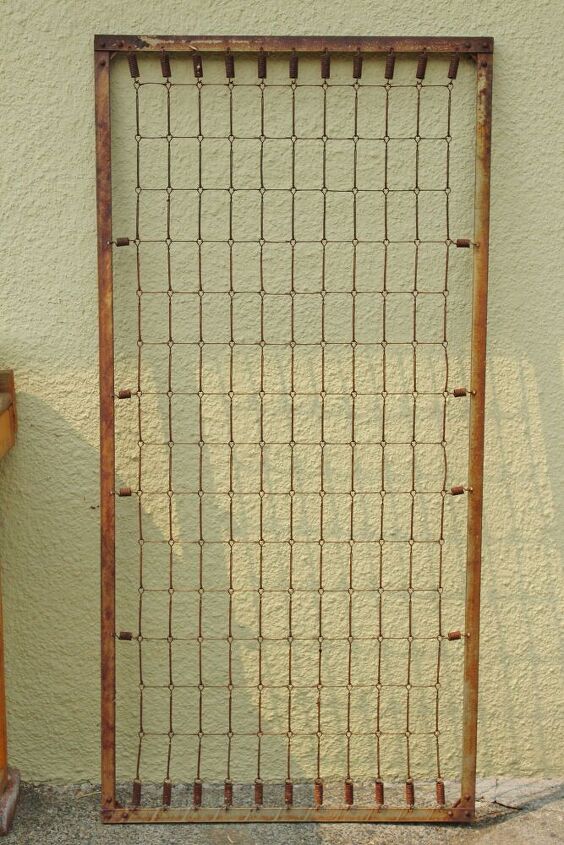
Back when my brother was still a bachelor, I helped him get rid of a few things that were cluttering up his basement. One of those things was an old steel bed spring that had been left there by the former owner. Judging by its size, it was probably from a child’s bed.
I thought it would make a fun garden trellis if I painted it, so I took it home. I stashed it behind some bushes along our driveway fence – just temporarily, of course, until I had the time to paint it.
That was about 10 years ago.
Earlier this summer, when Chris rebuilt our driveway fence, he came across the bed spring – still sitting, unpainted, where I’d left it. The steel had rusted over the years, and the rust looked (to me, at least) more interesting than any type of paint.
Sometimes it pays to procrastinate.
Finding Inspiration by Accident
It was time for me to either do something with this piece or give it away. But I couldn’t think of where in the garden we could actually use it.
Where, oh where . . .
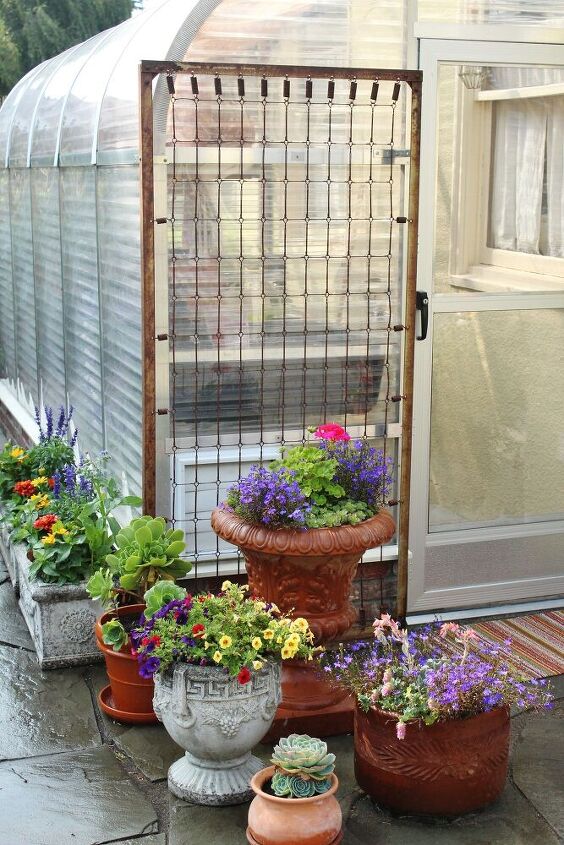
Chris propped it in front of our greenhouse just to get it out of the way.
Voila! It was almost the perfect width for that space. And its vintage industrial look worked well with the greenhouse.
Now it was officially no longer a bed spring. It was a trellis.
But we had to figure out a way to attach it to the greenhouse.
Attaching the Trellis to the Greenhouse
Our goals:
- Of course our number one priority was to not disfigure the greenhouse in the process of attaching the trellis. Impact on the greenhouse had to be minimal.
- The trellis should stand straight and be secure.
- And no potential for rust stains on anything. So the trellis shouldn’t actually come into contact with the greenhouse or the bluestone pavers that were installed a couple of years ago.
The Solution
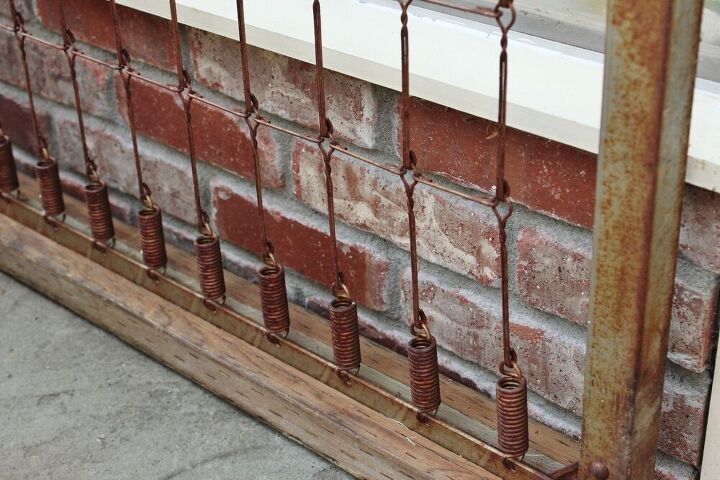
To keep the rust off of the pavers, Chris built a wooden frame around the bottom of the trellis.
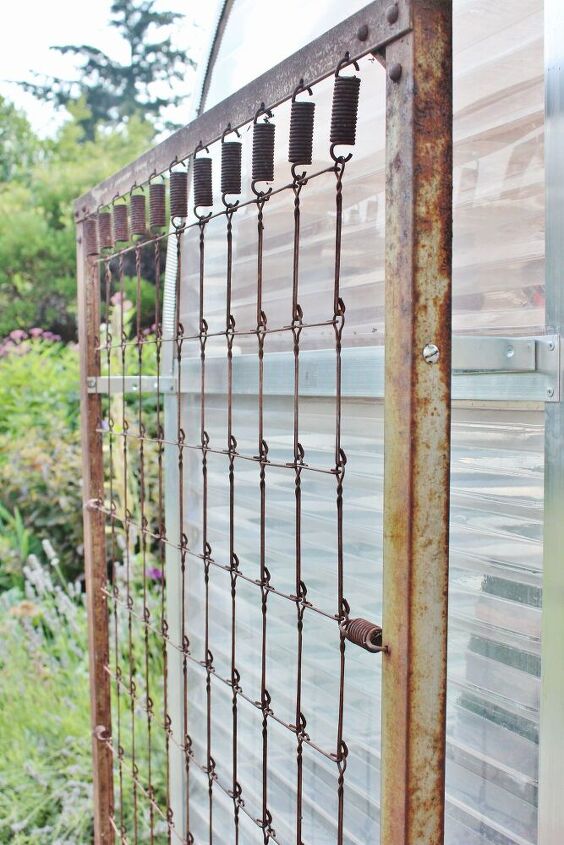
Near the top, he used two L brackets to attach it to the greenhouse. And for this he only needed to drill three small holes into the greenhouse frame.

Now the trellis sits a couple of inches out from the greenhouse, but it is securely attached.
And it will be easy to remove if ever, in the future, we look at it and say, What were we thinking?
All Done!
I moved my potted mandevilla over to the trellis. I used plant clips to attach the vines without harming them.
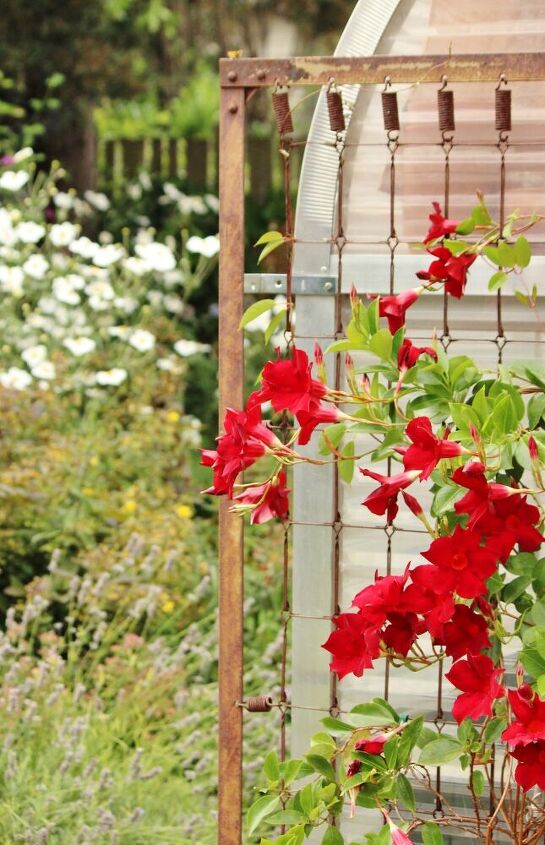
Now it looks as if the plant has been growing there all along.


In winter, the mandevilla will live inside the greenhouse, and I’ll have fun putting Christmas lights on the trellis.
Resources for this project:
See all materials


Comments
Join the conversation
-
LOVE THE IDEA AND THANK YOU!
-
I will be trying this right away. I have been waiting to use a treasured set of antique box springs from my Grandmother. Your idea is perfect! Thank you !


Frequently asked questions
Have a question about this project?