


DIY Cork Garden Labels (That Won’t Fade)
Make your own cork garden labels that won’t fade! Mark your herbs this season, so next year you know what’s coming in.
I’m the one doing the gardening, but since my husband does more of the cooking these days, I needed to make sure he knew which herb was which.
We love using our own fresh herbs for cooking. It saves so much money.
One chive plant will provide us with enough chives to get through until late fall when they go dormant- versus $4 for each little bunch, we buy at the store.
By following the steps below, you will have labels that will get you through the year without fading.
Please don’t listen to the tutorials that tell you to use regular Sharpie markers.
That’s what I did last year and they faded only a couple of months in! I realized it would be much better for longevity to use Sharpie oil markers.
After 1 year, they have barely faded. When some of the herbs starting coming back in the spring, I knew what herb was coming up.
You may also want to check out my tutorial for these plant label stakes made from cement and the succulent garden made from an old tree stump.
What Not To Do:
Don’t use a regular Sharpie marker. It will fade!
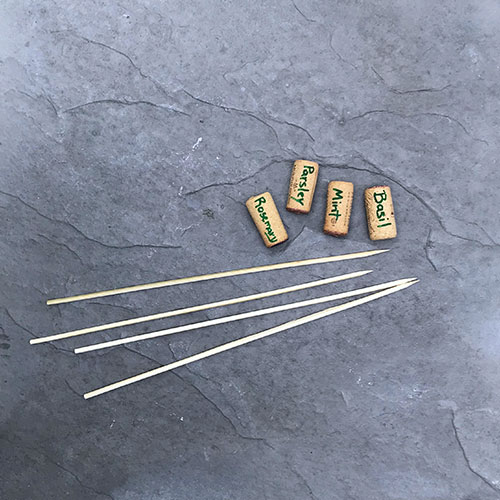
Step 1. Drill The Wine Cork Holes
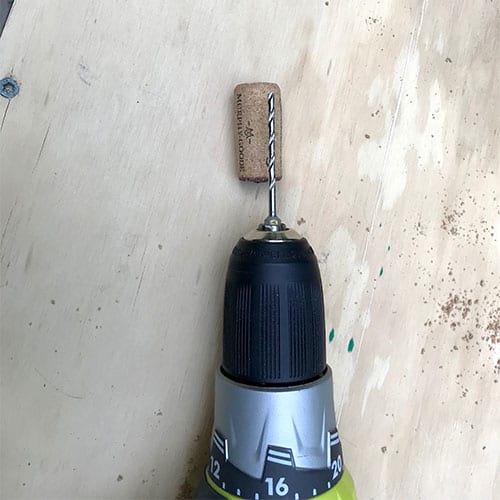
Decide which direction you want your label to read. The words can go up or down. This will determine which end you drill the hole.
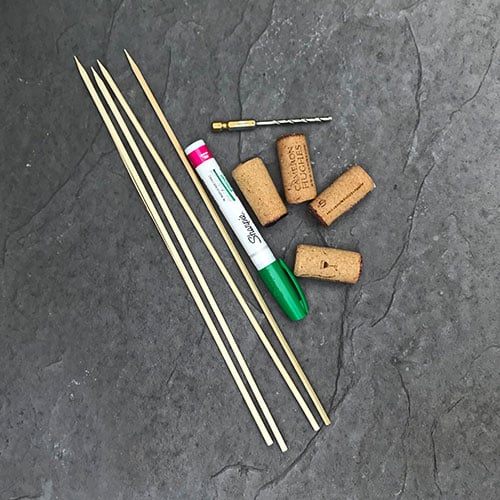
Take your wine cork and carefully hold it tightly, or better yet, use a table clamp.
Lay the bit next to the cork to see how far down you can drill without breaking through the bottom. You'll want to drill about 2/3 down.

Now drill a hole that is 1/8″ and double check to see if your skewer fits.
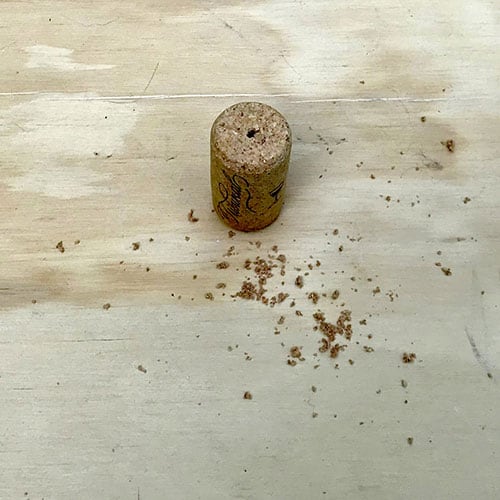
Skewers come in different widths so if your stick doesn’t fit, just go back in the hole with the bit and re-drill and pull out a couple of times, you’ll essentially be carving the hole a little wider.
Step 2. Write The Garden Labels
Get your Sharpie oil pen out.
If it’s brand new and you haven’t used these before, you need to remove the cap and press the head down onto something for about 30 seconds.
Then put the cap back on, shake it like crazy for about 20 seconds, cap off and press again. Once the paint comes to the tip, you are all set to write.
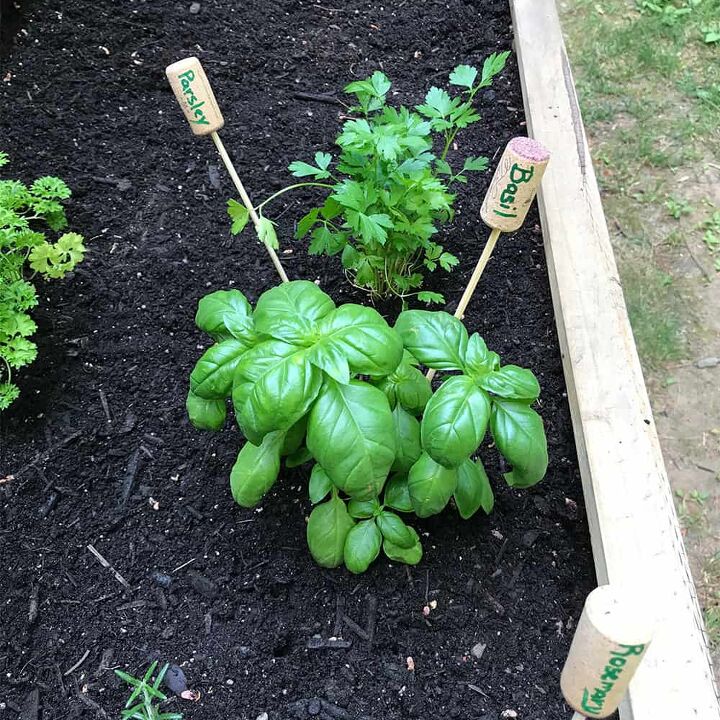
Write the name of your herbs or vegetables on the cork.
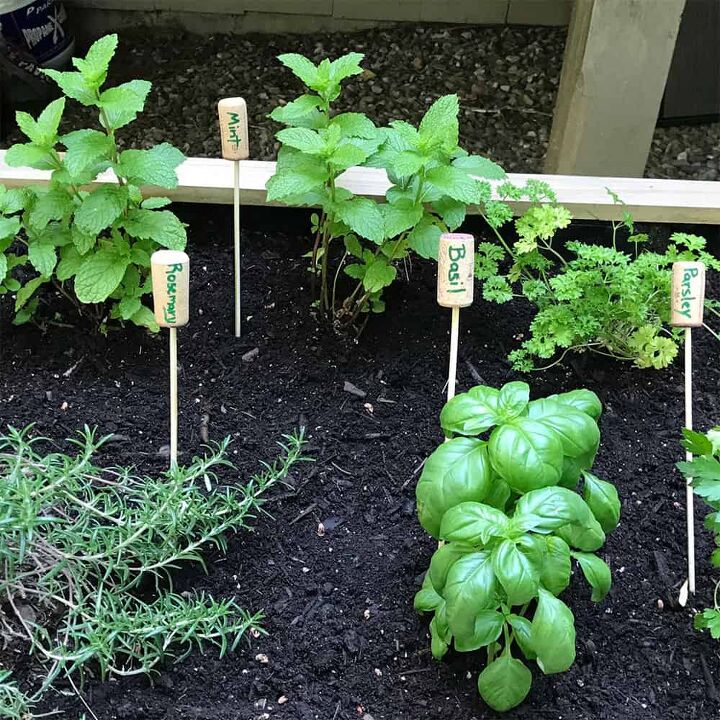
Step 3. Mount The Cork Label
Carefully push the speared end of the skewer into the hole. Now label your garden!
Resources for this project:


Comments
Join the conversation
-
Really cool. Thanks for the tip about the sharpies. Now I know why mine all faded!
-
What a great idea …. I have hundred of wine corks and I have the oil markers and I am so gonna do this for my herb garden,.. thanks for posting this great idea !!!


Frequently asked questions
Have a question about this project?