


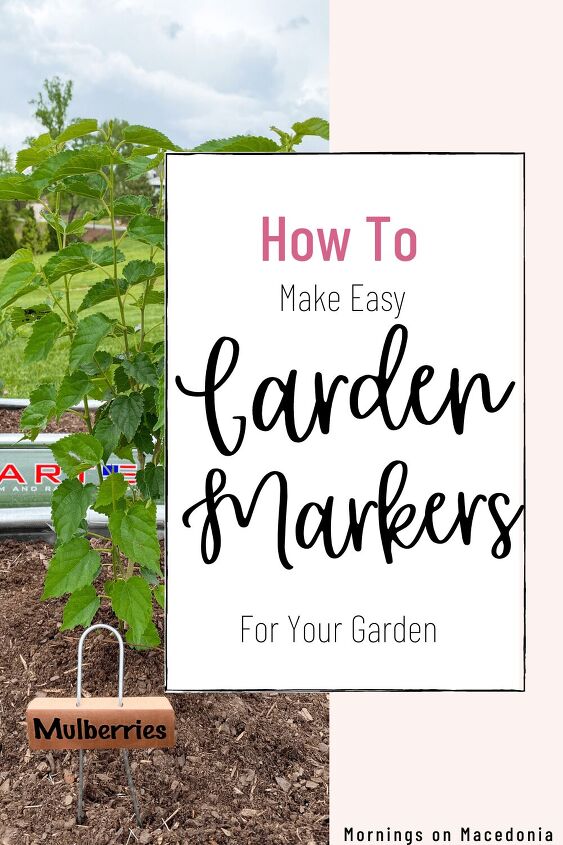
DIY Garden Markers

Recently I shared all about our DIY Raised Garden Beds. So naturally I had to make some DIY Garden Markers to accompany it! As per usual, I used my handy dandy Cricut machine to make these beautiful markers.
I just love the nice, uniform look it gives to them. Especially if your own handwriting isn’t the greatest. Using vinyl and the Cricut machine gives me perfect, even lettering every single time! It’s a no fail kinda project and super easy to do. Keep on reading to see just how to make them!
This post contains affiliate links. Click here to read my disclosure policy.
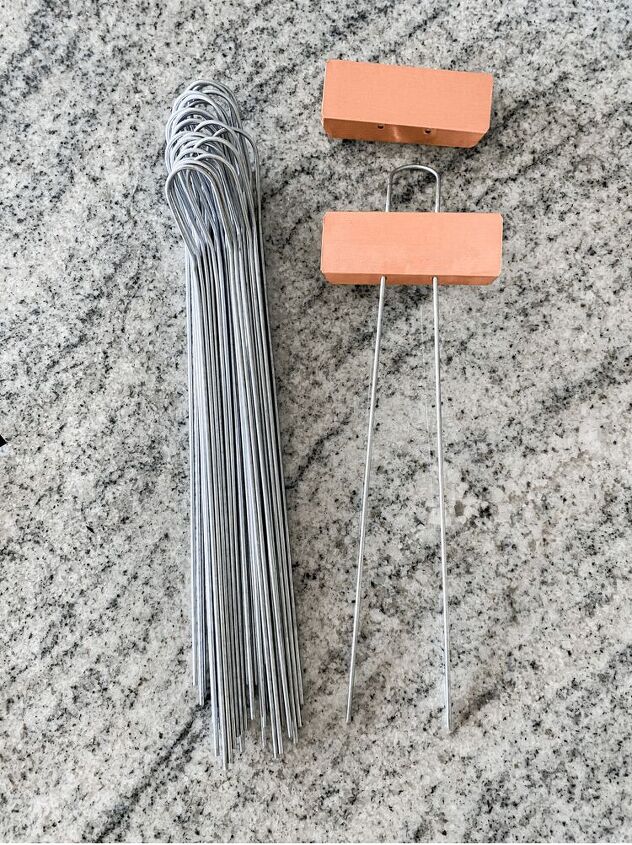
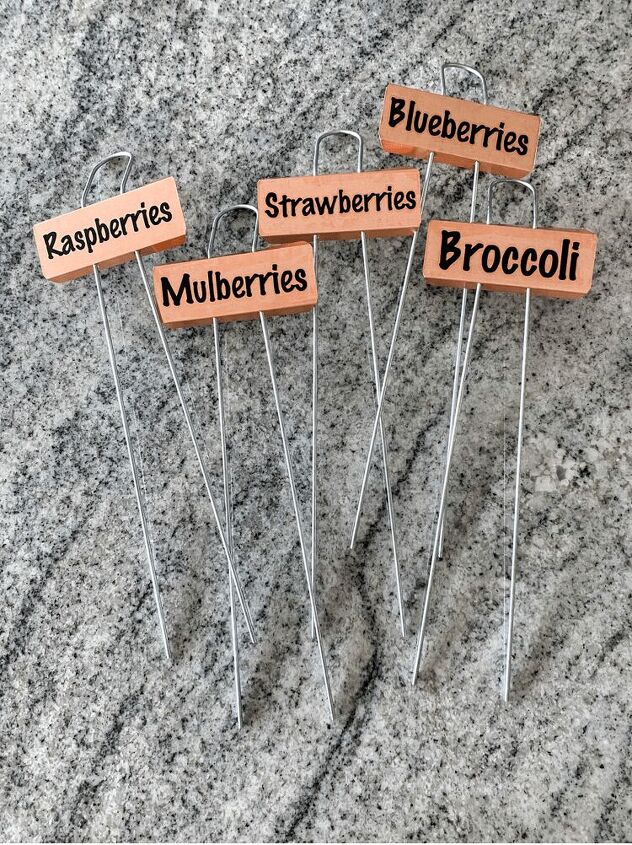
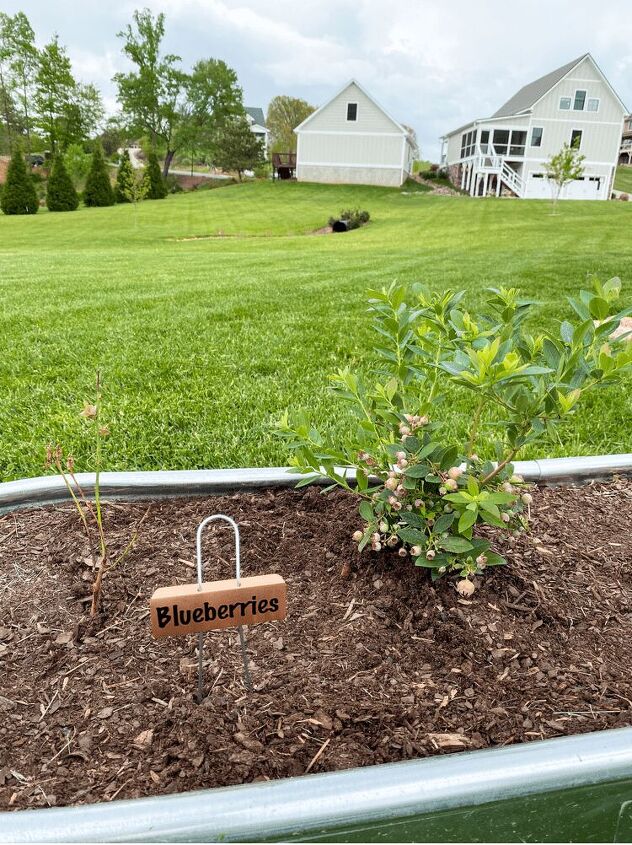
The first step to this super easy project is to pick out your garden markers. There are so many different ones to choose from so really the possibilities are endless. It just depends on the vibe and style you are going for. I saw these copper markers on Amazon recently and fell in love. I just knew they would look perfect in my raised garden beds.
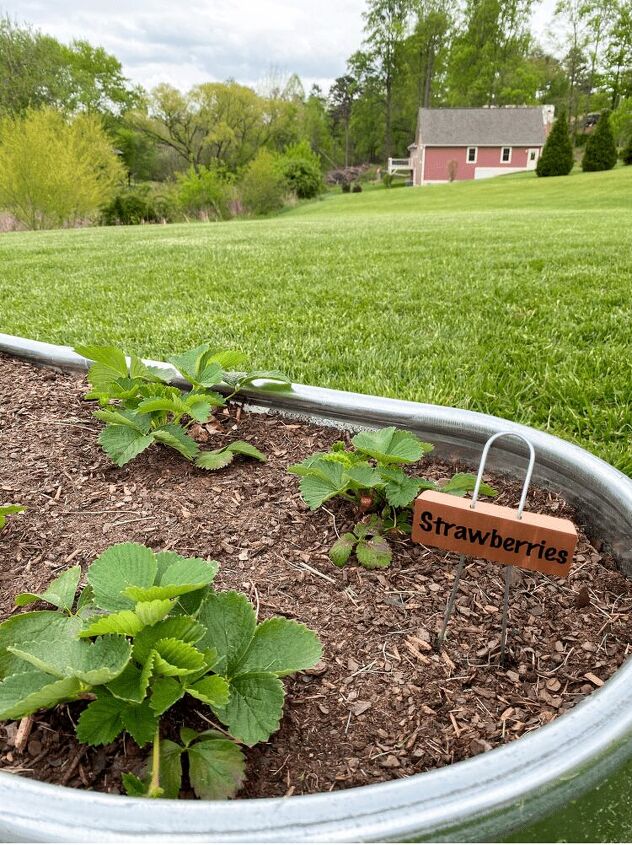
The copper is the perfect contrast to the galvanized metal beds. Plus, I love the fact that the stakes are very long so they won’t get lost in the soil. My other plant markers for my herb garden that I did last summer are much, much smaller. But that works since my herb garden is not as large as these raised garden beds are.
After picking out your garden markers, now you can create your labels for them. I used Cricut Design Space to do this. And I actually used the same exact font as I did for my herb markers too. I just wanted this to be super easy and convenient.
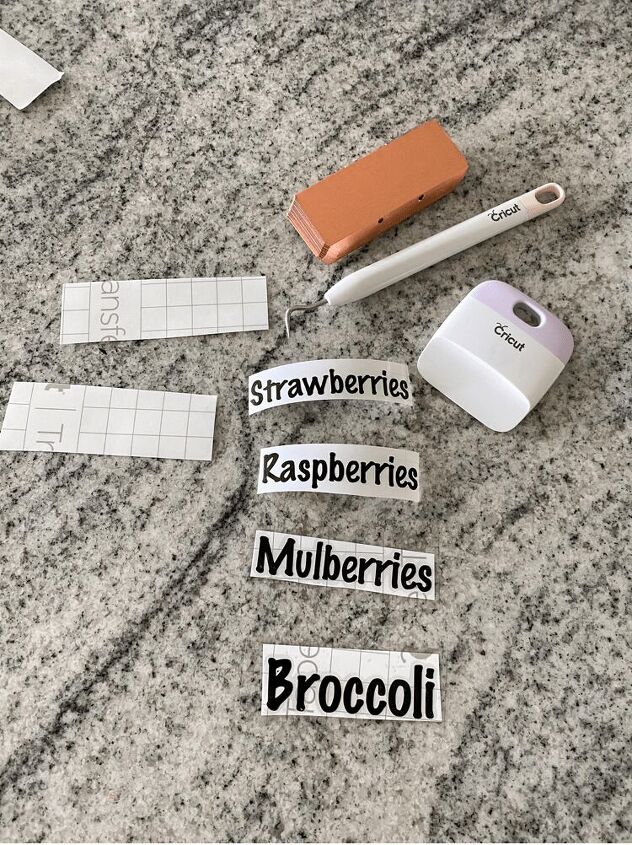
To make the label, make sure you have the exact dimensions of your garden marker. Then type out whatever plant you want to make a marker for in Cricut Design Space. Using the toggle option, just move it up or down to the correct size. I have many times printed out a label that was either too big or too small so it is all just a learning process when it comes to printing out vinyl labels. And just be sure that your Cricut Machine is set to vinyl before printing.
I originally wanted to use a neutral marker color, like black, and then add in various colors of labels on them. Like blue for blueberries, red for strawberries, etc. But after I saw those copper markers, I couldn’t go back! I decided black vinyl would look best with them. Plus, I like the classy look it gives them!

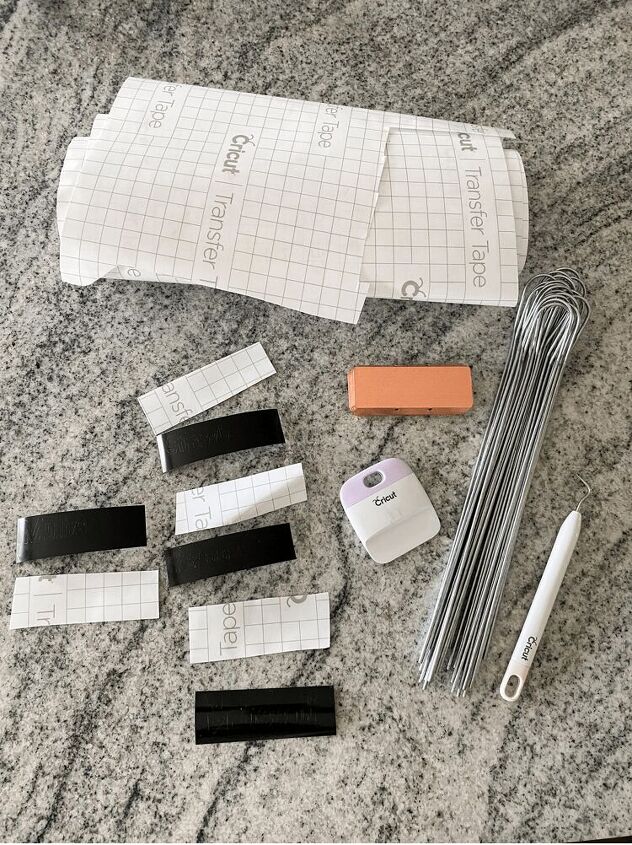
After you have printed out your labels, now you can apply them to the garden markers! To do this you need the Cricut Weeder Tool to remove the excess vinyl around the lettering. Then, you will also need transfer tape to place over the vinyl label.
I use the Cricut Scraper Tool to firmly press the transfer tape onto the vinyl. Then, I carefully peel the transfer tape off, in an upward diagonal motion, making sure that all the letters are coming off with the transfer tape. After that, I place the letters where I want them on the garden marker. I just eyeball it and make sure it looks good to me before again using the scraper tool to adhere it. After it’s placed, again, slowly and carefully peel the transfer tape off of the garden marker.
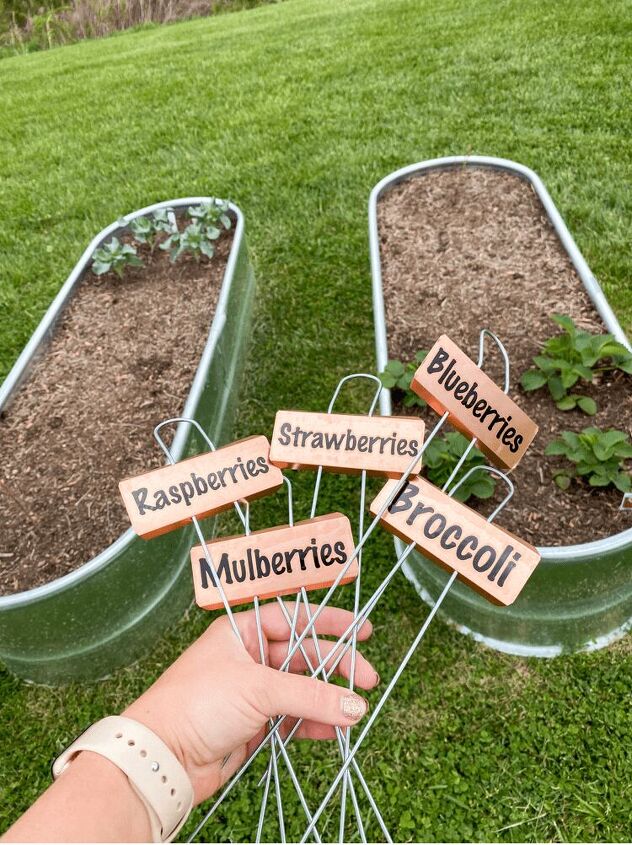
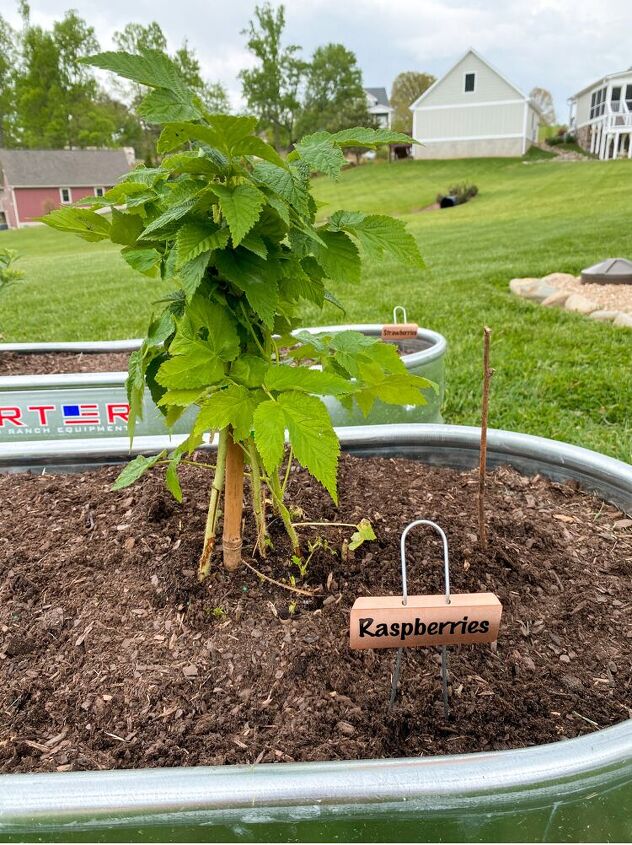
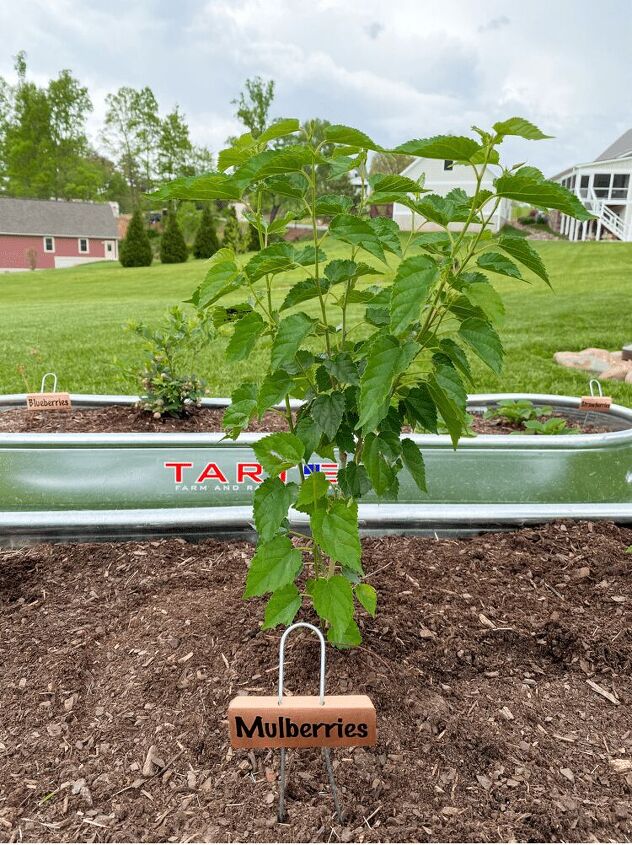
And that’s literally all there is to it! You can really make some nice, high quality garden markers using a Cricut machine and just a few supplies! Once I had them completed, I took them down into my raised garden beds and placed them around all the plants. I can’t wait to make more this summer as we increase our raised beds!
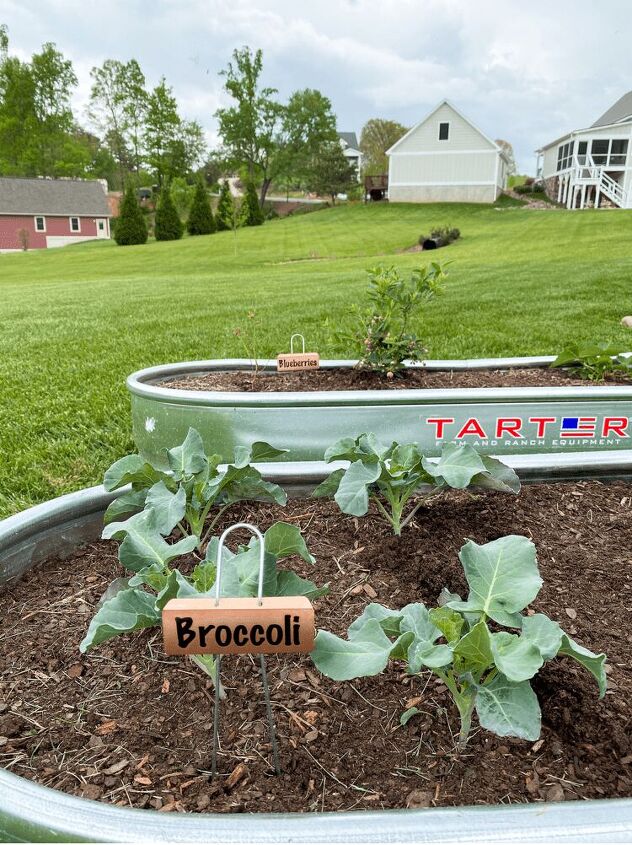
Well, how do you think my little DIY garden markers turned out to be?! Not too shabby, right?! I am pretty pleased with how they turned out and I hope this inspires you to create some of your own garden markers too. Even if you don’t have a Cricut machine, you could easily just get a Sharpie and write your own label on these garden markers and they would still turn out fabulous!


Frequently asked questions
Have a question about this project?