


Finished Flower Garden Area Before and After
Well, it took me a couple of years but, I finally finished a small corner of our yard. Somewhat to my amazement, it looks quite pretty. For those of you thinking that this is not a very big accomplishment, after 2+ years, let me just add that we have 4 (young) big dogs. They run and play hard and our yard takes quite a beating. So claiming a people's corner is actually sort of a big deal. Well, for me anyway. 
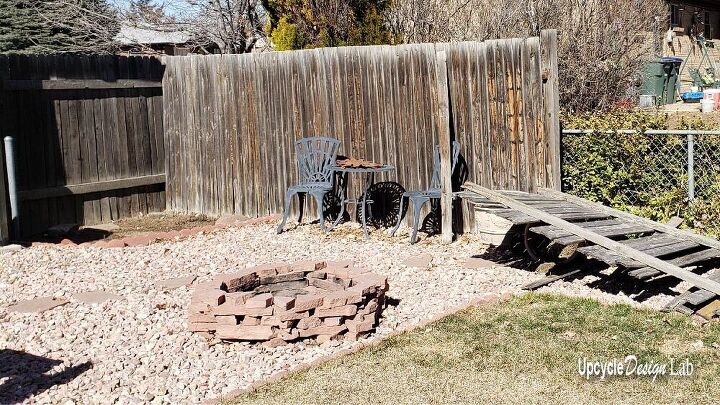
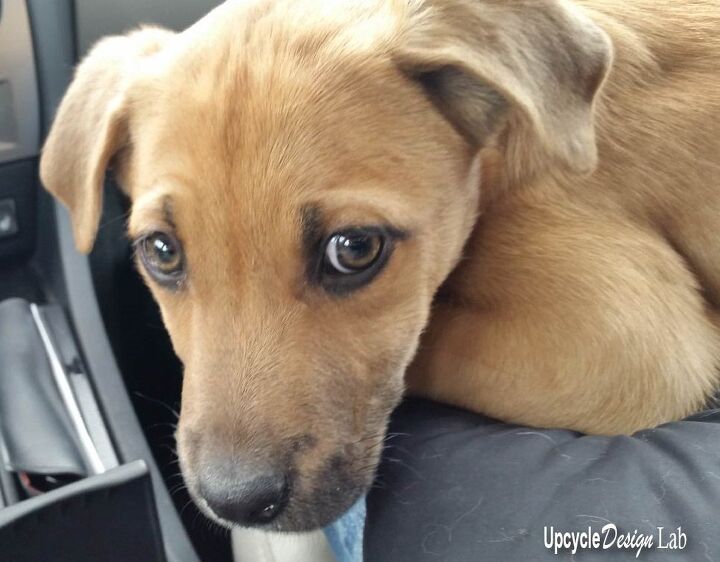
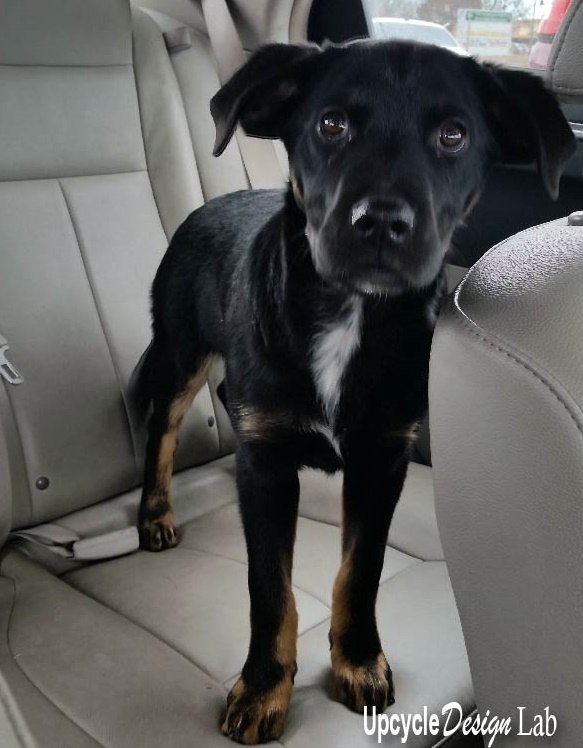
Here is what the corner looked like a few years ago. We had just gotten two new puppies (because yes we are a little bit crazy) and, one side of our fence had just been blown over. Because sometimes the universe likes to mess with you.
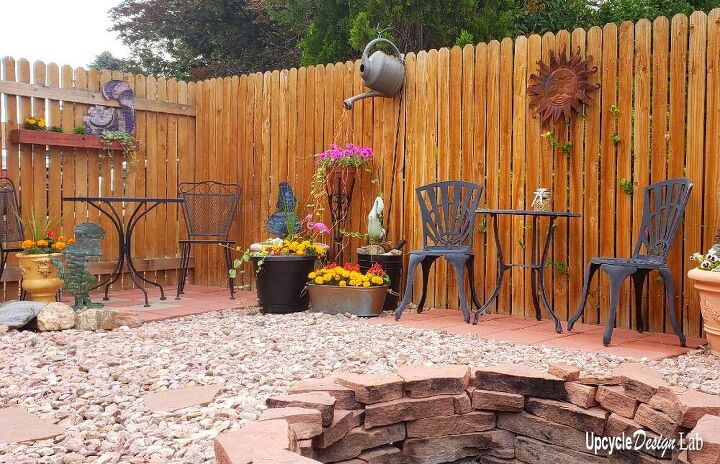
I built the fire pit several years ago from some extra pieces of flagstone that we had leftover from a different project. It doesn't look like much in this picture but, it made the corner into a fun place to sit and hang out.
We had a couple of tables and chairs in the area but that was about it for decor. And back in the corner, I had at one point tried to grow a small garden, but mostly it was just a dirt patch.
We got a new fence up pretty quick cuz, we didn't want to lose any of our canine creatures, and last year I laid down some pavers in two little seating areas.
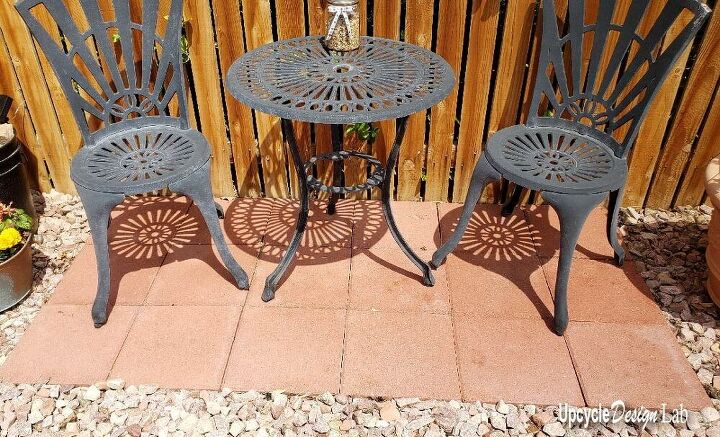
It is a very simple process to set pavers, and it makes a big difference in finishing an area. All you need is a cleared area, pavers, and sand. Just make sure you have plenty of sand available for the leveling. It makes the project much easier and it looks so much better. Yes, I have learned that the hard way.
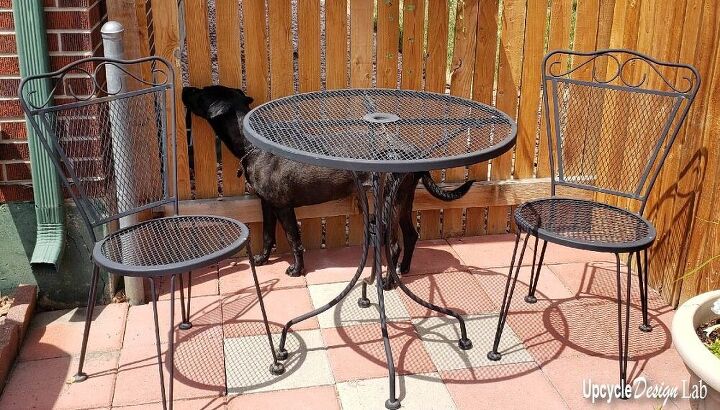
So anyway, the area looked much cleaner and a little more finished, but this year it was time to make it pretty.
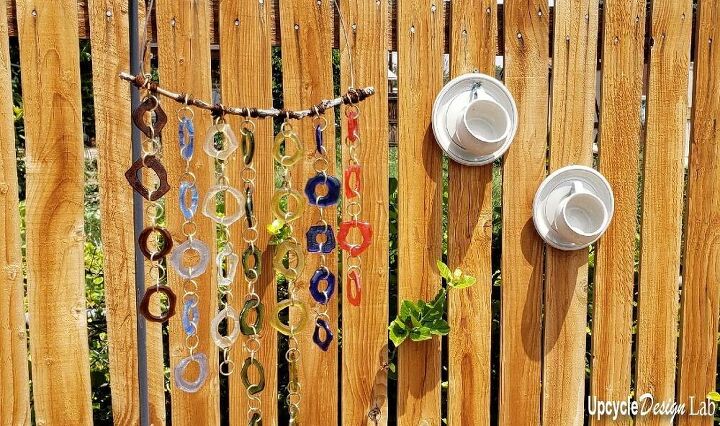
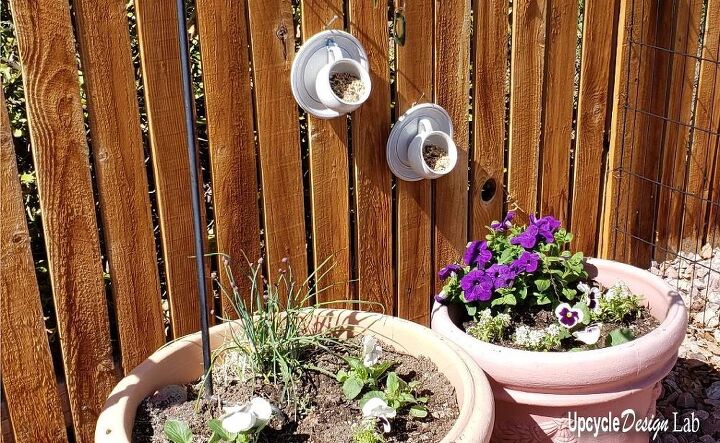
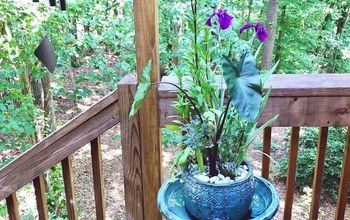
I started with some flower pots, some teacup birdfeeders, and a wind chime that I made from recycled bottle glass, using a microwave kiln. You can read more about these projects on my Hometalk page or my blog.
It was a start. I had two flower pots but I wanted more flowers and more color.
I have always wanted to make a watering can that pours out little twinkling lights. So that was my next project. Again you can find the details for this project on my blog, on Hometalk, or on my youtube channel.
I am so pleased with this project. It is bright and colorful during the daytime.
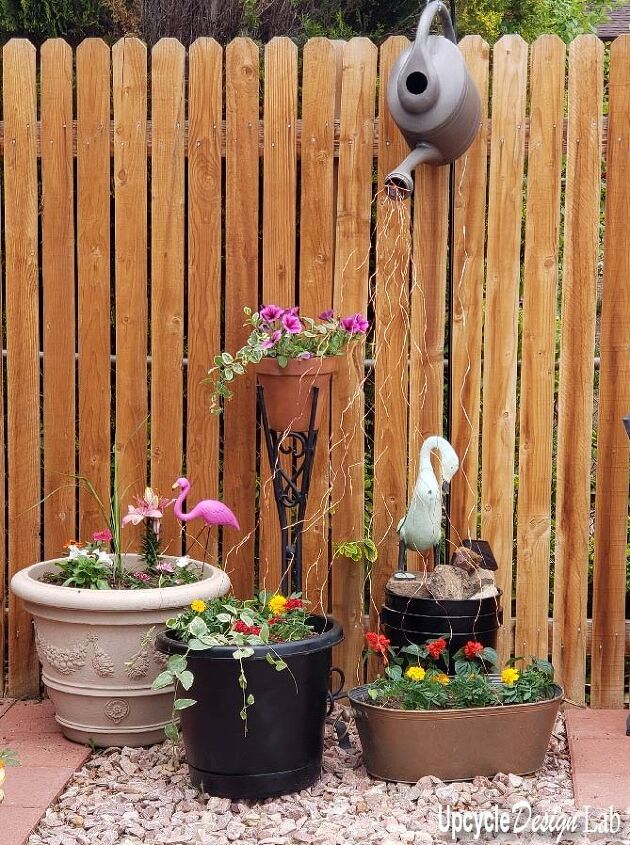
At night it is sparkly and magical.

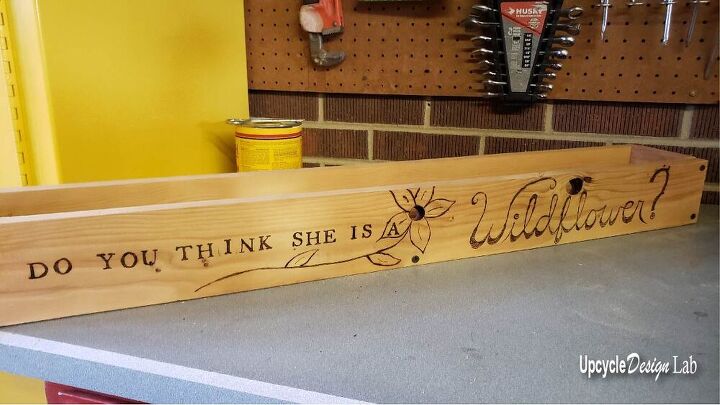
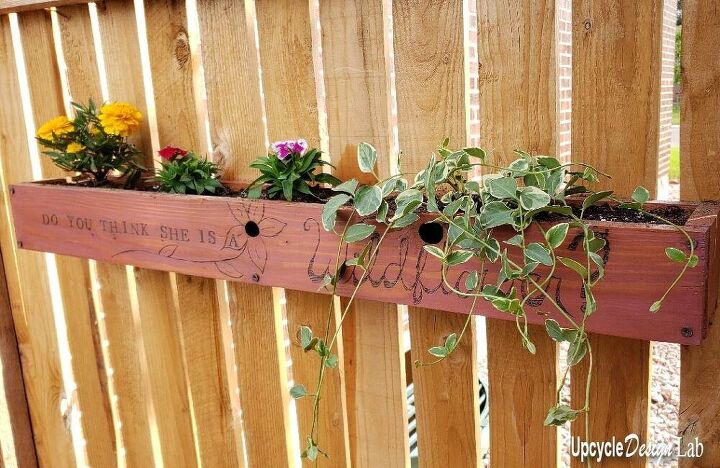
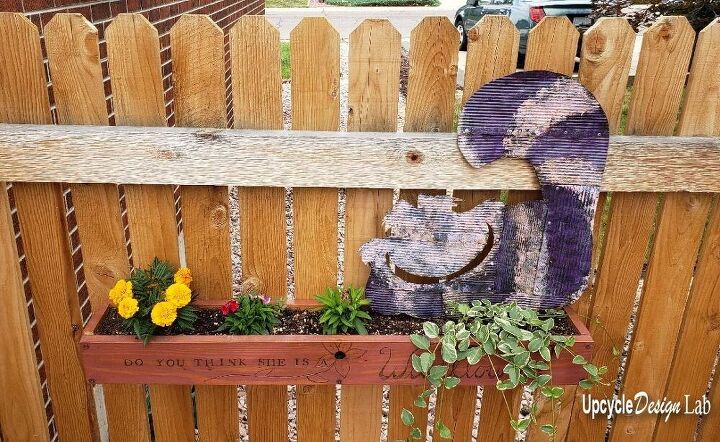
My next project was to make a flowerbox from some scrap wood. I am not much of a woodworker, but with some help from the hubby, I managed to complete my first woodshop project. I even tried pyrography for the first time. I am not very good at wood burning either, but it was fun to learn something new.
At this point, the corner flower garden/firepit area became decidedly Alice in Wonderland-like. Which didn't really surprised me since I have long been a fan.
I re-made my whole craft room in an Alice in Wonderland theme, but that is a whole other story.
And that brings us to what I think is my final project for this area. It is super whimsical and it makes me smile.
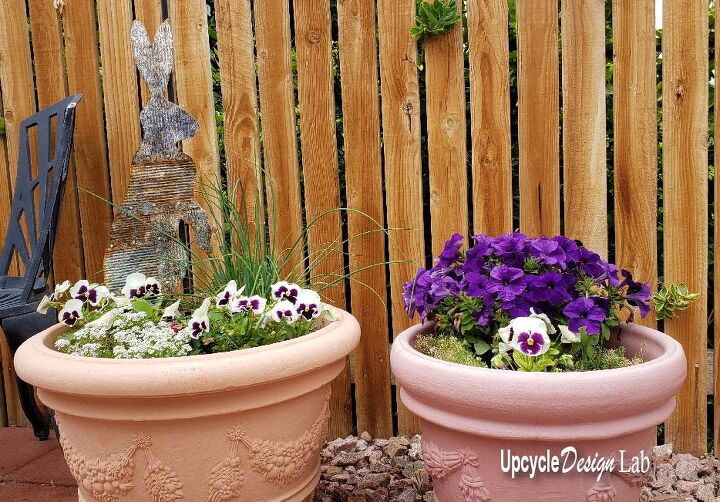
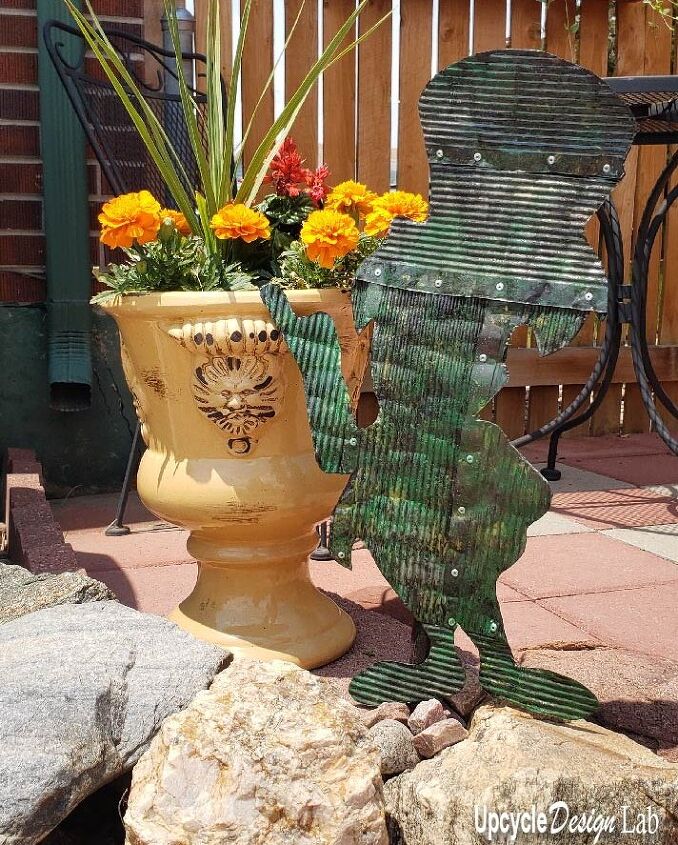
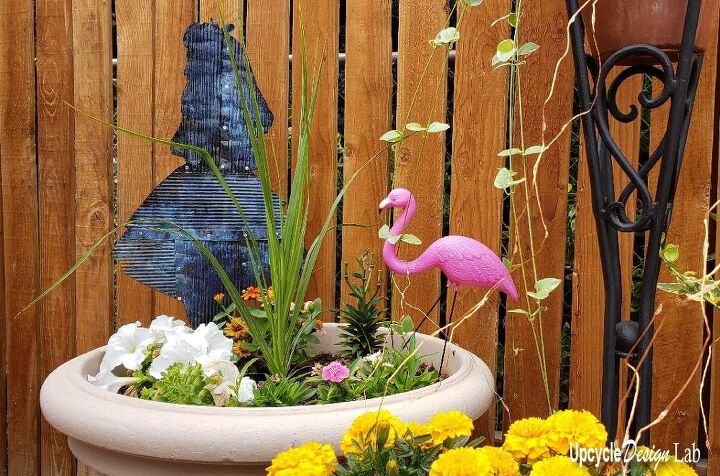
In case you don't already know this, I like to make things from recycled materials. My latest project is made from tin cans. I call it my Alice in Wonderland Yard Art. You can find the full tutorial on my blog.
There is of course a White Rabbit.
The Mad Hatter.
The Cheshire Cat.
And of course Alice.
If you are interested in the tutorial for this project, you can find all the details for the tin can yard art on my blog.
Advertising Disclosure: Upcycle Design Lab may be compensated in exchange for featured placement of certain sponsored products and services, or your clicking on links posted on this website.
For a quick overview of the tools and materials used in the tin can yard art project, check out my Amazon Idea List for this project. If you need one of the items and make a purchase, I will receive a small commission at no additional cost to you. I thank you in advance for your purchase. If you just want to check out all the required supplies, this is the easiest way to find that information. Also, read the comments section for the recycled materials you will need to collect.
I hope you enjoyed this little tour. It was a long time in the making but just like most things, persistence paid off.
You can see a wobbly (sorry about that part) 360-degree view of the corner in the video below. Unfortunately, the air conditioning unit is in this space and we have blocked off the area with some temporary fencing, so maybe there are more projects to come after all.
Keep creating I say!
I hope you have a lovely day. Thanks for checking out my little outdoor space.
Happy Upcycling,
Cindy
And because everybody loves puppies. Right?
Here is our crew back when they were puppies. Thanks for bearing with me while I stroll down memory lane.


Comments
Join the conversation
-
That's an inspiration to me. I am trying to get a cheap fire pit seating area garden rose garden water fountain area all complete by Fall to enjoy smores with the family. Adorable puppies also. 😀👋
-
Your corner is wonderful now! I especially love your pups! I have seven little pups of my own & two kitties (all inside).


Frequently asked questions
Have a question about this project?
Love what you did .I noticed your fire pit , do you have any instructs for how you did that ?
Lots of pictures an no directions for anything??